
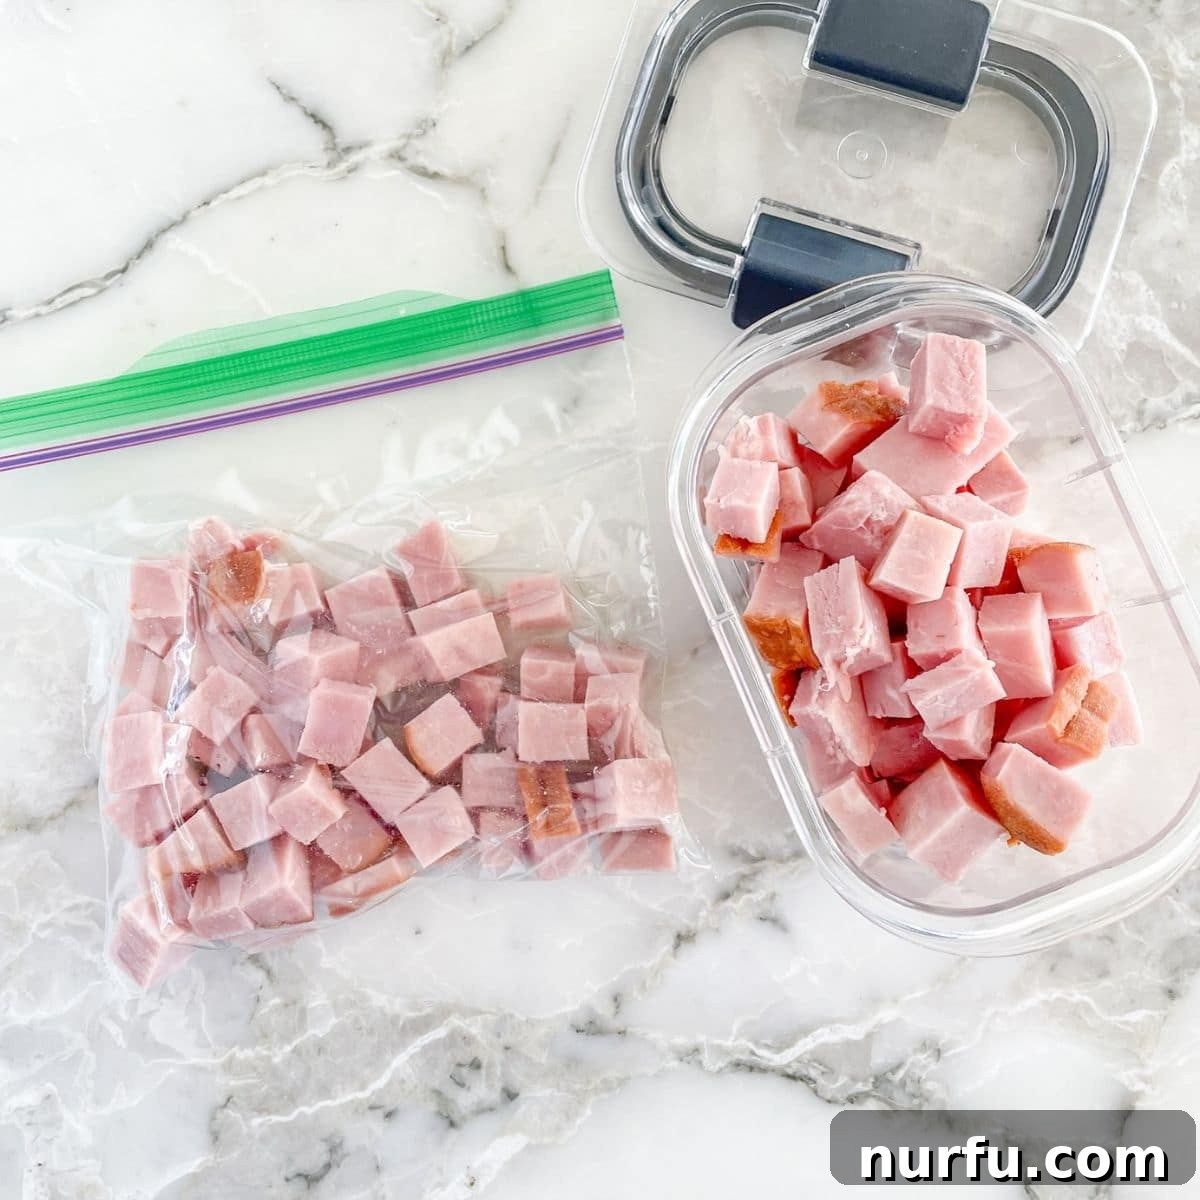
Ham is an incredibly versatile and flavorful meat, cherished in kitchens worldwide for its rich protein content and delightful taste. From a quick weekday lunch to a grand holiday feast, ham easily takes center stage or plays a supporting role in countless dishes. You can effortlessly enhance a fresh salad, elevate your favorite casserole, or transform a simple grilled cheese sandwich into a gourmet experience with this delicious ingredient. Its adaptability means many households frequently purchase ham in larger quantities. However, this often leads to a common culinary dilemma: what to do with the leftovers to prevent them from going to waste?
This brings us to a crucial question for home cooks and food enthusiasts alike: Can you freeze ham? Fortunately, the answer is a resounding yes! Preserving leftover ham for future meals is not only entirely possible but also surprisingly simple. While the process is straightforward, there are a few essential steps and considerations to keep in mind to ensure your ham maintains its quality, taste, and texture after freezing. Understanding the correct methods for freezing, thawing, and reheating ham will empower you to enjoy this beloved meat whenever you desire, reducing food waste and making meal planning much more convenient.
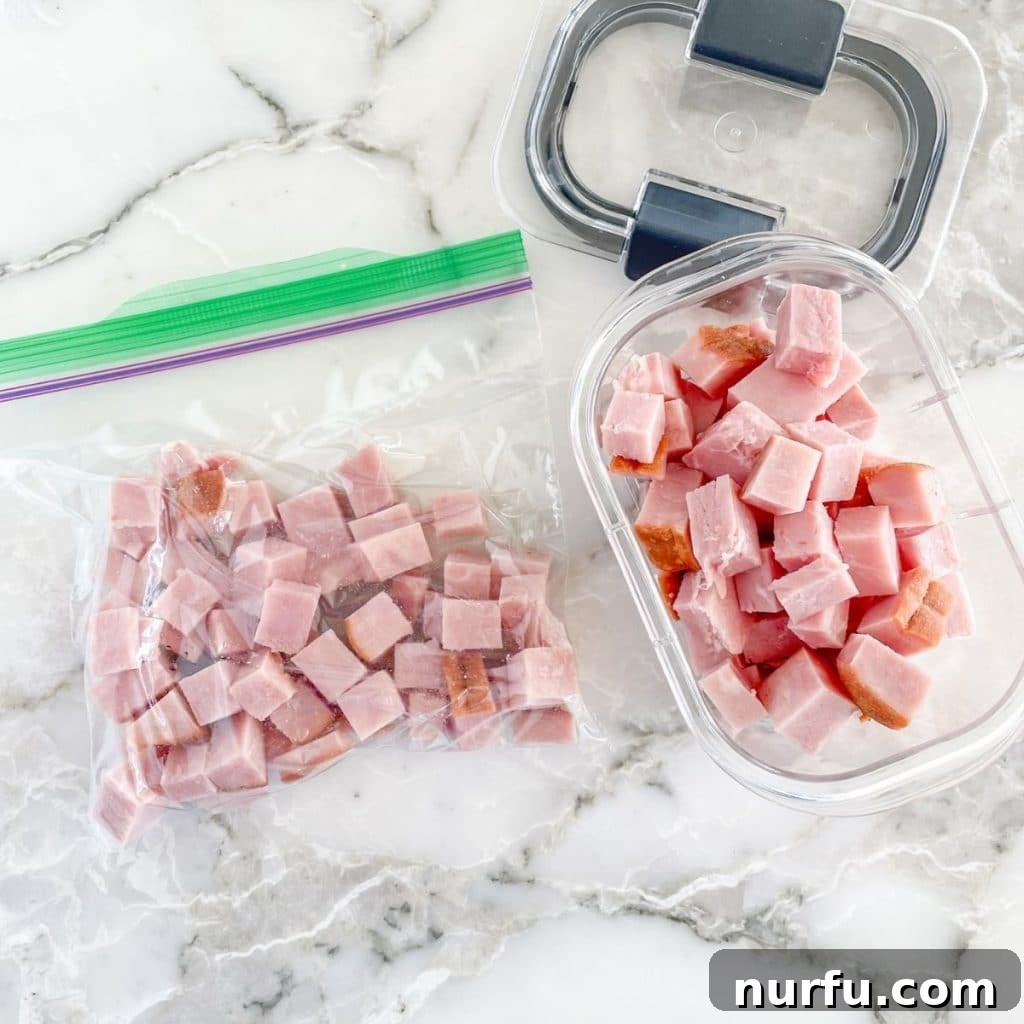
We’re here to guide you through the proper techniques for freezing various forms of ham—whether it’s fresh, cooked, sliced, or a whole ham—so you can savor your favorite ham recipes without concern for spoilage or diminished flavor. Proper freezing extends the shelf life of ham significantly, allowing you to maximize your food budget and always have this versatile protein on hand.
The Definitive Answer: Yes, You Can Freeze Ham!
Good news for all ham enthusiasts: you can absolutely freeze ham, and it’s a game-changer for meal prep and waste reduction. This means you can confidently purchase your favorite ham in bulk, especially during peak seasons like the holidays, without the pressure of consuming it all before it spoils. Ham is a perennial staple, particularly during festive gatherings, and freezing ensures that every delicious morsel you’ve prepared (or purchased) can be enjoyed over a longer period, protecting your investment of time and money.
Properly frozen ham can retain its quality in the freezer for several months, often up to a year, without compromising its taste or texture. This applies to almost all varieties, including diced ham, spiral-cut ham, honey-glazed ham, deli ham slices, and any leftover cooked ham. The key to this extended preservation lies in following the correct freezing procedures, which we’ll detail below. While storing cooked ham in the refrigerator typically limits its shelf life to a mere 3-5 days, freezing offers a much more sustainable solution than forcing your family and friends to eat ham all week long.
Essential Steps for Freezing Ham Effectively
Freezing ham correctly is crucial for maintaining its quality, flavor, and texture. The method you use largely depends on whether the ham is unopened in its original packaging or if it’s leftover cooked ham that needs special preparation. For instance, if you have an unopened ham that comes with its original store packaging, you can often freeze it directly in that packaging. These packages are typically designed to protect the product during freezing.
However, leftover ham—whether it’s a whole roast, thick slices, or diced pieces—requires a few additional, but simple, steps to ensure optimal preservation. Rest assured, the process of freezing ham, when done correctly, will not degrade its texture or taste. It will emerge from the freezer just as succulent and flavorful as it was when first prepared or purchased. So, the next time you spot a great deal on ham, don’t hesitate to stock up!
Freezing a Whole Cooked Ham
A grand, whole ham often serves as the majestic centerpiece of holiday dinners and special celebrations. Unless you’re hosting a very large gathering, you’re almost guaranteed to have a substantial amount of leftovers. To ensure this culinary triumph doesn’t go to waste, learning how to properly freeze a whole cooked ham is an invaluable skill. While the concept is similar to freezing smaller portions, a whole ham requires a bit more attention to detail. Follow these steps to freeze a whole ham effectively:
- **Cool Completely:** Before freezing, allow the cooked ham to cool down to room temperature. Freezing hot food can raise the freezer’s temperature, potentially thawing other items and promoting bacterial growth.
- **Wrap Tightly:** Begin by wrapping the entire ham tightly in multiple layers of heavy-duty aluminum foil. This acts as a primary barrier against freezer burn and moisture loss.
- **Add Another Layer of Protection:** After the foil, place the wrapped ham into a large, heavy-duty freezer bag, ensuring you press out as much air as possible before sealing it. Alternatively, you can use an airtight freezer-safe container if you have one large enough. The goal is to minimize air exposure.
- **Label and Date:** Clearly label the package with the current date and contents (“Whole Cooked Ham”). This helps you keep track of its age and ensures you consume it within its optimal frozen period.
- **Freezer Life:** A whole cooked ham, properly prepared and frozen, can maintain its best quality for up to 12 months.
Freezing Ham Slices or Diced Ham
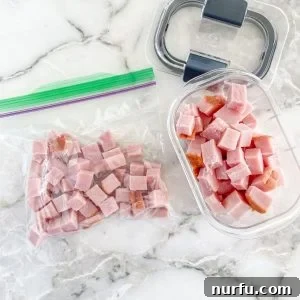
Freezing ham in smaller, individual portions, such as slices or diced pieces, offers incredible convenience. This method is perfect for busy individuals or families who want quick access to ham for sandwiches, omelets, salads, or quick weeknight meals without needing to thaw an entire ham. Here’s how to properly store ham slices or diced ham in the freezer:
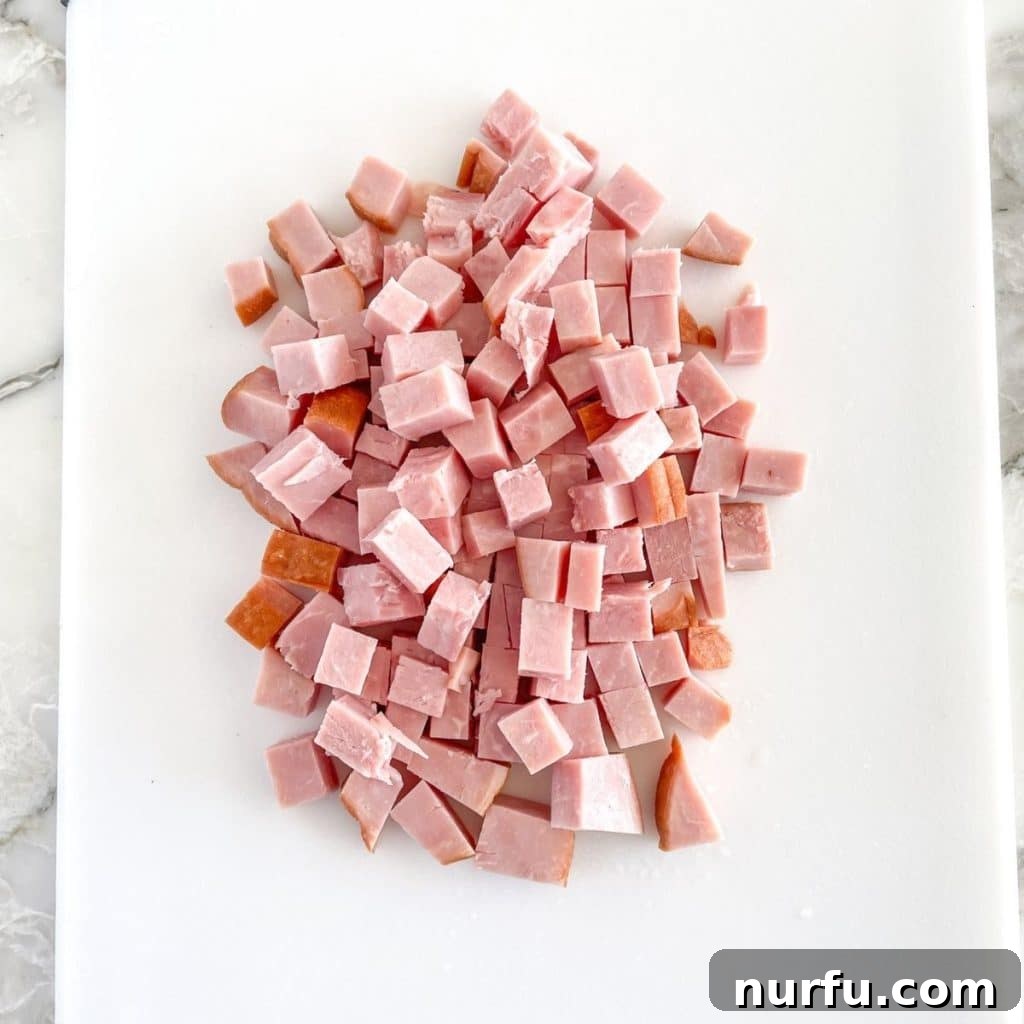
- **Prepare Portions:** Dice or slice the ham into your desired sizes and thicknesses. Think about how you’ll use it later – small cubes for omelets, thin slices for sandwiches.
- **Portion for Convenience:** Divide the prepared ham into single-serving or recipe-specific sizes. This prevents you from having to thaw more than you need.
- **Prevent Sticking (Optional but Recommended):** For slices, you can place a piece of parchment paper between each slice before stacking them. This makes it easier to separate individual slices later. For diced ham, you might consider flash-freezing them spread out on a baking sheet for an hour before transferring to bags to prevent clumping.
- **Airtight Packaging is Key:** Store each portion in a vacuum-sealed bag if you have a sealer, or a heavy-duty freezer-friendly zip-top bag. A helpful tip for zip-top bags is to partially seal the bag, then use a straw to suck out the remaining air before fully sealing it. This creates a near-vacuum and significantly reduces the risk of freezer burn.
- **Label Clearly:** Don’t forget to label each bag or container with the date and type of ham. This allows for easy tracking of its freezer life.
- **Freezer Life:** Sliced or diced cooked ham, when properly frozen, is best used within 3-4 months for optimal quality.
Beyond its incredible flavor, ham is also lauded for its nutritional benefits. It’s an excellent source of high-quality **protein**, vital for muscle repair and growth. Furthermore, ham provides a rich supply of **B vitamins**, crucial for energy metabolism and overall cellular function. Notably, when compared to other red meats like beef or lamb, ham often contains significantly **lower amounts of saturated fat**, making it a more heart-friendly choice for those mindful of their diet. Why not incorporate this nutritious and versatile meat into your meal rotation more often?
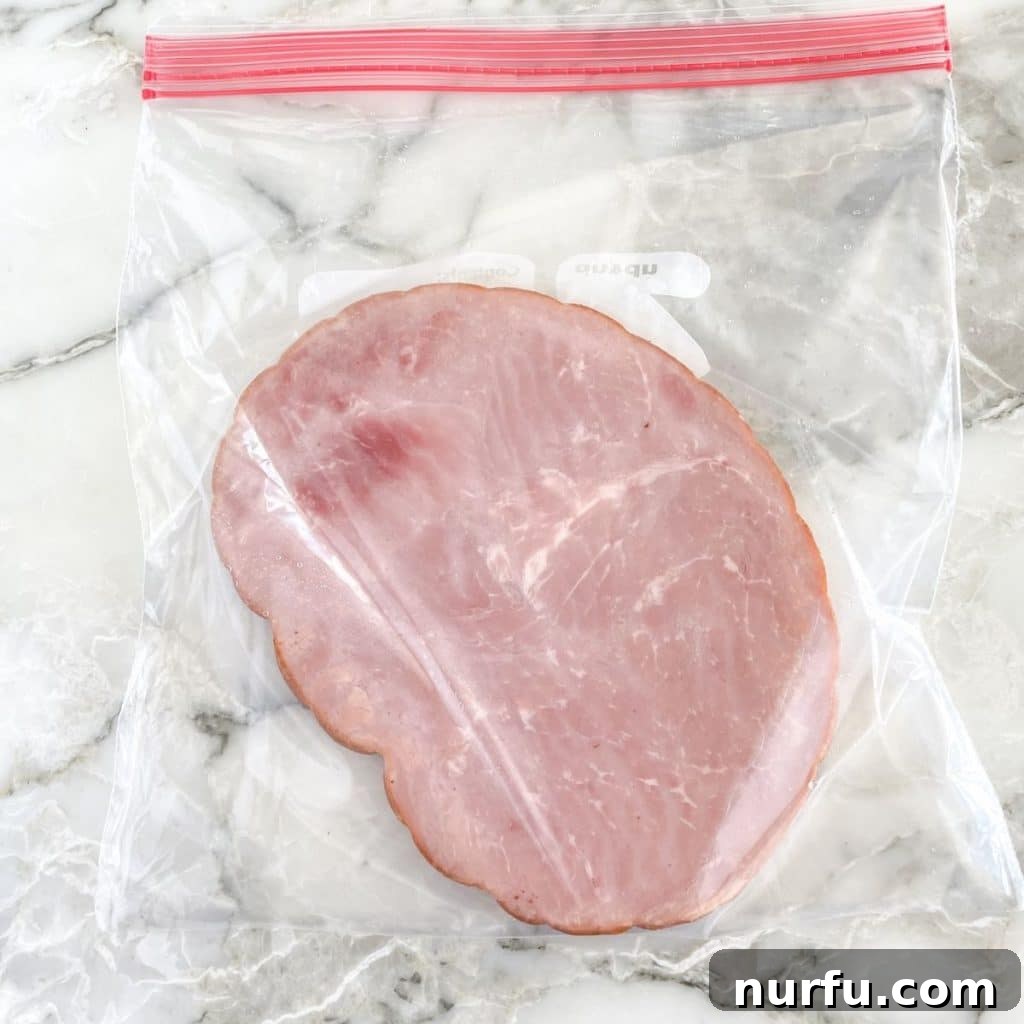
How Long Can You Safely Store Frozen Ham?
The burning question often is: exactly how long can you store ham in the freezer before its quality begins to diminish? And does freezing alter its taste or texture over time? While freezing is an excellent preservation method, it’s important to understand that nothing lasts indefinitely. The longevity of frozen ham largely depends on its type, whether it’s cooked or uncooked, cured or uncured, and most importantly, how meticulously it was packaged for freezing.
Generally, properly stored ham—ideally in an airtight container or vacuum-sealed bag to prevent freezer burn—will maintain its peak quality for several months. While it might remain safe to eat beyond these recommended times, its flavor and texture could start to decline. Here’s a detailed guide on the freezer life for various types of ham:
- **Uncooked, Uncured Fresh Ham:** For optimal quality, this type can be frozen for up to 6 months.
- **Uncured, Cooked Fresh Ham:** Once cooked, uncured ham should be consumed within 3 to 4 months of freezing.
- **Cured, Uncooked, Cook-Before-Eating Ham (e.g., bone-in, spiral-cut):** These varieties generally last for about 3 to 4 months in the freezer.
- **Unopened, Fully Cooked, Vacuum-Sealed Ham (e.g., deli ham in original packaging):** When kept in its sealed, original packaging, it can be frozen for 1 to 2 months. Beyond this, consider re-packaging for longer storage.
- **Country Ham (Cooked):** Due to its unique curing process, cooked country ham is best frozen for no more than 1 month to preserve its distinct flavor and texture.
- **Prosciutto, Parma, Spanish-type Ham:** These delicate, dry-cured hams are best consumed within 1 month of freezing. Freezing can alter their subtle textures and flavors.
- **Canned, Shelf-Stable Ham:** While shelf-stable, if you choose to freeze it, it’s best within 1 to 2 months after opening and repackaging. Unopened canned hams typically do not require freezing.
- **Cooked, Store-Bought & Wrapped Ham (e.g., from the deli counter):** Repackage this ham properly and freeze for 1 to 2 months.
IMPORTANT NOTE: Canned hams explicitly labeled “refrigerate” should never be frozen in their original can. Freezing can cause the can to burst or compromise the seal, leading to spoilage.
Ultimately, the key to maximizing the freezer life of your ham lies in your storage technique. By minimizing air exposure and adhering to these guidelines, you can ensure your ham remains delicious and safe to eat for an extended period.
The Art of Safely Thawing Frozen Ham
Often, the large ham purchased for holiday feasts or special occasions is bought frozen. Thawing such a substantial piece of meat can be a challenge, and it’s not uncommon to find the ham still partially frozen on the day of the dinner party. More critically, improper thawing methods can create a breeding ground for harmful bacteria, leading to foodborne illnesses – an unwelcome guest at any celebration. With the right knowledge and a little planning, you can easily avoid these pitfalls and ensure your ham is perfectly defrosted and ready for your meal. Here’s how to safely thaw ham, allowing ample time for the process.
Thawing Ham in the Refrigerator (The Safest Method)
Thawing ham in the refrigerator is the safest and most recommended method, though it requires the most foresight due to its slow pace. This controlled environment minimizes the risk of bacterial growth. To begin, ensure your refrigerator’s temperature is set between 35°F and 39°F (1.7°C and 4°C).
Always place the frozen ham on the bottom shelf of your refrigerator. This strategic placement prevents any potential drips from contaminating other foods below it. To further mitigate cross-contamination and catch any condensation or liquid, make sure the ham is placed inside a large, shallow container or on a baking sheet with a rim. This setup is crucial for food safety. Plan for approximately **4-7 hours of thawing time per pound** of ham. A small ham might take a day or two, while a large, whole ham could require up to 5-7 days to fully defrost. Patience is key with this method, but it guarantees the best results for safety and quality.
Thawing Ham in Cold Water (A Quicker Alternative)
For those times when you need to thaw ham a bit more quickly than the refrigerator allows, the cold water method is an effective alternative. This technique is faster but demands more attention. Before placing the ham in water, ensure it is securely packaged and completely leak-proof. Any breach in the packaging could allow water to seep in, compromising the ham’s quality and potentially introducing bacteria.
Place the packaged ham in a large sink or a clean basin and submerge it in cold tap water. The critical step here is to change the cold water every 30 minutes to ensure the water remains cold and the ham thaws evenly and safely. As a general guideline, allow approximately 30 minutes of thawing time for every pound of ham. This means a 10-pound ham would take about 5 hours. Cook the ham immediately after it has thawed using this method.
Thawing Ham in a Cooler (For Larger Hams or Limited Fridge Space)
If your refrigerator is already overflowing, especially during busy holiday periods, or if you’re thawing an exceptionally large ham, a cooler can serve as an excellent temporary thawing station. This method works by replicating the controlled, cool environment of a refrigerator.
Place the ham, still in its protective packaging, inside a clean cooler. Position the cooler in a cool area, such as a garage or basement, away from direct sunlight or heat sources. The ambient temperature of this location will influence the thawing rate. It’s vital to monitor the internal temperature of the cooler regularly, ensuring it does not rise above 40°F (4.4°C). To maintain this crucial temperature, surround the ham with ice packs or bags of ice. Replenish the ice as needed to keep the ham consistently cold. This method effectively mimics refrigerator thawing, but requires more active management.
Thawing Ham in the Microwave (Use with Caution)
While generally not the preferred method for larger cuts of meat, using a microwave to thaw ham can be an option if you are in a significant time crunch and only have a small, quarter, or petite-sized ham. This method is the fastest but also carries the highest risk of partially cooking the ham and drying it out, as microwaves heat unevenly.
Refer to your microwave’s manual for specific defrosting instructions and recommended power levels for meat. Always use the defrost setting and rotate the ham frequently to promote more even thawing. Crucially, any ham thawed in the microwave must be cooked immediately after thawing to prevent rapid bacterial growth in any areas that may have reached cooking temperatures. A helpful tip to prevent the ham from drying out during microwave defrosting is to slather a thin layer of butter or a suitable glaze on its surface before heating.
Regardless of the thawing method chosen, a common challenge is preventing the ham from losing its precious moisture. A simple and effective solution is to **wrap the ham tightly in aluminum foil** during the thawing process (for refrigerator and cooler methods) or just before cooking (for microwave-thawed ham). This helps to seal in the juices, ensuring a more succulent and flavorful final product.
Mastering the Art of Reheating Leftover Ham
Congratulations! You’ve successfully prepared and enjoyed your delicious holiday ham, and now you have a treasure trove of scrumptious leftovers. The next challenge is to reheat this staple holiday food without compromising its texture or flavor. Here are the best ways to bring your leftover ham back to its succulent glory:
- **Oven Reheating (Recommended for Whole or Large Pieces):** This method is ideal for ensuring even heating and preserving moisture.
- If your ham is not glazed or if the glaze has been removed, wrap it tightly in heavy-duty aluminum foil or place it in a baking bag. This creates a steamy environment that prevents drying.
- Preheat your oven to 325°F (160°C). Once the oven reaches temperature, place the wrapped ham inside.
- If the ham is glazed, you might want to increase the temperature slightly to 400°F (200°C) during the last 15-20 minutes of reheating to caramelize the glaze, or reapply a fresh glaze during this stage. For most glazed hams, keeping it covered at 325°F is still a good starting point to prevent the glaze from burning.
- Reheat until the internal temperature, measured with a meat thermometer inserted into the thickest part (away from the bone), reaches 140°F (60°C). This typically takes about 10-15 minutes per pound for already cooked ham.
- **Skillet/Frying Pan (For Slices or Diced Ham):** For a quick individual serving or smaller pieces, a skillet works wonderfully.
- Lightly grease a skillet or frying pan over medium heat.
- Add individual ham slices or diced ham.
- Cook for 2-3 minutes per side, or until heated through and lightly browned. This method is great for adding a slight crispness.
- **Microwave Reheating (For Small Portions, with Caution):** While convenient, microwaving is generally less ideal for ham as it tends to remove moisture quickly, leading to a dry texture.
- Place a few slices or diced ham pieces in a microwave-safe dish. Add a tablespoon or two of water or broth to create steam and help retain moisture.
- Cover the dish and microwave on medium power in short bursts (30-60 seconds), stirring or flipping if possible, until heated through.
- Despite best efforts, microwaved ham often loses some moisture, but it’s perfect for a quick bite when time is of the essence.
Serving Cold Ham: Is It Safe and Delicious?
Absolutely! Many types of ham are perfectly safe and incredibly delicious when served cold, directly from the package or after refrigeration. This includes fully cooked vacuum-packaged ham, pre-sliced deli ham, and even the popular spiral-cut hams. These products are processed and cooked to a safe internal temperature before packaging, making them ready to eat without further heating.
In fact, certain hams, particularly spiral-cut hams (which are typically fully cooked and often come with a glaze), are arguably at their best when served at room temperature or slightly chilled. Overheating these hams can paradoxically dry out the meat and cause any delicate glazes to melt away, altering their intended flavor and texture profile. However, if you prefer your ham warm, you can gently heat it to an internal temperature of 145°F (63°C) for optimal enjoyment without overcooking.
Identifying Spoilage: How to Tell if Frozen Ham Has Gone Bad
Even with meticulous freezing, it’s essential to know the signs that indicate your ham may have spoiled. While freezing significantly slows down spoilage, it doesn’t stop it indefinitely, and issues like freezer burn can affect quality. Here are key indicators to look for:
- **Sour or Off Smell:** The most obvious sign of spoilage. If you open the ham package and detect a distinctly sour, sulfuric, or generally unpleasant odor, it’s a clear indication that the ham has gone bad. It’s always best to err on the side of caution and discard it.
- **Presence of Ice Crystals or Dry Spots (Freezer Burn):** While a few ice crystals on the outside are normal, excessive, large ice crystals within the packaging, or dry, discolored patches on the ham’s surface (often grayish-brown), signal freezer burn. This means the ham has lost moisture, leading to a tough, dry, and flavorless texture, though it might still be technically safe to eat if no other spoilage signs are present. Severe freezer burn can make the ham unappetizing.
- **Changes in Meat Color:** Fresh ham typically has a pinkish hue. If the color of the meat has significantly lightened, turned pale, developed a greenish tint, or has unusual dark spots that aren’t part of the natural meat marbling, these are strong indicators of spoilage.
- **Slimy or Sticky Texture:** If the ham feels slimy, sticky, or unusually slick to the touch, it has likely developed bacteria and should be discarded immediately.
Always trust your senses. If the ham looks, smells, or feels off in any way, it is safer to dispose of it than risk foodborne illness.
Conclusion: Maximize Your Ham, Minimize Waste
It might be surprising to learn, but ham is one of the foods most frequently wasted in households. Its incredible versatility and ease of preparation often lead us to purchase it in larger quantities than we can consume immediately. However, with the simple yet effective tips and tricks outlined in this guide, you can confidently freeze ham—whether it’s raw or cooked, whole or sliced—to extend its freshness significantly. By mastering the art of freezing, thawing, and reheating ham, you not only ensure that this delicious meat is always available for your culinary creations but, more importantly, that nothing goes to waste. Embrace smart food preservation and enjoy ham to its fullest potential!
Expand Your Freezing Knowledge: More Foods to Preserve
- How to freeze tortillas
- How to freeze salsa
- Can you freeze baked beans
- How to freeze chicken salad
- How to freeze cream cheese
- How to freeze egg salad
Can You Freeze Ham: A Simple Guide
Heather Seeley
5
5
4 servings
Print Recipe
Ingredients
- 1 pound ham (sliced or diced)
Instructions
-
To freeze sliced or diced ham, ensure it is completely cooled. Place desired portions in a heavy-duty freezer-safe bag or airtight container. Remove as much air as possible before sealing. Label with the date and freeze for up to 6 months for best quality.
Nutrition Information
Calories: 276 kcal | Protein: 24 g | Fat: 19 g | Saturated Fat: 7 g | Polyunsaturated Fat: 2 g | Monounsaturated Fat: 9 g | Cholesterol: 70 mg | Sodium: 1346 mg | Potassium: 324 mg | Calcium: 8 mg | Iron: 1 mg
Nutrition information is an approximation and can vary based on specific ingredients and preparation.
Additional Info
Main Course
American