
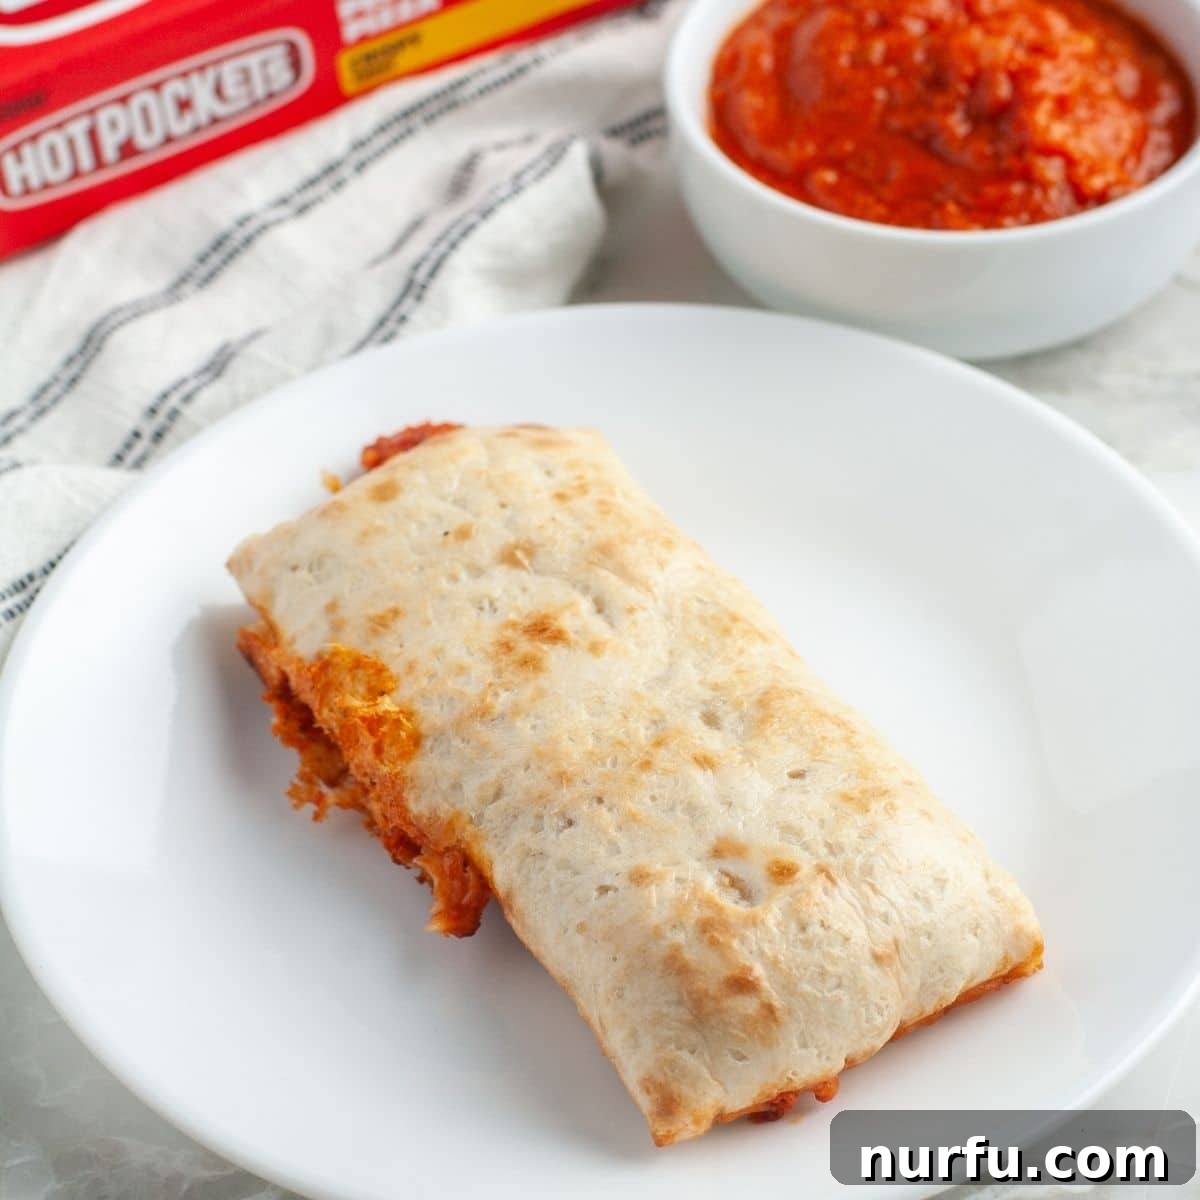
For many, Hot Pockets represent the ultimate in convenient, quick, and satisfying meals or snacks. Whether you’re craving a cheesy pepperoni bite, a savory ham and cheese delight, or even a vegetable-filled pastry, these frozen pockets offer a diverse range of flavors to suit almost any palate. Best of all, they can be ready in just a few minutes, making them a go-to choice for busy individuals. While several cooking methods exist, the microwave remains the fastest and most popular option. This comprehensive guide will walk you through everything you need to know about how long to microwave Hot Pockets, ensuring you achieve a perfectly cooked, delicious, and safe meal every time. We’ll cover optimal cooking times, essential tips for achieving that desirable crispy crust, and crucial safety considerations, transforming your microwave from a simple heating device into a Hot Pocket perfection machine.
What Are Hot Pockets: A Brief Overview
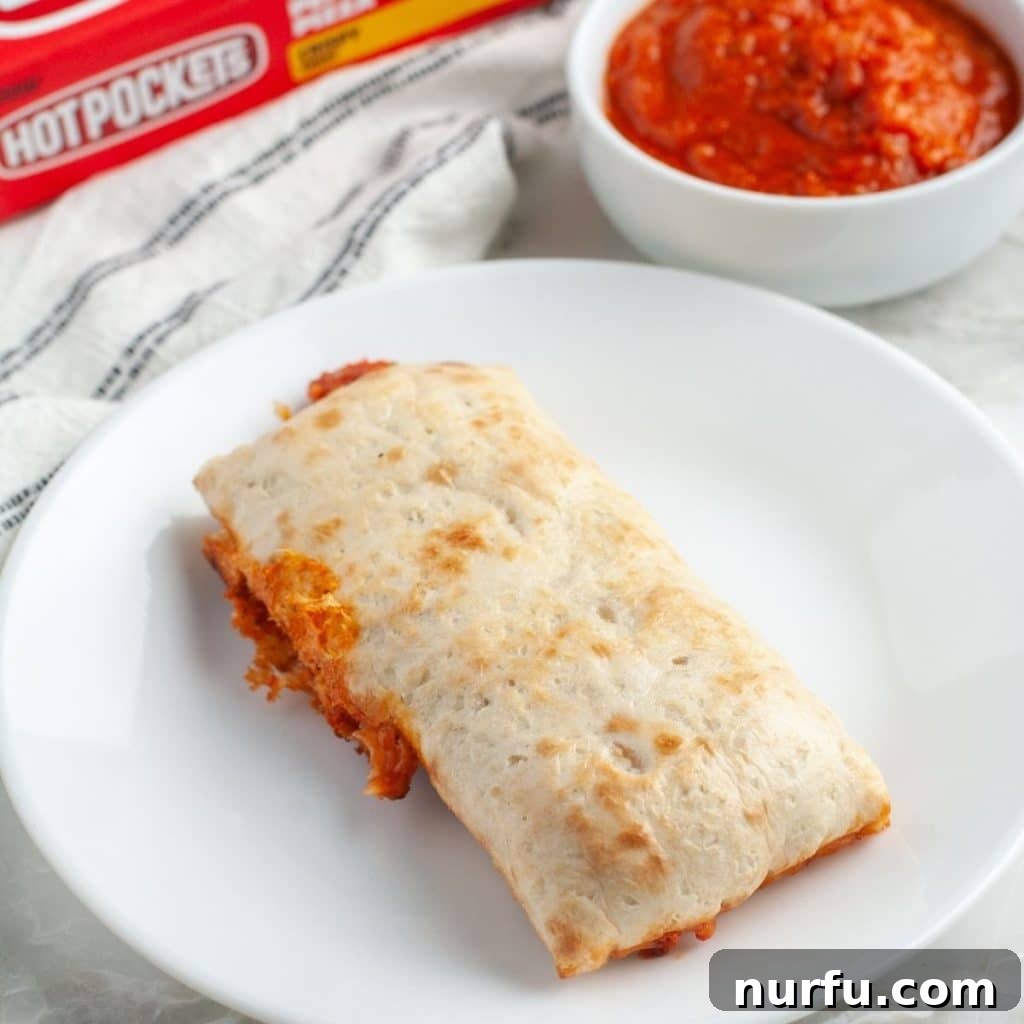
Hot Pockets are a brand of microwavable turnovers or calzones that are quick-frozen and filled with various ingredients. Introduced by Nestlé, they have been a staple in freezers for decades, beloved for their convenience and variety. These savory pastries typically consist of a crust (often enriched with garlic butter or other flavors) wrapped around fillings such as seasoned meats (pepperoni, ham, sausage), cheeses (mozzarella, cheddar), and sometimes vegetables. Over the years, the brand has introduced numerous variations, from classic pizza flavors to breakfast options and even “Big Bold” versions with heartier fillings, continually adapting to consumer tastes and preferences. While the “Lean Pockets” line, aimed at a health-conscious market, has been discontinued, the core appeal of a quick, satisfying, and easy-to-prepare meal remains stronger than ever.
The primary appeal of Hot Pockets lies in their simplicity. They offer a solution for those moments when you need a quick bite but don’t have the time or energy for extensive cooking. Whether it’s a hectic workday lunch, a late-night study snack, or an easy dinner option, Hot Pockets deliver a warm, flavorful experience with minimal effort. While they can be baked in a conventional oven or even an air fryer for a crispier finish, the microwave reigns supreme for speed. In the following sections, we will delve into mastering the art of microwaving Hot Pockets, ensuring you get the best possible results every time.
Why Microwave Hot Pockets? The Ultimate Convenience
Microwaving Hot Pockets is not just safe; it’s the most convenient and fastest method available for preparing these delicious snacks. Unlike ovens or air fryers that require preheating and longer cooking times, a microwave can have your Hot Pocket ready in mere minutes. This makes it an ideal choice for quick lunches, after-school snacks, or whenever hunger strikes and time is of the essence. The specialized crisping sleeve included with each Hot Pocket is designed specifically to help achieve a desirable texture, preventing the pastry from becoming soggy while still ensuring the filling is piping hot.
How to Microwave Hot Pockets: A Step-by-Step Guide
Cooking Hot Pockets in the microwave is incredibly simple, but following these steps ensures optimal results for taste, texture, and safety.
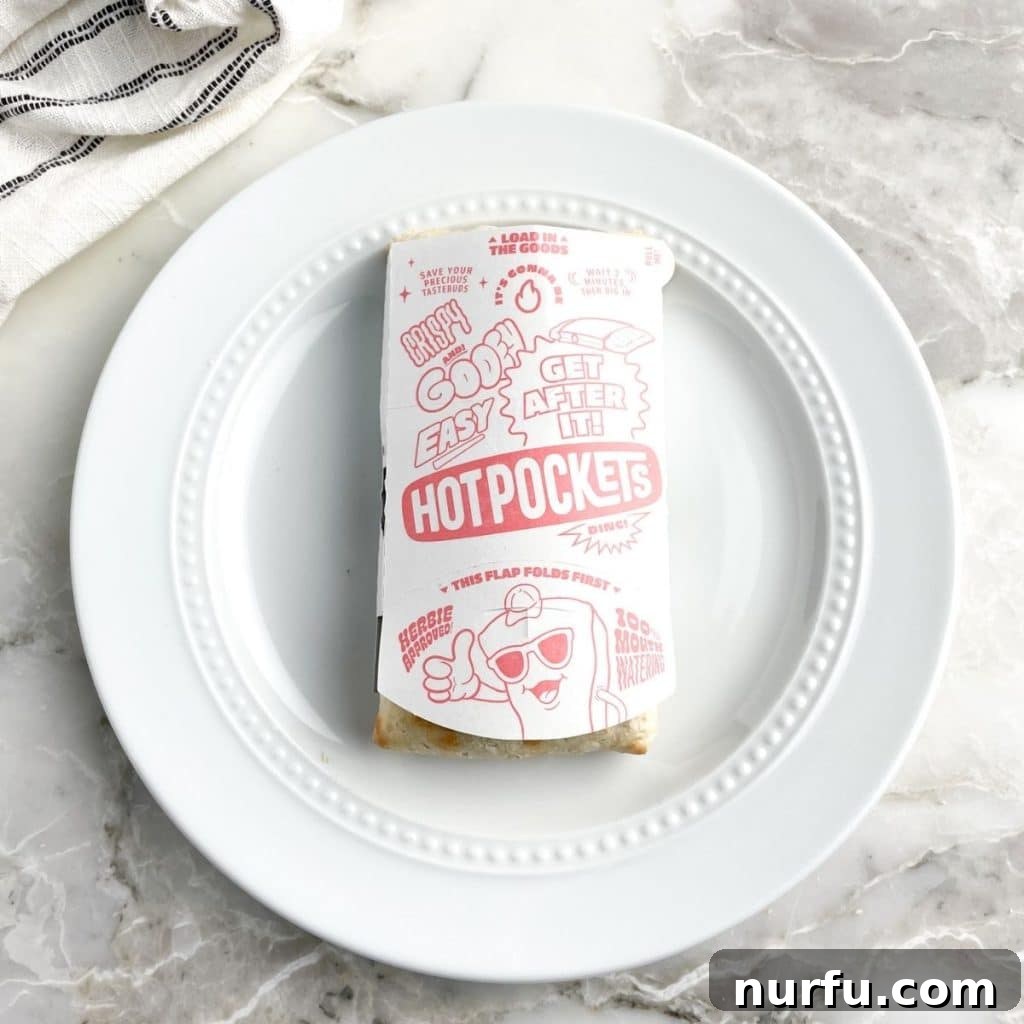
- Unpack and Sleeve: Carefully remove the frozen Hot Pocket from its outer box and tear open the plastic wrapping. Inside the box, you’ll find a silver, cardboard-like crisping sleeve. This sleeve is crucial for helping the crust achieve a slightly crisper texture and is designed for microwave use. Place the Hot Pocket inside this crisping sleeve.
- Placement: Position the sleeved Hot Pocket on a microwave-safe plate. Avoid using paper plates, as they can sometimes burn or become flimsy with the intense heat, and plastic plates, which may contain chemicals that aren’t safe for microwave use or can melt. A ceramic or glass plate is ideal. If you don’t have a microwave-safe plate, a sheet of parchment paper can also serve as a safe barrier.
- Microwave: Close the microwave door and cook for the recommended time, typically 2 to 4 minutes for a single Hot Pocket. Cooking times will vary significantly based on your microwave’s wattage and whether you’re cooking one or two Hot Pockets simultaneously. We will delve deeper into wattage considerations shortly.
- Check for Doneness: After the initial cooking time, carefully remove the Hot Pocket from the microwave. The internal temperature should reach at least 165°F (74°C) to ensure it is thoroughly cooked and safe to eat. You can check this with a food thermometer, or by carefully cutting the Hot Pocket in half to see if the center is hot and the cheese is melted and bubbling.
- Rest and Serve: Allow the Hot Pocket to cool for 1-2 minutes after cooking. The filling can be extremely hot and can cause burns. The crisping sleeve will also be hot, so handle with care. Once slightly cooled, carefully remove the Hot Pocket from the sleeve and enjoy your perfectly heated meal.
Is It Safe to Microwave Hot Pockets? Absolutely!
Yes, it is entirely safe to microwave Hot Pockets. In fact, it’s the recommended and quickest cooking method printed on the packaging for a reason. The primary safety concern when microwaving any frozen food is ensuring it reaches a high enough internal temperature to kill any potential bacteria. For Hot Pockets, this internal temperature is 165°F (74°C). The crisping sleeve is specifically designed for microwave use and helps ensure even heating and a better texture. As long as you follow the cooking instructions and take precautions with handling the hot product, microwaving Hot Pockets is a perfectly safe way to enjoy them.
How Long to Microwave Hot Pockets: Optimal Timing for Perfection
The ideal microwaving time for Hot Pockets isn’t a one-size-fits-all answer. It largely depends on two critical factors: the wattage of your microwave and the number of Hot Pockets you are cooking at once. Understanding these variables will help you achieve the perfect result, whether you prefer a softer crust or a crisper exterior.
Microwave Wattage Matters
Microwaves come in various wattages, typically ranging from 700 to 1200 watts. A higher wattage means more power and faster cooking. Most Hot Pocket packaging provides cooking instructions based on a standard 1100-watt microwave, often with adjustments for lower wattages. Always check your microwave’s wattage, usually found on a sticker on the back, inside the door, or in the owner’s manual.
- High Wattage (1100-1200 Watts): For one Hot Pocket, start with 2 minutes. For two, cook for approximately 3-4 minutes.
- Medium Wattage (800-1000 Watts): For one Hot Pocket, aim for 2.5 to 3 minutes. For two, increase to 4-5 minutes.
- Low Wattage (700 Watts): For a single Hot Pocket, you might need 3 to 4 minutes. For two, expect 5-6 minutes or even slightly longer. It’s often better to cook one at a time with lower wattage microwaves to ensure even cooking.
Cooking One Versus Two Hot Pockets
While it might seem intuitive to simply double the cooking time for two Hot Pockets, this isn’t always the case due to how microwaves heat food. When cooking multiple items, the microwave energy is distributed among them, which can reduce the efficiency of heating each individual item. Always place them side-by-side rather than stacked, if possible, to allow for more even heating.
- One Frozen Hot Pocket: The recommended microwave time is typically 2-3 minutes for most standard microwaves. For a softer pocket, lean towards the shorter end of the cooking spectrum (around 2 minutes). For a firmer, slightly crispier texture (given the microwave’s capabilities), cook for closer to 2.5-3 minutes.
- Two Frozen Hot Pockets: When cooking two Hot Pockets simultaneously, you’ll need to increase the time. A general guideline is around 4 to 5 minutes for two Hot Pockets in a standard 1100-watt microwave. Always check the internal temperature of both to ensure they are fully heated, as microwaves can sometimes heat unevenly. You might need to rotate them halfway through the cooking process.
Tips for Cooking the Perfect Hot Pocket
Microwaving Hot Pockets is straightforward, but a few expert tips can elevate your experience from good to absolutely perfect:
- Know Your Microwave: As mentioned, microwave wattage is key. Take a moment to find yours. This knowledge is invaluable for all microwave cooking, not just Hot Pockets.
- The Crisping Sleeve is Essential: Never skip the crisping sleeve! It’s specifically designed to absorb microwave energy and direct it towards the crust, helping to prevent a soggy pastry and promote a slightly crispy exterior. Without it, your Hot Pocket will likely be limp and chewy.
- Use a Microwave-Safe Plate: Always place the sleeved Hot Pocket on a ceramic or glass microwave-safe plate. Avoid paper plates, which can sometimes burn or become soft, and plastic plates that may not be microwave-safe or could warp and release chemicals. Parchment paper is a good alternative if no plate is available.
- Cook One at a Time for Best Results: While cooking two at once is possible, for the absolute best and most consistent results, especially regarding crispness and even heating, cook Hot Pockets individually.
- Ensure Internal Temperature: The most crucial safety tip is to ensure the Hot Pocket reaches an internal temperature of 165°F (74°C). If you’re unsure, a quick check with a food thermometer is always recommended. For more even cooking, after about half the cooking time, you can carefully hold the crisping sleeve by its ends and gently shake it to help distribute the hot ingredients inside.
- Achieve Extra Crispiness (Hybrid Method): If you desire a truly crispy Hot Pocket, like it just came out of a conventional oven, you can employ a hybrid cooking method. Microwave the Hot Pocket for 2 minutes in its sleeve, then transfer it to a baking sheet and finish cooking in a preheated oven at 375°F (190°C) for an additional 3-5 minutes. This two-step process yields a perfectly hot interior with an undeniably crispy, golden-brown crust. Alternatively, a quick finish in an air fryer after microwaving can achieve similar results.
- Allow to Rest: The filling of a freshly microwaved Hot Pocket is incredibly hot. Always allow it to rest for 1-2 minutes after cooking. This not only prevents burns but also allows the internal heat to redistribute, ensuring a more uniformly heated and enjoyable bite.
Common Mistakes to Avoid When Microwaving Hot Pockets
Even with such a simple product, there are common pitfalls that can lead to a less-than-perfect Hot Pocket experience:
- Overcooking: While you want it hot, overcooking can lead to a rubbery crust, dried-out filling, and potentially burnt edges, especially if your microwave has very high wattage.
- Undercooking: This is a safety concern. An undercooked Hot Pocket will have a cold center, unmelted cheese, and could contain harmful bacteria. Always ensure it reaches 165°F internally.
- Forgetting the Crisping Sleeve: As previously emphasized, omitting the sleeve results in a soggy, unappealing crust. Don’t throw it away!
- Not Resting: Diving in immediately can lead to painful burns from the molten hot filling. Patience is key for enjoyment.
- Ignoring Microwave Wattage: Using a 700-watt microwave with timings meant for 1100 watts will lead to an undercooked Hot Pocket, and vice versa. Adjust your cooking time accordingly.
Beyond the Box: Serving Suggestions and Varieties
While a Hot Pocket is a meal in itself, there are many ways to enhance your experience. Consider serving your Hot Pocket with a side salad for a balanced meal, or a handful of carrot sticks for added crunch. Dips like ranch dressing, marinara sauce, or even a spicy sriracha mayo can elevate the flavor profile. As for varieties, Hot Pockets offer a vast array:
- Pizza Flavors: Pepperoni, Four Cheese, Three Meat, Supreme.
- Breakfast Pockets: Sausage, Egg & Cheese; Bacon, Egg & Cheese.
- Deli Favorites: Ham & Cheese, Steak & Cheese.
- Newer & Limited Editions: Look out for seasonal or unique offerings that pop up occasionally.
Conclusion: Quick, Delicious, and Easy
Microwaving Hot Pockets is undoubtedly the fastest and most convenient cooking method, allowing you to enjoy a satisfying meal in just a few minutes. By understanding your microwave’s wattage, utilizing the crisping sleeve, and ensuring the product is cooked to the correct internal temperature, you can consistently achieve a perfectly heated, delicious Hot Pocket. While the microwave excels in speed, for those who crave an extra crispy, golden-brown crust, a hybrid method involving a quick finish in the oven or air fryer after microwaving is a fantastic option. No matter your preference, Hot Pockets offer an easy solution for quick cravings, making them a timeless favorite in homes everywhere. Embrace these tips and enjoy your next Hot Pocket with confidence!
More Microwave Meals to Explore
- How to cook ramen in the microwave
- Microwave cinnamon apples
- Microwave carrots
- Microwave cauliflower
- Microwave spaghetti squash
We hope this guide helps you prepare the perfect Hot Pocket every time. Share your favorite Hot Pocket tips or flavors in the comments below! Don’t forget to subscribe for more easy and delicious recipe ideas.
How Long To Microwave Hot Pockets
Heather Seeley
2
3
5
1
Rate Recipe
Print Recipe
Equipment
-
1 Microwave
Ingredients
- 1 frozen hot pocket
Instructions
-
Open box and unwrap the frozen Hot Pocket.
-
Open up the crisper sleeve and place the Hot Pocket inside the sleeve.
-
Put on a microwave-safe plate or piece of parchment paper.
-
Microwave for 2-3 minutes or until heated all the way through, adjusting for microwave wattage.
-
Carefully remove, allow to rest for 1-2 minutes, and serve warm.
Video
Nutrition
Nutrition information is automatically calculated, so should only be used as an approximation.
Additional Info
Main Course, Snack
American
Like this? Leave a comment below!