
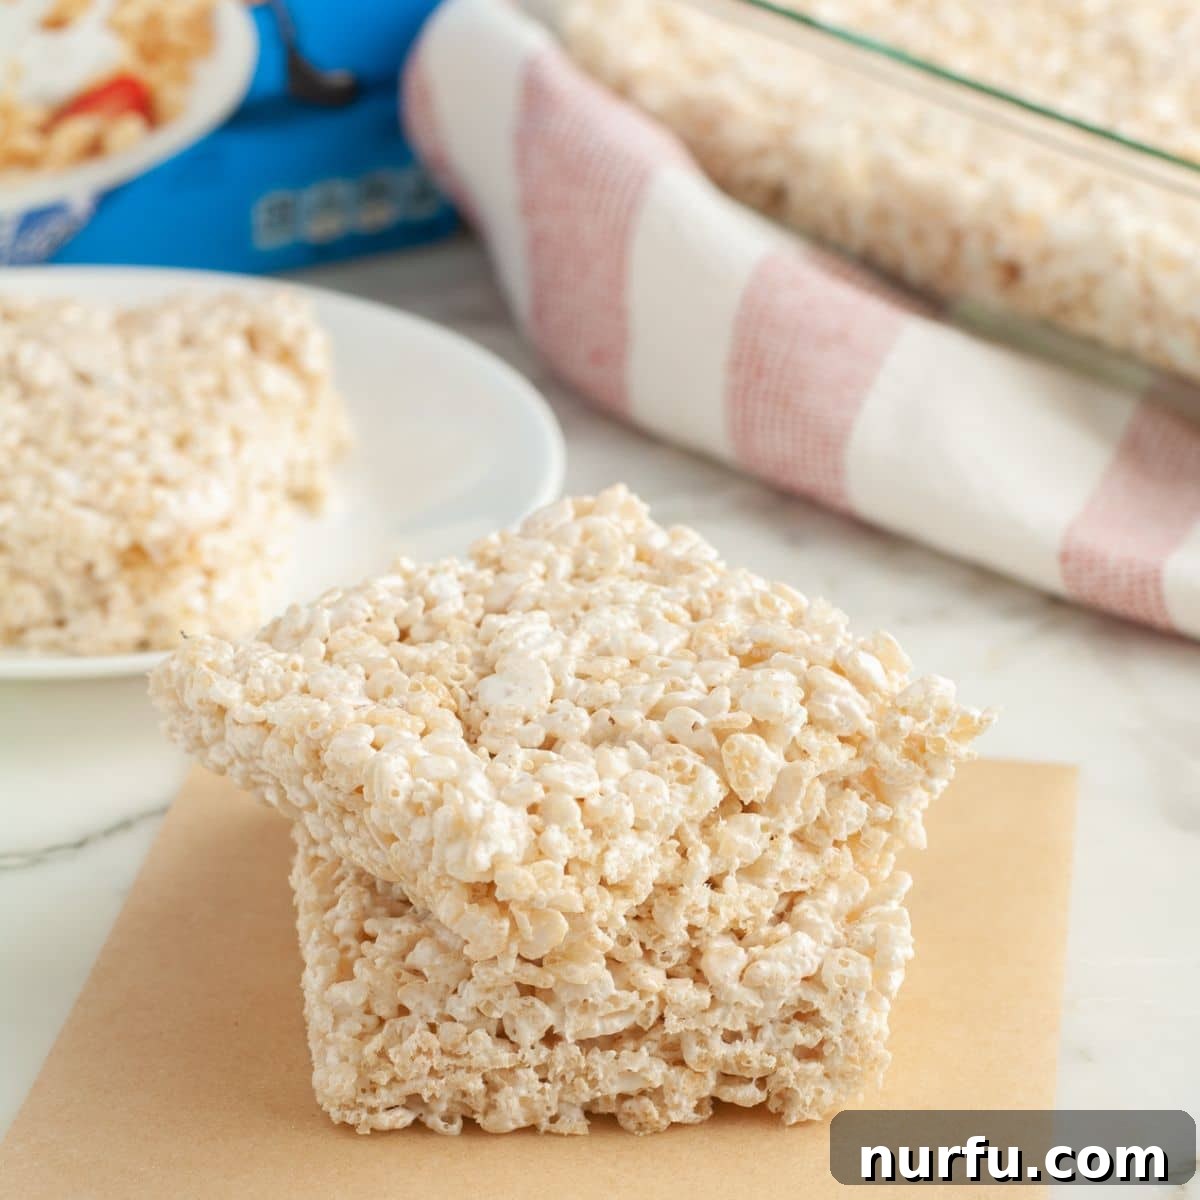
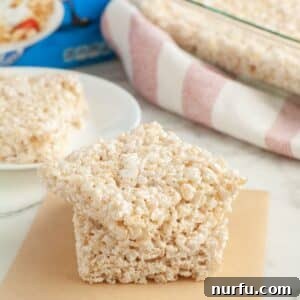
Creating irresistibly gooey, sweet, and perfectly soft Rice Krispie Treats with marshmallow fluff (also known as marshmallow creme) is not only possible but incredibly easy! This delightful no-fuss dessert comes together in mere minutes, promising a treat that will be a universal hit. Forget the traditional marshmallows for a moment; this alternative offers a unique, melt-in-your-mouth texture that is simply divine and a fantastic option for anyone seeking a quick, no-bake confection.
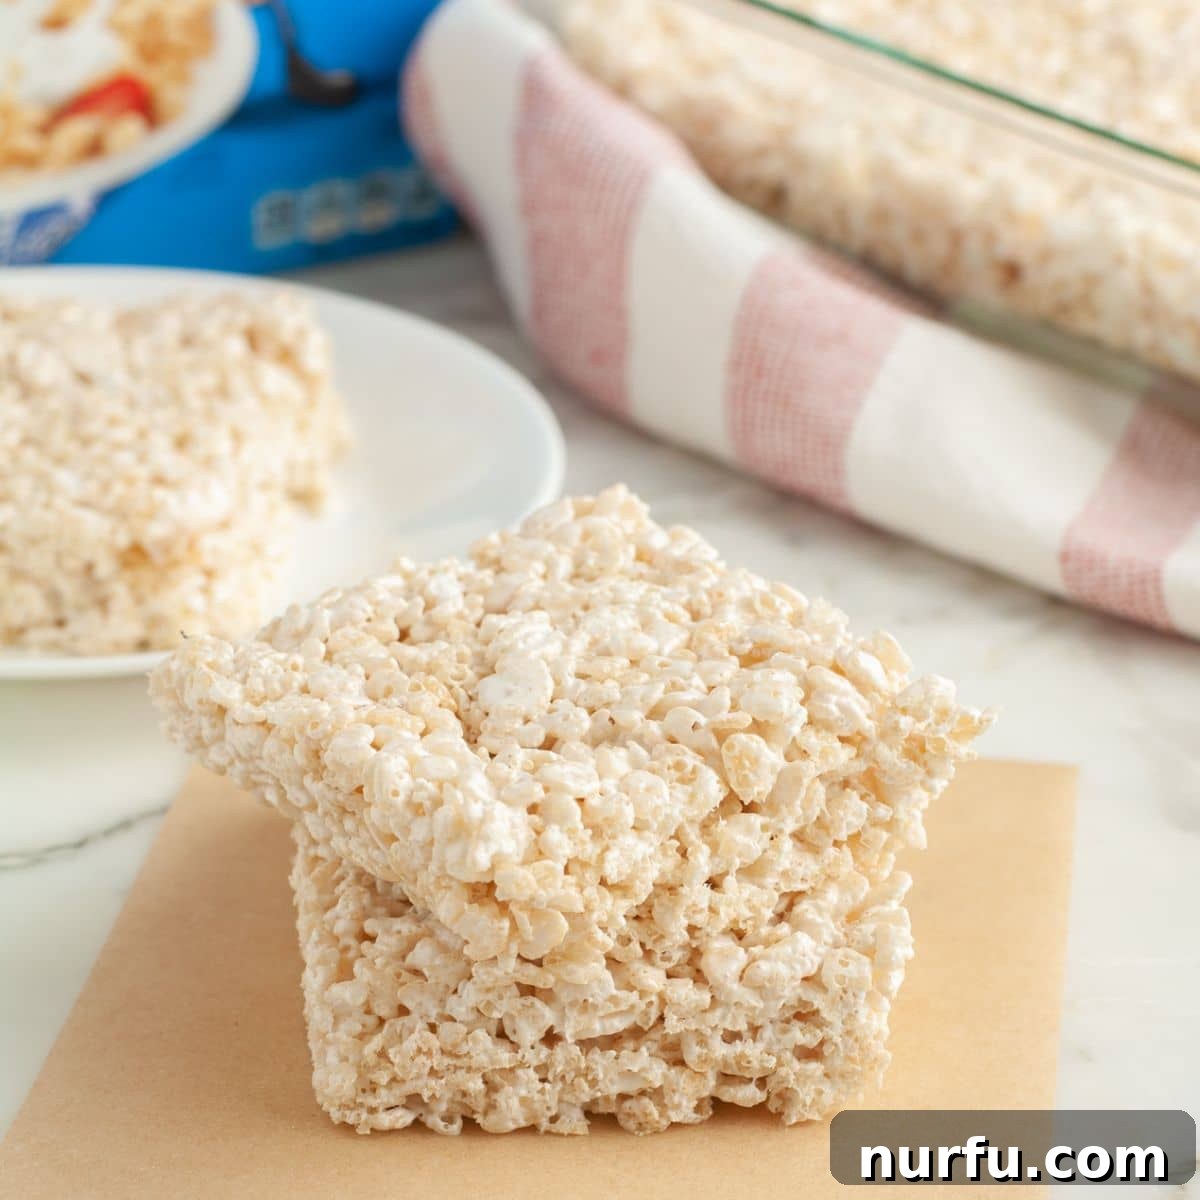
For years, the classic Rice Krispie Treat recipe has been a go-to for many, but if you’ve ever wondered about an exciting variation or found yourself without a bag of regular marshmallows, this recipe is your answer. Using marshmallow fluff or marshmallow creme transforms these beloved cereal treats into something uniquely soft, chewy, and even more effortlessly prepared. It’s a game-changer for busy parents, dessert enthusiasts, or anyone craving a speedy, satisfying sweet fix.
My own children eagerly anticipate these treats as an afternoon snack after school. Their swift preparation and inherent deliciousness have made them a new family favorite. Beyond their inherent charm, these fluff-based Rice Krispie Treats are incredibly versatile. They serve as a perfect canvas for personalization: imagine them studded with mini chocolate chips, adorned with colorful sprinkles for a festive touch, or given a nutty depth with a spoonful of creamy peanut butter stirred into the mix. The possibilities for customization are endless, making each batch a unique culinary adventure.
While marshmallow fluff Rice Krispie Treats are undeniably delicious, it’s worth noting a subtle difference in texture compared to their traditional counterparts. They tend to be slightly more delicate and wonderfully soft, which means a bit of extra care is required during preparation. Ensuring you firmly press the mixture into your baking dish is key to achieving perfectly cohesive squares that hold their shape beautifully. This minor adjustment is a small price to pay for the unparalleled creaminess and ease this method offers.
If your cravings for delightful cereal treats extend beyond the classic, don’t miss out on exploring other exciting recipes. Indulge in the rich flavors of chocolate Rice Krispie treats, savor the sweet and savory balance of a sweet Chex mix, enjoy the cinnamon-sugar goodness of churro snack mix, or experience a nostalgic crunch with Golden Grahams bars. Each recipe offers a unique twist on the beloved cereal treat concept, perfect for any occasion.
Table of Contents
- Why You’ll Love This Marshmallow Fluff Rice Krispie Treat Recipe
- Simple Ingredients Needed
- How to Make Rice Krispie Treats with Marshmallow Fluff
- Expert Tips for Perfect Treats
- Exciting Recipe Variations
- Storage Best Practices
- Frequently Asked Questions
- More Irresistible No-Bake Desserts
- Rice Krispie Treats With Marshmallow Fluff Recipe Card
Why You’ll Love This Marshmallow Fluff Rice Krispie Treat Recipe
There are countless reasons why this unique cereal treat variation deserves a spot in your recipe repertoire. It’s more than just an alternative; it’s an enhancement to a beloved classic:
- Unbelievably Soft and Delicious Texture: The primary advantage of using marshmallow fluff is the unparalleled texture it imparts. Unlike traditional marshmallows, which can sometimes result in chewier or slightly harder treats, fluff creates a wonderfully creamy, melt-in-your-mouth consistency that is less sticky and incredibly pleasant to eat. Each bite is a delicate balance of crisp cereal and cloud-like marshmallow goodness.
- Lightning-Fast Preparation: Time is often a luxury, and this recipe respects that. It truly comes together in mere minutes. Marshmallow fluff melts much faster and more uniformly than traditional marshmallows, significantly cutting down on cooking time. From start to finish, you can have these treats cooling in under 10 minutes, making it the ultimate impromptu dessert.
- Perfect for Any Occasion: Whether you’re whipping up a quick after-school snack, contributing to a bake sale, bringing a crowd-pleaser to a potluck, or preparing treats for a birthday party, these no-bake wonders are always a hit. Their universal appeal and ease of transport make them ideal for any gathering or a simple indulgence at home.
- Kid-Friendly and Fun: The simple steps and minimal heat involvement make this a fantastic recipe to make with children. They’ll love helping to stir the ingredients (once off the heat, of course) and pressing the mixture into the pan. It’s a great way to introduce them to the joys of baking without the oven.
- No Specialized Equipment Needed: You don’t need any fancy gadgets or tools for this recipe. A large pot, a spatula, and a baking dish are all you require, making cleanup a breeze and ensuring anyone can make these treats regardless of their kitchen setup.
Simple Ingredients Needed
One of the beauties of this recipe is its reliance on just a few basic, readily available ingredients. You likely have most of these in your pantry already!
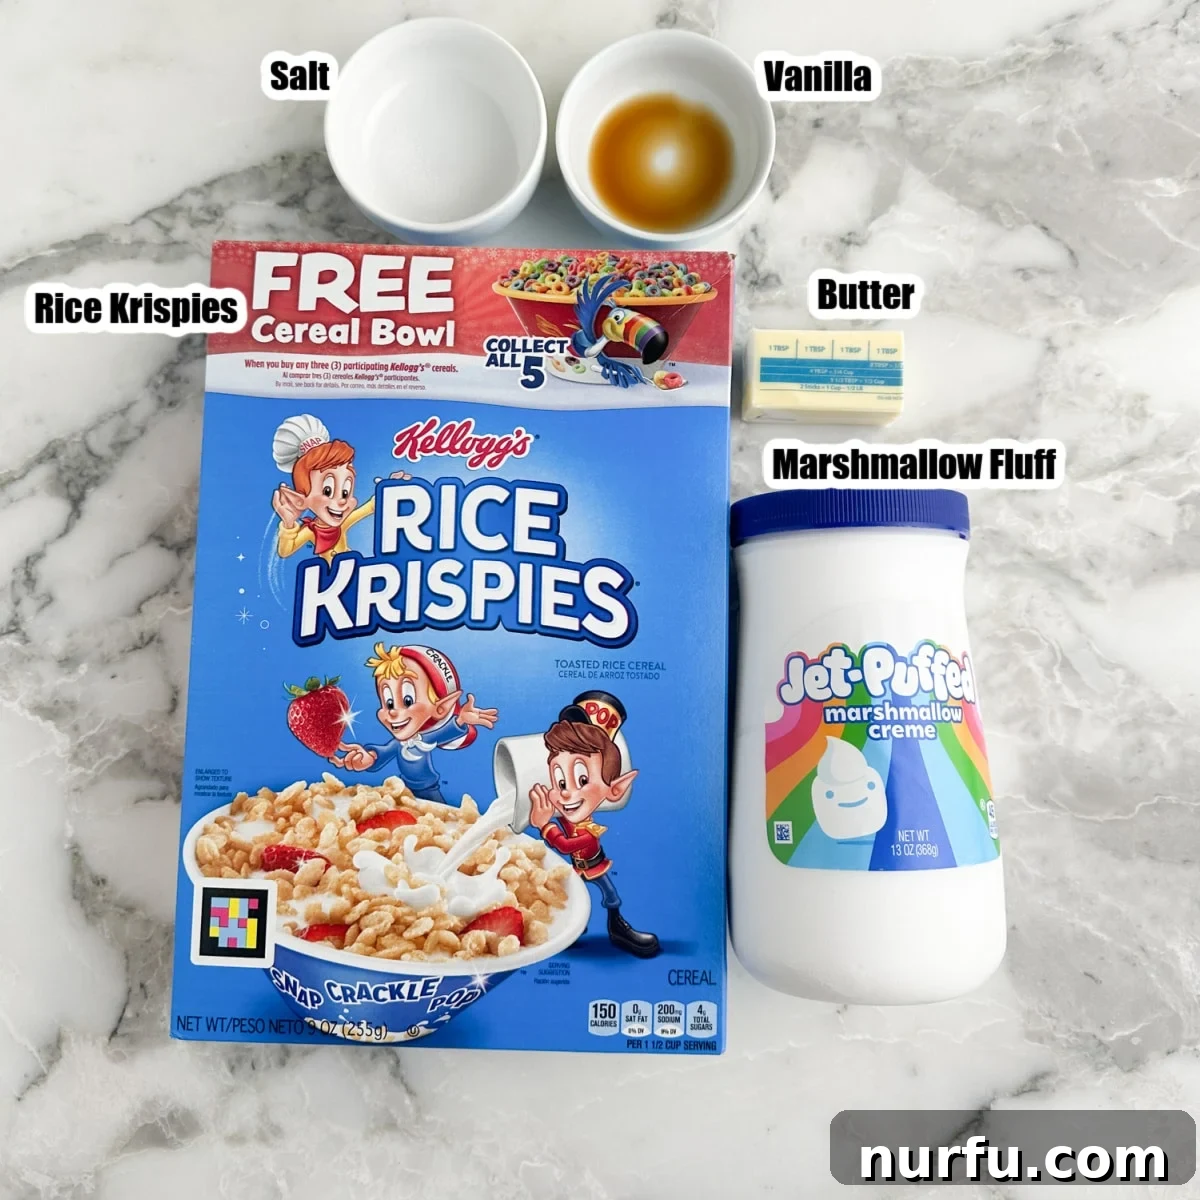
- Marshmallow Fluff or Marshmallow Creme: This is the star of our recipe! You can use either marshmallow fluff or marshmallow creme interchangeably. Both provide that wonderfully soft, gooey binding for your treats. A 15-ounce jar is typically what you’ll need. Ensure it’s fresh for the best texture and flavor.
- Rice Krispies Cereal: For that authentic, classic snap, crackle, and pop, stick to the original Rice Krispies cereal. Its light, airy texture is perfect for absorbing the sweet marshmallow mixture without becoming soggy.
- Butter: Unsalted butter is preferred as it gives you more control over the overall saltiness of the treats. However, if you only have salted butter on hand, you can absolutely use it; just be mindful of the added salt in the recipe and consider reducing or omitting it. Butter adds richness and helps prevent stickiness.
- Vanilla Extract: While optional, a touch of pure vanilla extract elevates the flavor profile, adding a warm, aromatic depth that complements the sweetness of the marshmallow. It’s a small addition that makes a big difference.
- Salt: A tiny pinch of salt (typically ⅛ teaspoon) is crucial for balancing the sweetness of the marshmallow fluff. It prevents the treats from being cloyingly sweet and enhances all the other flavors. Don’t skip this!
How to Make Rice Krispie Treats with Marshmallow Fluff
Get ready for a super simple process! For the full, printable recipe card with exact measurements, scroll to the bottom of this article.
Expert Tips for Perfect Treats
While this recipe is wonderfully straightforward, a few key tips can ensure your marshmallow fluff Rice Krispie Treats turn out absolutely perfect every single time. These insights will help you achieve that ideal balance of gooeyness and structure.
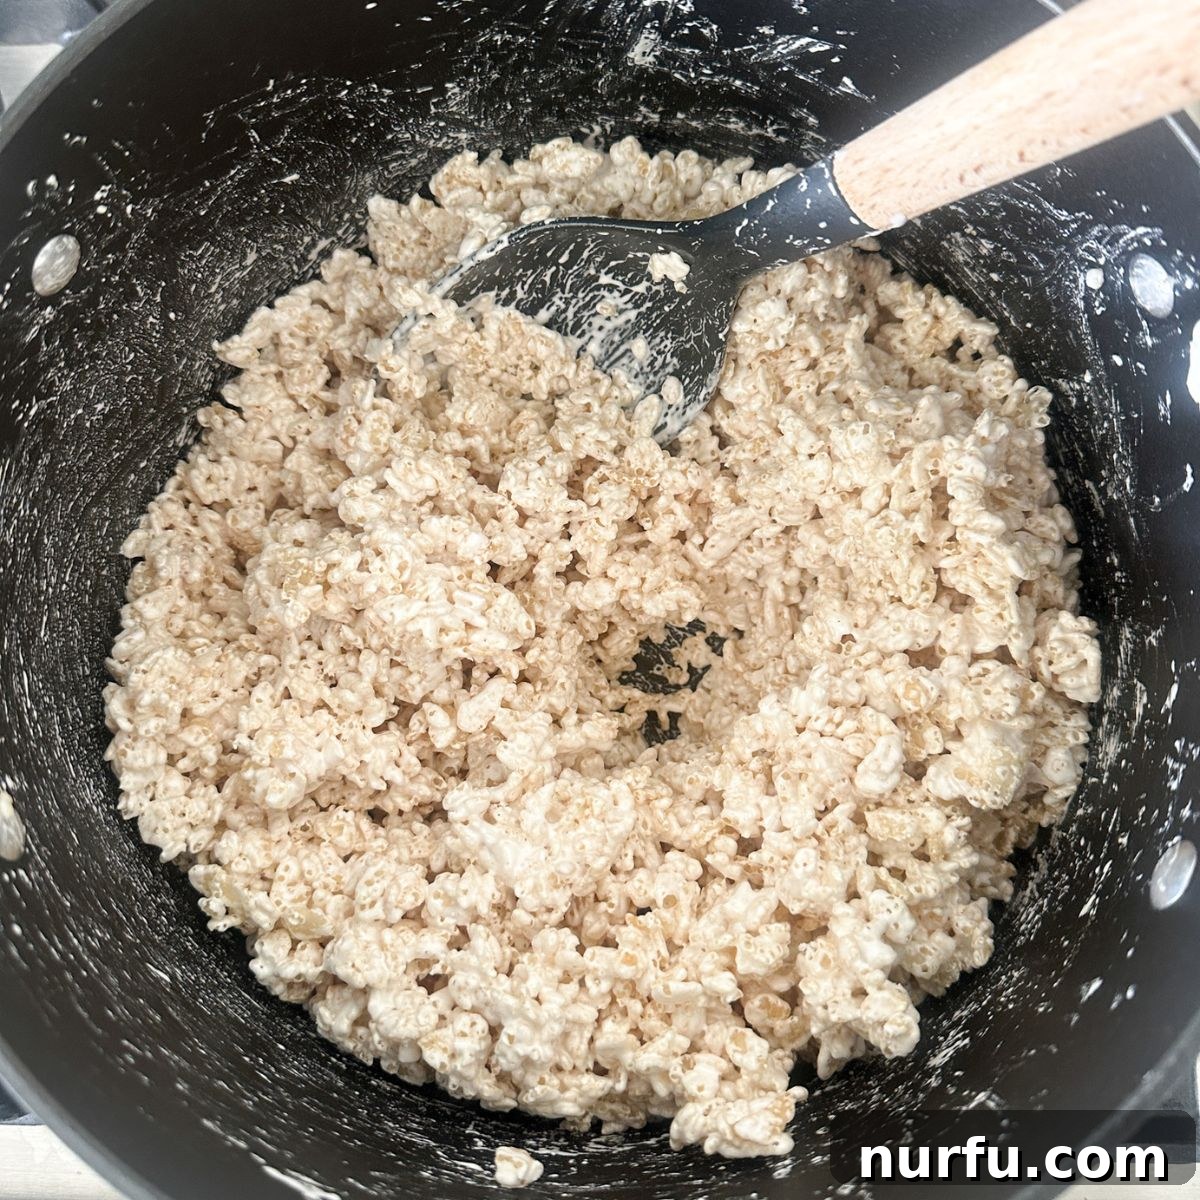
- Stir Constantly on Low Heat: The key to a soft, gooey treat is preventing the marshmallow fluff from burning or becoming too hot. Always use low heat when melting the butter and marshmallow fluff, and stir continuously. High heat can cause the sugar in the fluff to crystalize, leading to hard treats. Gentle, consistent stirring ensures an even melt and a smooth, pliable mixture.
- Prepare Your Dish in Advance: Before you even start melting, make sure your baking dish is ready. Lightly greasing a 9×11-inch dish with butter or non-stick cooking spray, or lining it with parchment paper (leaving an overhang on the sides for easy lifting), will make transferring and removing the treats much simpler and cleaner.
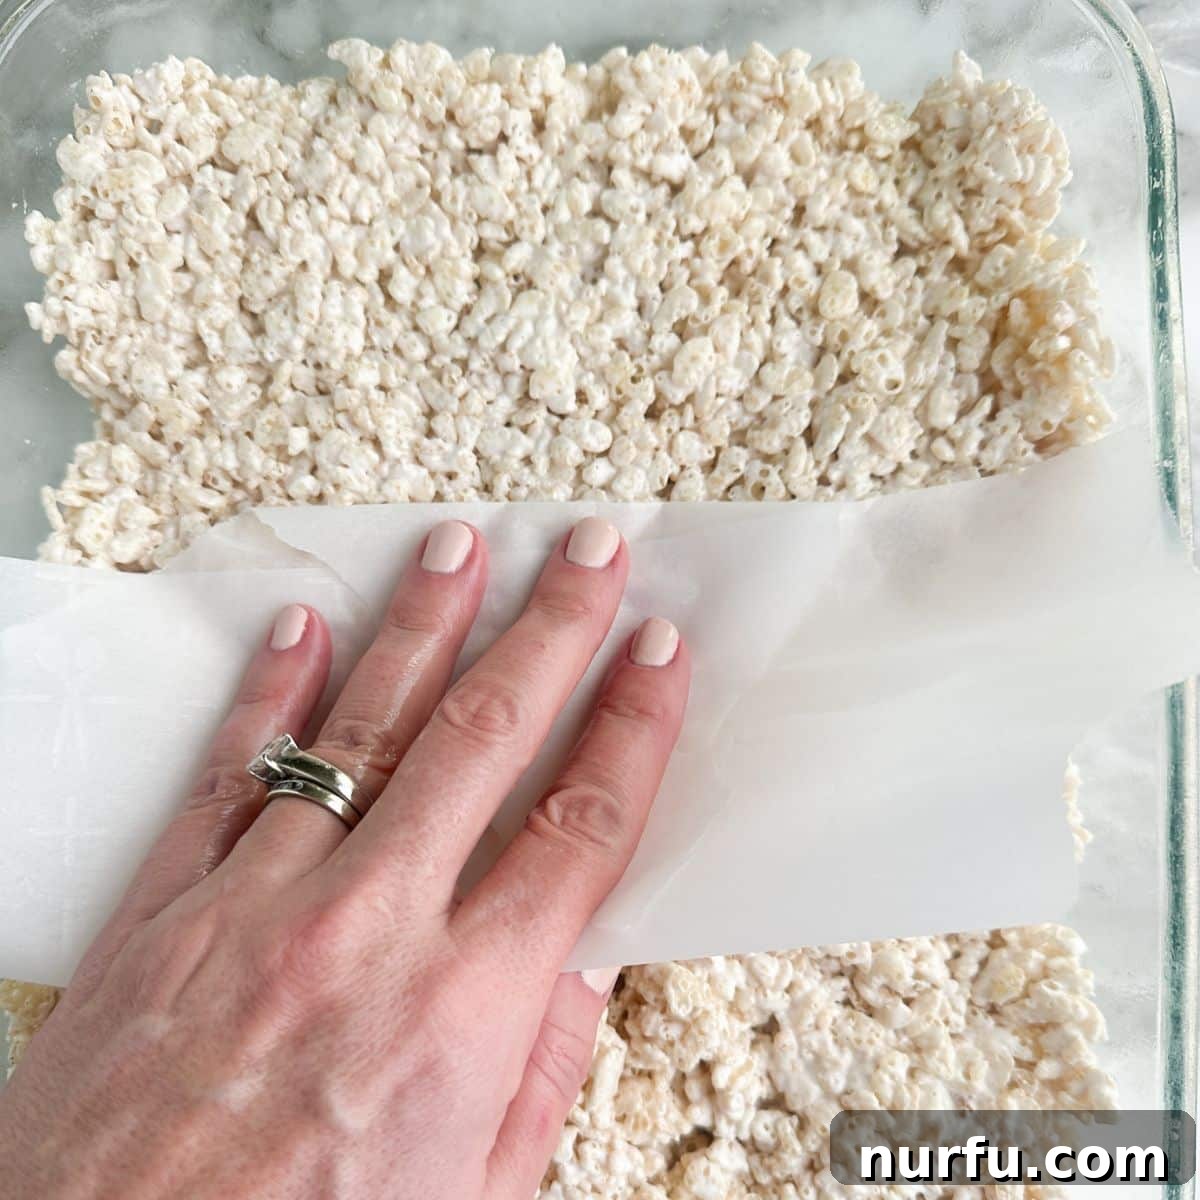
- Press Firmly, But Don’t Compact: Once the cereal mixture is in the prepared dish, it’s vital to press it down well so the treats hold together. Use a buttered spatula or a piece of wax paper to press evenly. However, avoid over-compacting or pressing too hard, as this can crush the cereal and result in dense, hard treats instead of light, crispy ones. Gentle but firm pressure is the goal.
- Allow Ample Resting Time: Patience is a virtue, especially with these treats. While they are quick to make, allowing them to rest for at least 1-2 hours at room temperature is crucial. This gives the marshmallow mixture time to cool and properly congeal, ensuring they set up beautifully and are easy to cut without falling apart. Don’t rush this step!
- Work Quickly Once Cereal is Added: Marshmallow fluff cools and stiffens rapidly. As soon as you add the cereal, work quickly to mix everything thoroughly and transfer it to your prepared dish. The faster you work, the easier it will be to spread and press before the mixture becomes too sticky and difficult to manage.
Exciting Recipe Variations
One of the best things about Rice Krispie Treats is how easily they can be customized. These marshmallow fluff treats are no exception, serving as a versatile base for countless creative additions. Here are a few suggestions to inspire your next batch:
- Chocolate Rice Krispie Treats: For the ultimate chocolate lover, swap out regular Rice Krispies for Cocoa Krispies. You can also fold in a handful of mini chocolate chips (milk, dark, or white chocolate) with the cereal for an extra burst of chocolatey goodness. Drizzle with melted chocolate for a gourmet touch.
- Peanut Butter Rice Krispie Treats: Add 1/4 to 1/2 cup of creamy peanut butter to the melted marshmallow creme mixture before adding the cereal. This creates a rich, nutty flavor and a delightfully chewy texture. Peanut butter chips can also be folded in for an extra layer of flavor.
- Other Cereal Adventures: Don’t limit yourself to Rice Krispies! This recipe works wonderfully with other puffed or crisp cereals. Try it with Fruity Pebbles for a colorful and fruity twist, Corn Chex for a slightly different crunch, or even Golden Grahams for a S’mores-like flavor profile.
- Festive Mix-ins: Elevate your treats for any occasion with various mix-ins.
- Sprinkles: Fold in colorful sprinkles (jimmies or nonpareils) with the cereal for birthdays, holidays, or just for fun.
- Mini Chocolate Chips: A classic addition that always delights.
- Mini Marshmallows: For an extra layer of marshmallowy texture and visual appeal, stir in about 1 cup of mini marshmallows at the very end, just before pressing into the dish. Some will melt, others will remain soft.
- Food Coloring: A few drops of food coloring can transform your treats into vibrant, eye-catching squares, perfect for themed parties or holidays.
- Chopped Candy: Crush your favorite candies (e.g., M&M’s, butterscotch chips, chopped Oreos) and fold them into the mixture for a truly indulgent treat.
- Citrus Zest: For a bright, refreshing flavor, add 1-2 teaspoons of fresh lemon or orange zest to the marshmallow mixture just before adding the cereal.
Storage Best Practices
To keep your marshmallow fluff Rice Krispie Treats fresh and delicious for as long as possible, proper storage is key. Following these simple guidelines will ensure they maintain their delightful texture and flavor:
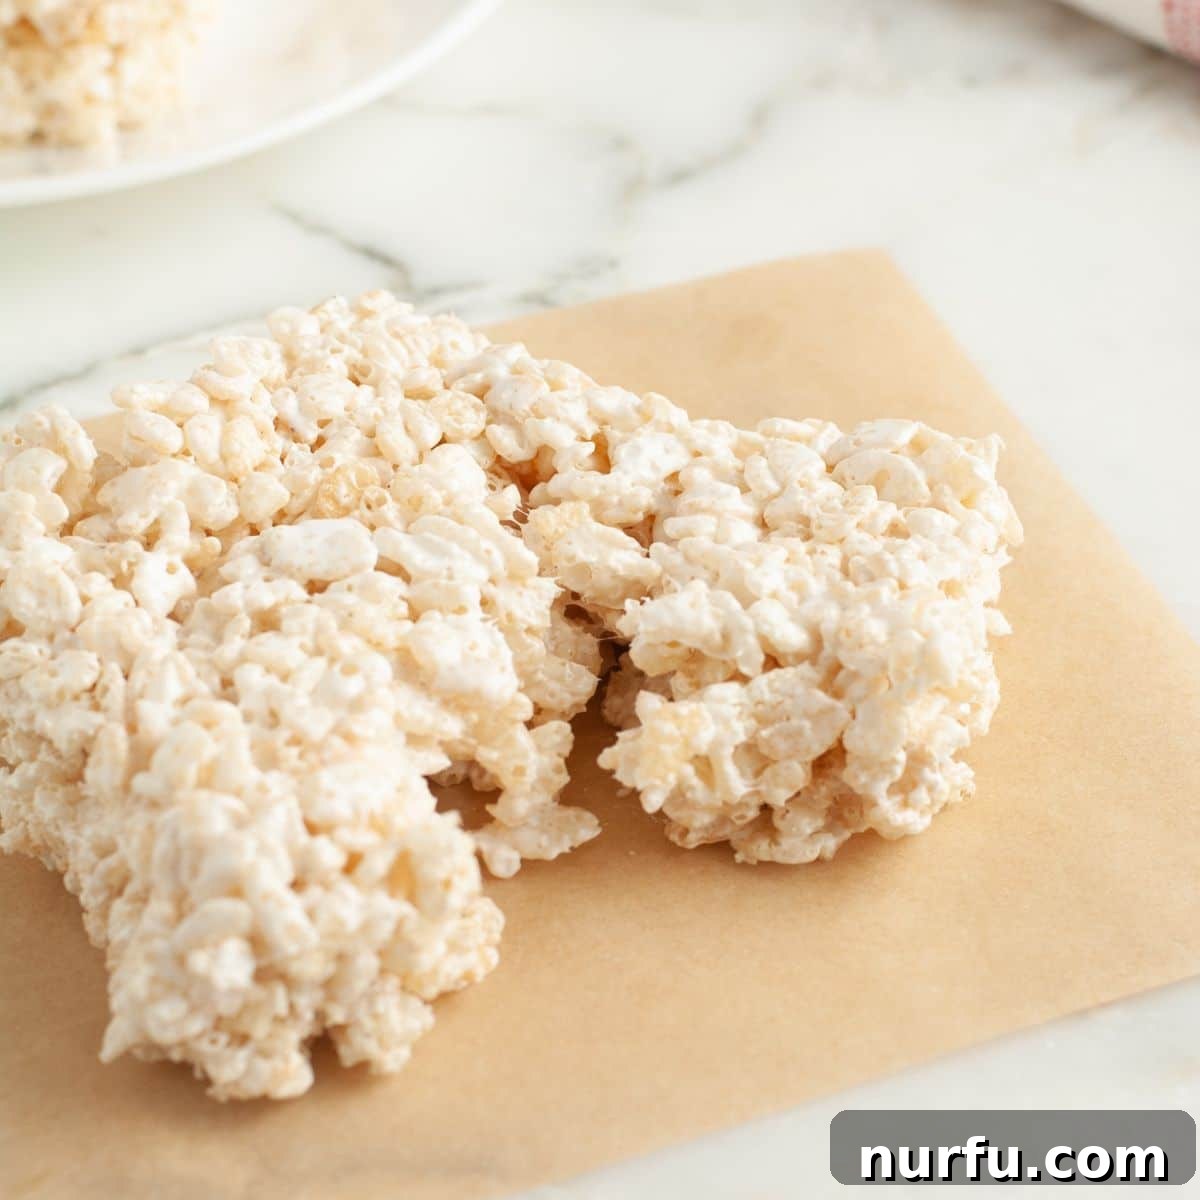
Store: Always store your Rice Krispie Treats in an airtight container or a heavy-duty zip-top bag at room temperature. This helps to protect them from air exposure, which can cause them to harden. They will remain fresh and delightfully soft for up to 3-4 days. Placing a piece of parchment paper between layers can prevent sticking if stacking them.
Avoid Refrigeration: I highly recommend against refrigerating these treats. The cold temperature can alter the texture of the marshmallow, causing the treats to become stiff, dense, and lose their signature gooeyness. Room temperature storage is always best for optimal texture.
Freeze: If you need to store them for a longer period, Rice Krispie Treats can be frozen! Wrap individual squares tightly in plastic wrap, then place them in a freezer-safe bag or airtight container. They will keep well in the freezer for up to 2 months. To enjoy, simply let them thaw at room temperature for a few hours before eating. This is a great way to prepare them ahead of time for future events.
Frequently Asked Questions
Rice Krispie Treats made with marshmallow creme tend to have a softer, more delicate texture compared to those made with traditional marshmallows. If you prefer a slightly stiffer treat, you can add a little extra Rice Krispies cereal to the mixture (about 1/2 to 1 cup more) or slightly reduce the amount of marshmallow fluff. Remember, they will still be softer than the classic version, but this adjustment can help achieve a firmer set.
The most common reason for Rice Krispie Treats becoming hard is overheating the marshmallow mixture. Heating marshmallow fluff (or regular marshmallows) over high heat or for too long can cause the sugar to crystalize and harden once cooled. Always melt the butter and marshmallow creme over very low heat, stirring constantly, and remove the pot from the heat as soon as the mixture is smooth and combined before adding the cereal. Another factor can be over-compressing the treats into the pan, which crushes the cereal and makes them dense.
For practical purposes in recipes like this, marshmallow fluff and marshmallow creme are essentially the same thing and can be used interchangeably. Both are sweet, airy, sticky spreads made from corn syrup, sugar, and egg whites. Historically, there might have been minor differences in stabilizers or ingredients (marshmallow creme sometimes contains cream of tartar, while fluff might not), but their texture and use in cooking are nearly identical. You can confidently use whichever is available to you.
Yes! To make these treats gluten-free, simply ensure your Rice Krispies cereal is certified gluten-free (some brands are, some are not due to malt flavoring). To make them dairy-free, substitute the unsalted butter with a high-quality dairy-free butter alternative. The marshmallow fluff itself is typically dairy-free.
Marshmallow mixture is inherently sticky! To prevent it from clinging to your hands or spatula when pressing the treats into the pan, lightly grease your hands with butter or cooking spray. Alternatively, use a piece of wax paper or parchment paper to press the mixture down. This creates a barrier and makes the process much cleaner and easier.
More Irresistible No-Bake Desserts
If you love the convenience and deliciousness of no-bake desserts, be sure to explore these other fantastic recipes that require no oven time:
- Chocolate Chip Cheesecake Dip: A light, creamy, and decadent dip perfect for fruit, cookies, or pretzels.
- Chocolate Covered Potato Chips: The ultimate sweet and salty snack that’s surprisingly addictive.
- Coconut Balls: Simple, sweet, and tropical bites that are incredibly easy to make.
- Eclair Cake: A rich and creamy layered dessert that tastes just like the classic pastry, but without the baking.
Gooey Rice Krispie Treats With Marshmallow Fluff
Heather Seeley
5 minutes
5 minutes
1 hour
1 hour 10 minutes
12
Rate Recipe
Print Recipe
Ingredients
- 1 15 ounce marshmallow fluff or marshmallow creme
- 4 tablespoons unsalted butter
- 8 cups Rice Krispies Cereal
- 1 teaspoon vanilla extract
- ⅛ teaspoon salt
Instructions
-
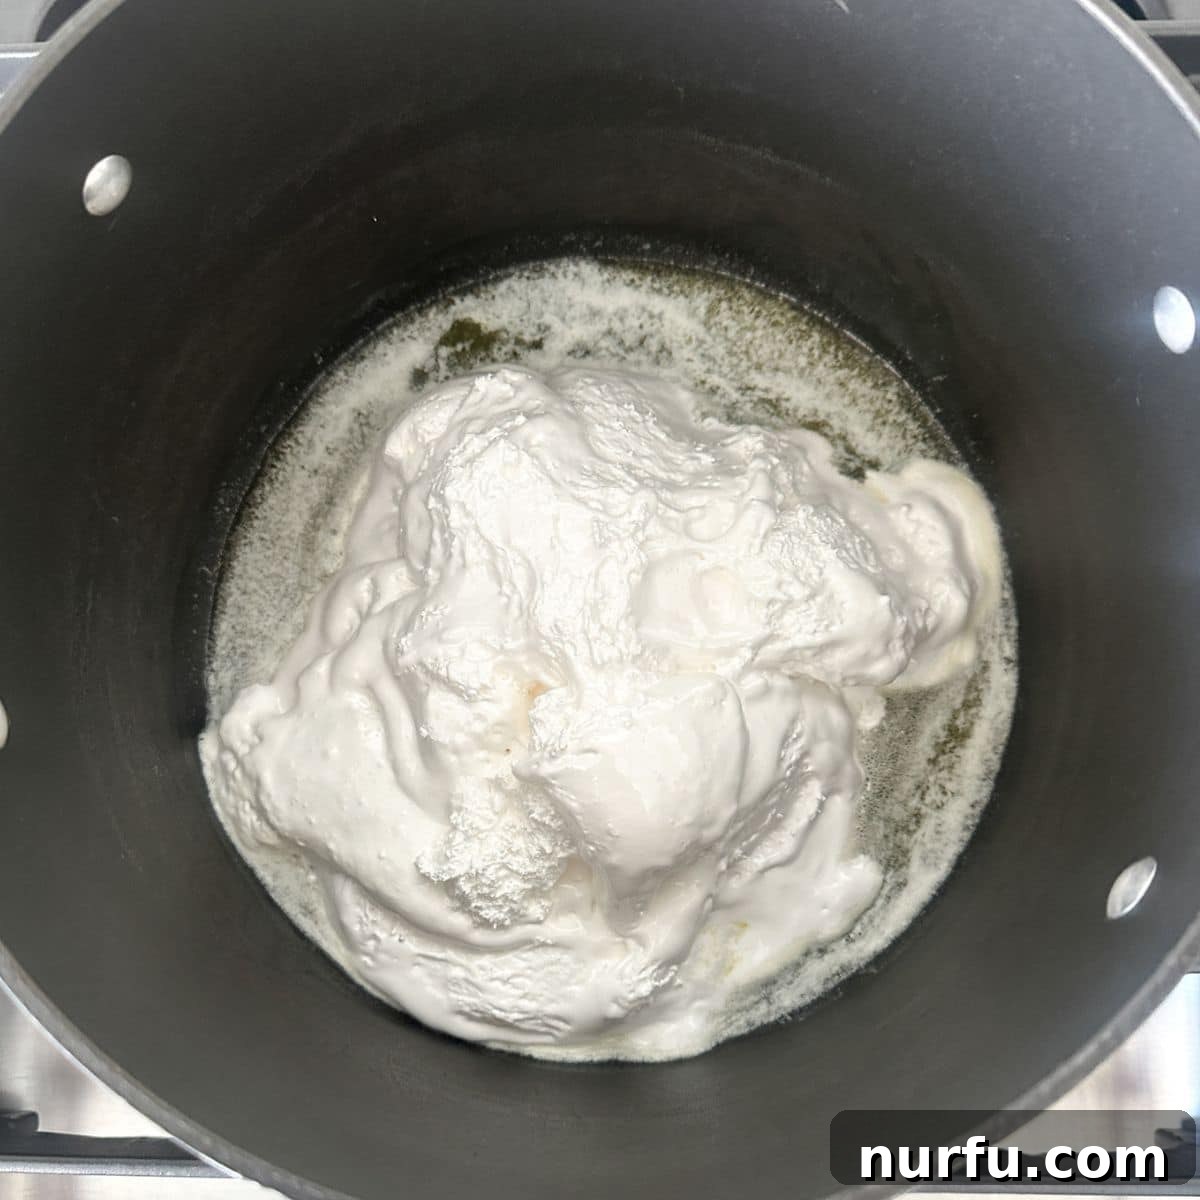
Place the butter in a large pot. Melt over low heat.
-
Stir in the marshmallow fluff with the butter. Stir until melted and combined.
-
Remove the pot from the heat. Stir in the vanilla extract, salt, and Rice Krispie cereal until combined.
-
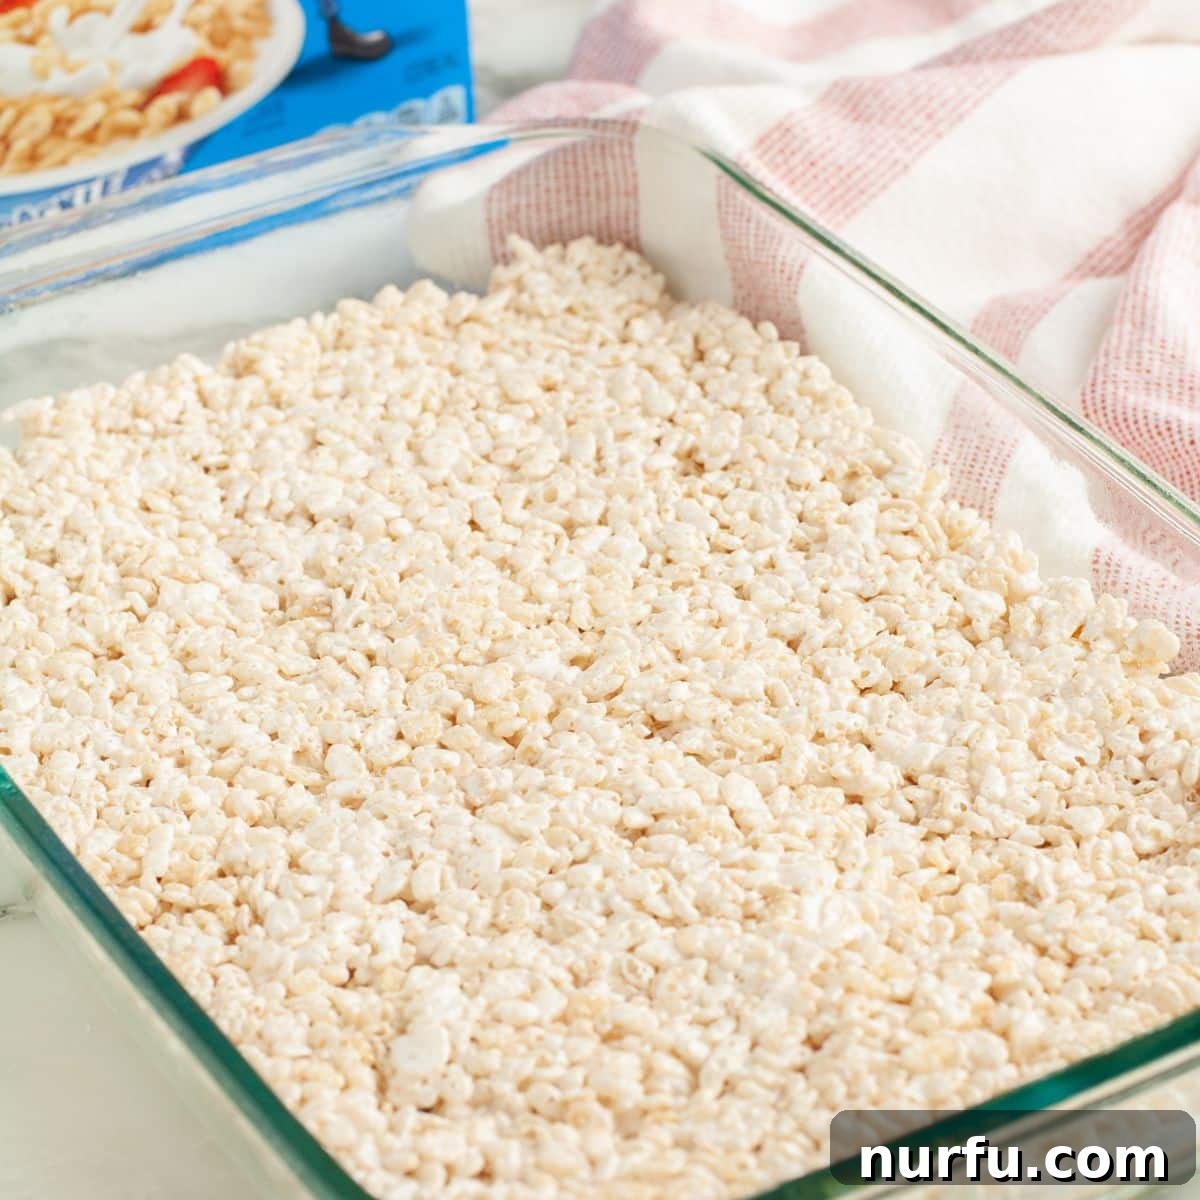
Spray a 9 x 11 baking dish with non-stick cooking spray or line with parchment paper. Press the Rice Krispie treat mixture into the dish using a buttered spatula or a piece of parchment paper.
-
Cover the dish and let rest for about 1 hour at room temperature before cutting into squares.
Notes
- Stir constantly. Make sure to constantly stir when melting the butter and marshmallow fluff to prevent burning and ensure a smooth mixture.
- Press them firmly into the dish. Be sure to press them down well into the dish so that they hold together, but avoid over-compacting to keep them light.
- Let them rest. Allowing the treats to rest for 1-2 hours at room temperature is crucial for them to properly congeal and hold together when cut.
Nutrition
Carbohydrates: 16g |
Protein: 1g |
Fat: 4g |
Saturated Fat: 2g |
Polyunsaturated Fat: 0.3g |
Monounsaturated Fat: 1g |
Trans Fat: 0.2g |
Cholesterol: 10mg |
Sodium: 123mg |
Potassium: 25mg |
Fiber: 0.1g |
Sugar: 2g |
Vitamin A: 1358IU |
Vitamin C: 12mg |
Calcium: 2mg |
Iron: 6mg
Nutrition information is automatically calculated, so should only be used as an approximation.
Additional Info
Dessert
American