
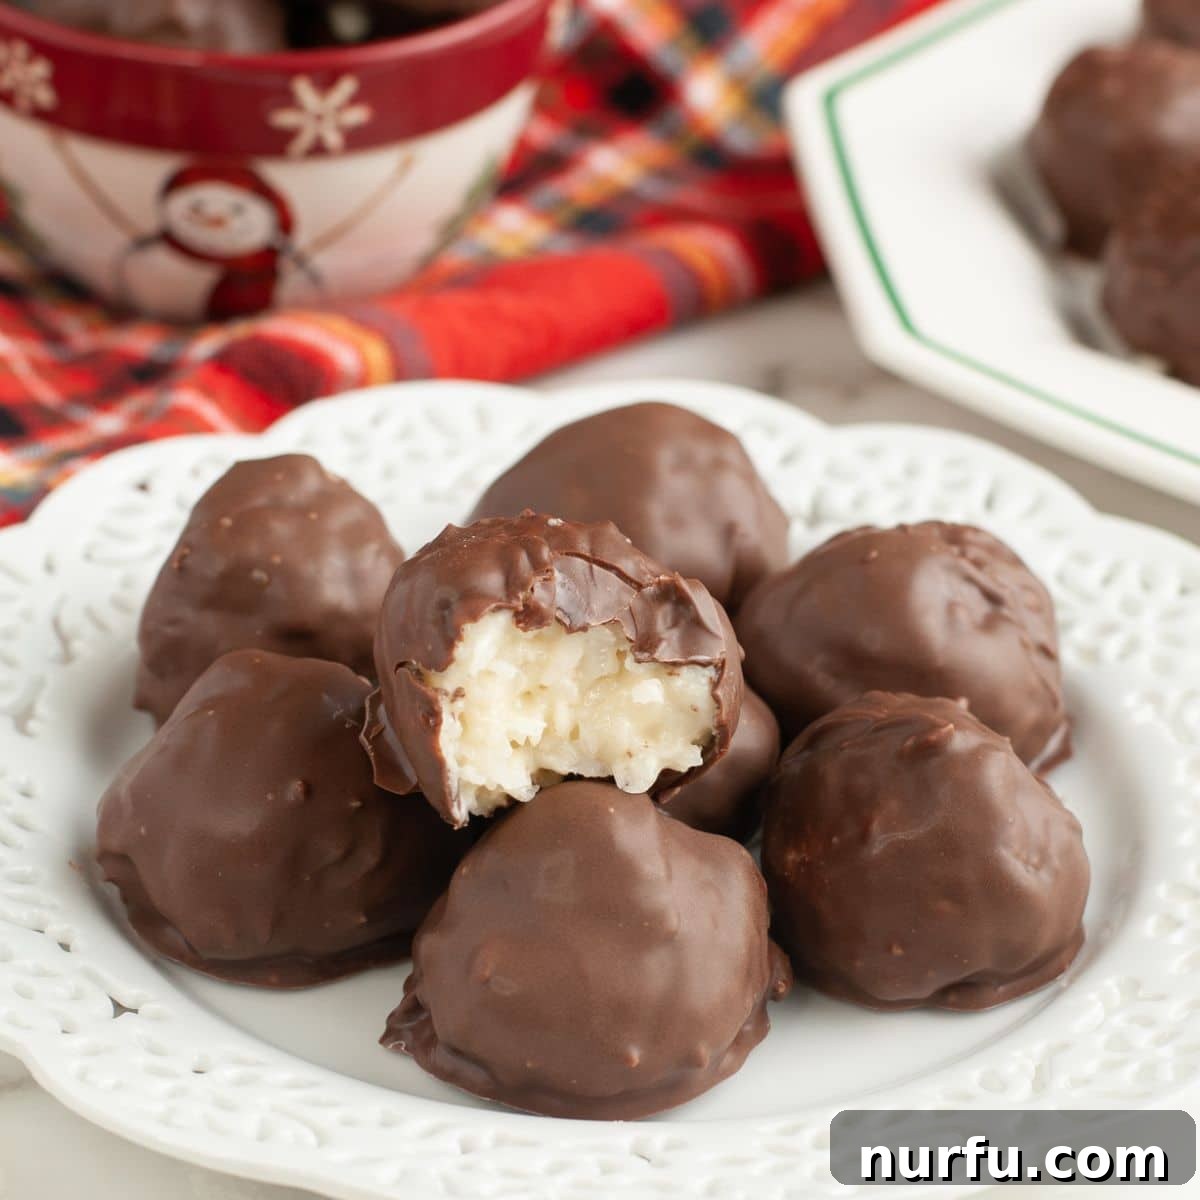
Indulge in the simplest pleasure with these irresistible Chocolate Coconut Cream Balls. A truly classic, no-bake dessert that brings together the rich, creamy essence of coconut with a decadent chocolate coating, creating a harmonious bite-sized treat. These delightful confections are a testament to how four simple ingredients can transform into something truly extraordinary, promising to become a cherished family favorite for years to come. Whether you’re seeking a quick dessert for an impromptu gathering or a charming edible gift, these coconut chocolate wonders fit every occasion, echoing the beloved taste of a Mounds bar with a homemade touch.
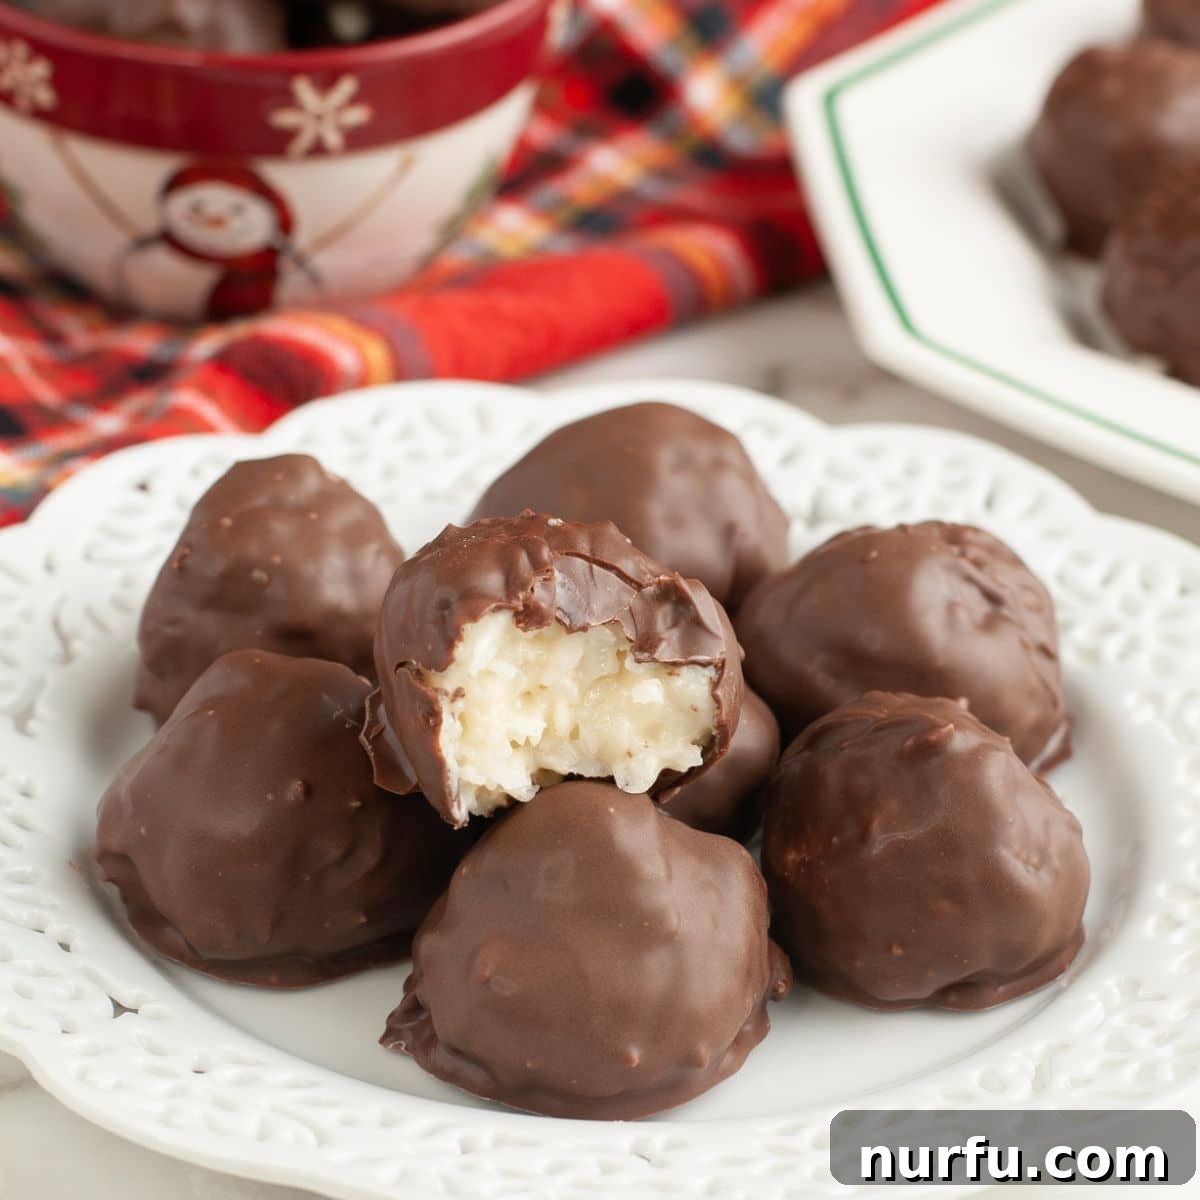
There’s something uniquely comforting about recipes passed down through generations, especially those tied to cherished memories and festive seasons. For our family, that tradition came alive every Christmas when our dear friend, Ms. Betty, would arrive with a small, unassuming tin. Inside, nestled perfectly, were her legendary homemade chocolate coconut cream balls. Each year, the anticipation built, and each year, despite our best efforts to savor them, the tin would invariably be empty within a day. These weren’t just treats; they were miniature spheres of joy, symbolizing the warmth and generosity of the holiday spirit.
Today, I proudly carry on Ms. Betty’s delightful tradition. As the holiday season approaches, the familiar aroma of coconut and chocolate fills my kitchen, a sweet echo of past Christmases. I prepare batches of these exquisite chocolate coconut balls to share with our neighbors, friends, and loved ones, ensuring the legacy of simple, heartfelt treats continues. The beauty of this recipe lies in its deceptive simplicity. You might expect something this delicious to be complex, yet it requires minimal effort and only a handful of ingredients. The harmonious blend of the smooth, sweet coconut filling with the crisp, rich chocolate shell creates a taste sensation that genuinely rivals confections found in the most upscale candy shops. The most challenging part, perhaps, is the patience required while they chill, allowing the flavors to meld and the structure to firm up before that first blissful bite.
Beyond their unparalleled taste and ease of preparation, these no-bake wonders are incredibly versatile. They serve as an ideal snack for a quiet afternoon, an elegant addition to any dessert platter, or a thoughtful, homemade gift that speaks volumes. Their bite-sized nature makes them perfect for portion control (if you can manage it!), and their universal appeal means they’re always a hit. Truly, these are a must-try for anyone seeking a delightful, effortless treat. And if you’re looking to expand your repertoire of festive delights, don’t miss out on this pecan pie bark, Christmas reindeer crack, and butter toffee pretzels for more holiday cheer.
Why These No-Bake Chocolate Coconut Delights Are a Must-Try
Our chocolate coconut cream balls aren’t just a dessert; they’re an experience in simplicity and satisfaction. Here’s why this recipe will quickly become a cherished favorite in your kitchen:
- Effortless No-Bake Preparation: Forget the oven! This recipe requires absolutely no baking, making it perfect for novice bakers, busy schedules, or anyone looking to avoid heating up their kitchen. With just a few basic steps and minimal cleanup, you can create a sophisticated dessert with ease.
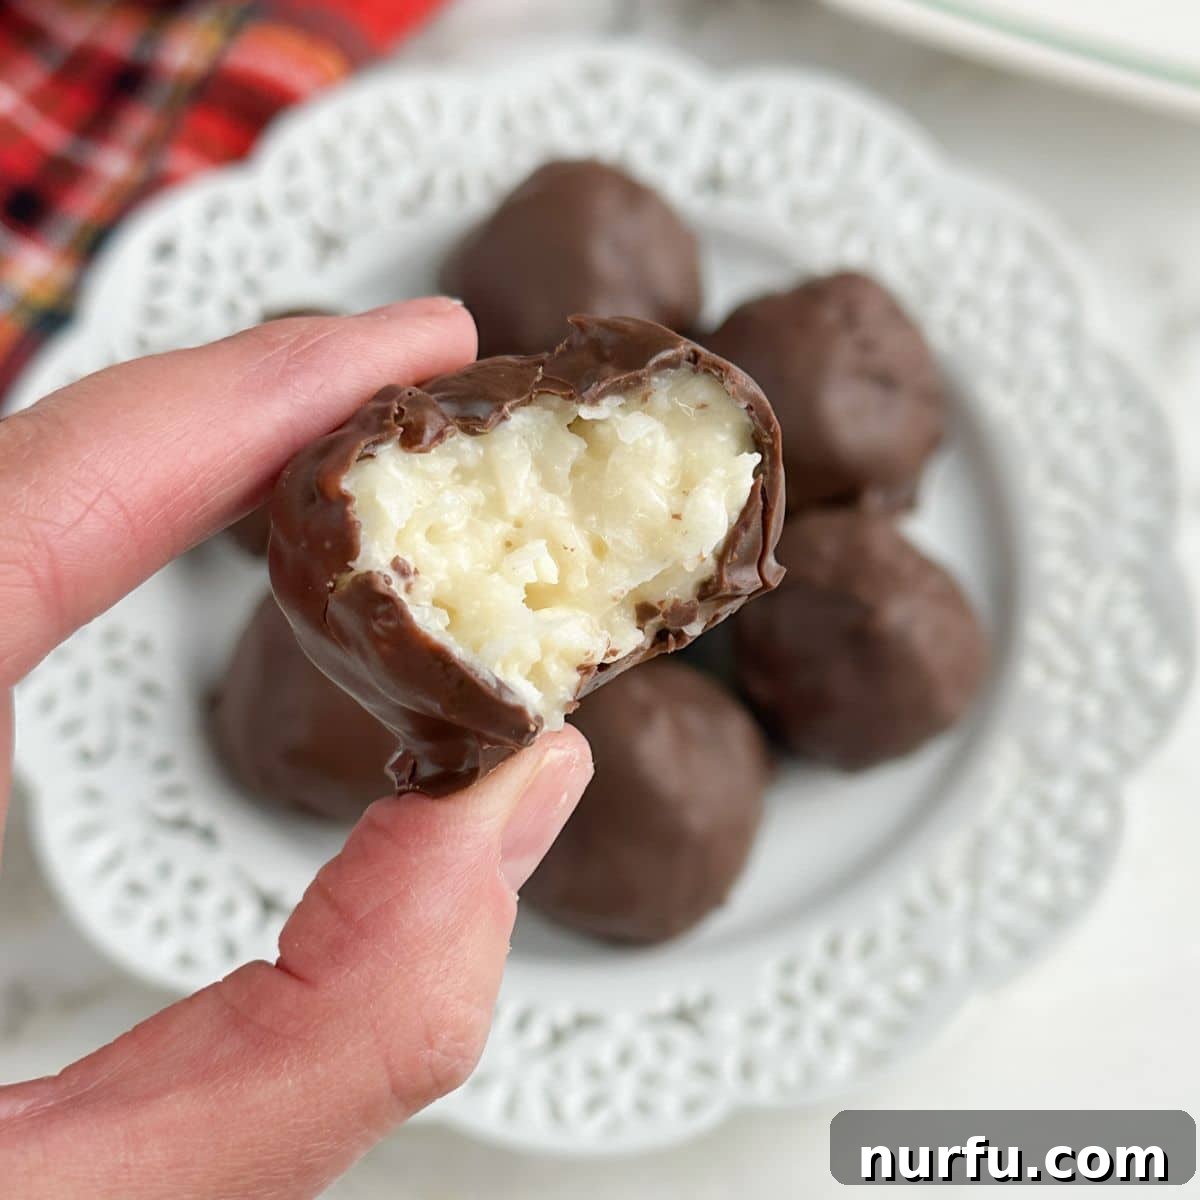
- Luxuriously Rich and Creamy: Prepare your taste buds for an explosion of flavor and texture. Each ball boasts a divinely creamy, sweet coconut center that melts in your mouth, perfectly encased in a smooth, robust chocolate shell. It’s a match made in dessert heaven, reminiscent of your favorite candy bars but with an undeniably fresh, homemade quality.
- Endlessly Customizable: While delicious in its classic form, this recipe is a blank canvas for your culinary creativity. Easily switch up the chocolate coating to suit your preference – whether it’s the intense richness of dark chocolate, the familiar sweetness of milk chocolate, or the delicate creaminess of white chocolate. The possibilities are endless for tailoring these treats to any palate or occasion.
- The Perfect Gifting or Party Treat: These elegant, bite-sized confections are incredibly versatile. They shine as a standout addition to any holiday cookie tray, bringing a touch of homemade charm to potlucks and celebrations. Pack them into decorative tins or boxes for a heartfelt, edible gift that truly shows you care. They’re also ideal for lunchboxes, after-dinner treats, or simply satisfying that sweet craving any time of day.
- A Minimalist Ingredient List: You’ll be amazed that such an impressive dessert comes together with only four core ingredients. This short list not only simplifies shopping but also highlights the pure, distinct flavors of each component, resulting in a clean and utterly satisfying taste.
Gather Your Simple Ingredients for Sweet Success
One of the most appealing aspects of these chocolate-covered coconut balls is their incredibly short ingredient list. You only need four primary items to create this spectacular no-bake dessert, proving that deliciousness doesn’t have to be complicated.
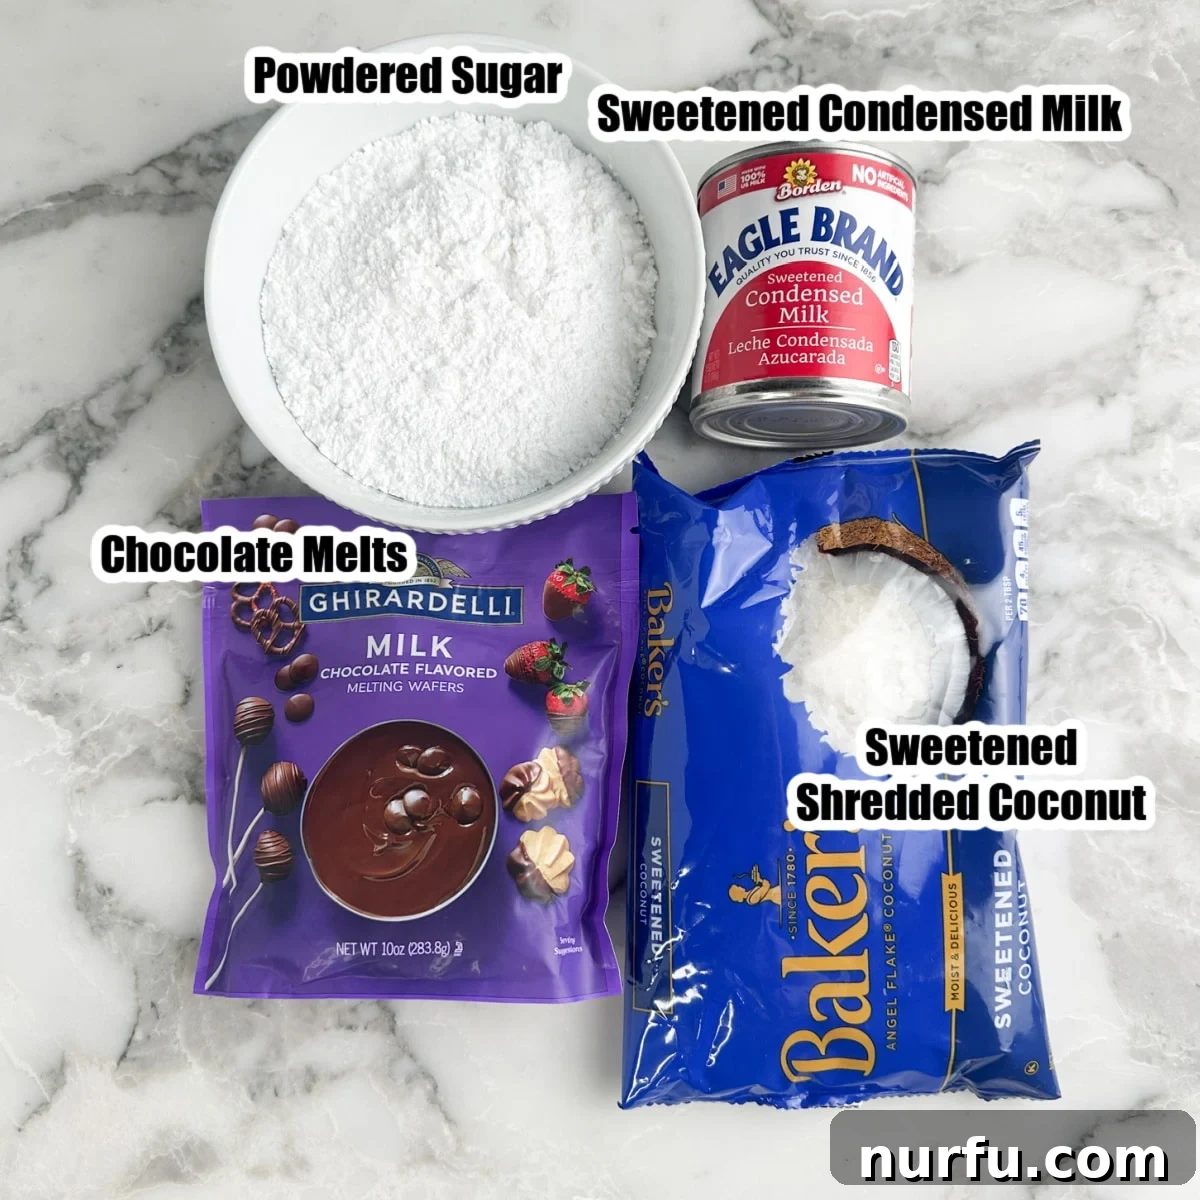
- Sweetened Shredded Coconut: This is the absolute star of our recipe, providing that unmistakable chewy texture and naturally sweet tropical flavor. I personally recommend using Baker’s Sweetened Angel Flake Coconut for its consistent quality and perfect moisture level, but feel free to use your preferred brand. Ensure it’s sweetened, as this contributes significantly to the overall flavor profile of the coconut filling. Unsweetened coconut can be used as a substitute, but be aware that it will result in a less sweet treat, and you might want to adjust the powdered sugar slightly.
- Powdered Sugar (Confectioners’ Sugar): Also known as confectioners’ sugar, powdered sugar is essential for achieving the smooth, creamy texture of the coconut balls. Its fine consistency blends seamlessly into the mixture, providing sweetness without any graininess. It also helps to absorb moisture and create a firm, yet tender, interior.
- Sweetened Condensed Milk: This magical ingredient is the binding agent that holds everything together and is crucial for creating the incredibly creamy, luscious texture inside each ball. It adds a deep, rich sweetness and helps the coconut mixture stay cohesive and moist. Do not confuse it with evaporated milk; they are not interchangeable in this recipe due to their differing sugar content and consistency.
- Chocolate for Melting: The outer shell is just as important as the creamy center. I find that Ghirardelli Milk Chocolate Melting Wafers work beautifully for a smooth, glossy, and easily manageable coating. These wafers are specifically designed for melting and hardening well, providing a beautiful finish. Alternatively, you can achieve similar results with chocolate almond bark, which also melts smoothly and sets quickly. For a truly gourmet touch, high-quality baking chocolate or chocolate chips (with a touch of shortening or coconut oil for fluidity) can also be used.
Crafting Your Own Chocolate Coconut Cream Balls: A Simple Guide
Making these delightful no-bake chocolate coconut cream balls is a straightforward process that yields incredibly impressive results. Below, you’ll find a detailed step-by-step guide to ensure your treats turn out perfectly every time. For a full list of ingredients with precise measurements, please refer to the recipe card located at the bottom of this article.
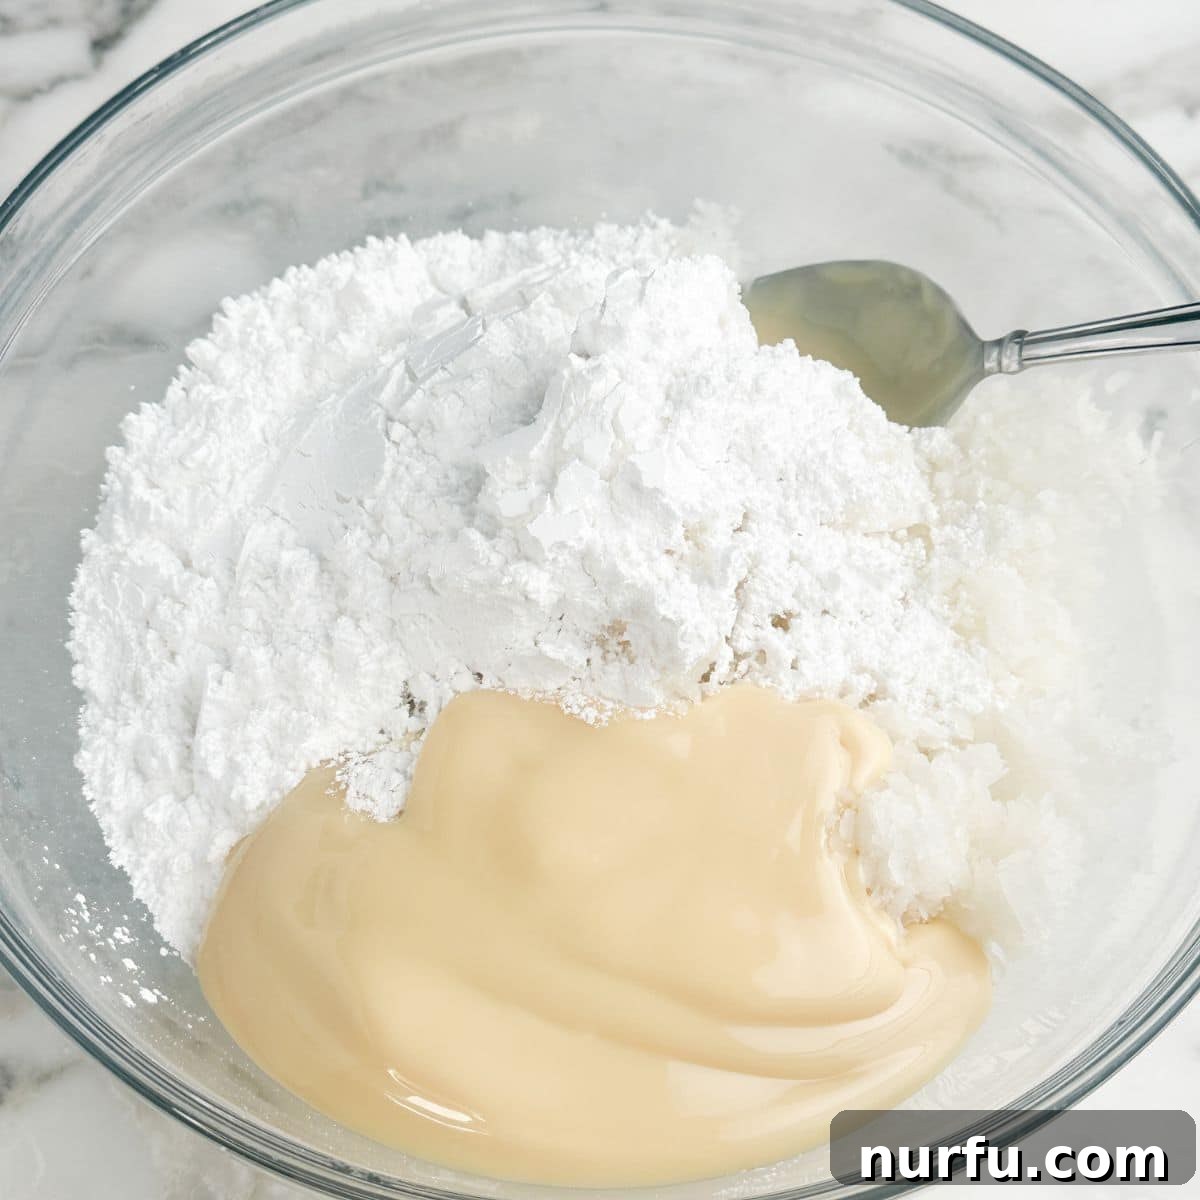
Step One: Combine the Core Ingredients. Begin by gathering your sweetened shredded coconut, powdered sugar, and sweetened condensed milk. Place all three of these essential ingredients into a large, sturdy mixing bowl. Ensure your bowl is large enough to comfortably accommodate the mixture and allow for thorough stirring.
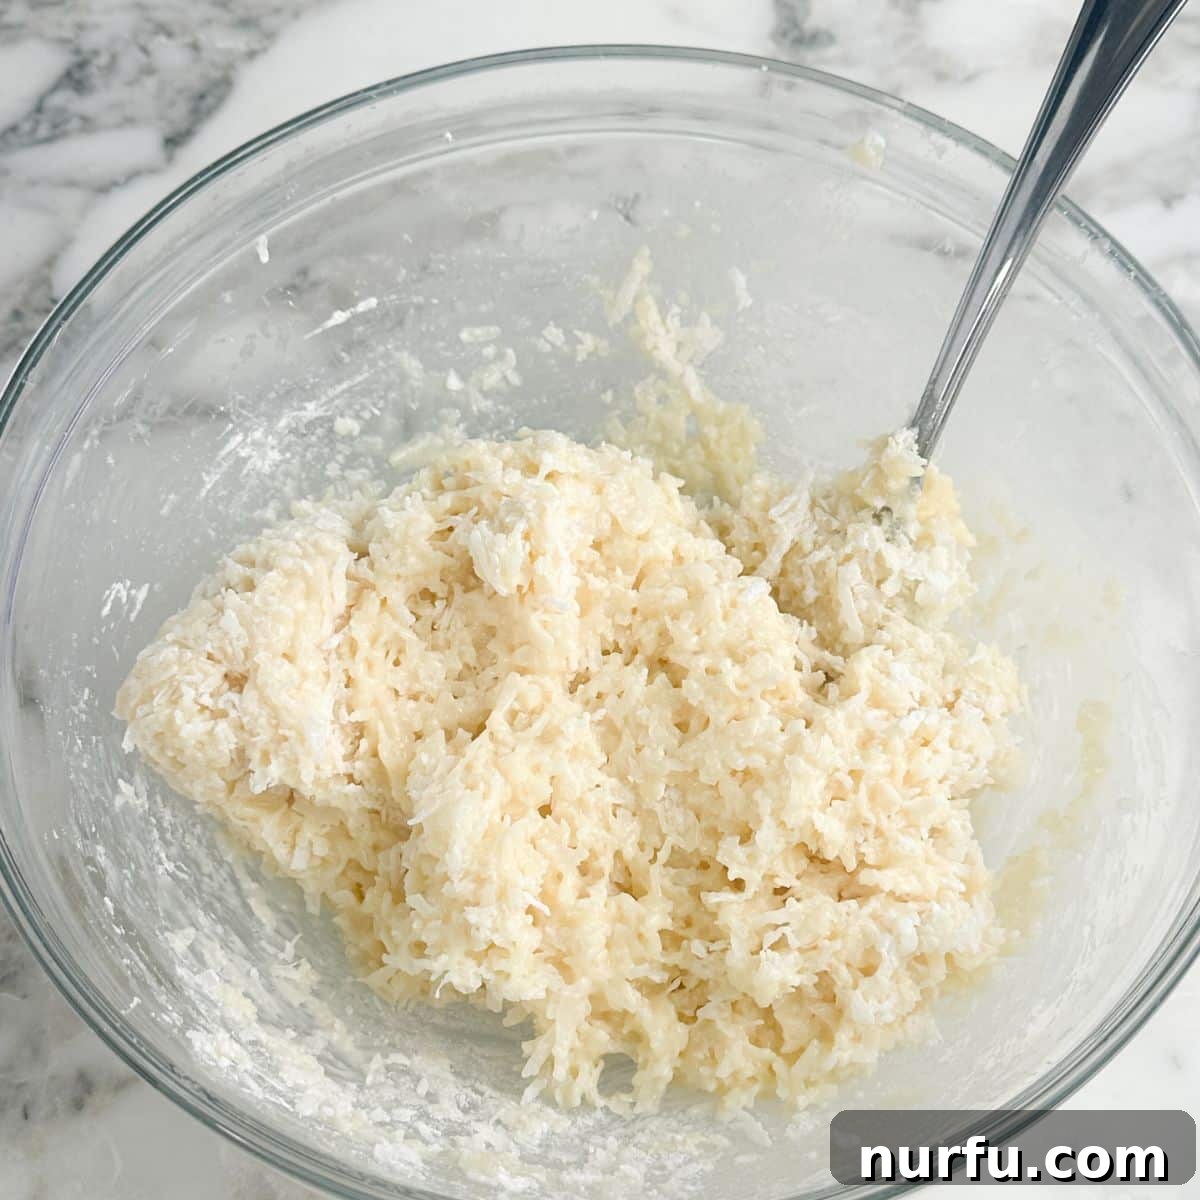
Step Two: Mix Until Perfectly Combined. Using a strong spoon or a rubber spatula, stir the coconut, powdered sugar, and sweetened condensed milk together. Continue mixing until all the ingredients are thoroughly combined and you have a uniform, sticky, and moist coconut mixture. It should be consistent enough to hold its shape when pressed.
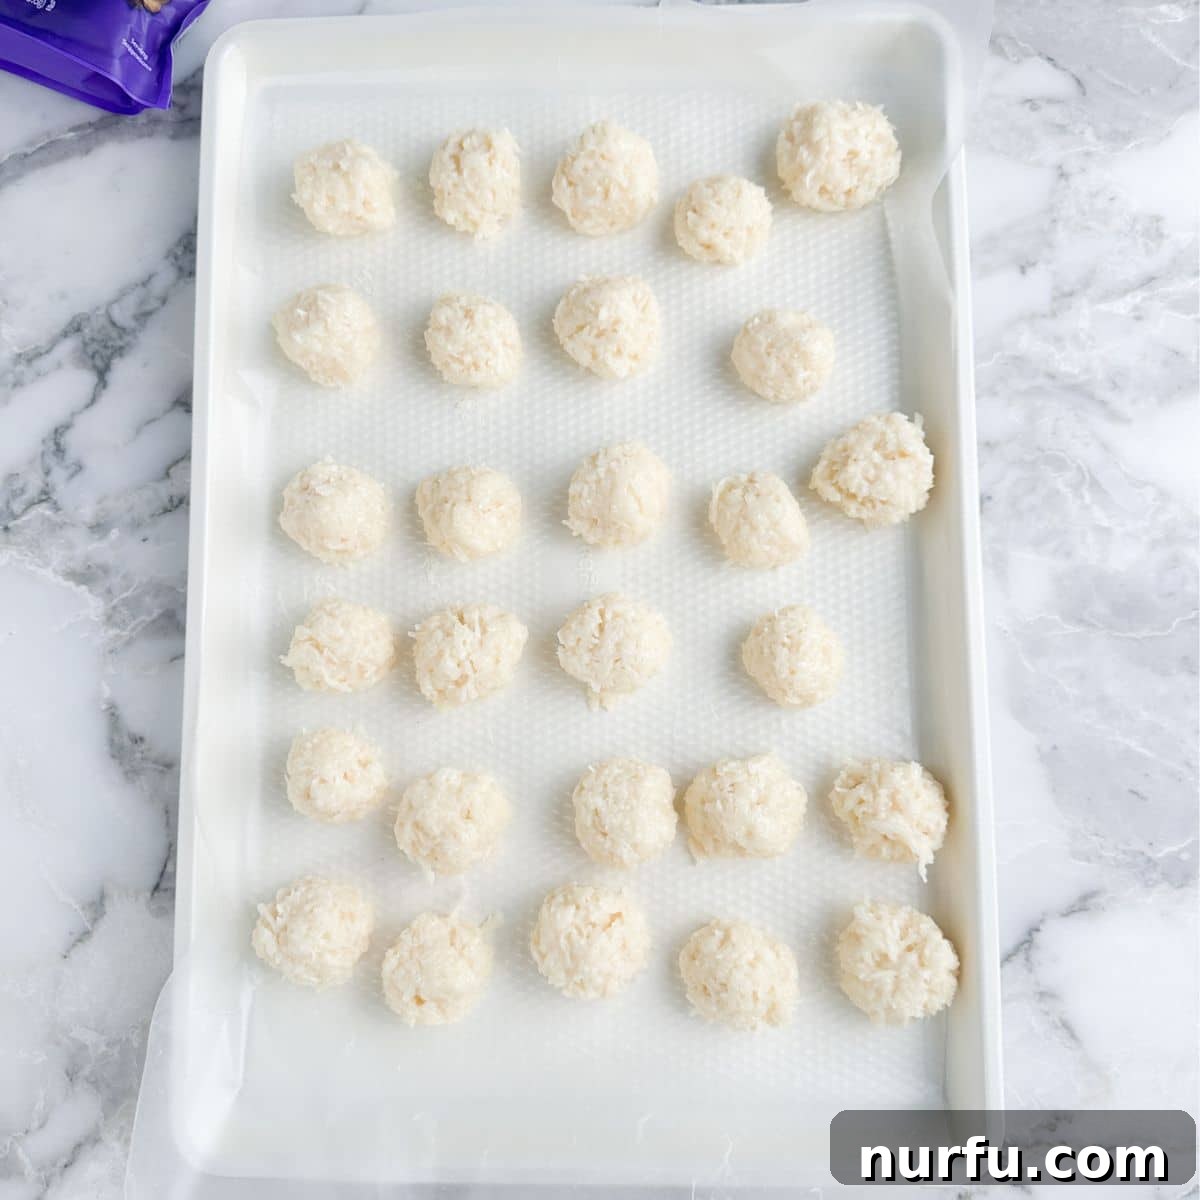
Step Three: Shape and Chill the Coconut Balls. Line a baking sheet with wax paper or parchment paper. Lightly spray your hands with non-stick cooking spray to prevent the sticky coconut mixture from adhering. Scoop out small portions of the coconut mixture (about 1 tablespoon each) and roll them gently between your palms to form neat, uniform balls. Place the formed coconut balls onto the prepared baking sheet, ensuring they are not touching. Once all balls are shaped, transfer the baking sheet to the refrigerator for at least one hour, or until the coconut balls become firm and stiff. This chilling step is critical for them to hold their shape during the chocolate-dipping process.
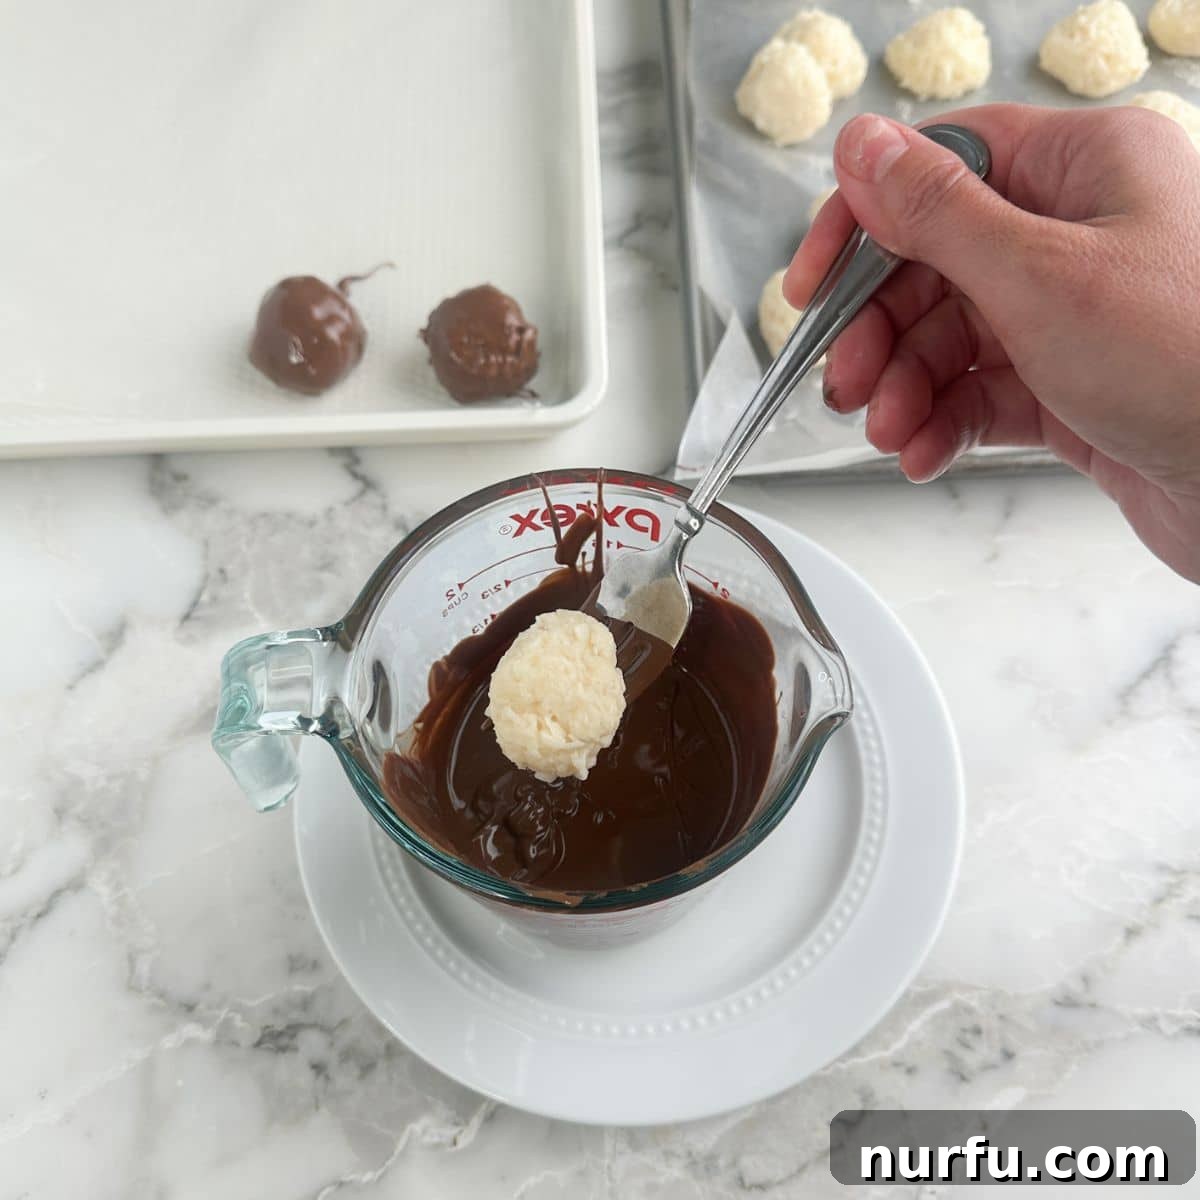
Step Four: Melt the Chocolate and Dip. While your coconut balls are chilling, prepare your chocolate coating. Place the chocolate melts (or chosen chocolate) into a microwave-safe bowl or a tall mug. Microwave in 30-second intervals, stirring well after each interval, until the chocolate is completely melted and smooth. Be careful not to overheat, as chocolate can seize. Once your coconut balls are firm, use a fork (or a dipping tool) to carefully submerge each ball into the melted chocolate, ensuring it’s fully coated. Lift the ball, tapping gently on the side of the bowl to remove any excess chocolate.
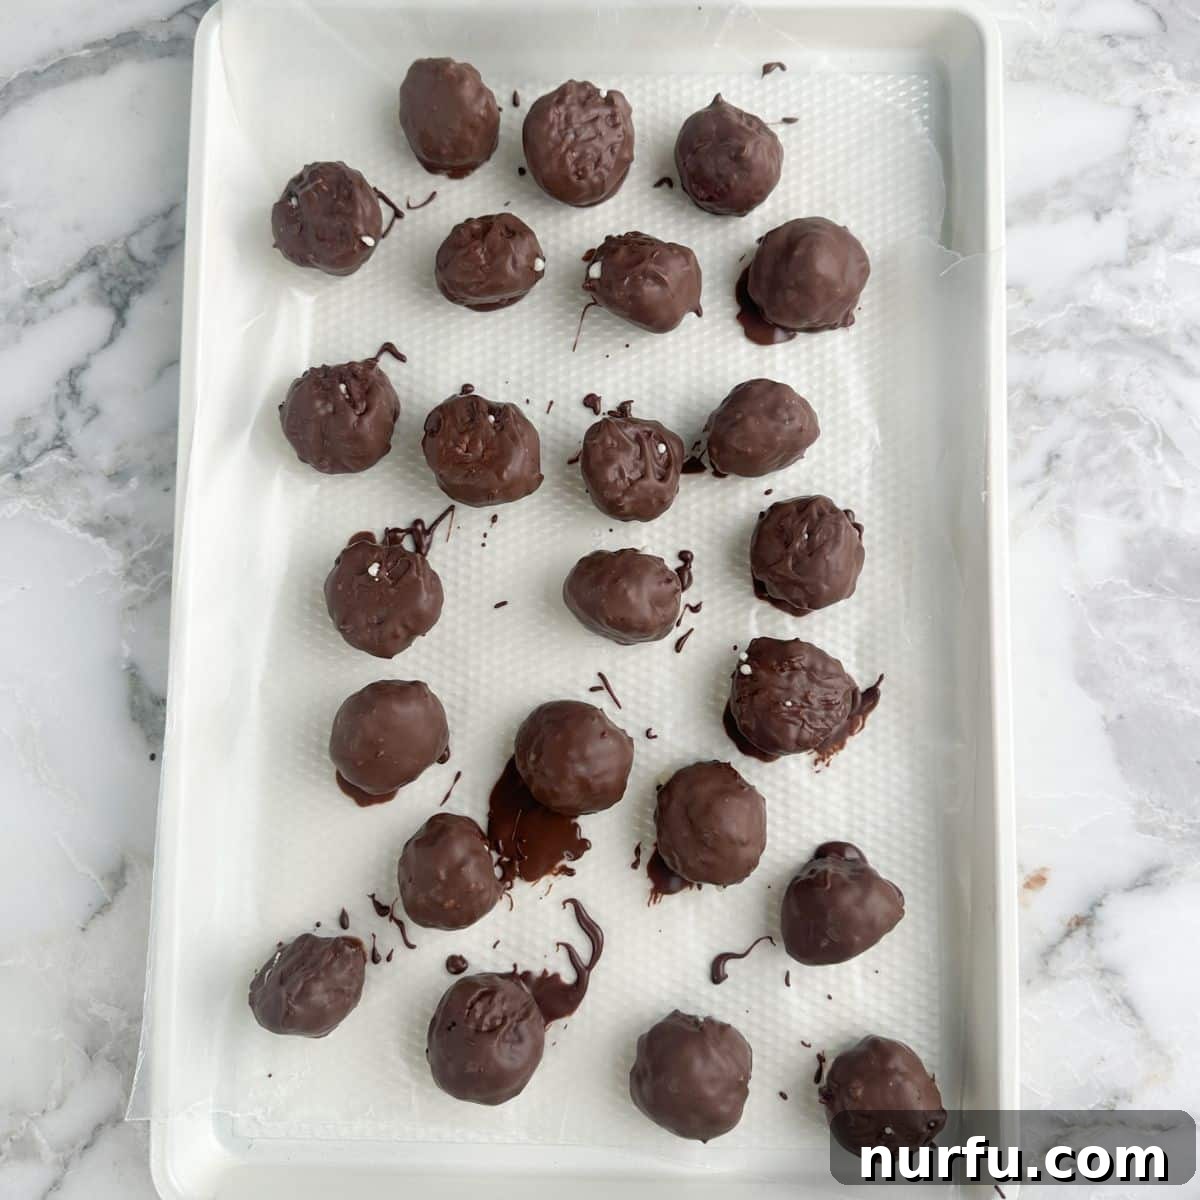
Step Five: Final Chill and Serve. As you dip each chocolate coconut ball, place it back onto a fresh baking sheet lined with wax paper. Once all the balls have been coated, return the baking sheet to the refrigerator. Allow them to chill for another 30-60 minutes, or until the chocolate coating has completely hardened and set. Once firm, your delightful chocolate coconut cream balls are ready to be served and enjoyed immediately, or they can be stored in the refrigerator until you’re ready to indulge!
Expert Tips for Flawless Chocolate Coconut Balls
Achieving perfectly coated, beautifully formed chocolate coconut cream balls is easy with these helpful hints. These tips will elevate your no-bake dessert game and ensure a smooth process from start to finish:
- Prioritize Chilling for Success: This is arguably the most crucial step! Ensure your coconut balls are thoroughly chilled and stiff before attempting to dip them in melted chocolate. I highly recommend placing them in the freezer for about 30 minutes just before dipping. This deep chill will prevent them from falling apart or losing their shape in the warm chocolate and helps the chocolate set faster.
- Utilize Non-Stick Spray for Easy Shaping: The coconut mixture is naturally quite sticky. To prevent it from adhering stubbornly to your hands while rolling, lightly spray your palms with non-stick cooking spray (such as Pam). This creates a slick surface that makes forming uniform, smooth balls much easier and less messy.
- Allow Ample Time for the Chocolate to Set: Patience is a virtue, especially when it comes to setting chocolate. After dipping, place your chocolate-covered coconut balls back into the refrigerator. Resist the urge to handle them until the chocolate coating has completely hardened and is firm to the touch. This typically takes about 30-60 minutes, resulting in a beautiful, non-sticky finish.
- Mastering Chocolate Melting: When melting your chocolate, always do so in short intervals (30 seconds at a time) in the microwave, stirring thoroughly after each. This prevents burning and seizing. If the chocolate seems too thick for dipping, you can stir in a teaspoon of coconut oil or shortening to thin it out slightly, ensuring a smoother, more even coating.
- Use the Right Dipping Tools: A simple fork works wonders for dipping, allowing excess chocolate to drip off easily. For an even more professional finish, consider investing in specific chocolate dipping tools, which often have thin tines or loops designed to cradle and coat treats without leaving unsightly marks.
Creative Variations to Explore Your Chocolate Coconut Balls
While the classic chocolate coconut cream ball is a delight on its own, this recipe is incredibly adaptable, inviting you to put your own creative spin on it. Experiment with these variations to customize your treats for different tastes and occasions:
- Swap the Chocolate Shell: Don’t limit yourself to just one type of chocolate!
- Dark Chocolate: For a more intense, less sweet treat, dip them in rich dark chocolate. The slight bitterness beautifully balances the sweet coconut filling.
- White Chocolate: A creamy white chocolate coating offers a milder, sweeter flavor and a beautiful contrast. You can even tint white chocolate with food coloring for festive occasions!
- Colorful Candy Melts: For holidays or themed parties, use colorful candy melts. Think red and green for Christmas, pastels for Easter, or orange and black for Halloween.
- Embrace the Almond Joy Spirit: If you’re a fan of Almond Joy candy bars, this variation is a must-try. Before dipping your coconut balls in chocolate, gently press a whole blanched almond or a slivered almond onto the top of each ball. The crunchy nut adds a wonderful textural contrast and a delightful nutty flavor.
- Infuse with Minty Freshness: For a refreshing twist, mix in a small amount of peppermint extract (start with 1/4 teaspoon and add more to taste) into the coconut mixture along with the other ingredients. The cool mint paired with chocolate and coconut is surprisingly delicious, especially around the holidays.
- Add a Pop of Color with Sprinkles: Immediately after dipping the coconut balls in melted chocolate, sprinkle them generously with your favorite colorful sprinkles. This is a fantastic way to make them extra festive for birthdays, holidays, or simply to add a fun visual appeal.
- Enhance Flavor with Toasted Coconut: For an added layer of flavor and texture, lightly toast some shredded coconut in a dry pan over medium-low heat until golden brown. Sprinkle this toasted coconut over the chocolate-dipped balls before the chocolate sets. The nutty, crunchy texture of toasted coconut is a delightful complement.
- A Zesty Citrus Twist: Incorporate the zest of one lemon or orange into the coconut mixture for a bright, refreshing flavor that cuts through the sweetness beautifully.
Storage Instructions for Optimal Freshness
Proper storage ensures your homemade chocolate coconut cream balls remain delicious and fresh for as long as possible. Their stable nature makes them an excellent make-ahead dessert or gift.
To Store (Refrigerator): These delightful treats are best kept in the refrigerator. Place them in an airtight container or a resealable bag. Stored correctly, they will maintain their freshness, creamy texture, and rich flavor for up to one week. Keeping them chilled also ensures the chocolate coating remains firm.
To Freeze (Long-Term Storage): For longer storage, these coconut cream balls freeze beautifully. Arrange them in a single layer on a baking sheet and freeze until solid (this prevents them from sticking together). Once frozen, transfer them to a freezer-safe airtight container or heavy-duty freezer bag, separating layers with parchment paper. They can be stored in the freezer for up to 2 months. To enjoy, simply thaw them in the refrigerator for a few hours or at room temperature for about 30 minutes.
Frequently Asked Questions About Chocolate Coconut Cream Balls
Yes, you absolutely can use unsweetened shredded coconut. However, please be aware that the coconut balls will be noticeably less sweet compared to using sweetened coconut. If you prefer a less sugary dessert, this is a great option. If you still desire a similar level of sweetness, you might consider adding an extra tablespoon or two of powdered sugar to the mixture, tasting as you go.
Yes, you can certainly use melted chocolate chips for coating your coconut balls. To ensure the chocolate melts smoothly and provides a thin, even, and glossy coating that hardens properly, I highly recommend stirring in a tablespoon of shortening (like Crisco) or coconut oil into the chocolate chips as they melt. This helps thin out the chocolate and prevents it from being too thick or dull once set.
Yes, parchment paper can be used as a substitute for wax paper to line your baking sheets. It will effectively prevent the coconut mixture and later the chocolate-covered balls from sticking. While both work, some bakers find that wax paper provides a slightly smoother surface for chocolate to set on without sticking. Either option is perfectly fine for this recipe.
Yes, this recipe is naturally gluten-free, assuming all your ingredients are certified gluten-free. Sweetened shredded coconut, powdered sugar, sweetened condensed milk, and most chocolate melting wafers or almond bark do not contain gluten. Always check the labels of your specific brands to ensure there are no hidden gluten-containing additives if you have a severe allergy or intolerance.
Absolutely! These chocolate coconut cream balls are an ideal make-ahead dessert. You can prepare them completely up to a week in advance and store them in an airtight container in the refrigerator. This allows you to tackle your party preparations without last-minute dessert stress, and the flavors often deepen even more after a day or two.
Discover More Easy Sweet Treats
If you loved the simplicity and deliciousness of these chocolate coconut cream balls, you’ll certainly enjoy exploring more of our effortless sweet treat recipes. Perfect for satisfying cravings or sharing with loved ones:
- Caramel Apple Pretzel Bites
- Fall Popcorn Snack Mix
- Churro Snack Mix
- Sweet Chex Mix
We absolutely adore hearing from you! If you try this fantastic chocolate coconut balls recipe, please let us know your thoughts and how they turned out in the comments section below. Your feedback and creations inspire us!
Chocolate Coconut Cream Balls
Heather Seeley
10 minutes
1 hour
1 hour
10 minutes
36
Rate Recipe
Print Recipe
Ingredients
-
1
(14 ounce)
bag sweetened shredded coconut
I like the Bakers Angel Flake -
2
cups
powdered sugar -
1
(14 ounce)
can sweetened condensed milk -
1
(10 ounce)
chocolate melts
I use the Ghirardelli Milk Chocolate Melting Wafers. You can also use chocolate almond bark.
Instructions
-
Place the coconut, powdered sugar, and sweetened condensed milk in a large bowl.
-
Stir the ingredients together until completely combined.
-
Line a baking sheet with wax paper. Spray hands with non-stick cooking spray and form the mixture into small balls.
-
Place the balls on the prepared baking sheet. Put in the refrigerator for at least an hour or until the balls are stiff. (If you are in a hurry, you can place them in the freezer to set faster.)
-
Put the chocolate in a microwave safe bowl or cup. Microwave in 30 second intervals until the chocolate melts.
-
Use a fork to dip the balls in the melted chocolate. Place on another baking sheet lined with wax paper.
-
Once all of the balls have been covered with chocolate, place them back in the refrigerator until the chocolate has set.
-
Serve or keep in the refrigerator until ready to eat.
Notes
- Chill the coconut balls before dipping in chocolate. I like to put them in the freezer for about 30 minutes before dipping in chocolate. This will help them stay together and hold their shape.
- Spray hands with non-stick cooking spray. This helps prevent the coconut mixture from sticking to your hands when forming the mixture into balls.
- Give the coconut balls time to set. I like to put them in the refrigerator until the chocolate completely hardens.
Nutrition
Calories:
26
kcal
|
Carbohydrates:
7
g
|
Protein:
0.004
g
|
Fat:
0.02
g
|
Saturated Fat:
0.02
g
|
Monounsaturated Fat:
0.004
g
|
Cholesterol:
0.01
mg
|
Sodium:
0.2
mg
|
Potassium:
0.4
mg
|
Fiber:
0.003
g
|
Sugar:
7
g
|
Vitamin A:
0.1
IU
|
Vitamin C:
0.001
mg
|
Calcium:
0.2
mg
|
Iron:
0.01
mg
Nutrition information is automatically calculated, so should only be used as an approximation.
Additional Info
Dessert
American
Like this? Leave a comment below!