
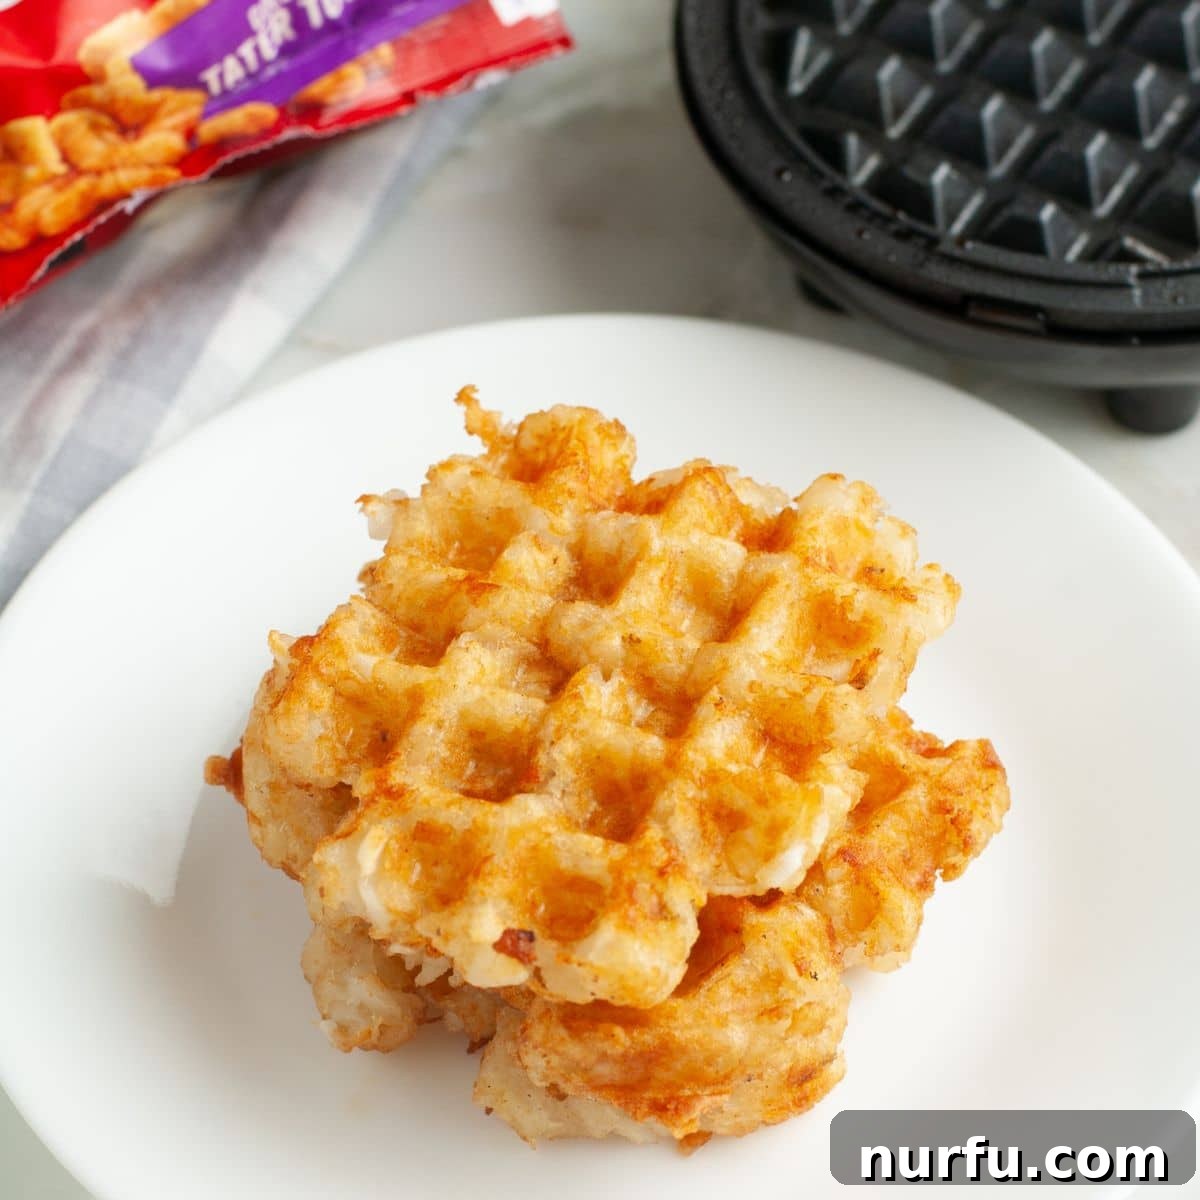
Crispy Tater Tot Waffles: The Ultimate Guide to Savory Waffle Perfection
Transforming ordinary frozen tater tots into extraordinary, crispy waffles is a culinary hack that’s both genius and incredibly simple. If you’re looking for a quick, fun, and irresistibly delicious meal or side dish that breaks the mold of traditional breakfast fare, then tater tot waffles are your answer. This comprehensive guide will walk you through everything you need to know, from preparation to creative toppings, ensuring you master this delightful savory treat.
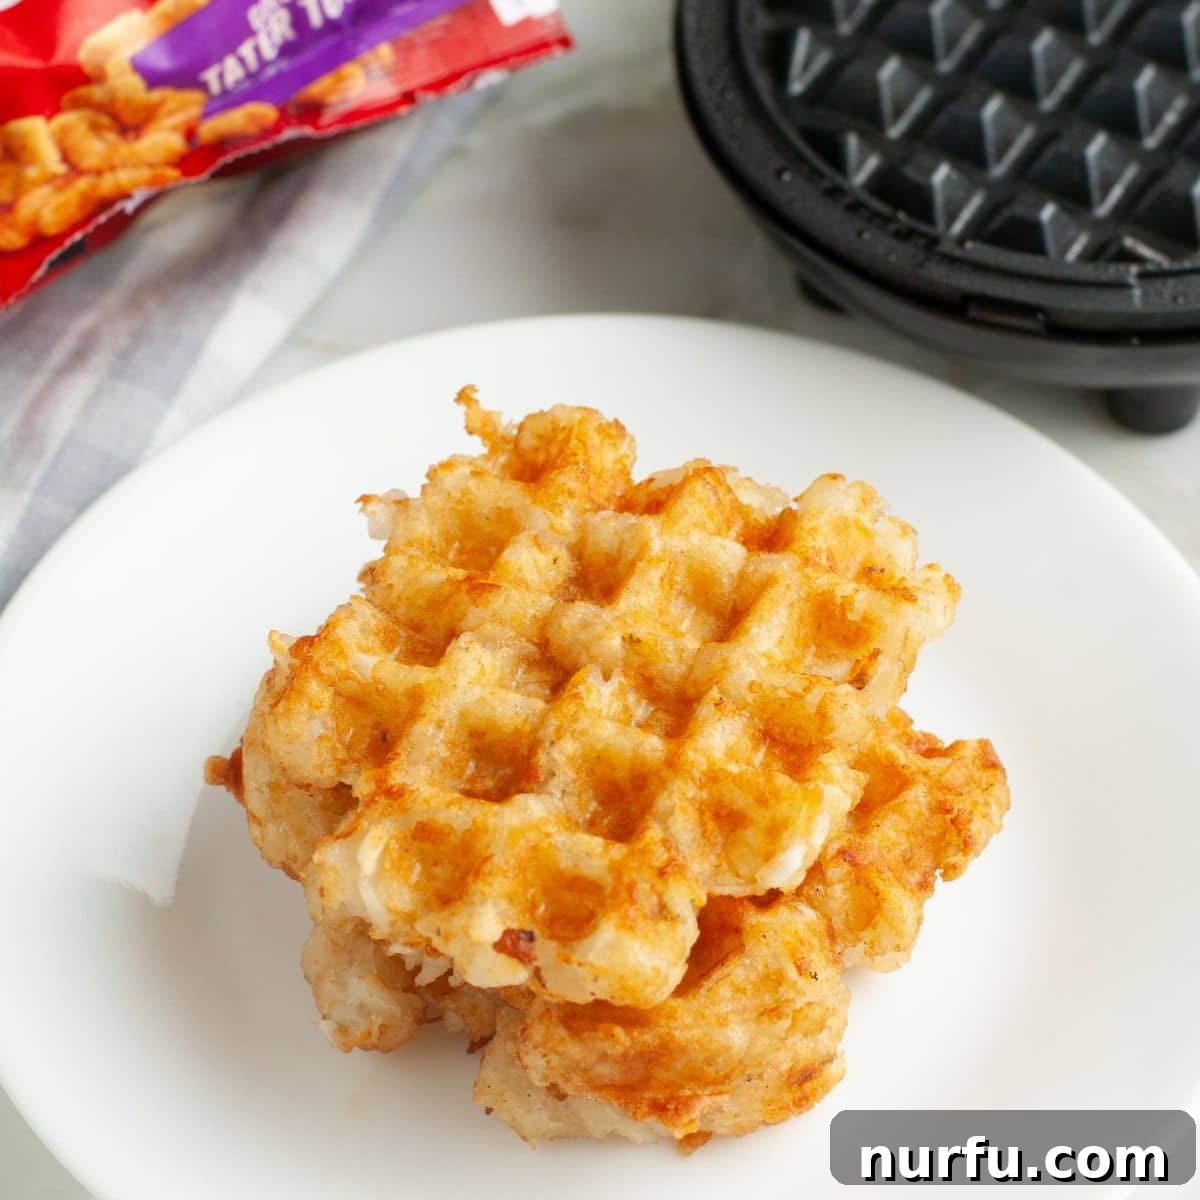
Why Tater Tot Waffles Will Become Your New Favorite
Forget the notion that waffles must always be sweet. These savory masterpieces, crafted from humble tater tots, offer a fantastic alternative to classic hash browns, bringing a delightful crispiness and unique shape to your plate. They’re incredibly versatile, serving as a perfect base for a hearty breakfast, a creative brunch item, or a delightful side dish to almost any meal.
The beauty of tater tot waffles lies in their simplicity and speed. Once your frozen tater tots are thawed, this recipe comes together in under 10 minutes, making it an ideal choice for busy mornings or when you need a quick, satisfying bite. It’s an innovative way to enjoy the familiar comfort of tater tots with an exciting new texture and presentation that appeals to all ages. Whether you’re feeding a crowd or simply treating yourself, these waffles are guaranteed to impress with their golden-brown exterior and tender interior.
Essential Ingredients for Tater Tot Waffles
Crafting these crispy delights requires just a few basic items. The quality of your ingredients and proper preparation are key to achieving the perfect texture and flavor.
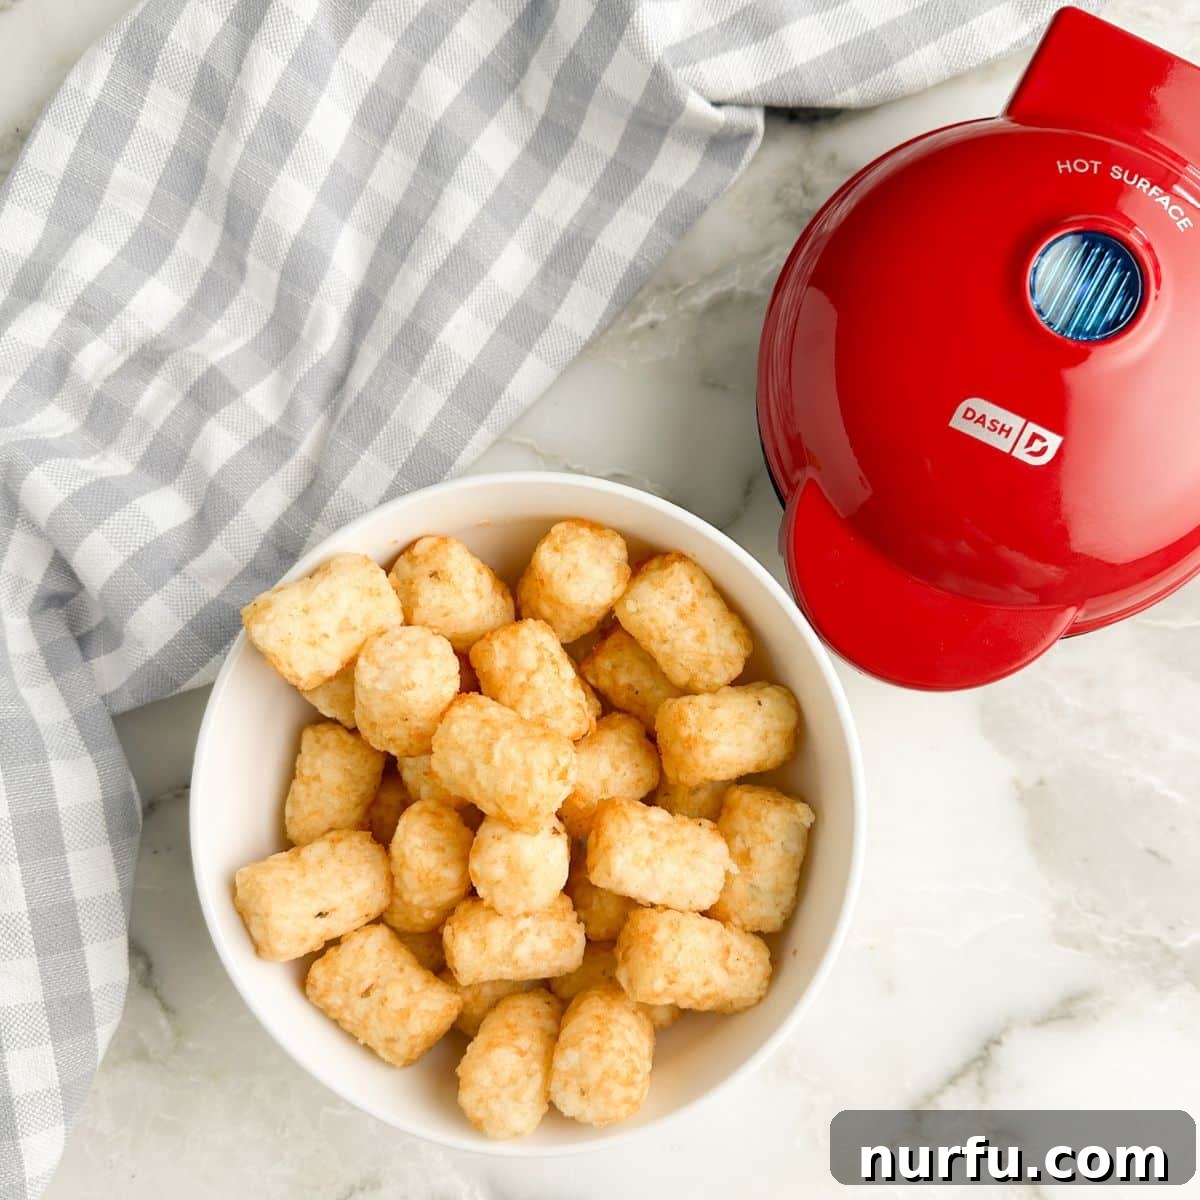
- Tater Tots: The star of our show! It is crucial that your frozen tater tots are thoroughly thawed before cooking. This allows them to flatten and meld together properly in the waffle maker, ensuring an even cook and superior crispiness. You can use standard tater tots, or experiment with variations like crispy crowns for a slightly different shape and texture. Ensure they are not still frozen solid, as this will result in soggy, undercooked waffles.
- Non-Stick Cooking Spray: A simple yet indispensable ingredient. A generous coating of non-stick cooking spray on your waffle iron prevents the tots from sticking and, more importantly, contributes significantly to the irresistible crispy exterior. Don’t skip this step for the best results!
- Waffle Maker: While the specific model of your waffle maker isn’t critical, understanding its characteristics will help you adjust the amount of tater tots needed. This recipe works beautifully with most waffle irons, from individual mini waffle makers (like the one often used in demonstrations) to standard-sized models or even deep-pocket Belgian waffle makers. The key is to arrange the thawed tots in a single layer that covers the griddle surface without overcrowding, allowing them to press together and crisp up evenly.
Step-by-Step Guide: How to Make Crispy Tater Tot Waffles
Creating these delightful waffles is straightforward. Follow these steps for perfect, golden-brown results every time:
- Prepare Your Waffle Maker: Begin by preheating your waffle maker. This is a crucial step for achieving that desired crispy texture and preventing sticking. Once it’s heated, liberally spray both the top and bottom plates of the waffle iron with non-stick cooking spray. Even if your waffle maker is already non-stick, this extra layer ensures maximum crispiness and easy removal.
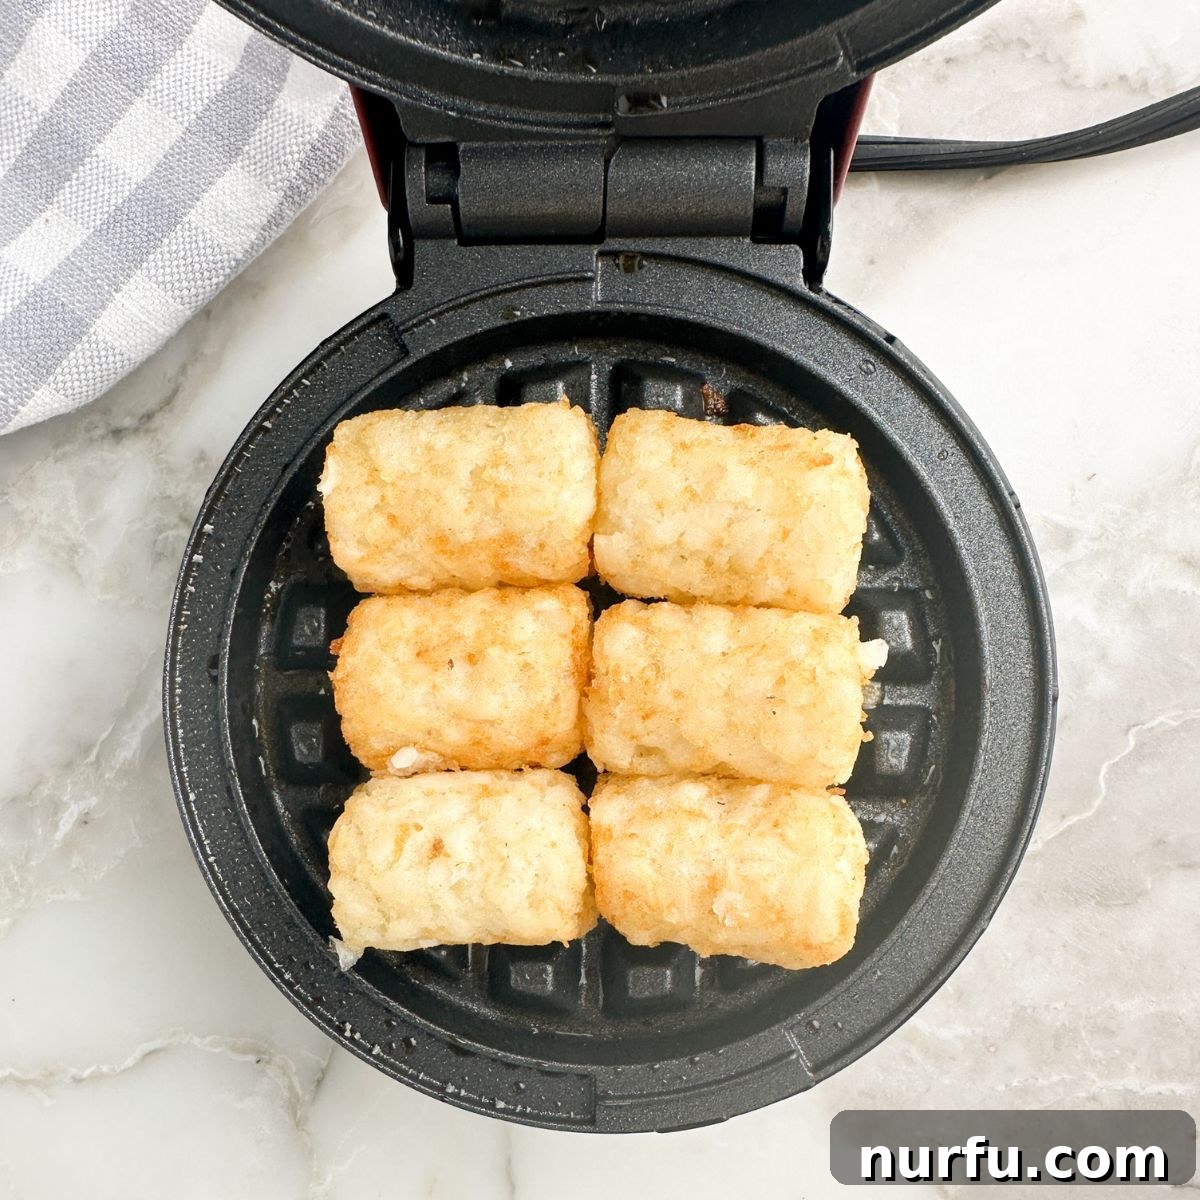
- Arrange the Tater Tots: Carefully place the thawed tater tots in a single, even layer on the greased waffle iron. The goal is to pack them tightly so they are touching and fill the entire surface of the waffle griddle. Don’t be afraid to gently press them together; this helps them form a cohesive waffle structure. Close the waffle iron lid and press down firmly to ensure good contact between the tots and the hot griddle plates.
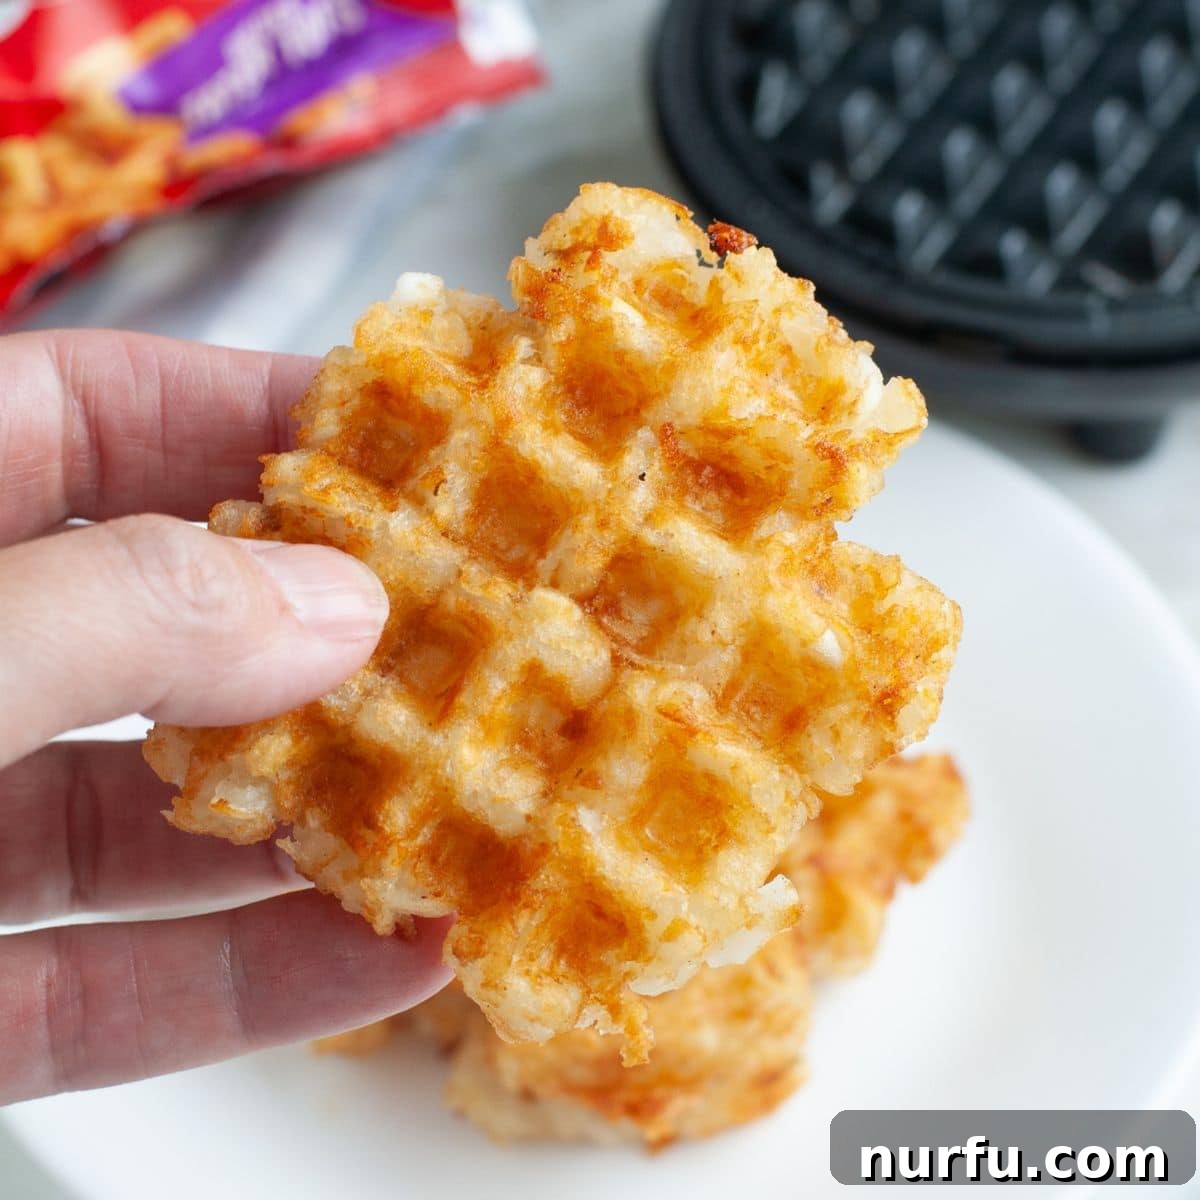
- Cook to Golden Perfection: Cook the tater tot waffles for approximately 4-5 minutes, or until they are beautifully crispy and boast a deep golden-brown color. Cooking times may vary slightly depending on your specific waffle maker and how many tots you’ve used. Resist the urge to open the waffle maker prematurely, as this can interrupt the cooking process and lead to less crispy results. You’ll know they’re ready when they release easily from the iron and have achieved that irresistible crunch.
- Serve Immediately: Once cooked, carefully remove the crispy tater tot waffle from the iron using a fork or non-scratch utensil. Serve them warm with your favorite toppings or as a savory side dish.
Expert Tips for Perfect Tater Tot Waffles
While the basic process is simple, a few expert tips can elevate your tater tot waffle game:
- Efficient Thawing Methods: Thawing the tater tots is non-negotiable for success. For a quick thaw, spread frozen tots on a microwave-safe plate and microwave for about 30 seconds to 1 minute, stirring halfway. For a more gradual approach, transfer them from the freezer to the refrigerator several hours or overnight before you plan to cook. You can also leave them at room temperature for about 30-60 minutes. The goal is for them to be soft enough to press together without being mushy.
- Batch Cooking for a Crowd: If you’re hosting a brunch or making these for a larger group, you can easily keep the waffles warm as you cook them in batches. Preheat your oven to a low temperature, around 200-250 degrees F (95-120 degrees C). Line a baking sheet with aluminum foil or parchment paper and place the cooked waffles on the pan in the warm oven. This will keep them crispy and ready to serve all at once.
- Achieving Maximum Crispiness: Don’t undercook! The 4-5 minute cooking time is a guideline. If your waffle maker runs cooler, or if you prefer an extra crunchy texture, extend the cooking time by another minute or two. Look for a deep golden-brown color and a firm texture. Applying firm, even pressure to the waffle maker lid can also help distribute heat and encourage crisping.
- Preventing Stickage: Aside from non-stick spray, ensure your waffle maker is truly hot before adding the tots. A cold iron is more likely to cause sticking. If you’re making multiple batches, re-spray the waffle iron between each one.
Unleash Your Creativity: Tater Tot Waffle Toppings & Serving Ideas
The beauty of these crispy tater tot waffles is their incredible versatility as a base for a myriad of toppings and serving styles. Let your imagination run wild!
- Classic Breakfast Pairings:
- Eggs: Top these crispy potato waffles with your favorite style of eggs. Scrambled eggs, a perfectly fried egg with a runny yolk, or even a simple sunny-side-up egg are all fantastic choices.
- Bacon: Crumbled crispy bacon adds an undeniable smoky, salty crunch. Pair it with some shredded cheddar cheese, a dollop of sour cream, and a sprinkle of fresh diced green onions for a loaded breakfast masterpiece.
- Sausage: Cooked breakfast sausage patties or crumbles make a hearty addition. Combine with an egg for a complete meal. For a surprising twist, a drizzle of maple syrup can add a sweet-and-savory dimension.
- Savory Meal Enhancements:
- Chili Cheese Waffles: Transform them into a satisfying dinner! Top generously with warm chili, a blanket of melted cheese, and a dollop of cool sour cream. A sprinkle of jalapeños adds a nice kick.
- BBQ Pulled Pork: Use them as a base for tender pulled pork, perhaps with a touch of coleslaw for crunch.
- Avocado Toast Twist: Smash fresh avocado on top, season with everything bagel seasoning or red pepper flakes, and maybe a poached egg for a gourmet brunch.
- Dipping Sauce Delights: These waffles are excellent on their own, but even better with a delicious dipping sauce.
- Ketchup: The timeless classic.
- Specialty Sauces: Experiment with zesty sauce, a creamy breakfast sauce, or a rich country gravy for a comforting feel.
- Hot Sauce: For those who love a bit of heat, a dash of your favorite hot sauce is a game-changer.
- Salsa or Pico de Gallo: For a fresh, zesty flavor.
Flavorful Variations to Explore
This simple tater tot waffle recipe is a fantastic canvas for customization. Don’t be afraid to experiment with different potato bases and seasonings to create your own signature dish.
- Alternate Potato Bases: While tater tots are excellent, you can achieve similar results with other frozen potato products.
- Shredded Hash Browns: For a more traditional hash brown texture, use thawed shredded hash browns. Press them firmly into the waffle iron. You might even mix in some grated onion or cheese before cooking for extra flavor. Check out hash brown waffles for inspiration.
- Sweet Potato Tots/Fries: For a sweeter, earthier flavor profile, try using thawed sweet potato tots or even sweet potato fries. These make a delicious base for toppings like cinnamon sugar or a dollop of Greek yogurt.
- Crispy Crowns: As mentioned earlier, crispy crowns work just as well as traditional tater tots, offering a slightly different shape and density.
- Amp Up the Spices and Seasonings: Before cooking, toss your thawed tater tots with a blend of seasonings for an extra burst of flavor.
- Garlic Powder & Onion Powder: These are classic complements to potatoes, adding depth without being overpowering.
- Smoked Paprika: Adds a subtle smokiness and beautiful color.
- Chili Powder or Cumin: For a Tex-Mex inspired twist, especially if you plan to top them with chili or salsa.
- Italian Seasoning: A mix of dried herbs like oregano, basil, and thyme can add an aromatic touch.
- Cheese: For cheesy tater tot waffles, gently mix a tablespoon or two of shredded cheddar, Monterey Jack, or a blend of cheeses into the thawed tots before pressing them into the waffle iron. The melted cheese will bind them even better and create an incredible flavor.
How to Store and Reheat Leftovers
If you happen to have any leftover tater tot waffles (a rare occurrence, we know!), storing and reheating them properly will ensure they remain delicious and crispy.
- Storage: Allow the waffles to cool completely to room temperature. Then, store them in an airtight container or a heavy-duty zip-top bag. Place them in the refrigerator, where they will stay fresh for 3-4 days.
- Reheating: The key to reheating tater tot waffles is to bring back their crispiness without drying them out.
- Waffle Iron: This is the best method! Simply preheat your waffle iron and place the leftover waffle inside for 1-2 minutes, or until heated through and crispy again.
- Air Fryer: An air fryer works wonderfully for reheating. Place the waffles in a single layer in the air fryer basket and air fry at 350°F (175°C) for 3-5 minutes, shaking the basket halfway, until hot and crisp.
- Oven: Preheat your oven to 375°F (190°C). Place the waffles directly on a baking sheet and bake for 5-8 minutes, flipping halfway, until they are hot and have regained their crispiness.
- Toaster Oven: A toaster oven can also be used for individual portions, offering results similar to a conventional oven.
Frequently Asked Questions About Tater Tot Waffles
- Can I use frozen tater tots directly in the waffle maker?
No, it is highly recommended to thaw the tater tots first. Frozen tots will not press together properly, leading to uneven cooking, a mushy interior, and a less crispy exterior. Thawing allows them to meld into a cohesive waffle shape.
- How many tater tots do I need for one waffle?
The number of tater tots depends entirely on the size of your waffle maker. For a mini waffle maker, about 6-8 thawed tots are usually sufficient. For a standard waffle iron, you might need 15-20. The goal is to cover the entire griddle surface in a single, packed layer.
- My tater tot waffles are sticking to the waffle iron. What can I do?
Ensure you are liberally spraying both plates of your waffle iron with non-stick cooking spray before each batch. Also, make sure your waffle iron is fully preheated. If it’s not hot enough, food is more prone to sticking. Don’t try to remove the waffle until it’s fully cooked and golden brown, as it will naturally release when ready.
- Can I add cheese directly to the tater tots before cooking?
Absolutely! Mixing shredded cheese (like cheddar, Monterey Jack, or a Mexican blend) into the thawed tater tots before pressing them into the waffle maker is a fantastic way to add flavor and help bind the waffle together. Start with about 1-2 tablespoons per waffle, depending on size.
- Are tater tot waffles suitable for dietary restrictions?
Tater tots are typically gluten-free, but always check the packaging for specific ingredients and cross-contamination warnings. This recipe is naturally vegetarian. For vegan options, ensure your tater tot brand and any toppings are plant-based.
More Easy Breakfast Recipes to Try
If you loved the simplicity and deliciousness of tater tot waffles, here are some other easy breakfast recipes from Food Lovin’ Family that you might enjoy:
- Steak, Egg, and Cheese Bagel – A hearty and satisfying breakfast sandwich that’s perfect any time of day.
- Breakfast Burrito – Simple yet incredibly flavorful breakfast sausage burritos for a grab-and-go meal.
- Breakfast Quesadillas – Quick and easy quesadillas generously filled with fluffy eggs and melted cheese.
- Breakfast Drinks – Explore 25 of the best refreshing and energizing drinks to complement your breakfast.

Tater Tot Waffles
Heather Seeley
5 minutes
5 minutes
10 minutes
1 waffle
Equipment
-
1 Waffle iron
Ingredients
- non-stick cooking spray
- 6 tater tots thawed
Instructions
-
Preheat the waffle iron. Spray with non-stick cooking spray.
-
Arrange thawed tater tots on the waffle iron. Close the lid and press down as much as possible. Cook for 4-5 minutes or until crispy and golden brown.
-
Carefully remove from the iron and serve warm.
Notes
Nutrition
Carbohydrates: 14g |
Protein: 1g |
Fat: 5g |
Saturated Fat: 1g |
Polyunsaturated Fat: 2g |
Monounsaturated Fat: 2g |
Sodium: 246mg |
Potassium: 142mg |
Fiber: 1g |
Sugar: 0.2g |
Vitamin A: 2IU |
Vitamin C: 4mg |
Calcium: 8mg |
Iron: 0.3mg
Nutrition information is automatically calculated, so should only be used as an approximation.
Additional Info
Breakfast
American
We hope this guide inspires you to try making your own crispy tater tot waffles! They are truly a game-changer for breakfast, brunch, or as a fun side dish. Experiment with toppings and variations to find your perfect combination. Don’t forget to share your creations and enjoy every crunchy bite!