
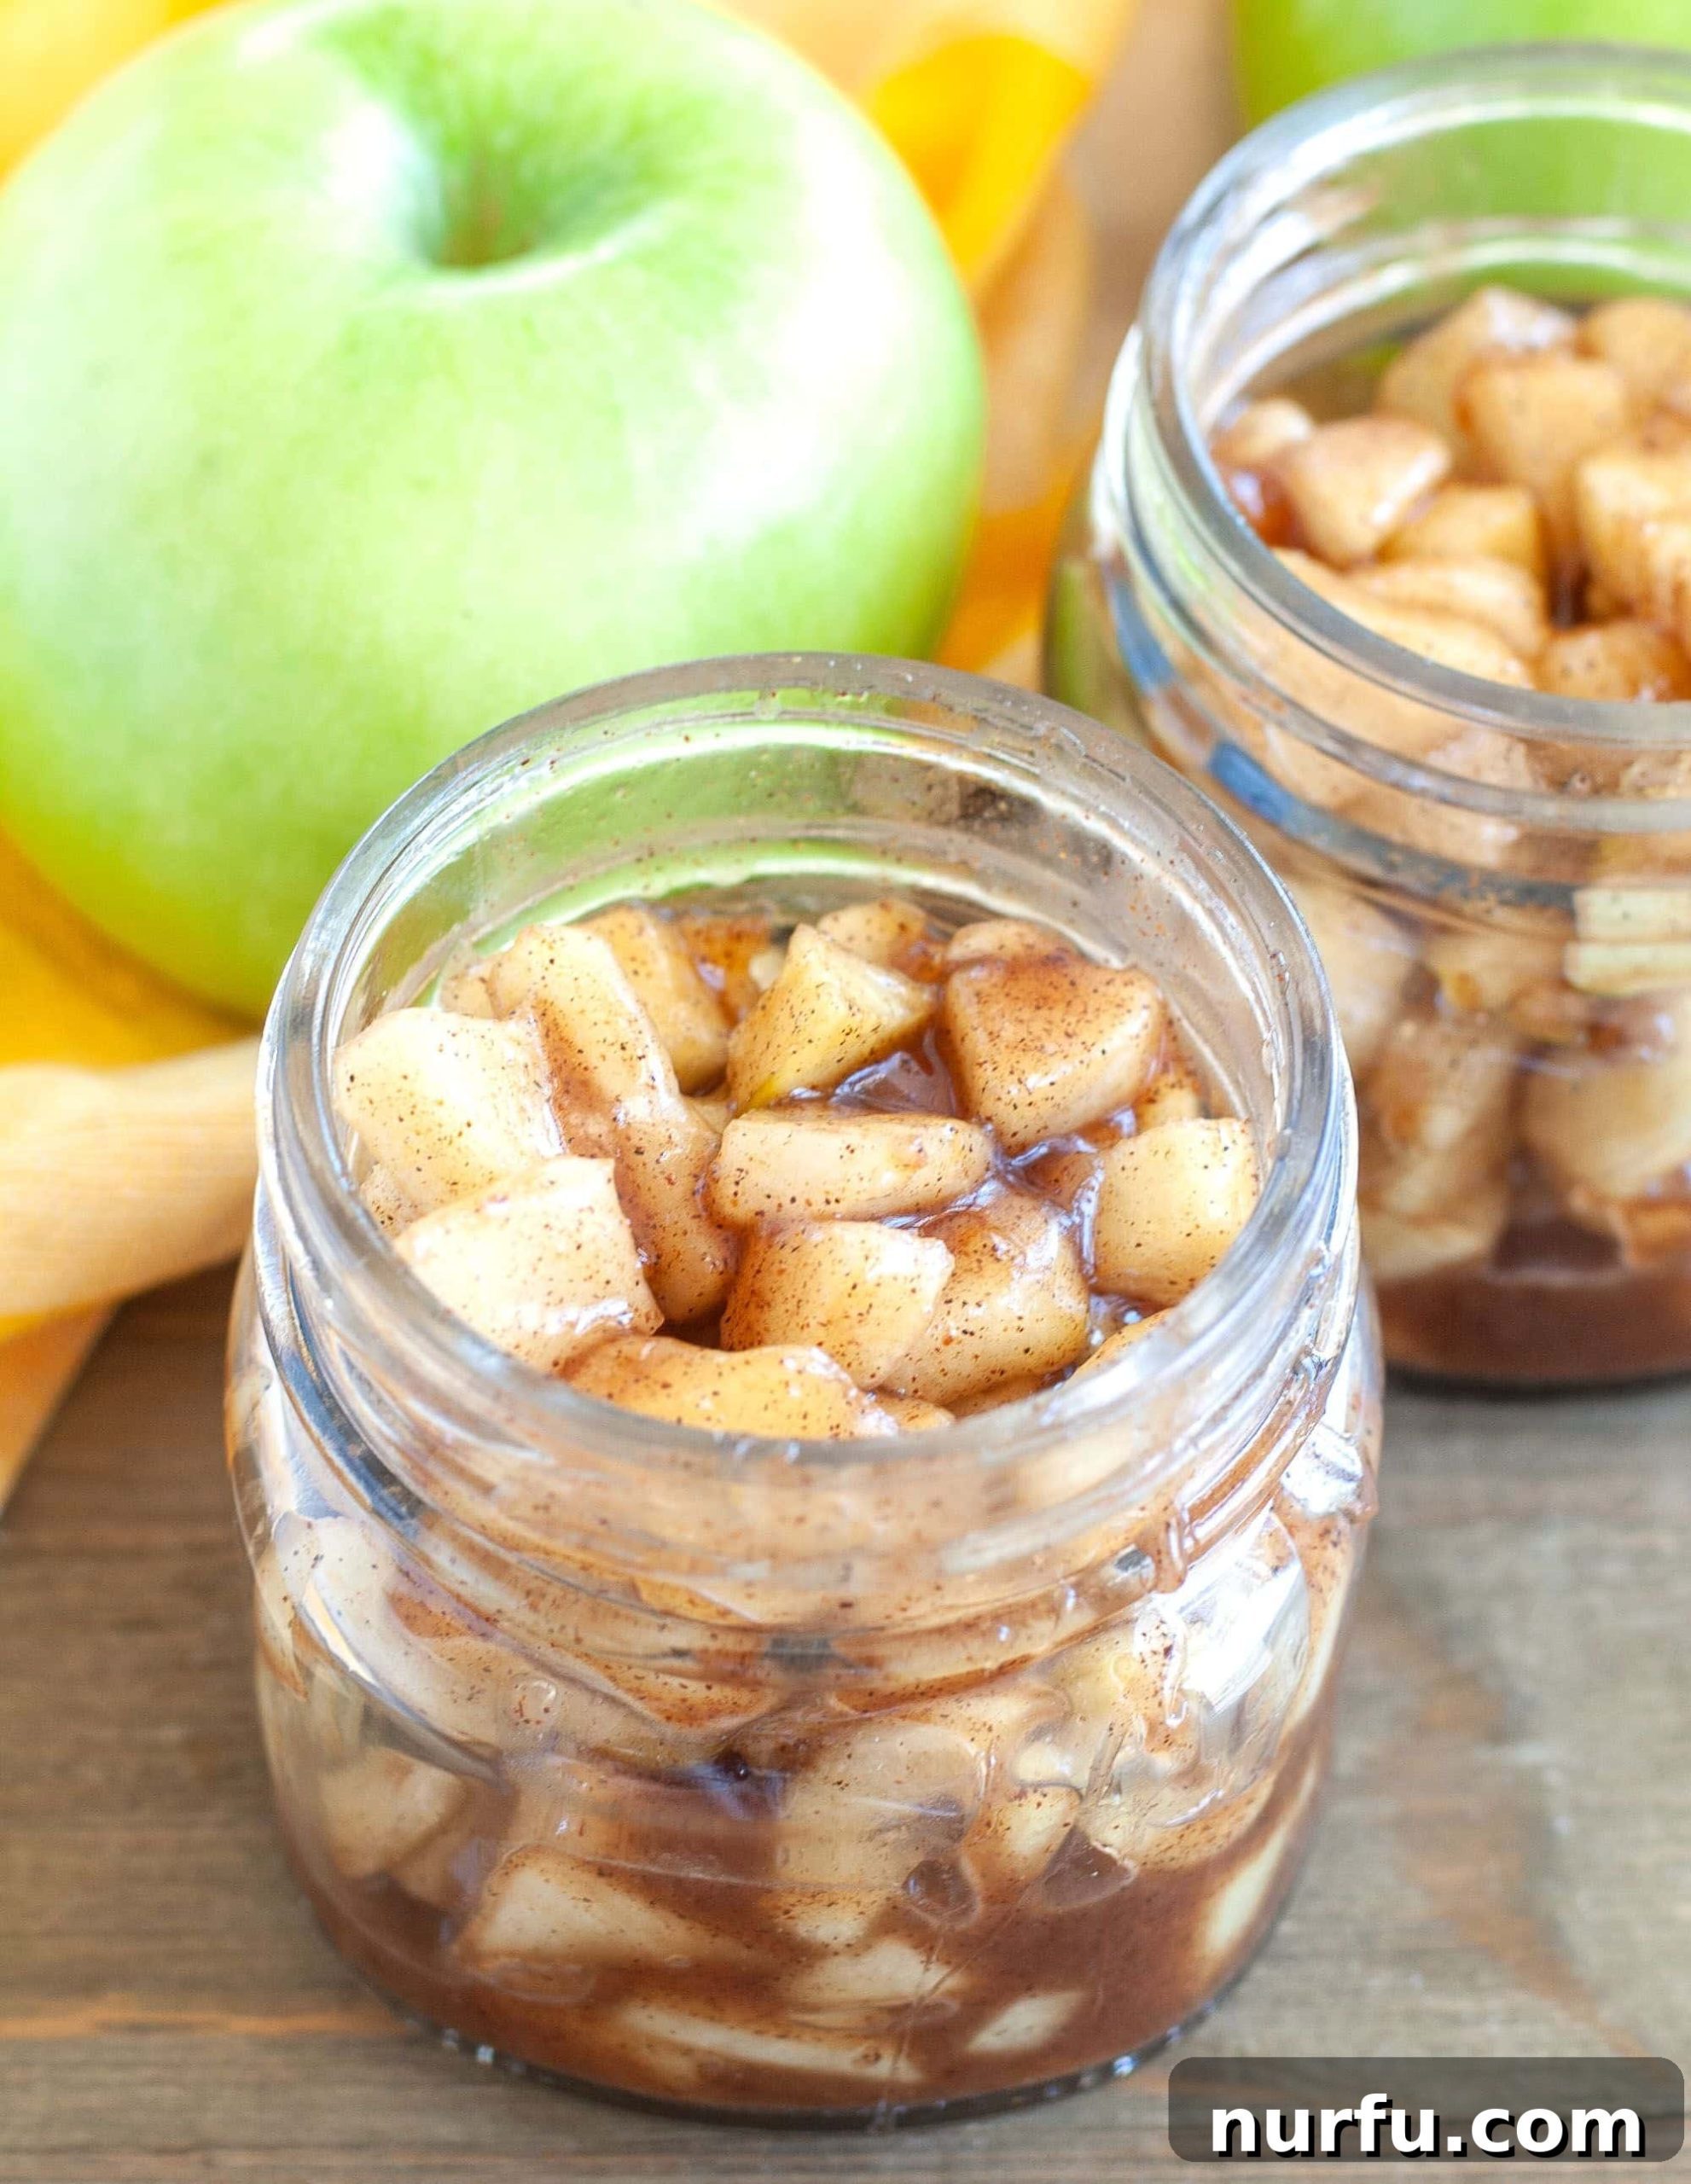
Easy Homemade Apple Pie Filling: Your Secret Ingredient for Delectable Desserts
Discover the simple joy of making your own homemade apple pie filling! This incredibly versatile recipe is not only easy to prepare but also a fantastic way to utilize a bounty of fresh apples. Perfect for elevating pies, cakes, tarts, or simply spooning over a scoop of vanilla ice cream, this filling will become a staple in your kitchen.
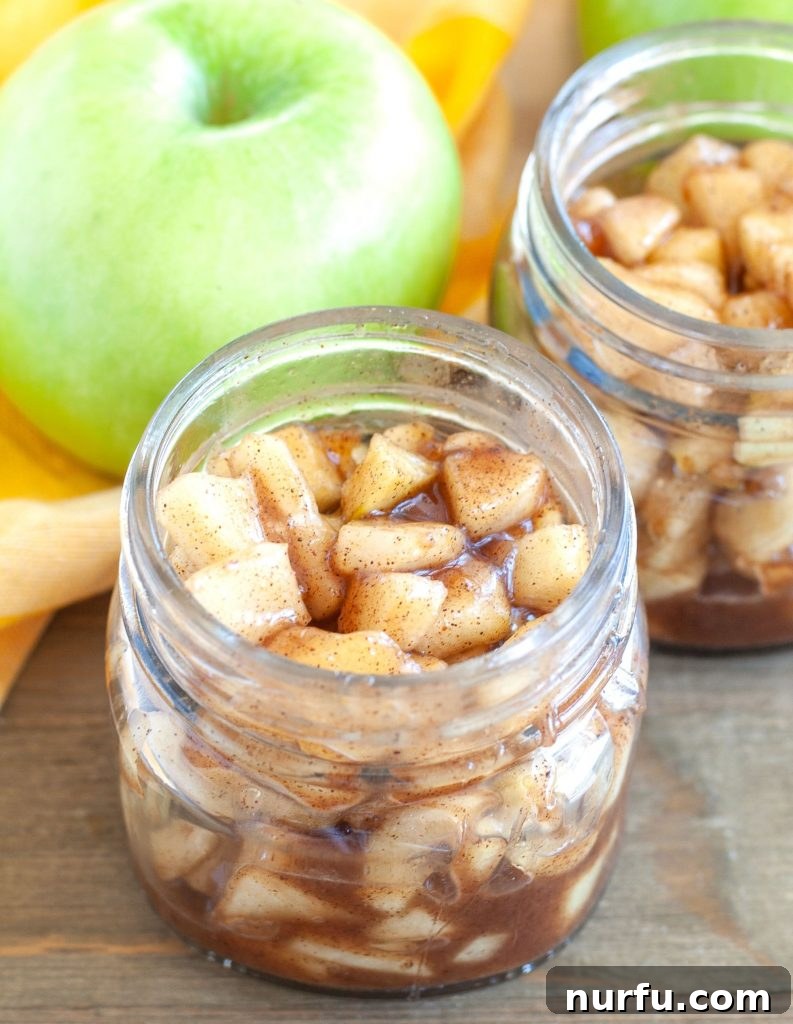
The Delight of Apple Season: Beyond the Pie
There’s nothing quite like the experience of apple picking with family—a cherished tradition that fills our baskets and inspires countless culinary creations. While a classic apple pie is often the first thought, the possibilities for fresh apples extend far beyond. I love experimenting with various apple-infused treats. Some of my personal favorites include a moist fresh apple cake with butterscotch chips, hearty apple cinnamon baked oatmeal cups, and these delightfully chewy cinnamon apple nut blondies. This homemade filling recipe opens up a world of apple-centric dessert opportunities, ensuring no apple goes to waste!
Choosing the Best Apples for Your Pie Filling
The type of apple you choose is crucial for achieving the perfect balance of flavor and texture in your pie filling. A good apple for baking holds its shape well, preventing a mushy filling, and offers a pleasant tartness to cut through the sweetness. My absolute top recommendation for apple pie filling is the Granny Smith apple. Its firm texture stands up beautifully to cooking, and its distinctly tart flavor provides a wonderful contrast to the sugar and spices.
However, Granny Smiths aren’t your only option. Other excellent choices that perform well in baking include:
- Pink Lady: Offers a good balance of sweet and tart with a crisp texture.
- Fuji: Known for its crispness and sweet flavor, it works well when combined with a tarter apple.
- Braeburn: Provides a rich, aromatic flavor and holds its shape exceptionally well.
- Jonagold: A cross between Jonathan and Golden Delicious, offering a sweet-tart taste and a firm texture.
For an even more complex and nuanced flavor profile, consider using a combination of two different apple varieties. For instance, pairing a tart Granny Smith with a sweeter Fuji or Pink Lady can create a harmonious blend that will make your filling truly stand out.
Essential Ingredients for Your Homemade Apple Pie Filling
Crafting this delicious apple pie filling requires just a handful of pantry staples. Each ingredient plays a vital role in creating the perfect consistency and flavor:
- Apples: The star of the show! Choose firm, crisp apples as recommended above.
- Lemon Juice: Essential for preventing the peeled and diced apples from browning, preserving their fresh appearance. It also adds a subtle bright note that enhances the apple flavor.
- Butter: Adds richness and helps to sauté the apples, contributing to a deeper, more caramelized flavor.
- Sugar: Sweetens the filling, balancing the tartness of the apples. You can adjust the amount to your preference based on the sweetness of your chosen apples.
- Cinnamon: The quintessential spice for apple dishes, providing warmth and a comforting aroma.
- Corn Starch: Our secret weapon for achieving a perfectly thick, glossy filling without cloudiness. It creates a smooth, clear sauce that coats the apples beautifully.
- Nutmeg: A classic pairing with cinnamon, nutmeg adds an earthy, slightly sweet depth to the spice blend.
- Allspice: Contributes a warm, complex flavor profile reminiscent of cloves, cinnamon, and nutmeg, tying all the spices together.
- Water: Used to create the initial cooking liquid for the apples and to form the cornstarch slurry.
How to Make Homemade Apple Pie Filling: A Simple Step-by-Step Guide
You’ll be amazed at how straightforward and quick it is to prepare this delicious apple pie filling from scratch. I often make a large batch, especially during the autumn season, to have on hand for a variety of desserts and toppings. Follow these easy steps to create your own:
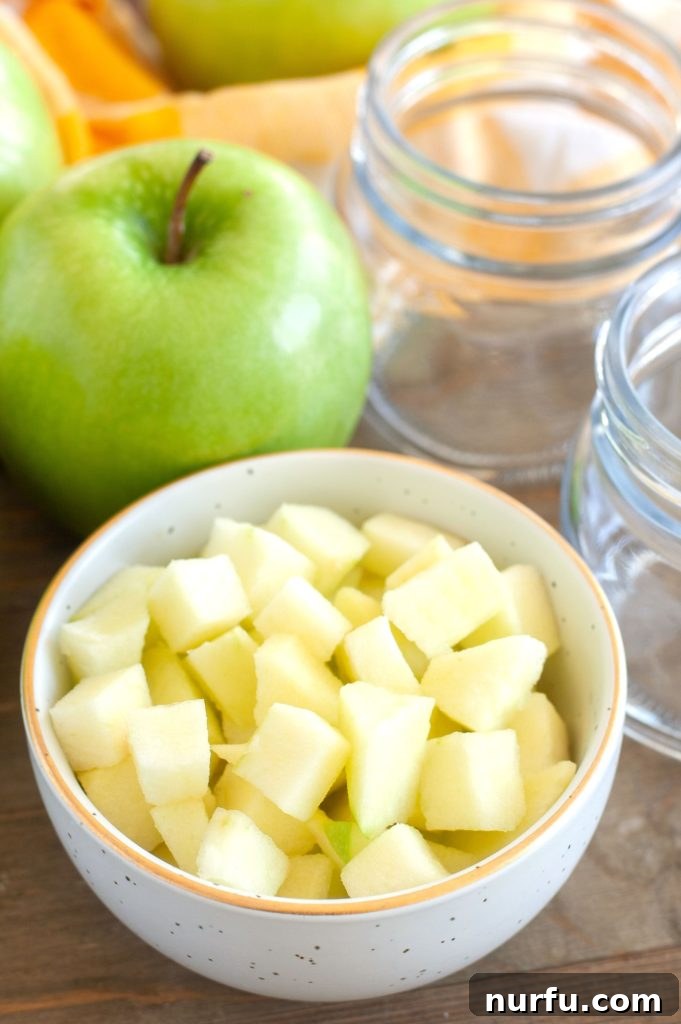
- Prepare the Apples: Begin by carefully peeling, coring, and dicing your chosen apples. I prefer to cut the apples into smaller, uniform pieces (about 1/2 to 3/4 inch cubes) as they cook more evenly and are easier to eat in a pie or crumble. However, if you prefer larger chunks or slices, feel free to adapt the cut to your liking. Immediately toss the diced apples with lemon juice in a large bowl. This crucial step prevents oxidation, keeping your apples from browning and maintaining their appealing color.
- Melt Butter and Infuse Spices: In a large, heavy-bottomed skillet or saucepan, melt the butter over medium heat. Once the butter has melted, add the cinnamon, nutmeg, and allspice. Stir constantly for about 30 seconds to a minute until the spices become fragrant. This step helps to bloom the spices, intensifying their flavor before the apples are added.
- Cook the Apples to Tenderness: Add the lemon juice-coated apples, granulated sugar, and water to the skillet. Stir everything together to ensure the apples are evenly coated. Continue to cook, stirring occasionally, for approximately 5 to 7 minutes. During this time, the apples will begin to soften slightly, releasing some of their natural juices. Be careful not to overcook them at this stage; they should be tender-crisp, not mushy, as they will continue to cook when used in a dessert.
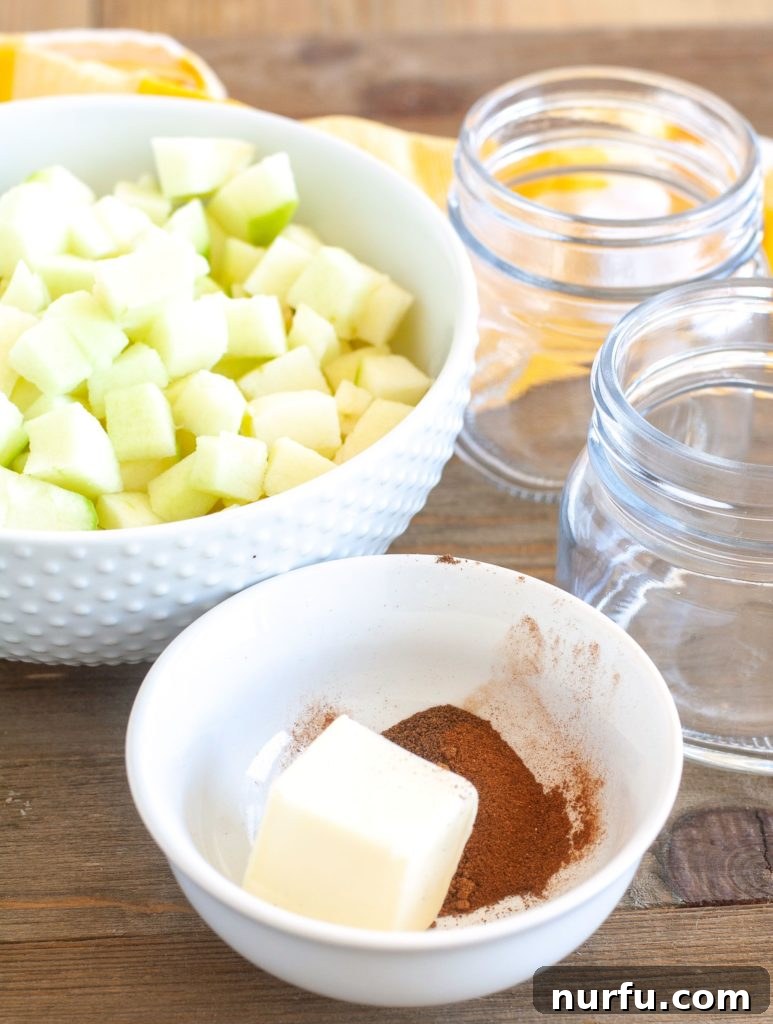
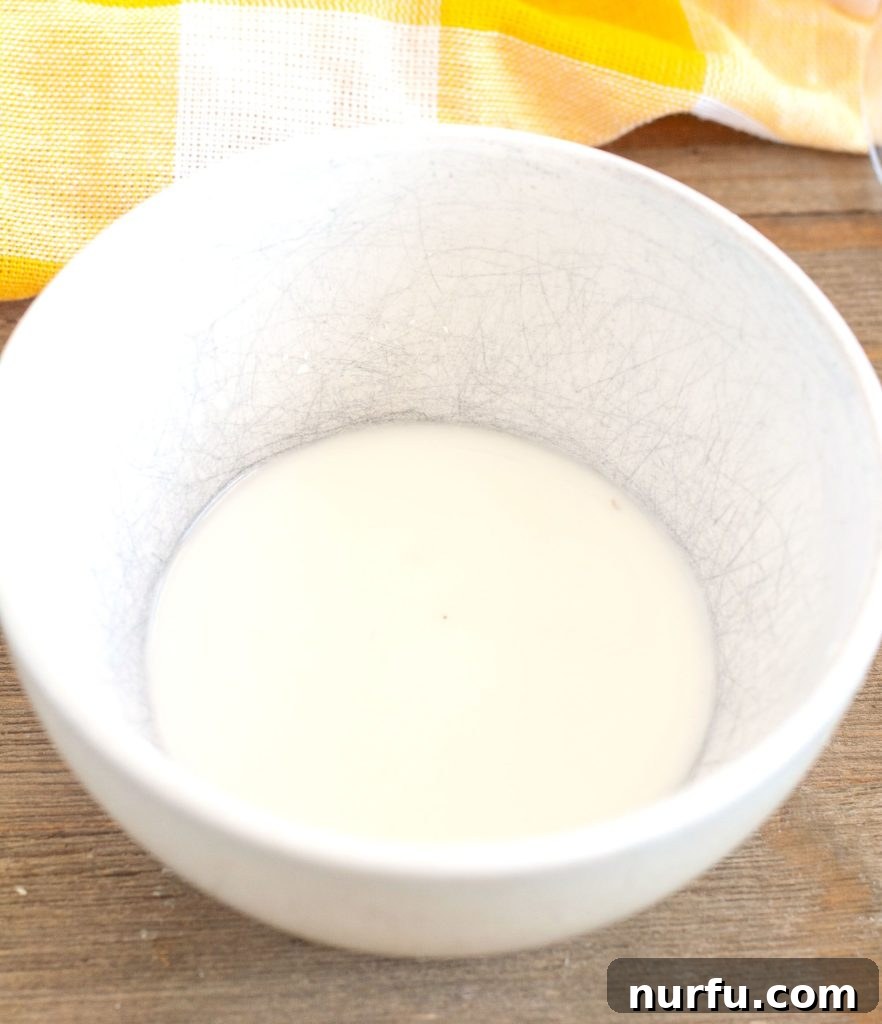
- Prepare the Cornstarch Slurry: While the apples are softening on the stove, prepare your thickening agent. In a small separate bowl, whisk together the cornstarch with 2 tablespoons of cold water until a smooth slurry forms. Ensure there are no lumps, as these can cause an unevenly thickened filling.
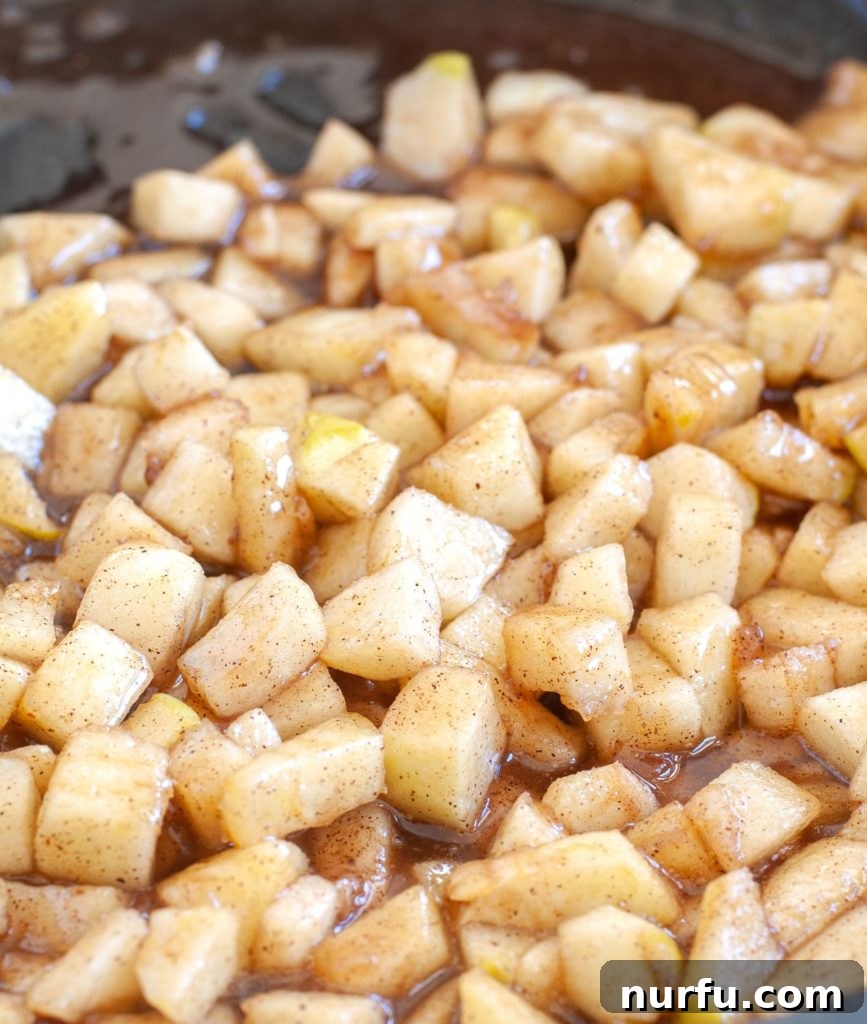
- Thicken the Filling: Once the apples are tender-crisp, slowly drizzle the cornstarch slurry into the simmering apple mixture in the skillet, stirring continuously. Continue to cook and stir for another 3 to 5 minutes. The mixture will gradually thicken to a glossy, desirable consistency. You’ll know it’s ready when it coats the back of a spoon and appears translucent.
- Serve or Store: Remove the skillet from the heat. Your homemade apple pie filling is now ready to be used warm or cooled for later storage. If storing, allow the filling to cool completely before transferring it to an airtight container. Mason jars are an excellent choice for convenient storage.
Creative Ways to Use Your Cooked Apple Pie Filling
This homemade apple pie filling is incredibly versatile, making it much more than just a pie ingredient. Its sweet, spiced apple goodness can elevate a wide array of dishes. Here are some of my favorite ways to enjoy this delicious creation:
- Classic Apple Pie or Tart: The obvious choice! Spoon it into your favorite pie crust for a timeless dessert.
- Apple Crisp or Crumble: Top with a buttery oat crumble and bake until golden and bubbly.
- Apple Turnovers: Wrap in puff pastry or pie dough for individual, portable treats.
- Breakfast Enhancer: Serve warm over pancakes, waffles, oatmeal, or French toast for a decadent morning meal.
- Ice Cream Topping: A spoonful over vanilla bean ice cream is a simple yet satisfying dessert.
- Yogurt Parfaits: Layer with Greek yogurt and granola for a healthy, flavorful snack or breakfast.
- Dump Cake: An effortless dessert where the filling forms the base for a cake mix and butter topping.
- Cheesecake Topping: A delicious addition to plain or vanilla cheesecake.
- Filled Pastries: Use as a filling for crepes, hand pies, or even empanadas.
Storing Your Homemade Apple Pie Filling
Proper storage ensures your delicious homemade apple pie filling stays fresh and ready for your next culinary adventure.
Refrigerator Storage
Once your apple pie filling has cooled completely, transfer it to an airtight container, such as glass jars or food-grade plastic containers. Store it in the refrigerator for up to 5-7 days. Always ensure the filling is cool before sealing to prevent condensation and maintain freshness.
Can You Freeze Apple Pie Filling? Absolutely!
Freezing is an excellent way to extend the life of your homemade apple pie filling, allowing you to enjoy the taste of fresh apples months later.
How to Freeze Apple Pie Filling:
First, allow the apple mixture to cool down completely to room temperature. This is crucial to prevent ice crystals from forming and to maintain the texture of the apples. Once cooled, spoon the filling into freezer-safe bags or containers. If using bags, press out as much air as possible before sealing and lay them flat to freeze. This creates thin, stackable blocks that save freezer space.
You can store frozen apple pie filling for up to 3 months. When you’re ready to use it, simply transfer the frozen filling to the refrigerator and allow it to thaw overnight. For a quicker thaw, you can place the sealed freezer bag in a bowl of cold water. Once thawed, gently reheat the filling in a saucepan over medium-low heat, stirring occasionally, until warmed through.
Frequently Asked Questions About Apple Pie Filling
Yes, it is highly recommended to cook apples before incorporating them into a pie. Pre-cooking helps to soften the apples, which prevents them from shrinking too much during baking and creating a gap between the crust and the filling. It also allows the apples to release their natural juices, which then combine with the thickener to create a more flavorful and consistent filling. This process also brings out the apples’ natural sweetness and enhances their texture.
Apple pie filling can be effectively thickened using either cornstarch or all-purpose flour. Both work by absorbing moisture and creating a gel-like consistency when heated. Cornstarch tends to produce a clearer, more translucent, and glossy filling, while flour often results in a slightly cloudier, opaque finish. For this recipe, we use cornstarch for its superior thickening power and aesthetic appeal.
Lemon juice serves multiple important functions in apple pie filling. Primarily, it acts as an antioxidant, preventing the peeled and sliced apples from oxidizing and turning brown. This keeps your filling looking fresh and appetizing. Additionally, the acidity of the lemon juice helps to brighten and enhance the natural flavor of the apples, balancing out the sweetness and adding a pleasant tang.
The choice between flour and cornstarch for thickening pie filling often comes down to personal preference and desired outcome. I personally prefer thickening with cornstarch because it creates a beautifully shiny, clear, and smooth filling. Cornstarch also has twice the thickening power of flour, meaning you need less of it. Flour, while effective, can sometimes impart a slightly floury taste if not cooked sufficiently, and it produces a more opaque, matte finish.
Once you experience the rich flavor and perfect texture of this homemade apple pie filling, you’ll likely find yourself saying goodbye to the canned versions forever. It’s a simple pleasure that truly elevates any apple-based dessert.
More Delicious Apple Recipes to Explore
If you find yourself with an abundance of apples or simply crave more apple-inspired dishes, here are a few other fantastic recipes to try:
- Wendy’s Apple Pecan Salad
- Crab Apple Recipes
- Apple Pie Shot
Cooked Apple Pie Filling Recipe
By Heather Seeley
This easy homemade apple pie filling is a delightful creation, perfect for a myriad of desserts.
- Prep Time: 5 minutes
- Cook Time: 10 minutes
- Total Time: 15 minutes
- Yields: Approximately 2 cups
Ingredients
- 4 large apples, peeled and cubed (Granny Smith recommended)
- 1 tablespoon lemon juice
- 2 tablespoons butter
- 1.5 teaspoons cinnamon
- 1/2 teaspoon nutmeg
- 1/2 teaspoon allspice
- 1/3 cup water
- 1/2 cup sugar
- 1 tablespoon cornstarch
- 2 tablespoons cold water (for slurry)
Instructions
- Peel and chop apples. Toss them immediately with 1 tablespoon of lemon juice to prevent browning.
- In a large skillet or saucepan, melt the butter over medium heat. Add cinnamon, nutmeg, and allspice, stirring until fragrant (about 30 seconds).
- Stir in the diced apples, 1/3 cup water, and 1/2 cup sugar. Cook, stirring occasionally, for approximately 5 minutes, or until the apples begin to soften.
- While the apples are cooking, whisk together 1 tablespoon of cornstarch and 2 tablespoons of cold water in a small bowl to create a smooth slurry.
- Gradually drizzle the cornstarch mixture into the simmering apples, stirring constantly. Continue to cook and stir for another 3-5 minutes, until the filling thickens and becomes glossy.
- Serve warm, or let cool completely before storing in an airtight container for future use.
Nutrition Information (per serving, approximate)
Please note: Nutrition information is automatically calculated and should be used as an approximation.
- Calories: 508kcal
- Carbohydrates: 106g
- Protein: 1g
- Fat: 12g
- Saturated Fat: 7g
- Cholesterol: 30mg
- Sodium: 108mg
- Potassium: 389mg
- Fiber: 10g
- Sugar: 88g
- Vitamin A: 546IU
- Vitamin C: 20mg
- Calcium: 37mg
- Iron: 1mg
Additional Information
- Course: Dessert
- Cuisine: American