
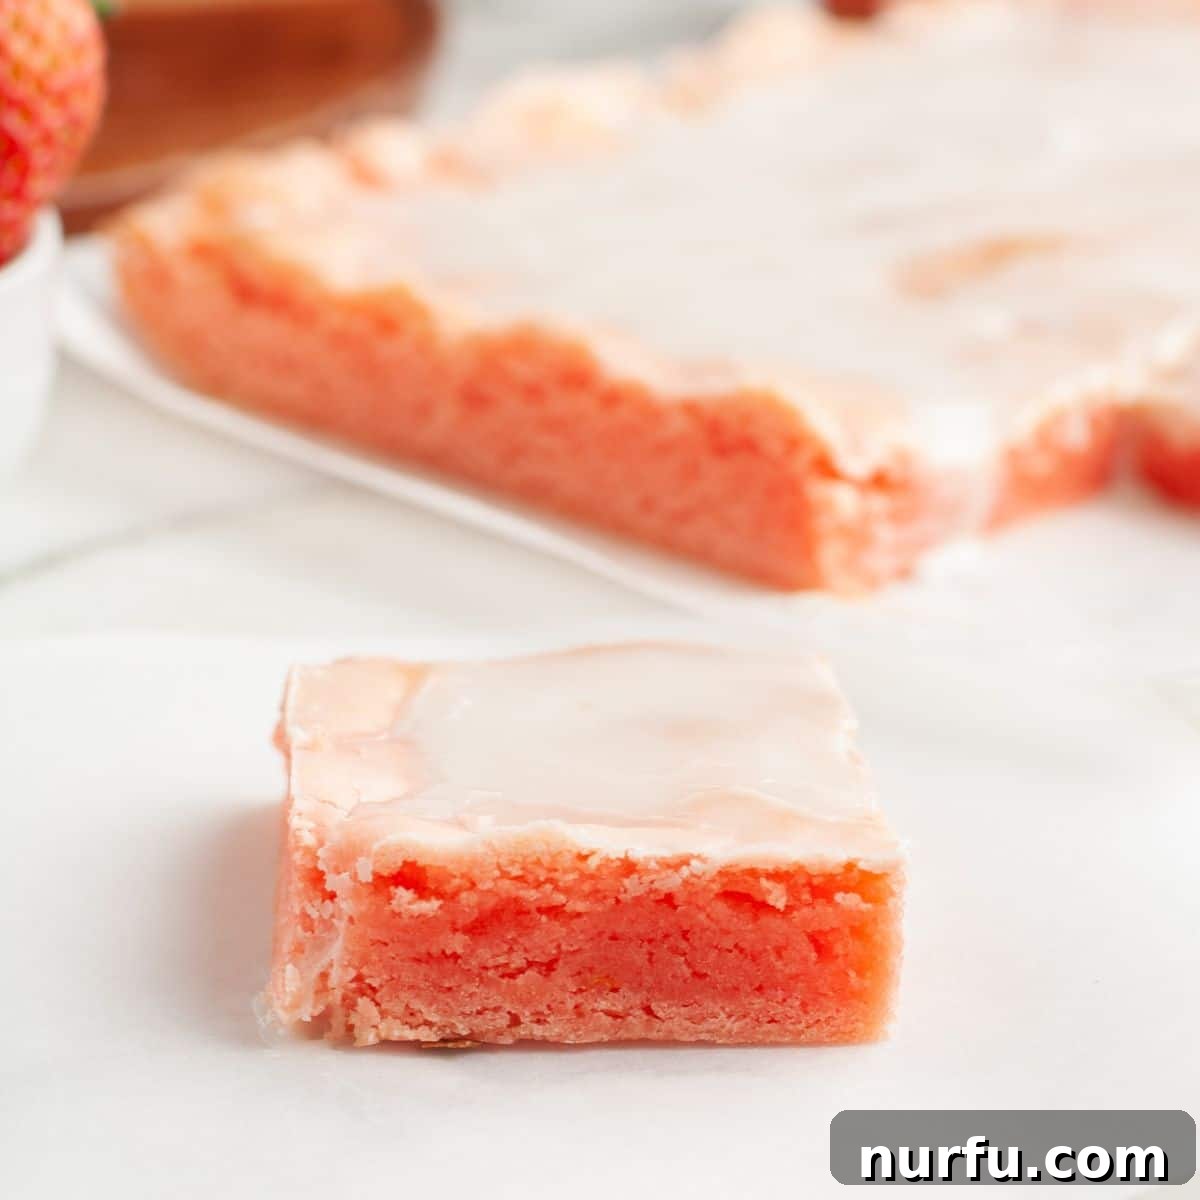
Unlock the secret to an irresistibly chewy, sweet, and vibrantly flavored dessert with these incredible Easy Strawberry Bars. Often affectionately dubbed “Strawberry Brownies” for their delightful texture, this recipe simplifies baking using just six core ingredients, primarily a humble box of cake mix. Perfect for any occasion, these bars come together quickly, offering a burst of fruity flavor and a beautiful pink hue that’s sure to impress everyone. Whether you’re a seasoned baker or a kitchen novice, these simple strawberry cake mix bars promise a satisfying and delicious treat with minimal effort.
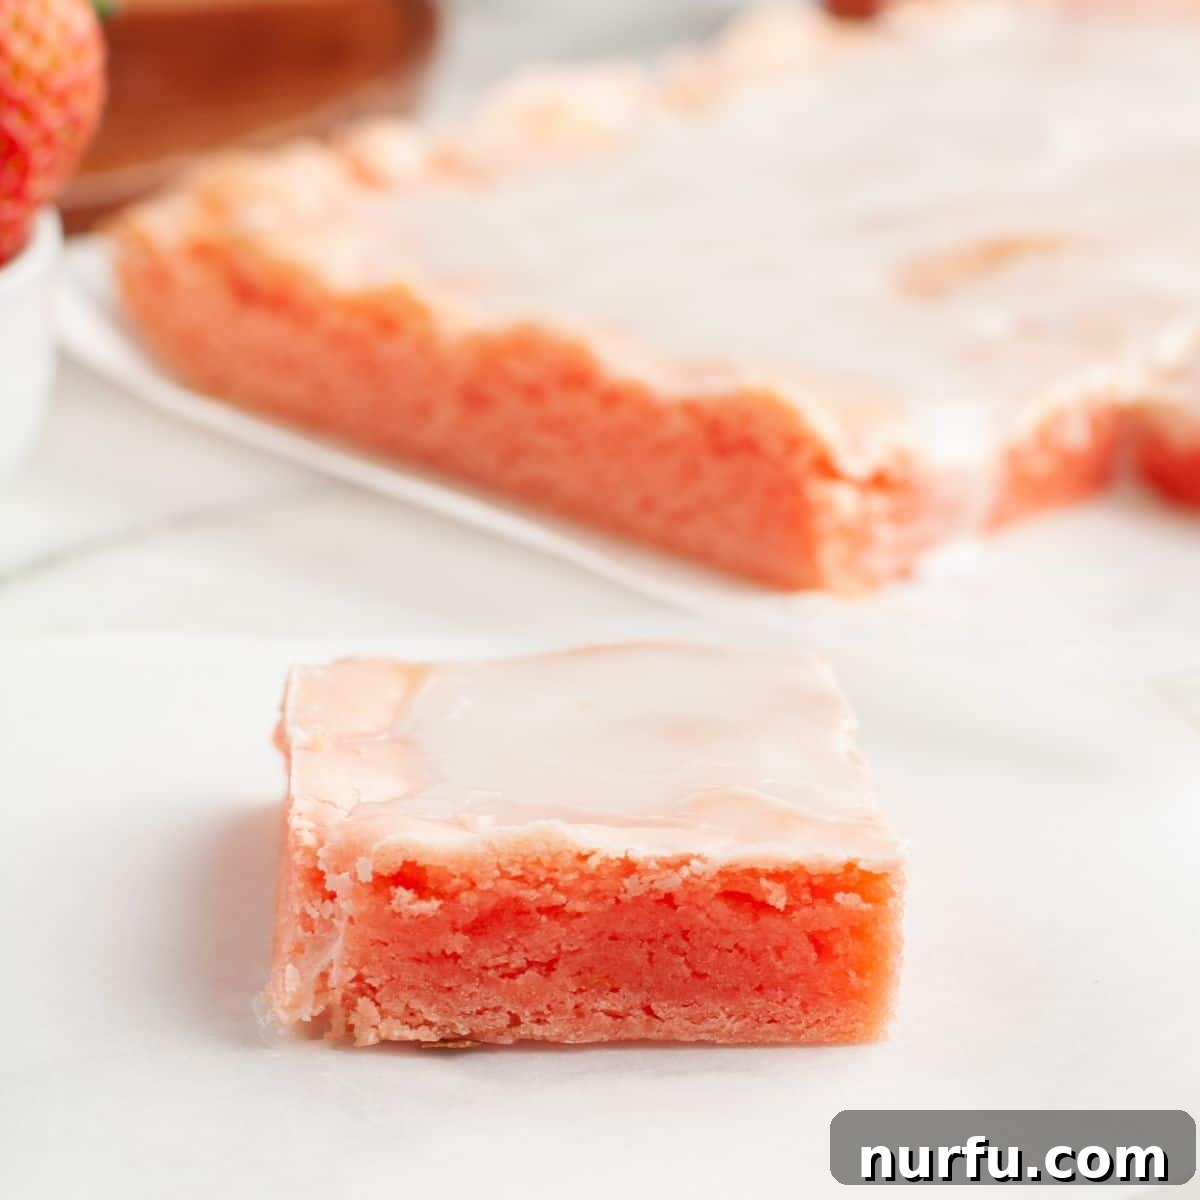
My journey with these delightful strawberry dessert bars began years ago, thanks to my sister. A friend of hers brought them to a baby shower, and their popularity was undeniable. The recipe was too good not to share, and it quickly found its way into my kitchen. I remember making them for my daughter’s princess birthday party. Instead of traditional chocolate brownies, these pretty pink treats were a spectacular hit! Their vibrant color and fresh strawberry taste captivated everyone, making them a memorable part of the celebration. It was clear then that these weren’t just a dessert; they were a moment of joy wrapped in a delightful bite.
The true genius behind this recipe lies in its simplicity: a box of strawberry cake mix. This unassuming ingredient transforms into a chewy, flavorful bar with surprisingly little effort. It’s truly remarkable how versatile and easy-to-use cake mixes can be, opening up a world of quick dessert possibilities that taste homemade without the fuss. This shortcut ensures consistency and saves precious time, making baking accessible and enjoyable for everyone. Forget complicated measurements and extensive ingredient lists; with a cake mix, you’re halfway to a sensational dessert.
While I believe these cake mix bars are a welcome treat at any time of year, their cheerful pink color and sweet flavor make them particularly well-suited for special occasions. Imagine serving them at a Valentine’s Day gathering, adding a festive touch to an Easter brunch, or delighting guests at a baby shower. They also make fantastic additions to bake sales, potlucks, or simply as a comforting dessert after a family meal. Their universal appeal and ease of preparation mean you’ll find yourself turning to this recipe again and again.
If you love the convenience and delicious results of baking with cake mix, you’re in for a treat! There’s a whole world of possibilities beyond just cakes. Explore other fantastic cake mix recipes like a luscious Pink Lady Cake, charming Strawberry Cake Mix Cookies, zesty Lemon Cake Mix Cookies, versatile Cake Mix Cookie Bars, classic Chess Squares, or even surprising Cake Mix Waffles for a unique breakfast or brunch twist. Each recipe showcases the incredible adaptability of this pantry staple.
Table of Contents
- Why You’ll Love This Easy Recipe
- Essential Ingredients for Strawberry Bars
- Step-by-Step: How to Make Strawberry Bars
- Expert Baking and Glazing Tips
- Storage and Freezing Guidelines
- Frequently Asked Questions
- More Irresistible Cake Mix Recipes
- Strawberry Bars With Cake Mix Recipe
Why You’ll Love This Easy Recipe
These delightful strawberry bars are more than just a dessert; they are a celebration of ease and flavor. Here’s why they’re destined to become a staple in your recipe collection:
- Minimal Ingredients, Maximum Flavor: With just 6 pantry staples, you can create a truly sensational dessert. This simplicity means less shopping and more baking, making it perfect for last-minute cravings or unexpected guests. You likely have most of these ingredients on hand already!
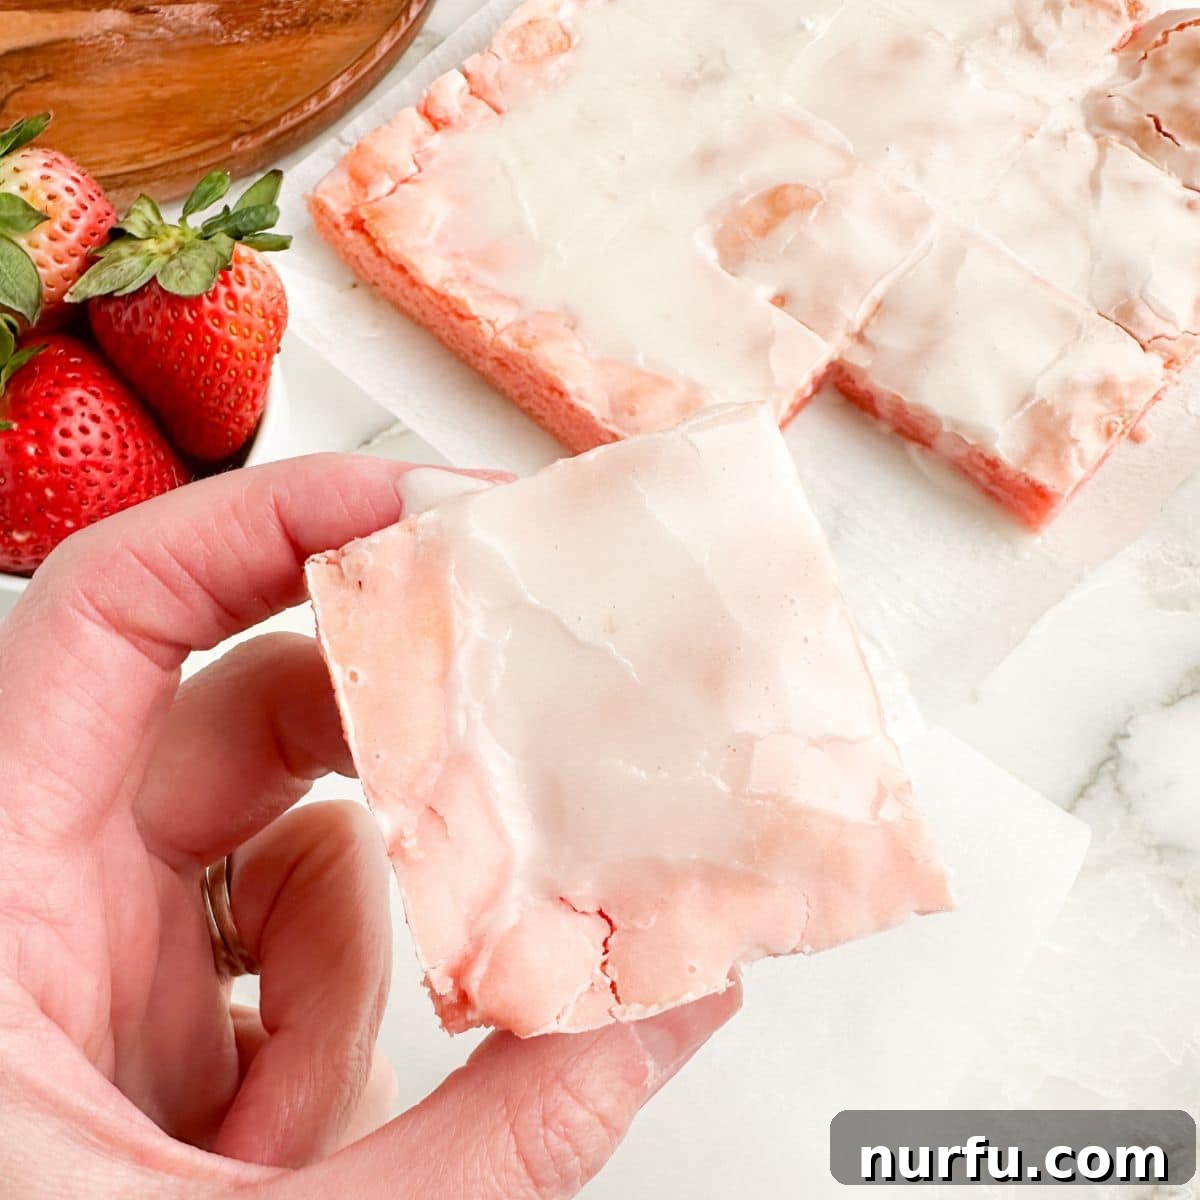
- Irresistible Taste and Texture: Forget dry, crumbly bars! These strawberry bars boast a wonderfully chewy texture, reminiscent of a classic brownie, paired with a vibrant and authentic strawberry flavor. The sweet glaze adds a perfect finishing touch, balancing the fruitiness with a hint of vanilla. Each bite is a harmonious blend of chewy, soft, and moist.
- Versatility for Every Occasion: From casual family desserts to elegant party platters, these bars fit seamlessly into any setting. Their charming pink color makes them a festive addition to holidays like Valentine’s Day and Easter, and they’re always a hit at baby showers, birthdays, potlucks, and bake sales. They’re a guaranteed crowd-pleaser that adds a touch of homemade charm wherever they go.
- Quick & Effortless Preparation: Thanks to the cake mix shortcut, these bars come together in record time. The prep work is minimal, leaving you more time to enjoy the baking process and, more importantly, the delicious results! It’s the ideal recipe for busy schedules when you need a fantastic dessert without the fuss.
Essential Ingredients for Strawberry Bars
Crafting these delectable strawberry cake mix bars is surprisingly simple, primarily thanks to our star ingredient: a box of strawberry cake mix. Here’s a closer look at the few key items you’ll need to create this tempting treat:
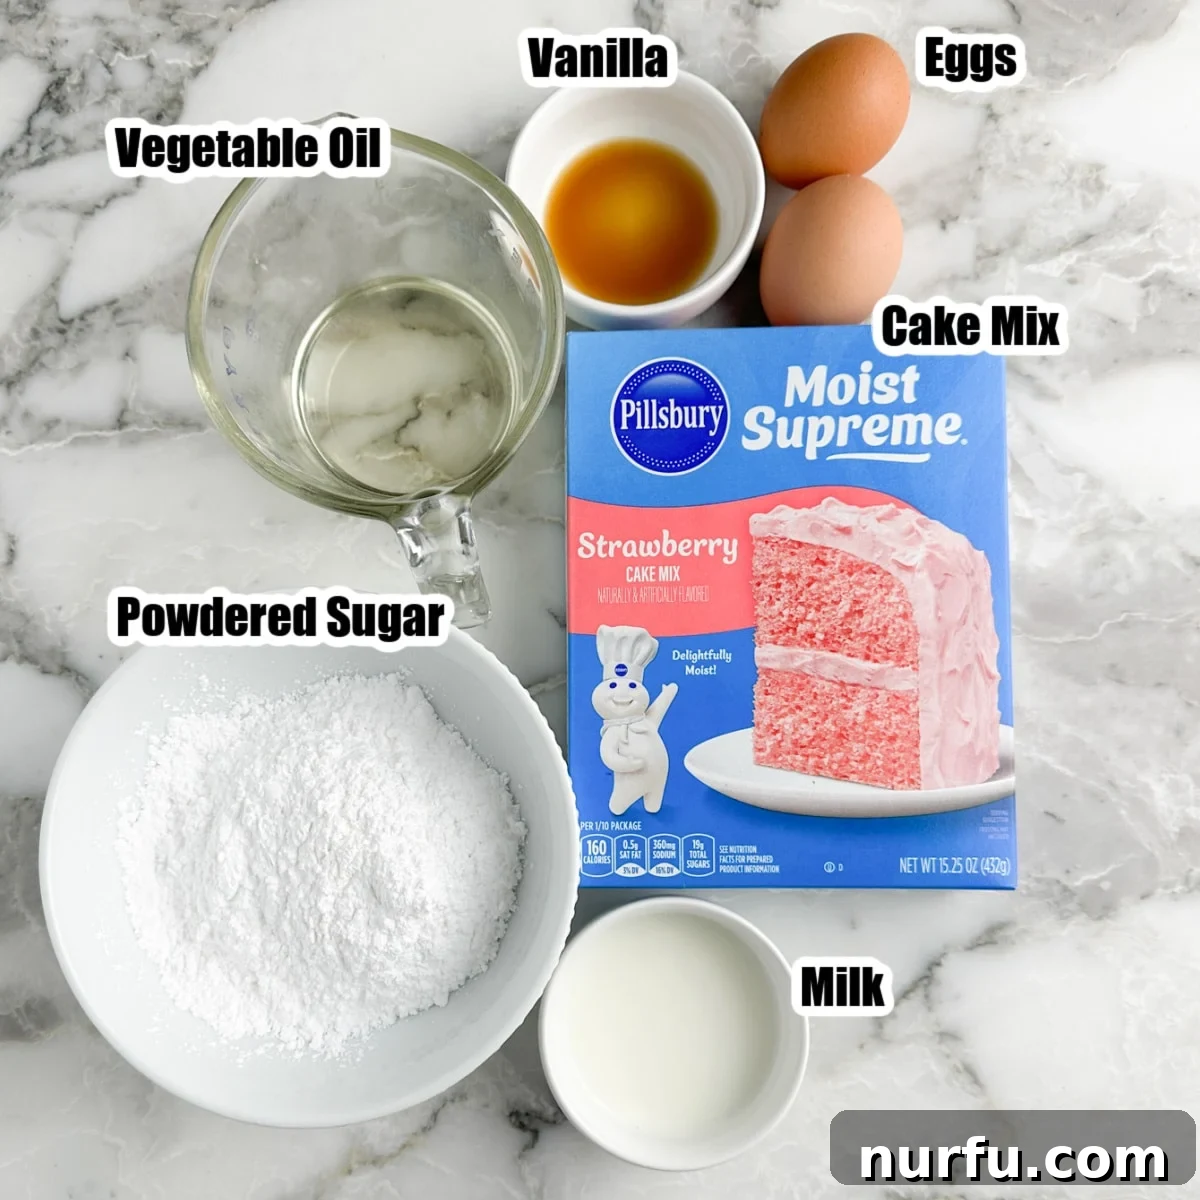
- Strawberry Cake Mix: This is the foundation of our recipe. Any standard 15.25-ounce box of strawberry cake mix will work perfectly. Brands like Duncan Hines or Pillsbury are excellent choices, offering a consistent and delicious base. The cake mix provides not just the flavor but also the perfect dry ingredients for that chewy brownie-like texture.
- Vegetable Oil: Used in the batter, vegetable oil contributes to the moist and chewy consistency of the bars. It helps bind the ingredients together without adding any overpowering flavor, allowing the strawberry to shine. You can also use other neutral oils like canola oil if preferred.
- Eggs: Two large eggs are essential for structure and richness. They act as a binding agent, helping the bars hold their shape and contributing to their tender crumb. Make sure your eggs are at room temperature for better incorporation into the batter.
- Powdered Sugar (Confectioners’ Sugar): This fine sugar is the key ingredient for our simple yet delicious glaze. Its powdery texture ensures a smooth, lump-free frosting that beautifully coats the bars.
- Vanilla Extract: A small amount of vanilla extract is added to the glaze to provide a subtle warmth and sweetness, complementing the strawberry flavor. While optional, it truly enhances the overall taste profile. For an extra pop of flavor, consider using vanilla bean paste.
- Milk: Used to create the glaze, milk helps achieve the desired pourable consistency. Any type of milk (dairy or non-dairy) will work. If you don’t have milk on hand, water or even a splash of fruit juice can be substituted for a slightly different flavor profile.
Step-by-Step: How to Make Strawberry Bars
You’ll be amazed at how quickly and effortlessly these vibrant strawberry bars come together. Follow these simple steps for a truly delicious result. For the complete printable recipe, please refer to the dedicated recipe section below.
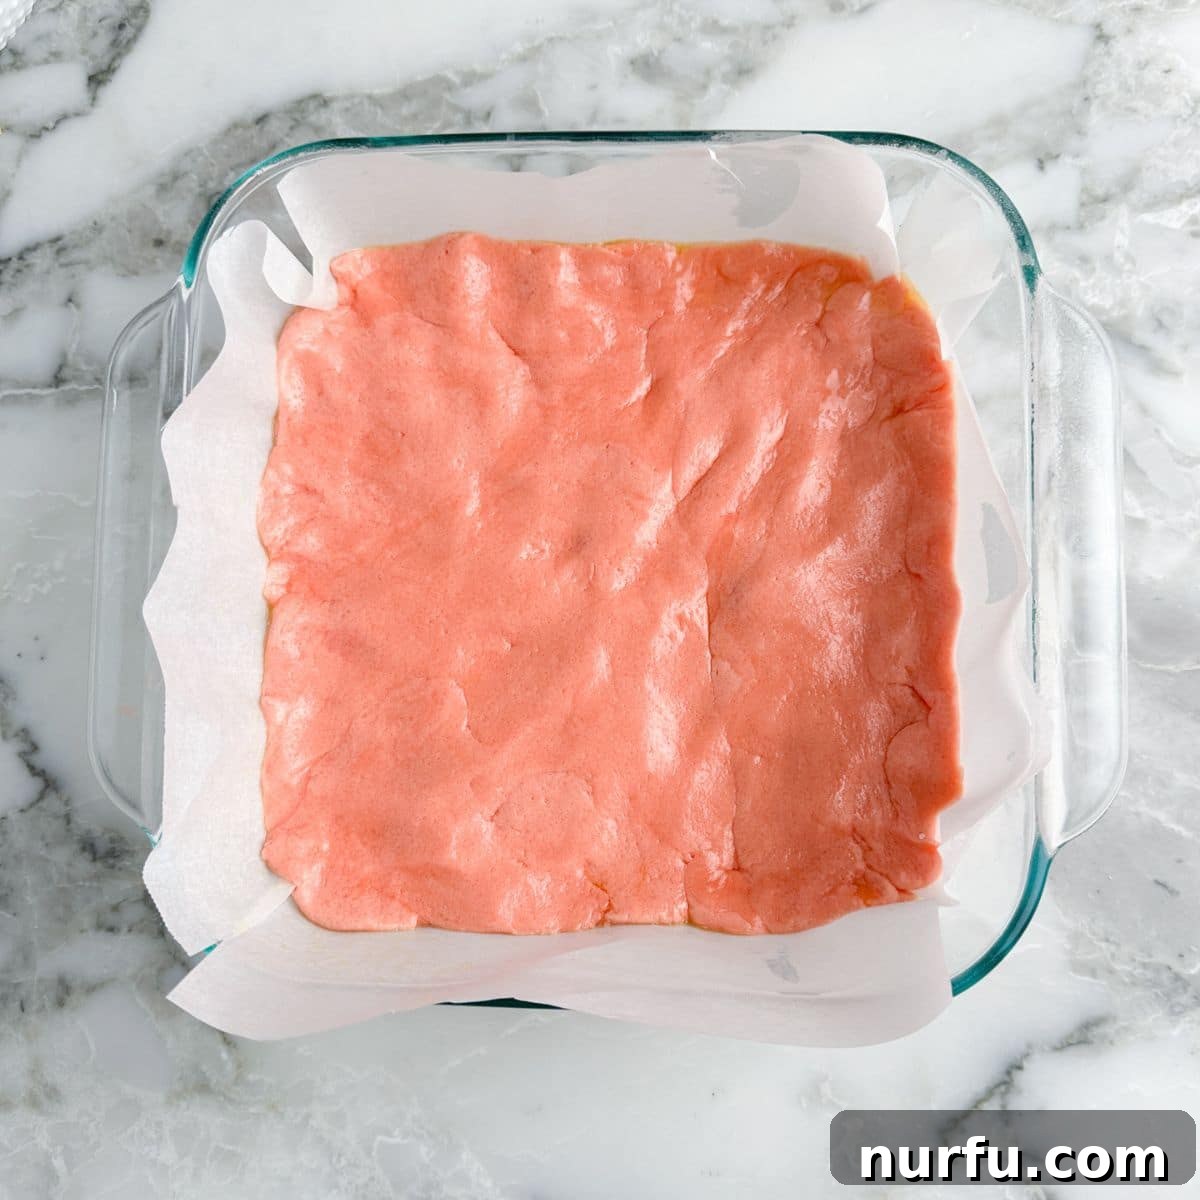
- Prepare Your Baking Dish: Begin by preheating your oven to 350 degrees F (175 degrees C). This ensures the oven is at the correct temperature for even baking. Next, take an 8×8-inch baking dish. Line it with parchment paper, allowing an overhang on the sides. This overhang will act as “handles,” making it incredibly easy to lift the baked bars out of the pan. Finish by lightly spraying the parchment paper with non-stick cooking spray to prevent sticking.
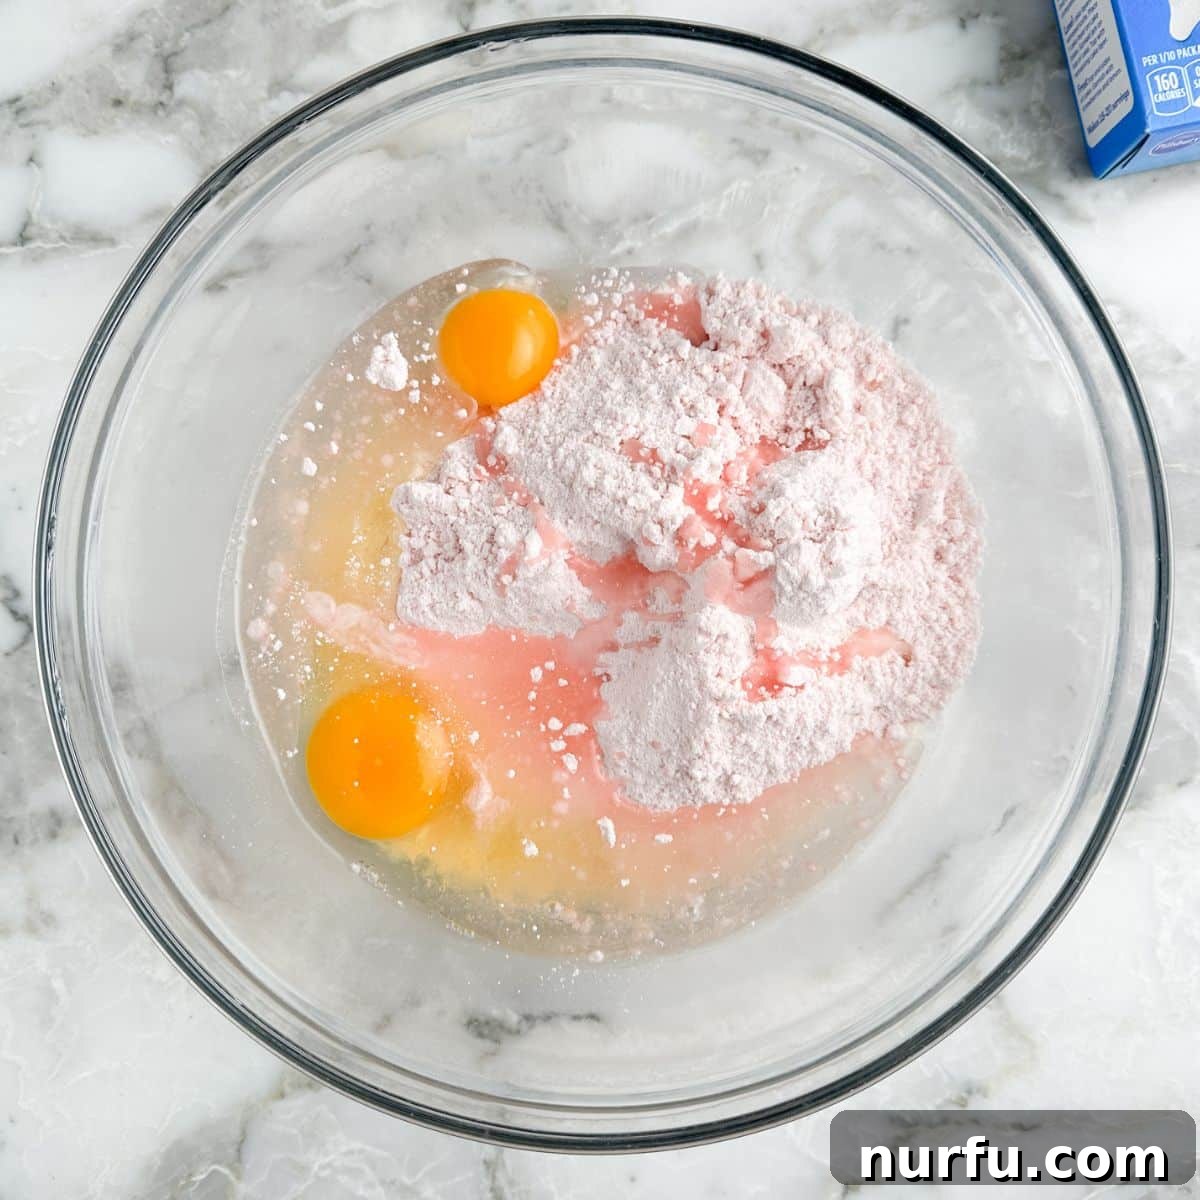
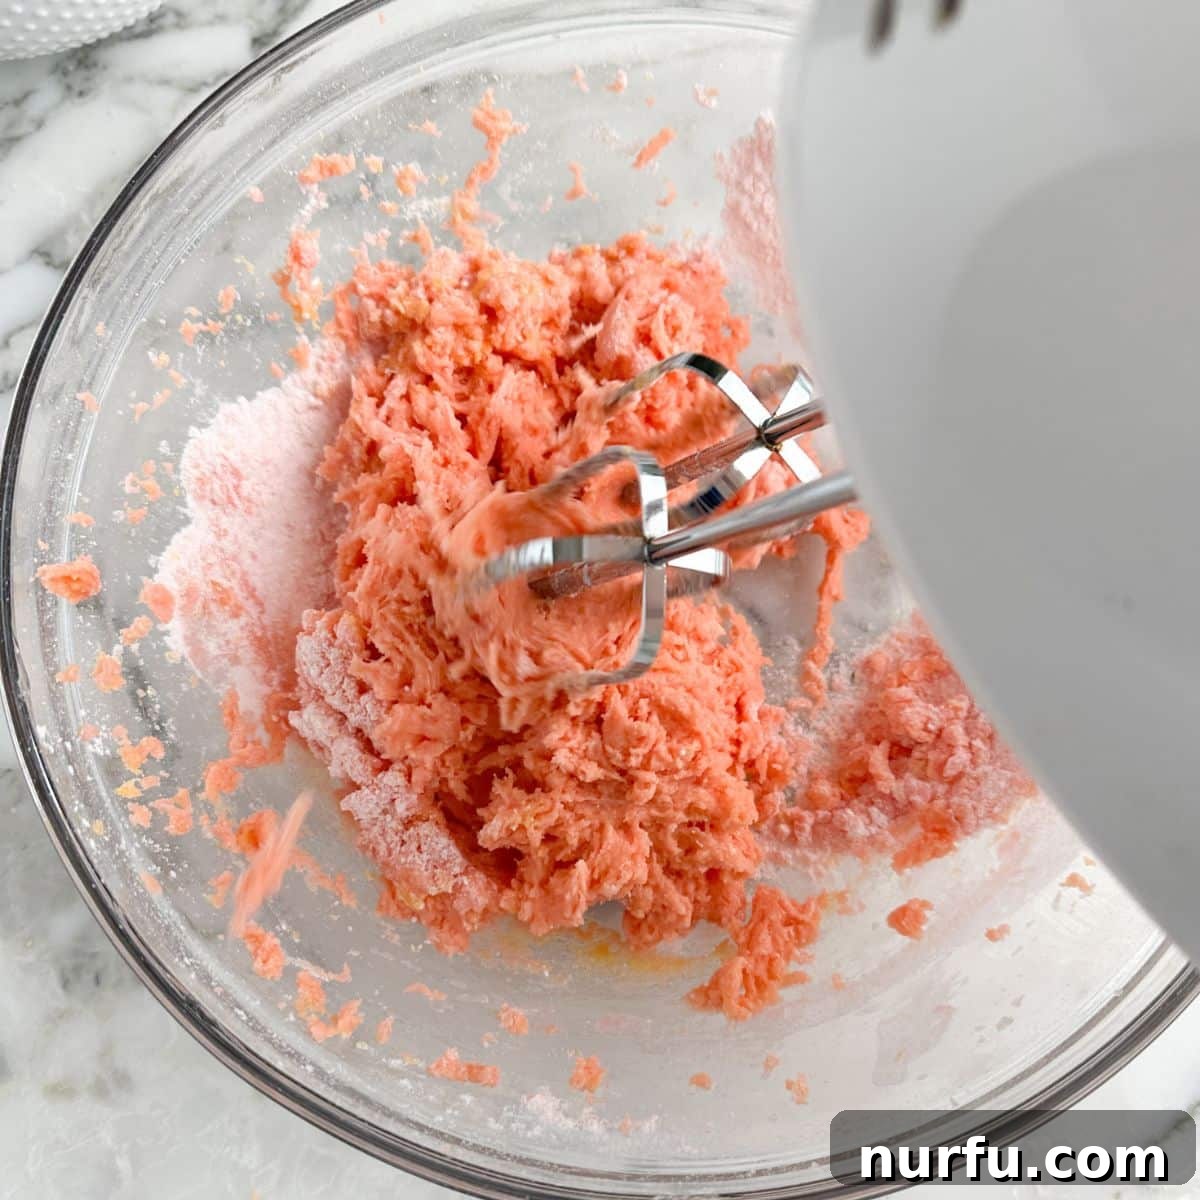
- Mix the Batter: In a large mixing bowl, combine the entire box of strawberry cake mix with the two large eggs and the vegetable oil. Using an electric mixer (handheld or stand mixer) on medium speed, mix these ingredients until they are just combined. The batter will be quite thick and dense, which is perfectly normal for these brownie-like bars. Avoid overmixing, as this can lead to a tougher texture. Mix only until no dry streaks of cake mix remain, usually about 1-2 minutes.
- Bake to Perfection: Evenly spread the thick batter into your prepared 8×8-inch baking dish. You might find it helpful to use an offset spatula or the back of a spoon (lightly sprayed with cooking spray) to press the batter smoothly into the corners and achieve an even layer. Bake for 15-18 minutes. The exact baking time may vary slightly depending on your oven. To check for doneness, insert a toothpick into the center of the bars; it should come out with a few moist crumbs, but no wet batter. Be careful not to overbake, as this can result in dry bars.
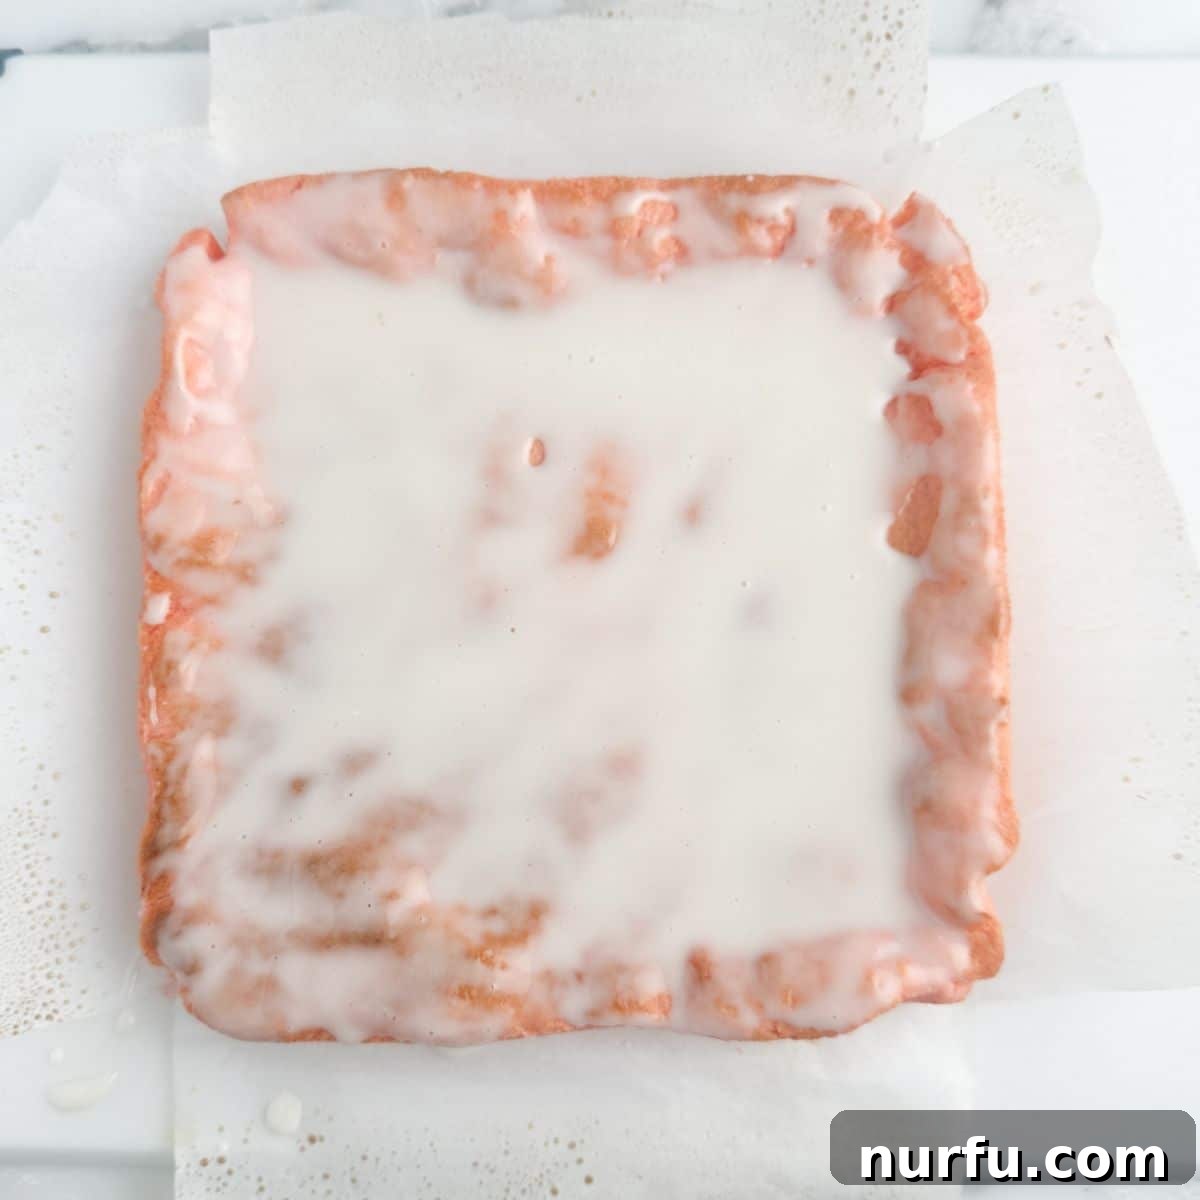
- Prepare and Apply the Glaze: While the bars cool, prepare your simple glaze. In a small bowl, whisk together the powdered sugar, vanilla extract, and milk until the mixture is smooth and lump-free. The consistency should be pourable but not too thin. If it’s too thick, add a tiny bit more milk; if too thin, whisk in a little more powdered sugar. Once the bars are completely cooled in the pan (this is crucial for the glaze to set properly), carefully use the parchment paper overhang to lift them out and transfer them to a cutting board or wire rack. Pour the prepared glaze evenly over the cooled strawberry bars, spreading it gently to the edges with a spatula if needed.
Expert Baking and Glazing Tips
Achieving the perfect strawberry bar is easy with a few key considerations. Here are some invaluable tips to ensure your dessert turns out absolutely delicious every time:
- Avoid Overmixing the Batter: When combining the cake mix, eggs, and oil, mix just until the ingredients are fully incorporated and no dry pockets of cake mix remain. Overmixing can develop the gluten in the flour, leading to a tougher, less tender bar. A light hand with the mixer is key to a chewy, soft texture.
- Don’t Be Alarmed by Thick Batter: The batter for these strawberry bars will be noticeably thick and dense. This is the intended consistency that gives them their delightful brownie-like chewiness, rather than a light, airy cake texture. Don’t be tempted to add extra liquid; just trust the process and spread it out as evenly as possible.
- Prepare Your Pan Properly: Lining your baking dish with parchment paper and giving it a light spray of non-stick cooking spray is essential. The parchment paper creates convenient “handles” that allow you to easily lift the entire slab of bars out of the pan once baked and cooled. This makes cutting them into neat squares much simpler and prevents any sticking. I also find it helpful to lightly spray my spatula with cooking spray before spreading the thick batter, as this prevents it from sticking to the utensil.
- Ensure Complete Cooling Before Glazing: Patience is a virtue, especially when it comes to glazing. It’s absolutely crucial to let the strawberry bars cool completely before you pour on the glaze. If the bars are even slightly warm, the glaze will melt and absorb into the bars, creating a messy rather than a beautifully coated finish. Allow them to cool on a wire rack for at least 30-60 minutes, or longer if needed.
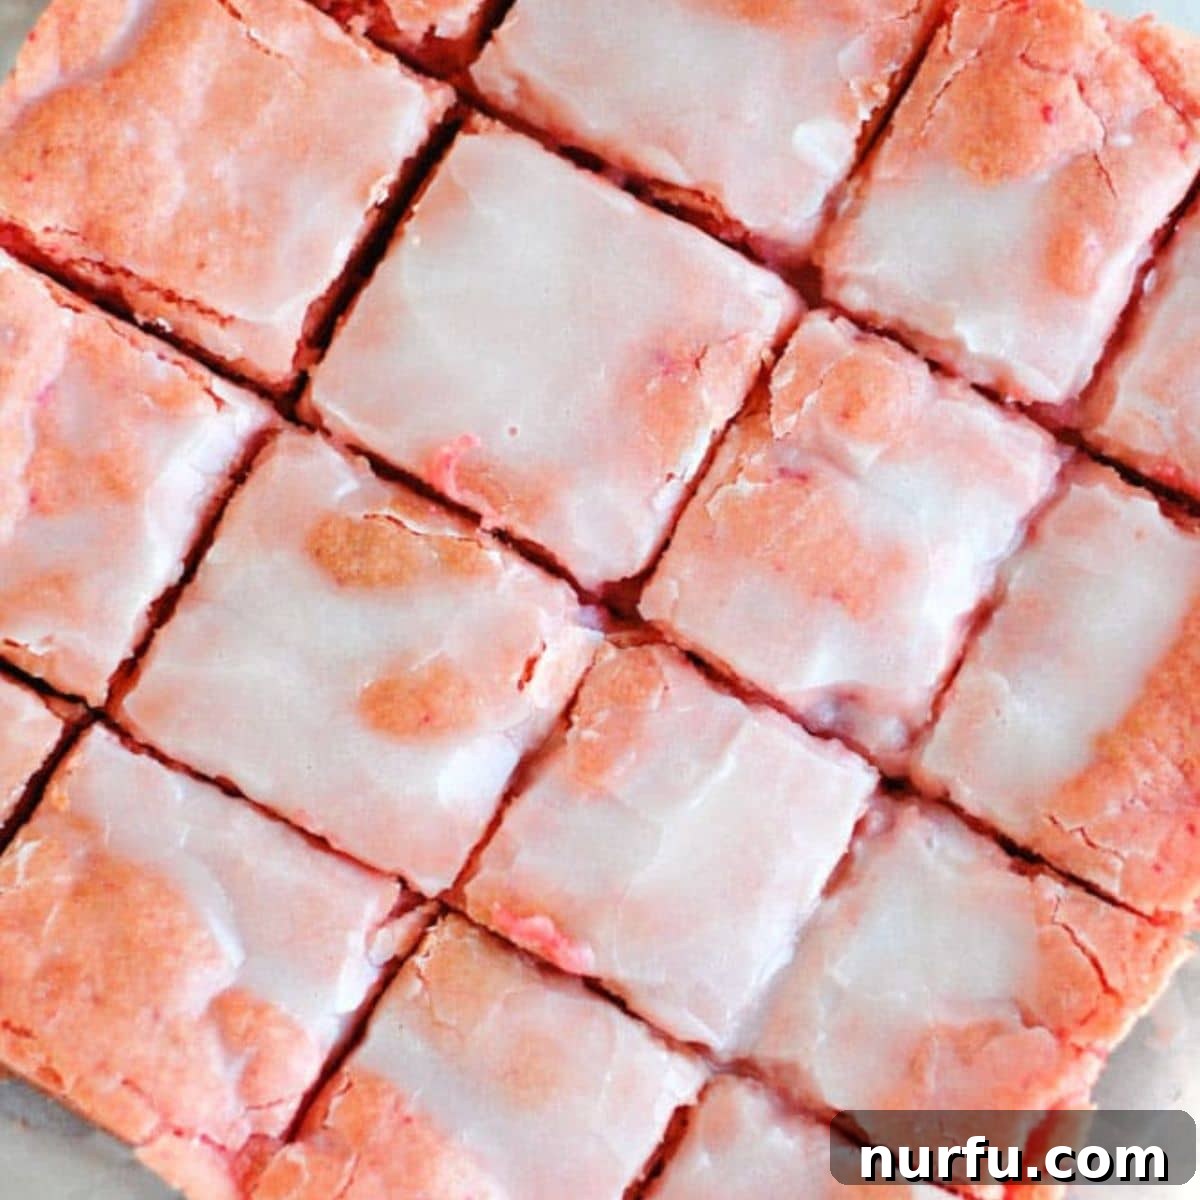
- Chill to Set the Glaze: For a firm, neat glaze that won’t smudge when you cut or serve, I highly recommend placing the glazed bars in the refrigerator for about 15-20 minutes. This quick chill helps the powdered sugar glaze to firm up beautifully, ensuring clean slices and a picture-perfect presentation.
- Customize Your Glaze: Feel free to experiment with the glaze! For a tangier flavor, use lemon juice instead of milk. For a richer glaze, substitute heavy cream for milk. You can also add a tiny drop of red food coloring to make the glaze a vibrant pink, though it’s lovely as is.
- Add-Ins for Extra Flair: While delicious on their own, these bars are also great for customization. Consider folding in a handful of white chocolate chips into the batter for an extra layer of sweetness, or sprinkling some chopped fresh strawberries on top of the glaze before it sets for a fresh burst of fruitiness and visual appeal.
Storage and Freezing Guidelines
Ensuring your delicious strawberry bars stay fresh and delightful is simple with these storage recommendations:
Storing Leftovers: Once completely cooled and glazed, any leftover strawberry bars should be stored in an airtight container. They will remain wonderfully fresh for up to 3 days when kept at room temperature. If you prefer a slightly firmer texture or live in a warmer climate, you can also store them in the refrigerator for 4-5 days. Bringing them to room temperature for about 15 minutes before serving can enhance their flavor and texture.
Freezing for Later: These strawberry bars freeze exceptionally well, making them perfect for meal prep or enjoying a homemade treat whenever a craving strikes. After they have cooled and the glaze has fully set, cut the bars into individual squares. Place them in a single layer in a freezer-safe bag or an airtight container, separating layers with parchment paper to prevent sticking. They can be frozen for up to 3 months. When you’re ready to enjoy them, simply thaw the bars on the countertop overnight or for a few hours until soft. They’ll taste almost as fresh as the day they were baked!
Frequently Asked Questions
Got questions about these delightful strawberry bars? We’ve got answers to help you bake with confidence!
Can I use any brand of cake mix?
Absolutely! Most standard 15.25-ounce boxes of strawberry cake mix will work perfectly for this recipe. Popular brands like Duncan Hines or Pillsbury are reliable choices and will yield excellent results, providing that consistent strawberry flavor and color.
Do strawberry brownies have a cake texture?
Despite being made with cake mix, these delightful treats are designed to have a dense, chewy texture, much closer to a brownie than a light and fluffy cake. This unique characteristic is what makes them so popular and distinguishes them from a typical sheet cake.
How do I know when strawberry bars are done baking?
The best way to check for doneness is the classic toothpick test. Insert a toothpick into the center of the bars. If it comes out with a few moist crumbs attached, but no wet batter, your bars are perfectly baked. Avoid overbaking, as this can make them dry and crumbly.
Can I add fresh strawberries to the batter?
While the cake mix provides plenty of strawberry flavor, you can absolutely fold in about 1/2 cup of finely diced fresh strawberries into the batter before baking for an extra burst of fresh fruit. Just be aware that fresh fruit adds moisture, so the baking time might increase slightly.
What if I don’t have parchment paper?
While parchment paper is highly recommended for easy removal, if you don’t have it, you can still bake these bars. Generously grease and flour your baking pan. However, be extra careful when removing the bars, as they may be more prone to sticking.
Can I make a cream cheese glaze instead?
Yes, for an even richer and tangier topping, you can make a simple cream cheese glaze. Whisk together 4 ounces softened cream cheese, 1/2 cup softened unsalted butter, 2 cups powdered sugar, and 1 teaspoon vanilla extract until smooth. Spread over cooled bars.
More Irresistible Cake Mix Recipes
If you’ve discovered the magic of baking with cake mix and are eager for more quick and delicious dessert ideas, you’re in luck! The versatility of a simple box of cake mix knows no bounds. Here are more fantastic recipes that leverage this convenient pantry staple:
- Apricot Nectar Cake
- Peach Cobbler with Cake Mix
- Lemon Pound Cake with Cake Mix
- Do Nothing Cake
- Coffee Cake
- Cake Mix Brownies
Strawberry Bars With Cake Mix
Heather Seeley
5 mins
15 mins
20 mins
12
Rate Recipe
Print Recipe
Ingredients
- 1 15.25 ounces box of strawberry cake mix
- 1/3 cup vegetable oil
- 2 eggs
- 1 cup powdered sugar
- 1/2 teaspoon vanilla extract
- 2 tablespoons milk
Instructions
-
Preheat oven to 350 degrees F (175 C).
-
Line an 8×8 baking pan with parchment paper, leaving an overhang on the sides, and spray with non-stick cooking spray. This makes it easier to lift bars out of the pan and cut.
-
In a large mixing bowl, combine cake mix, eggs, and vegetable oil with a mixer until just combined. Mix for about 1-2 minutes until no dry streaks remain.
-
Spread the thick batter evenly into the prepared baking dish. Bake for 15-18 minutes or until a toothpick inserted into the center comes out with a few moist crumbs. Be careful not to overcook.
-
Allow bars to cool completely in the pan. Once cooled, use the parchment paper sides to lift the bars out of the pan and place them on a cutting board or wire rack. (You may trim the edges if desired.)
-
In a small bowl, whisk together the powdered sugar, vanilla extract, and milk until smooth and combined. Pour the glaze evenly over the cooled bars and spread to the edges.
-
For best results, place the glazed bars in the refrigerator for about 10-15 minutes to help the glaze set, then cut into squares and serve.
Notes
- Don’t over mix the batter: Mix only until the ingredients are just combined to keep the bars tender.
- This batter is thick: The dense consistency is normal and contributes to the chewy texture.
- Spray the baking dish and spatula: Line your baking dish with parchment paper and spray with non-stick cooking spray for easy removal. Spraying your spatula also helps spread the thick dough.
- Let cool: Make sure the bars are completely cool before adding the glaze; otherwise, it will melt.
- Chill to set the glaze: Refrigerating the glazed bars for about 15 minutes helps the glaze set beautifully for clean cuts.
Nutrition
Nutrition information is automatically calculated, so should only be used as an approximation.
Additional Info
Dessert
American