
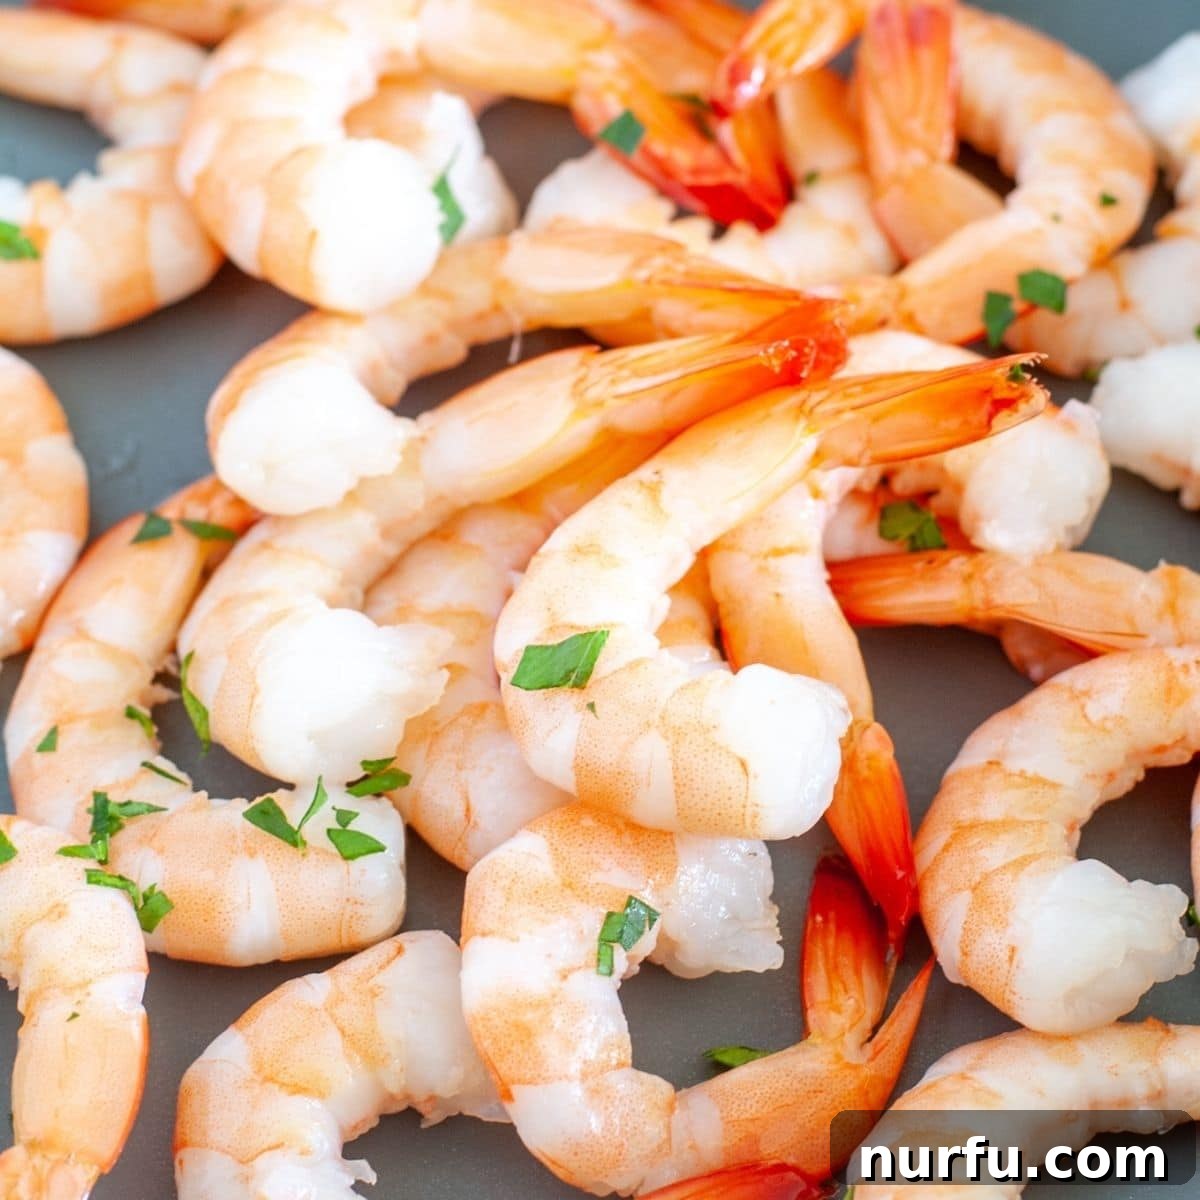
Craving the delectable taste of last night’s shrimp tacos for lunch? Or perhaps that savory shrimp scampi? If you’ve ever attempted to reheat shrimp, you know the common dilemma: it can easily transform from perfectly tender and juicy to disappointingly rubbery and chewy. Don’t let past experiences deter you from enjoying your delicious leftovers!
Shrimp, a versatile and beloved seafood, can be enjoyed in a myriad of ways – whether battered, steamed, sautéed, or grilled. The good news is that no matter how you initially prepared your shrimp, you can absolutely achieve that same delightful flavor and texture when reheating it. The secret lies in understanding the right techniques and choosing the best method for your specific dish.
In this comprehensive guide, we’ll dive deep into the art of reheating shrimp, exploring various methods to ensure your leftovers are just as mouth-watering as they were fresh. Say goodbye to dried-out, overcooked shrimp and prepare to master the techniques that will bring your seafood back to life, preserving its succulence and flavor.
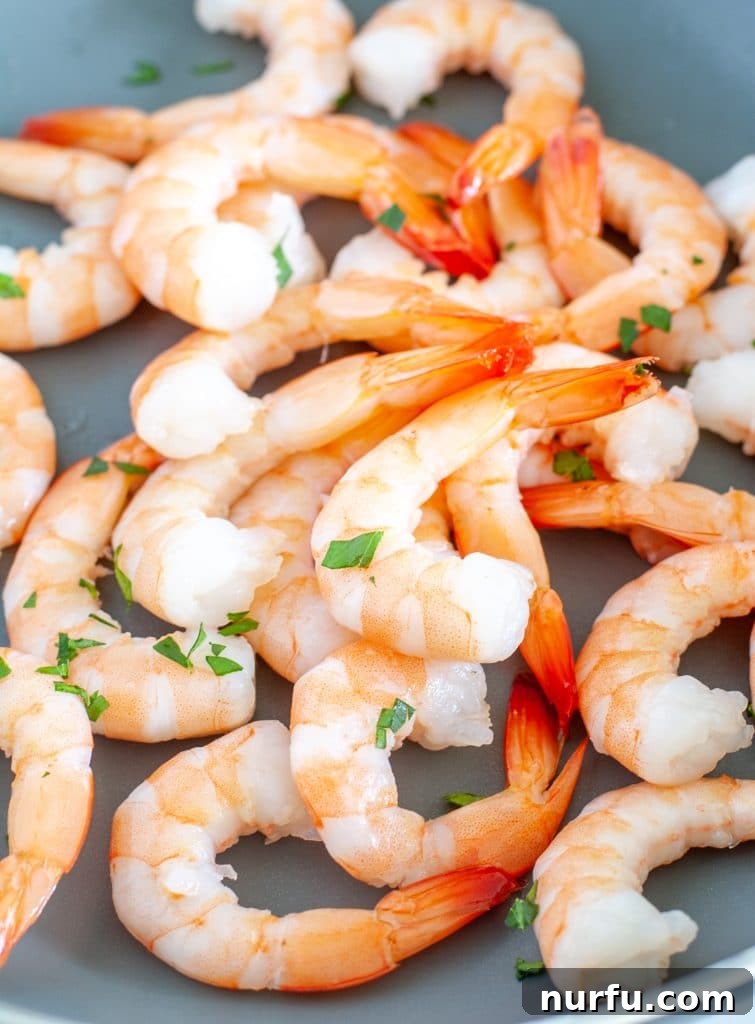
Table of Contents
- How to Reheat Shrimp Properly
- How to Reheat Shrimp in the Oven
- How to Reheat Shrimp on the Stove
- How to Reheat Shrimp in the Steamer
- How to Reheat Shrimp in the Air Fryer
- How to Reheat Shrimp in the Microwave
- How to Reheat Fried Shrimp for Crispy Results
- How to Reheat Shrimp Scampi
- How to Reheat Shrimp Boil
- Creative Ideas for Leftover Shrimp
- Conclusion
How to Reheat Shrimp Properly
Does the thought of reheating shrimp typically fill you with dread? It shouldn’t! Reheating leftover shrimp is just as straightforward as preparing it fresh, provided you follow a few key principles. The primary goal is to warm the shrimp thoroughly without overcooking, which is the main culprit behind that undesirable rubbery texture.
You can successfully reheat shrimp the very next day, and it can taste just as delicious as when it was first made. The trick lies in selecting the right method for your specific type of dish and being mindful of cooking times. Here, we’ll explore several effective techniques, offering you the best ways to reheat shrimp to perfection. Remember, the sooner you reheat your leftovers, the fresher they will taste, so aim to consume them within 1-2 days of initial cooking for optimal quality.
Before reheating, always ensure your shrimp has been stored properly in an airtight container in the refrigerator. This not only preserves its quality but also ensures food safety. When ready to reheat, pull the shrimp out of the fridge a few minutes beforehand to let it come closer to room temperature, which can help with more even heating.
How to Reheat Shrimp in the Oven
The oven is an excellent choice for reheating shrimp, especially when you want to maintain its delicate texture with minimal effort. This method is particularly versatile and works well for various shrimp-centric dishes, whether you’re warming up a shrimp casserole, enchiladas, mac and cheese, or simple shrimp tossed with herbs and butter. The oven offers even heating and is ideal for reheating larger portions without constant supervision.
The main consideration when using the oven is preventing the shrimp from drying out or becoming tough from overcooking. Fortunately, this is easily managed with a simple technique to lock in moisture.
- Preheat your oven to a moderate 300°F (150°C). A lower temperature helps prevent rapid moisture loss and ensures gentle reheating.
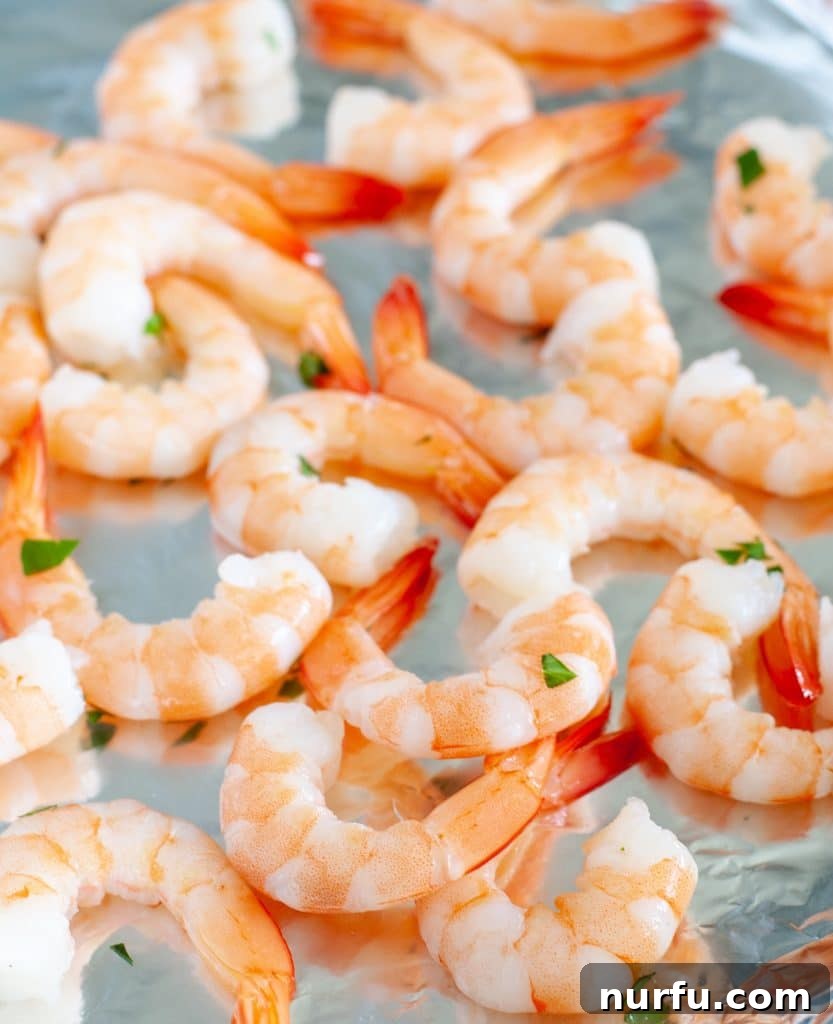
- Arrange your cooked shrimp in a baking dish or on a baking sheet. It’s crucial to spread them out in a single layer to ensure even heating. Overlapping shrimp can lead to some pieces being underheated while others are overcooked.
- To retain moisture, lightly sprinkle a teaspoon of water or a small amount of broth over the shrimp, then cover the dish tightly with aluminum foil. This creates a steaming effect, keeping the shrimp tender and juicy.
- Place the covered dish in the preheated oven and let the shrimp reheat for approximately 10 to 15 minutes. The exact time may vary based on the quantity and size of the shrimp, as well as the initial temperature.
- Check for warmth. The shrimp should be thoroughly heated through but still tender. Avoid leaving them in for too long once they are warm.
- Serve immediately and enjoy your perfectly reheated shrimp.
How to Reheat Shrimp on the Stove
The stovetop method is often my personal preference for warming up shrimp leftovers, particularly for smaller batches or sauced dishes. It’s incredibly fast, typically taking less than 10 minutes, and allows you to keep a close eye on each piece, ensuring no delicious shrimp falls victim to overcooking. Plus, it offers the flexibility to introduce additional ingredients or sauces, allowing you to easily refresh or even enhance the original flavors of your dish.
- In a skillet or frying pan, heat a small splash of oil (such as olive oil or butter) over medium heat. You want just enough oil to lightly coat the bottom of the pan and prevent sticking, not to deep-fry the shrimp. For an extra boost of flavor, you can add a minced garlic clove or a pinch of red pepper flakes to the oil as it heats.
- Once the oil is shimmering, add the shrimp to the skillet. Be careful not to overcrowd the pan; if reheating a larger quantity, work in batches to ensure even heating. Overcrowding can lower the pan’s temperature and lead to steaming rather than gentle reheating.
- Heat the shrimp for approximately 1 to 2 minutes per side, gently flipping them with tongs. The goal is to warm them through without cooking them further. They should be just heated, not sizzling intensely.
- Look for signs that the shrimp are thoroughly warmed. They should feel warm to the touch and regain some of their initial succulence.
- Once heated, remove the shrimp from the pan immediately. Serve hot and enjoy the revived flavors. This method is excellent for plain cooked shrimp, shrimp added to pasta, or stir-fries.
How to Reheat Shrimp in the Steamer
Using a steamer is another fantastic and often overlooked way to reheat shrimp, especially if you prioritize retaining moisture and a tender texture without adding any extra fats. This method is exceptionally gentle, relying on moist heat to warm the shrimp through, making it an ideal choice for delicate, un-breaded shrimp that you want to keep as succulent as possible.
The key to success with steaming is to ensure the shrimp is exposed only to the steam, not submerged in boiling water. Otherwise, you risk boiling the shrimp again, which can quickly lead to a rubbery texture.
- Fill a pot with about 1-2 inches of water and place a steamer basket inside. Ensure that the bottom of the steamer basket does not touch the water. If it does, reduce the water level.
- Arrange the cooked shrimp in a single layer within the steamer basket. This ensures that every piece receives even exposure to the steam. Avoid stacking them.
- Place the lid tightly on the pot to trap the steam effectively.
- Turn the stove on high heat and bring the water to a rolling boil. Once the water is boiling vigorously and steam is actively rising, set a timer for 2 to 3 minutes.
- After 2 minutes, carefully lift the lid (away from your face to avoid steam burns) and check the shrimp. They should be hot to the touch and plump. If they aren’t fully warmed, cover and steam for another minute, checking frequently.
- Once the shrimp are heated through, carefully remove the steamer basket from the pot. Serve immediately and savor the perfectly moist and tender shrimp. This method is perfect for plain boiled or steamed shrimp, or those in light sauces.
How to Reheat Shrimp in the Air Fryer
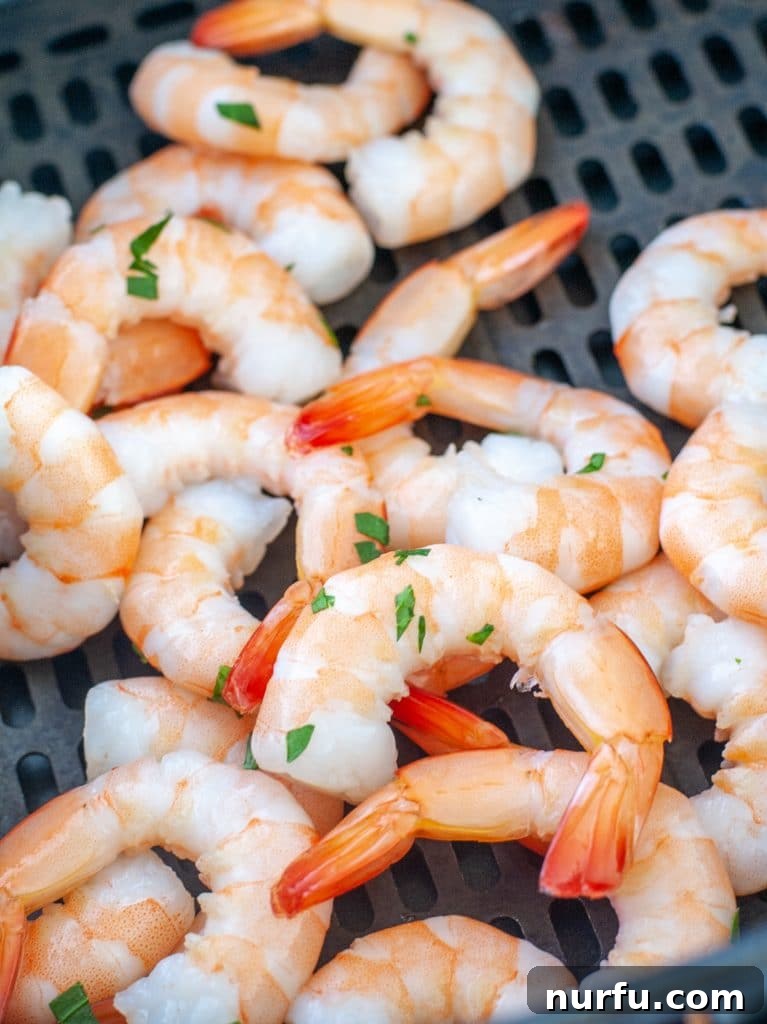
If you have an air fryer, you’re in for a treat! This appliance is a highly recommended tool for reheating shrimp, offering a balance of speed and excellent results. Reheating shrimp in the air fryer is almost as effortless as using a microwave but without the higher risk of ending up with rubbery seafood. It excels at restoring a slight crispness to the exterior while preserving the juicy tenderness within, making it a fantastic option for a variety of shrimp preparations.
- Preheat your air fryer to 300°F (150°C). Giving it a few minutes to reach the desired temperature ensures more consistent results.
- For non-breaded shrimp, you might want to lightly spray the bottom of the air fryer basket with a thin layer of cooking oil or line it with perforated parchment paper to prevent sticking. This also aids in achieving a nice texture.
- Place your cooked shrimp in a single layer inside the air fryer basket. Ensure there’s enough space between each piece for air to circulate freely. Do not overcrowd the basket, as this will result in uneven reheating and potentially steaming instead of crisping.
- Reheat the shrimp for 2 to 4 minutes, flipping them halfway through if desired, or until they are thoroughly warmed. Larger shrimp may take slightly longer, while smaller ones might be quicker.
- Check the shrimp for internal warmth. They should be hot to the touch and appear succulent.
- Carefully remove the shrimp from the air fryer basket. Serve immediately and enjoy the perfectly reheated, tender shrimp with a lovely light crispness. This method is particularly effective for grilled or pan-fried shrimp, or even leftover crispy shrimp.
How to Reheat Shrimp in the Microwave
When time is of the essence and your stomach is growling, the microwave stands as the quickest and most convenient option for warming up your shrimp. It requires minimal effort and can have your shrimp hot and ready in just a minute or two. However, the microwave is also the method with the highest risk of overcooking, which can quickly turn your delicate shrimp into a rubbery, chewy disappointment.
The key to successful microwave reheating is precise timing and the addition of a little moisture. It’s crucial not to leave the shrimp in for too long, as even a few extra seconds can make a significant difference in texture.
- Place the shrimp in a single layer inside a microwave-safe container or plate. Avoid piling them up, as this will lead to uneven heating.
- To help retain moisture and prevent drying out, sprinkle a tiny amount (about a teaspoon) of water or broth over the shrimp. Then, cover the container loosely with a lid or microwave-safe plastic wrap, leaving a small vent for steam to escape. This creates a mini-steaming environment.
- Microwave on high power for 30-60 seconds initially. The exact time will depend on your microwave’s wattage and the quantity of shrimp.
- After the initial burst, check the shrimp for warmth. If they are not yet thoroughly heated, stir them gently, and microwave for another 20-30 seconds, repeating this process in short intervals until they are just warmed through. It’s always better to reheat in short bursts and check often than to microwave for too long at once.
- Once heated, carefully remove the container. Serve immediately and enjoy your quickly reheated shrimp, taking care to avoid overcooking for the best texture. This method is best for plain or sauced shrimp in a pinch.
How to Reheat Fried Shrimp for Crispy Results
Reheating fried shrimp presents a unique challenge: preserving that wonderfully crisp, battered exterior while ensuring the succulent interior remains tender. It’s entirely achievable with the right approach! While the methods for reheating unfried shrimp largely apply, the focus here shifts to maintaining that coveted crunch. You can utilize several of the previously mentioned techniques, with the notable exception of the steamer, which would inevitably make the breading soggy and unappetizing.
- Microwave: While the fastest, it’s the least ideal for crispness. If speed is paramount, place a paper towel under the shrimp to absorb some moisture, and zap for 30-60 seconds in short bursts. Expect a softer coating.
- Stovetop: A good option for regaining some crispness. Heat a splash of oil (or the original frying oil if you saved it) in a skillet over medium-high heat. Add the fried shrimp in a single layer and heat for about 1-2 minutes per side, or until the breading is crisp again and the shrimp is hot.
- Oven: Excellent for larger batches and restoring overall crispness. Place your fried shrimp on a wire rack set over a baking sheet (this allows air circulation for crisping). Warm at 350°F (175°C) for 8-12 minutes, flipping halfway through, until crispy and heated.
- Air Fryer: Arguably the best method for reheating fried shrimp. Preheat to 350-375°F (175-190°C). Arrange shrimp in a single layer in the basket and air fry for 3-6 minutes, shaking the basket or flipping halfway through, until golden and crispy. This method mimics deep-frying without additional oil.
- Flash Frying: If you truly want to replicate the original crunch, flash frying is the way to go. Heat oil to 350-375°F (175-190°C) in a pot or deep skillet. Quickly drop the shrimp in for 30-60 seconds, just long enough to re-crisp the coating and heat the interior. Remove and drain on paper towels. This method is fast but requires more oil and attention.
- Broiler: A fantastic option if you want crispy fried shrimp without adding extra oil. Place shrimp on a baking sheet and broil on high for 1-2 minutes per side, keeping a very close watch to prevent burning. The intense direct heat will quickly re-crisp the breading.
How to Reheat Shrimp Scampi
Shrimp scampi, with its luscious garlic-butter sauce and tender shrimp, is utterly irresistible and a personal favorite! It’s common to have leftovers, especially after making a generous portion. To reheat shrimp scampi effectively, the goal is to warm both the shrimp and the pasta/sauce without drying out the shrimp or making the pasta mushy. The microwave, oven, or stovetop are all viable options, with your choice largely depending on the quantity and how much time you have.
- Microwave: This is the most efficient option for individual servings. Place your shrimp scampi in a microwave-safe container. If it looks a little dry, add a tiny splash of chicken broth or water to the container before covering it loosely. Reheat on high for about 1-2 minutes, stirring halfway through, until heated through. Be cautious not to overcook the shrimp. A fresh squeeze of lemon juice after reheating can brighten the flavors.
- Stovetop: If you have a bit more time and want to revive the flavors beautifully, the stovetop is excellent. In a skillet, heat a splash of olive oil or a knob of butter over medium-low heat. Add your shrimp scampi, gently tossing it with tongs. If the sauce has thickened too much, add a tablespoon or two of chicken broth or white wine to loosen it. Heat gently for 3-5 minutes, stirring occasionally, until the shrimp is warm and the sauce is bubbly. Finish with fresh parsley if desired.
- Oven: For larger servings of shrimp scampi, the oven provides gentle, even heating. Place your scampi in an oven-safe dish. If it seems dry, add a tablespoon of broth or water to the bottom of the dish. Cover with aluminum foil to retain moisture. Heat in a preheated oven at 300°F (150°C) for 10-15 minutes, or until thoroughly warmed. Stir gently before serving.
How to Reheat Shrimp Boil
A well-executed shrimp boil is a glorious feast, often resulting in plenty of delicious leftovers that can provide days of good eating! The challenge with reheating a shrimp boil is warming all the components—shrimp, corn, potatoes, sausage, and seasonings—without overcooking the shrimp or making the vegetables mushy. The key is gentle, moist heat.
- Microwave: For individual portions, the microwave is the fastest. Place your desired portion of shrimp boil (including vegetables and sausage) in a microwave-safe bowl. Add a splash of water or broth to the bowl, then cover it loosely with a lid or plastic wrap. Reheat in 1-2 minute intervals, stirring between each, until everything is heated through. This method is convenient but can sometimes lead to uneven heating or slightly softer vegetables.
- Stovetop (Recommended): This is often the best method for maintaining the integrity of all ingredients. Transfer your leftover shrimp boil into a large pot or Dutch oven. Add about ½ to 1 cup of chicken broth, seafood stock, or even just water to create some steaming liquid. Cover the pot and simmer over medium-low heat. Stir occasionally and heat gently for 10-15 minutes, or until all components are thoroughly warmed. The liquid helps to re-steam the ingredients and infuse them with flavor, preventing dryness. Avoid high heat, which can quickly overcook the shrimp.
- Oven: If you have a very large amount of leftovers, the oven can work. Place the shrimp boil components in a large roasting pan or oven-safe dish. Add about 1 cup of broth or water, then cover tightly with foil. Reheat at 300°F (150°C) for 20-30 minutes, stirring once or twice, until heated through.
Creative Ideas for Leftover Shrimp
Now that you’re an expert in reheating shrimp, let’s explore how to transform those delicious leftovers into exciting new meals! Shrimp’s versatility means it pairs wonderfully with flavors from around the globe, making it perfect for creative culinary experiments. Whether you’re craving Mexican, Thai, Italian, or Southern comfort, there’s a fantastic shrimp dish waiting for you to create.
Here are some of my absolute favorite ideas to inspire your next meal:
- Creamy Shrimp Dip: Finely chop your leftover shrimp and mix it with cream cheese, mayonnaise, dill, chives, and a touch of lemon juice for a quick and impressive appetizer or sandwich spread.
- Hearty Shrimp Etouffee: Leftover shrimp are perfect for adding to a rich and flavorful etouffee, building on the roux and vegetable base.
- Quick Coconut Shrimp Tacos: Shred or chop reheated shrimp, toss with a touch of coconut flakes and a squeeze of lime, then serve in warm tortillas with your favorite slaw and a drizzle of spicy mayo.
- Air Fryer Popcorn Shrimp: If you have plain cooked shrimp, a quick re-breading and air fry can give you delightful popcorn shrimp for salads or snacks.
- Decadent Shrimp Mac and Cheese: Stir your warmed shrimp into a creamy mac and cheese for an elevated comfort food experience.
- Flavorful Jamaican Jerk Shrimp Skewers: Toss reheated shrimp with a bit of Jamaican jerk seasoning and quickly grill or pan-fry them for a vibrant, spicy dish.
- Fresh Shrimp Summer Rolls: Combine chilled reheated shrimp with rice noodles, fresh herbs (mint, cilantro, basil), and crisp vegetables in rice paper wrappers for a light and healthy meal with a peanut dipping sauce.
- Easy Sheet Pan Shrimp Fajitas: Slice your reheated shrimp and add it to a sheet pan with sautéed peppers and onions during the last few minutes of cooking for a speedy fajita assembly.
- Shrimp Salad Sandwich: Roughly chop the reheated shrimp and mix with celery, red onion, mayo, and a squeeze of lemon for a delicious shrimp salad, perfect for sandwiches or lettuce cups.
- Shrimp Fried Rice: Add your reheated shrimp to a wok with leftover rice, eggs, soy sauce, and vegetables for a quick and satisfying fried rice.
Conclusion
Shrimp is undeniably an extremely versatile and delightful ingredient, capable of starring in an endless array of dishes. The good news is that its deliciousness doesn’t have to end with the first meal. With the proper reheating techniques, your leftover shrimp can be just as tender, juicy, and flavorful as when it was freshly prepared.
By understanding the nuances of each reheating method – be it the gentle, even heat of the oven, the quick control of the stovetop, the moisture-retaining power of the steamer, the crisping magic of the air fryer, or the lightning speed of the microwave – you can confidently bring your shrimp back to life. No more compromising on texture or taste!
Experiment with the methods outlined in this guide and discover which works best for your favorite shrimp dishes. You’ll likely find yourself so pleased with the results that, like many home cooks, you might even start intentionally cooking an extra batch of shrimp just to enjoy the delicious leftovers the next day. Embrace the art of reheating and savor every tender bite!