
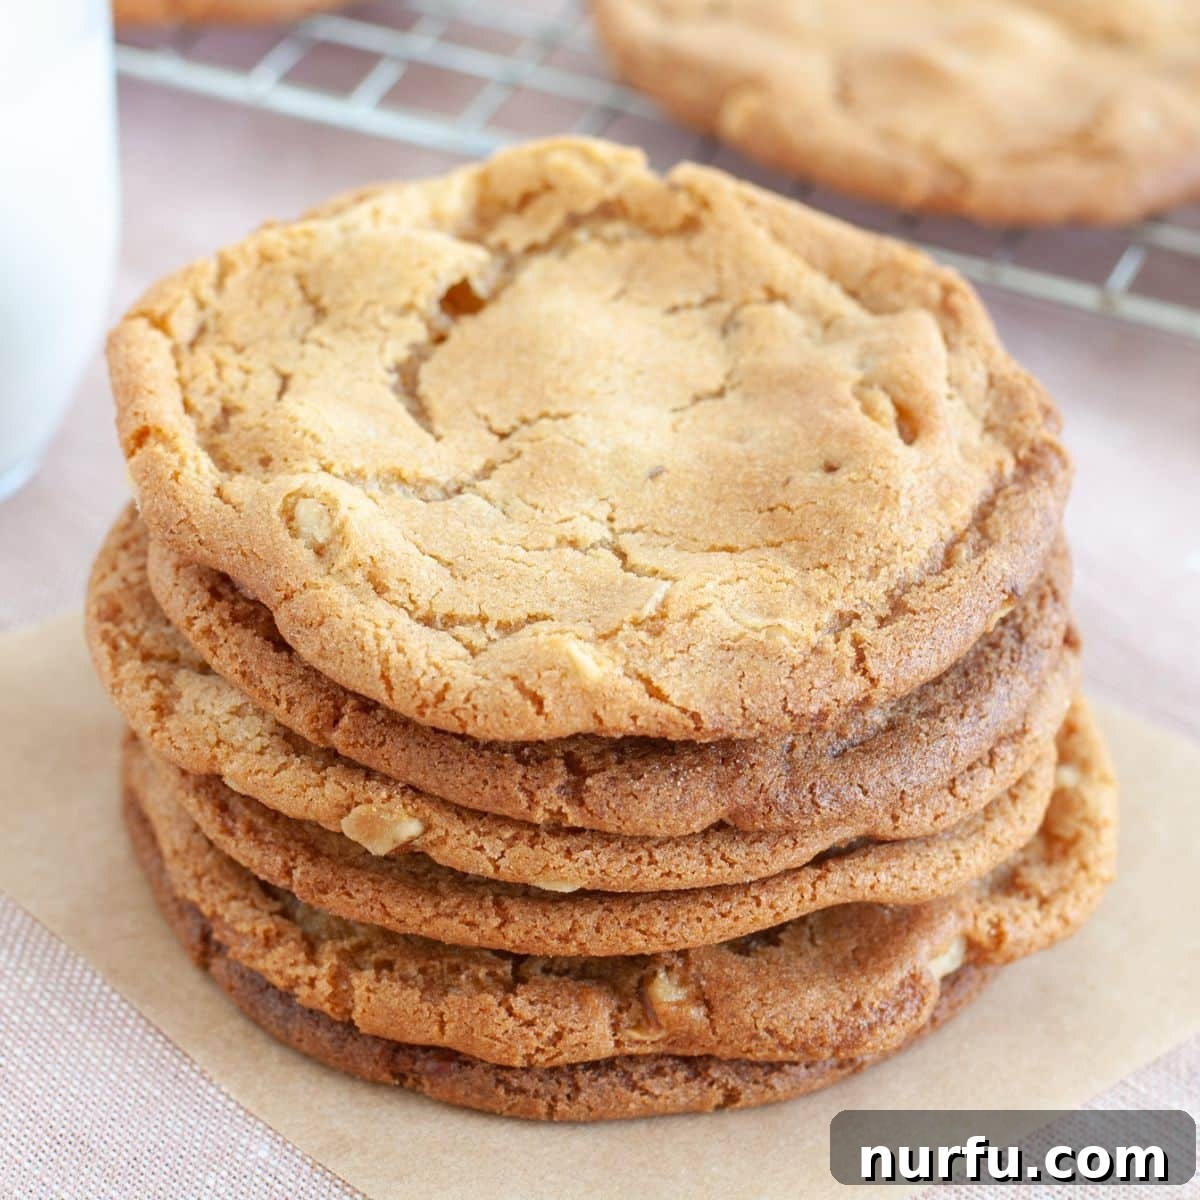
Step into a world of nostalgic flavors with these incredibly delicious Butterscotch Cookies. Revered for their distinctive chewy texture and a rich, deep butterscotch flavor, these cookies are a true testament to timeless baking. This particular recipe isn’t just a modern take on a classic; it’s a faithful recreation from the 1930s, offering a genuine taste of history in every bite. Imagine a cookie that’s thin, perfectly crisp at the edges, yet delightfully soft and chewy in the center—that’s exactly what awaits you with this beloved confection.
Growing up, butterscotch desserts held a special place in my heart, evoking warm memories of family gatherings. My mom’s butterscotch pie was always a holiday highlight, and my mother-in-law perfected her butterscotch brownies, which quickly became legendary. It’s no surprise then that these butterscotch cookies have swiftly risen to become a new family favorite. Their amazing texture and unparalleled flavor profile make them utterly irresistible, a dessert that truly transcends generations.
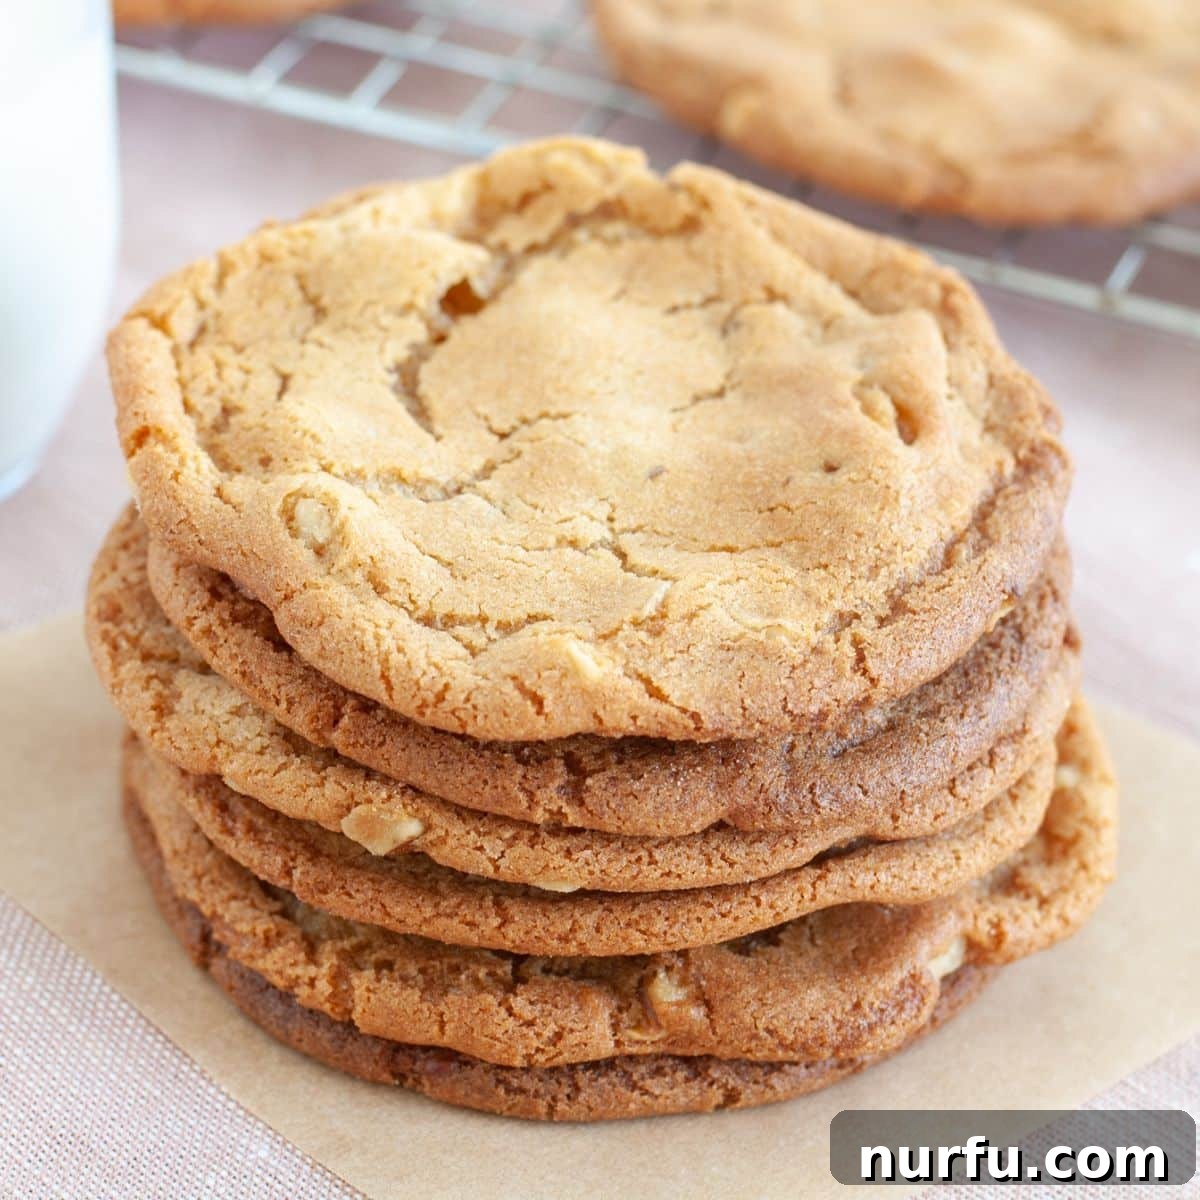
Classic Chewy Butterscotch Cookies: An Old-Fashioned Recipe from the 1930s
This remarkable butterscotch cookie recipe first graced the pages of a 1930s cookbook titled “Bag Full Of Recipes,” published by Imperial Sugar. There’s something truly magical about delving into the history behind old cookbooks and recipes. It’s a captivating journey back in time, allowing us to glimpse how culinary traditions evolved, what ingredients were popular during a particular era, and the types of comfort foods people cherished. This recipe is more than just a list of instructions; it’s a culinary artifact, preserved and passed down for nearly a century, offering a genuine taste of American baking heritage.
These cookies aren’t just a treat; they’re an experience. I adore serving them warm, perhaps alongside a tall, frosty glass of milk for the ultimate nostalgic comfort. For a more decadent dessert, a scoop of creamy vanilla bean ice cream makes an exquisite companion, allowing the warm, caramel notes of the butterscotch to truly shine. They’re perfect for any occasion, from a simple afternoon snack to a sophisticated dessert spread.
Why These Old-Fashioned Butterscotch Cookies Are Irresistible
What sets these butterscotch cookies apart from the rest? It’s a combination of factors that make them truly special. Their signature thin and chewy texture is often sought after but rarely achieved with such perfection. Each cookie offers a delightful resistance, followed by a melt-in-your-mouth tenderness that’s utterly satisfying. The flavor is a harmonious blend of sweet, rich caramel with subtle buttery undertones—a complex and comforting taste that defines true butterscotch.
Beyond their sensory appeal, these cookies carry a heartwarming story. Baking a recipe from the 1930s connects you to a past era, to home cooks who crafted these very treats for their families. It’s a simple joy, an ode to traditional baking where quality ingredients and straightforward methods yield extraordinary results. Once you experience the authentic taste and texture of these old-fashioned butterscotch cookies, they are sure to become a cherished addition to your recipe repertoire.
Ingredients for Your Timeless Butterscotch Cookies
Crafting these classic butterscotch cookies requires a few essential ingredients, each playing a vital role in achieving their distinctive flavor and texture. Pay attention to the quality and measurements for the best results, as the balance of these components is key to their success.
- Brown Sugar: The star of butterscotch flavor. Brown sugar provides moisture, contributing to the chewy texture and imparting those deep, molasses-rich caramel notes that are characteristic of butterscotch.
- Shortening: Crucial for the thin, crisp edges and tender crumb. Shortening has a higher melting point than butter, which helps cookies hold their shape better and achieve a unique tenderness.
- Eggs: Act as a binder, adding structure, moisture, and richness to the dough. Eggs also contribute to the overall chewiness of the cookie.
- Vanilla Extract: A fundamental flavor enhancer that complements and deepens the butterscotch notes, adding warmth and complexity.
- All-Purpose Flour: The primary structural component, giving the cookies their body. Proper measurement is crucial to avoid tough or overly crumbly cookies.
- Cream of Tartar: A lesser-known but powerful ingredient in old-fashioned recipes. It reacts with baking soda to create lift, and more importantly, contributes significantly to the signature chewy texture and slight tang that makes these cookies special.
- Baking Soda: A leavening agent that works with cream of tartar and the acid in brown sugar to make the cookies rise slightly and spread, creating that desirable thinness.
- Salt: Essential for balancing the sweetness and enhancing all the other flavors, particularly the butterscotch.
- Chopped Walnuts: While optional for some, walnuts add a delightful textural contrast and a subtle earthy flavor that pairs wonderfully with butterscotch. You can substitute with pecans or omit them if preferred.
Ensuring your ingredients are at room temperature, especially the eggs, can also significantly impact the final texture of your cookies, allowing them to cream together more smoothly and evenly.
How to Make These Exquisite Butterscotch Cookies: A Detailed Guide
Patience is a virtue in baking, and for these butterscotch cookies, allowing the dough to chill is a non-negotiable step that truly elevates their flavor and texture. Make sure to account for this crucial chilling time in your baking schedule.
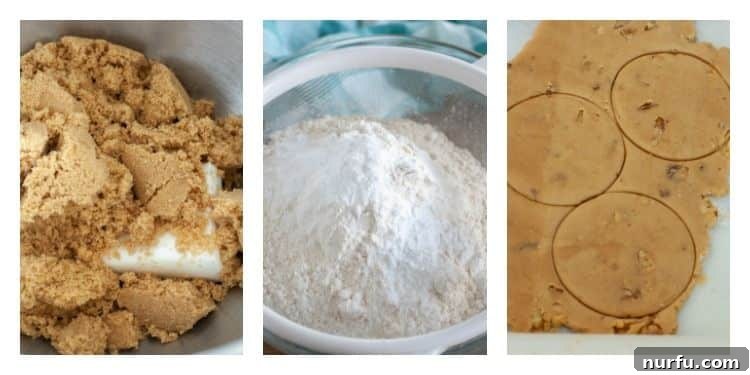
- Cream the Fats and Sugar: In a large mixing bowl, combine the brown sugar and shortening. Using an electric mixer on medium speed, cream them together until the mixture is light, fluffy, and well combined. This process incorporates air, which is vital for the cookie’s texture. Scrape down the sides of the bowl as needed to ensure everything is thoroughly mixed.
- Incorporate Wet Ingredients: Add the eggs one at a time, beating well after each addition until fully incorporated. Follow with the vanilla extract, mixing until just combined. Be careful not to overmix at this stage.
- Prepare Dry Ingredients: In a separate, medium-sized bowl, whisk together the all-purpose flour, cream of tartar, baking soda, and salt. Whisking ensures these leavening agents and flavorings are evenly distributed throughout the flour.
- Combine Wet and Dry: Gradually add the flour mixture to the creamed sugar and shortening mixture. Mix on low speed until just combined. It’s important to stop mixing as soon as the last streaks of flour disappear to avoid developing too much gluten, which can lead to tough cookies.
- Fold in Nuts (Optional): Gently fold in the chopped walnuts using a spatula. This ensures they are evenly distributed without crushing them or overmixing the dough.
- Chill the Dough: Cover the bowl tightly with plastic wrap and refrigerate the dough for at least 2 hours. Chilling is paramount for these cookies; it allows the flavors to meld, the shortening to firm up (which prevents excessive spreading during baking), and makes the dough much easier to handle and roll. You can chill it for up to 24-48 hours for even richer flavor development.
- Prepare for Baking: Once chilled, preheat your oven to 425°F (220°C). Line a large baking sheet with parchment paper or a silicone baking mat. This prevents sticking and ensures even baking.
- Roll and Cut Cookies: Lightly flour a clean work surface. Turn out the chilled dough onto the floured surface. Roll the dough out flat to an even thickness of about 1/4 inch. Use a biscuit cutter or a circle cookie cutter (about 2-3 inches in diameter) to cut out cookie shapes. Reroll any scraps gently, being careful not to overwork the dough, and cut out more cookies until all the dough is used.
- Bake to Perfection: Carefully transfer the cut-out cookies to the prepared baking sheet, leaving about 1 inch between each cookie. Bake for approximately 7 minutes, or until the edges are just slightly golden brown. The centers may still look soft, but they will firm up as they cool.
- Cool Completely: Remove the baking sheet from the oven and let the cookies cool on the sheet for 2-3 minutes before transferring them to a wire rack to cool completely. This prevents them from breaking and ensures they set properly.
Expert Tips for Flawless Butterscotch Cookies
Achieving cookie perfection often comes down to a few clever tricks and careful attention to detail. Here are some expert tips to ensure your butterscotch cookies turn out beautifully every time:
- Flour Your Surface Wisely: When rolling out the dough, a lightly floured surface is essential to prevent sticking. However, be cautious not to use too much flour, as this can dry out the dough and make your cookies tough. Use just enough to prevent sticking, and brush off any excess flour from the cut-out shapes before baking.
- Watch for Golden Edges: Bake the cookies until their edges are just beginning to turn a delicate golden brown. The centers should still appear slightly soft. Overbaking will result in a dry, crumbly cookie, losing that desirable chewiness. Every oven is different, so keep a close eye on them, especially during the last minute or two.
- Cool on a Wire Rack: After baking, let the cookies cool on the baking sheet for a few minutes to firm up slightly, then transfer them to a wire rack to cool completely. Cooling on a wire rack allows air to circulate around all sides of the cookie, preventing sogginess and ensuring they maintain their crisp edges and chewy centers.
- Don’t Overmix: Once you add the flour mixture, mix only until the ingredients are just combined. Overmixing develops gluten, leading to tougher cookies.
- Room Temperature Ingredients: Ensure your eggs and shortening (if you’re substituting butter, use softened butter) are at room temperature. This allows them to cream together more easily and uniformly, creating a smooth, emulsified batter that bakes evenly.
- Parchment Paper is Your Friend: Always line your baking sheets with parchment paper or a silicone baking mat. This not only prevents sticking but also promotes even baking and makes for easy cleanup.
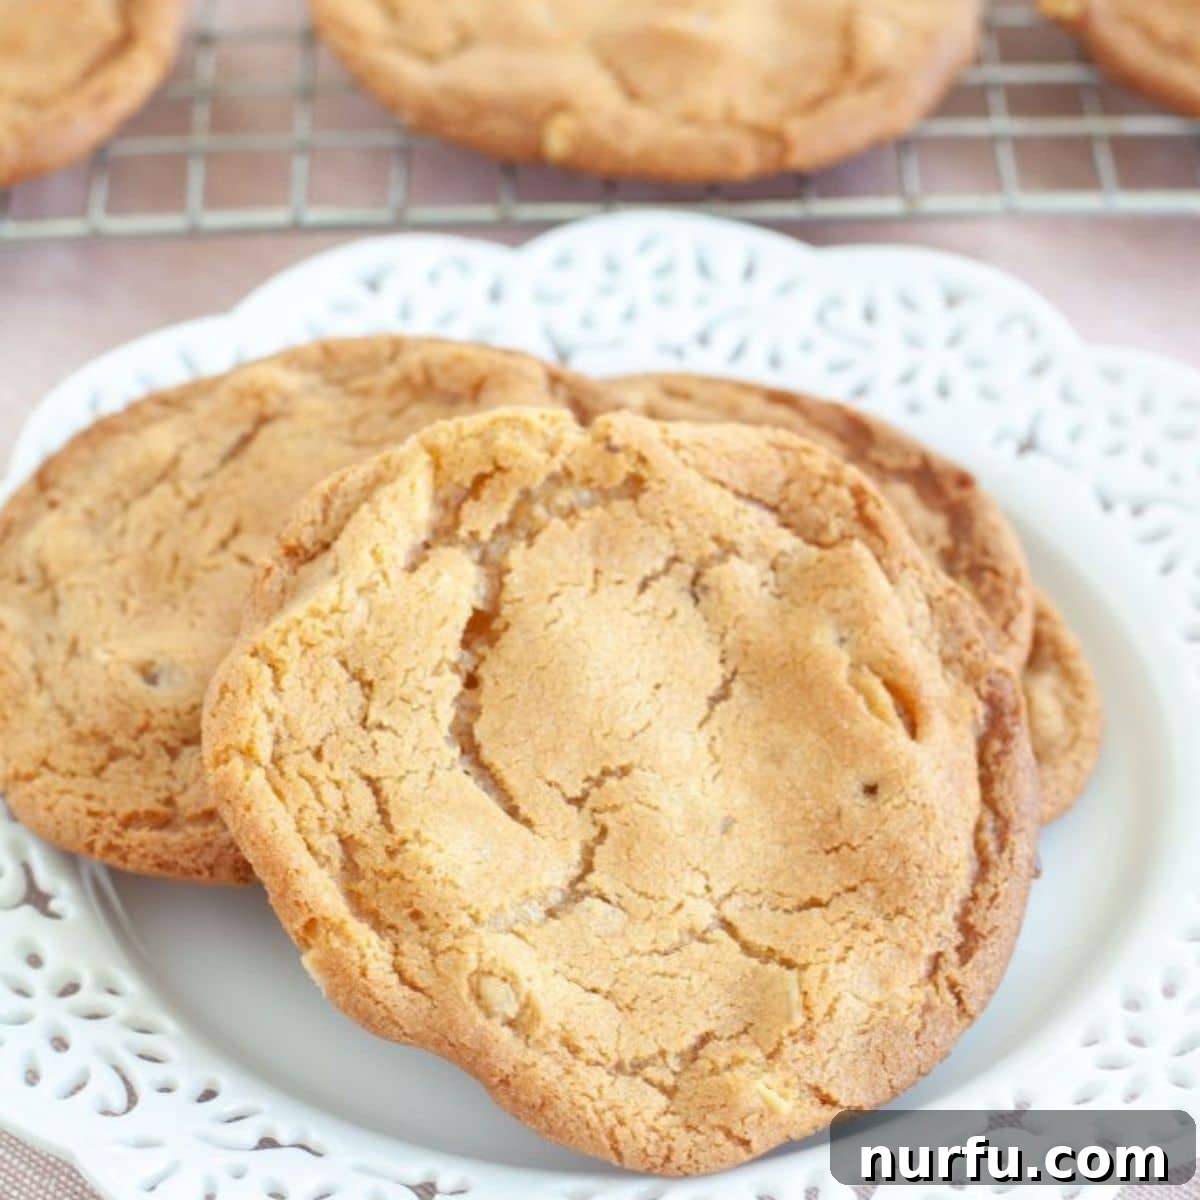
Can I Freeze These Cookies? Storage and Freshness Tips
Absolutely! These chewy butterscotch cookies are excellent candidates for freezing, making them perfect for meal prep or enjoying a homemade treat whenever a craving strikes. Properly stored, they can maintain their delicious flavor and texture for an extended period.
To freeze baked cookies:
- Ensure the cookies are completely cooled. Warm cookies will create condensation in the freezer, leading to ice crystals and potentially soggy cookies.
- Once cooled, stack them with small pieces of parchment paper between each cookie to prevent sticking.
- Wrap the stacks tightly in plastic wrap, ensuring no air gaps.
- Place the wrapped cookies in a freezer-safe bag or an airtight container. This double layer of protection guards against freezer burn and preserves freshness.
- Label the bag or container with the date. They can be frozen for up to 3 months.
- When you’re ready to enjoy them, simply remove the desired number of cookies from the freezer and let them thaw at room temperature. They should be ready to eat in about 30-60 minutes.
For storing fresh, unbaked cookie dough:
You can also freeze the unbaked dough. After rolling and cutting the shapes, place them on a parchment-lined baking sheet and freeze until solid (about 1-2 hours). Transfer the frozen dough cut-outs to a freezer-safe bag or container. When ready to bake, place them on a prepared baking sheet and bake from frozen, adding a minute or two to the baking time. This is a fantastic way to have fresh, warm cookies on demand!
For short-term storage, these butterscotch cookies will stay fresh at room temperature in an airtight container for up to 3-5 days. For optimal chewiness, you might even consider adding a slice of bread to the container to help retain moisture.
Butterscotch Cookie Variations to Explore
While the classic butterscotch cookie recipe is perfect as is, there are many delightful ways to customize and enhance them to suit your preferences. Don’t be afraid to experiment!
- Add Chocolate Chips: Introduce semi-sweet, milk, or even white chocolate chips to the dough along with the walnuts for a delicious butterscotch-chocolate combination. The sweetness of butterscotch pairs wonderfully with chocolate.
- Spice It Up: A pinch of ground cinnamon or nutmeg can add a warm, cozy dimension to the butterscotch flavor, especially during the autumn months.
- Nutty Alternatives: If walnuts aren’t your favorite, try chopped pecans, almonds, or even a mix of different nuts for varied texture and flavor. For a nut-free version, simply omit them.
- Salted Butterscotch: For a sophisticated twist, sprinkle a touch of flaky sea salt over the cookies immediately after they come out of the oven. The salt crystals enhance the caramel notes of the butterscotch beautifully.
- Brown Butter Goodness: For an even deeper, nuttier flavor profile, consider browning your shortening (or butter, if substituting) before creaming it with the sugar. Allow it to cool slightly before proceeding with the recipe.
- A Touch of Coconut: Fold in some shredded coconut for added texture and a tropical hint that complements the butterscotch.
More Irresistible Cookie Recipes to Try
If you’re a cookie enthusiast, these butterscotch beauties are just the beginning! Explore other delightful recipes that are sure to become new favorites:
- Lemon Cake Mix Cookies – Incredibly easy and bursting with bright, zesty lemon flavor, these cookies require only a few simple ingredients.
- Chocolate Oreo Cookies – A dream for chocolate lovers! Rich chocolate cookies generously studded with chunks of everyone’s favorite Oreo cookies.
- Chewy Oatmeal Cookies – A comforting classic, these chewy oatmeal cookies are infused with warm cinnamon spice and hearty oats.
- Ginger Cookies – Always a huge hit, these soft and warmly spiced ginger cookies are a year-round favorite, perfect for any occasion.
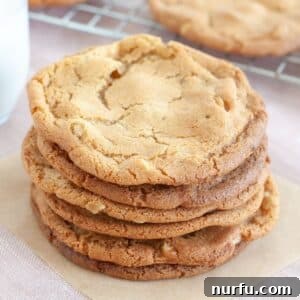
Butterscotch Cookies
By Heather Seeley
This butterscotch cookie recipe, originally published in the 1930s, yields thin, chewy cookies bursting with amazing butterscotch flavor. A true classic that has stood the test of time!
Prep Time: 10 mins
Cook Time: 7 mins
Chill Time: 2 hrs
Total Time: 2 hrs 17 mins
Servings: 36 cookies
Ingredients
- 3 cups light brown sugar
- 1 cup shortening
- 2 eggs
- 1 teaspoon vanilla extract
- 3 cups all-purpose flour
- 1 ½ teaspoons baking soda
- 1 ½ teaspoons cream of tartar
- ⅛ teaspoon salt
- 1 cup chopped walnuts (optional)
Instructions
- Cream together the brown sugar and shortening with an electric mixer until light and fluffy.
- Mix in the eggs one at a time, then add the vanilla extract until just combined.
- In a separate large bowl, whisk together the flour, baking soda, cream of tartar, and salt.
- Slowly mix the flour mixture into the brown sugar mixture on low speed until just combined. Do not overmix.
- Gently fold the chopped walnuts into the batter.
- Cover the bowl and chill the dough in the refrigerator for at least 2 hours.
- Preheat the oven to 425°F (220°C). Line a baking sheet with parchment paper or a silicone baking mat.
- On a lightly floured surface, roll the dough out to approximately 1/4-inch thickness. Use a biscuit cutter or circular cookie cutter to cut out cookie shapes.
- Place the cut-out cookies on the prepared baking sheet, leaving about an inch between each. Bake for 7 minutes, or until the cookie edges begin to turn golden brown.
- Remove from the oven and cool on the baking sheet for a few minutes before transferring to a wire rack to cool completely.
Nutrition Information (per serving)
Calories: 183kcal | Carbohydrates: 26g | Protein: 2g | Fat: 8g | Saturated Fat: 2g | Polyunsaturated Fat: 3g | Monounsaturated Fat: 3g | Trans Fat: 1g | Cholesterol: 9mg | Sodium: 63mg | Potassium: 74mg | Fiber: 0.5g | Sugar: 18g | Vitamin A: 14IU | Vitamin C: 0.04mg | Calcium: 21mg | Iron: 1mg
Nutrition information is automatically calculated and should only be used as an approximation.
Additional Info
Course: Dessert
Cuisine: American
The Enduring Charm of Butterscotch: A Culinary Legacy
Butterscotch is more than just a flavor; it’s a culinary legacy that continues to captivate taste buds across generations. Its unique combination of brown sugar and butter, often cooked to a delightful caramelization, creates a depth of flavor that is both comforting and sophisticated. From candies and sauces to pies, puddings, and, of course, these irresistible cookies, butterscotch has a versatility that ensures its enduring appeal.
The name “butterscotch” itself sparks curiosity. While many assume it’s simply butter and scotch whisky, the “scotch” part likely refers to “scoring” or “cutting” the brittle candy into pieces before it fully hardens, a common practice in confectionary. Regardless of its etymology, the flavor profile is unmistakable: sweet, rich, and deeply satisfying. These old-fashioned butterscotch cookies are a perfect embodiment of this beloved taste, offering a delightful chewiness that perfectly complements the golden, caramelized notes. They are a testament to how simple ingredients, combined with traditional methods, can create something truly extraordinary and timeless.
Ready to Bake? Share Your Butterscotch Cookie Creations!
Now that you have all the tips, tricks, and history behind these incredible Old-Fashioned Chewy Butterscotch Cookies, it’s time to head to your kitchen and bring this classic to life! There’s immense satisfaction in baking a recipe that has delighted generations, and the aroma alone will transport you back to simpler times.
We absolutely love seeing your culinary creations. Once you’ve baked a batch of these delightful butterscotch treats, we encourage you to share your experience! Leave a comment below with your thoughts, any variations you tried, or even a story about how these cookies reminded you of your own family’s baking traditions. Your feedback and shared experiences inspire us and other home bakers in our community. Happy baking!