
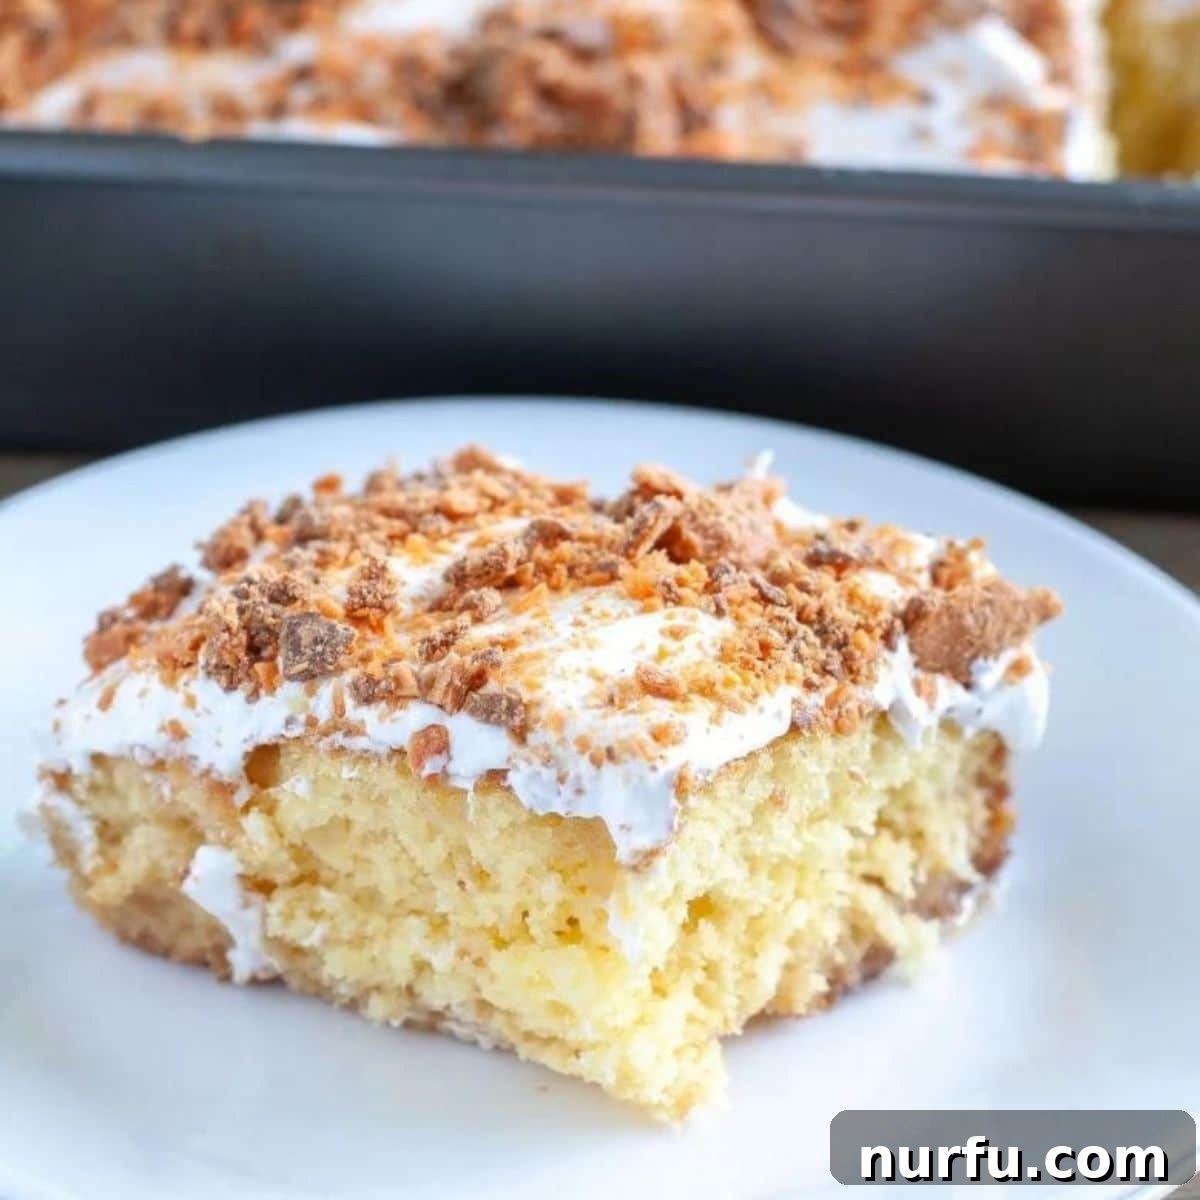
Indulge in a truly irresistible dessert that’s as easy to prepare as it is delicious: the Butterfinger Poke Cake. This crowd-pleasing treat combines the moist, fluffy texture of a classic yellow cake with a rich, sweet caramel sauce, all crowned with a light, creamy whipped topping and generous sprinkles of crunchy, beloved Butterfinger candy. It’s a symphony of textures and flavors that will have everyone asking for seconds.
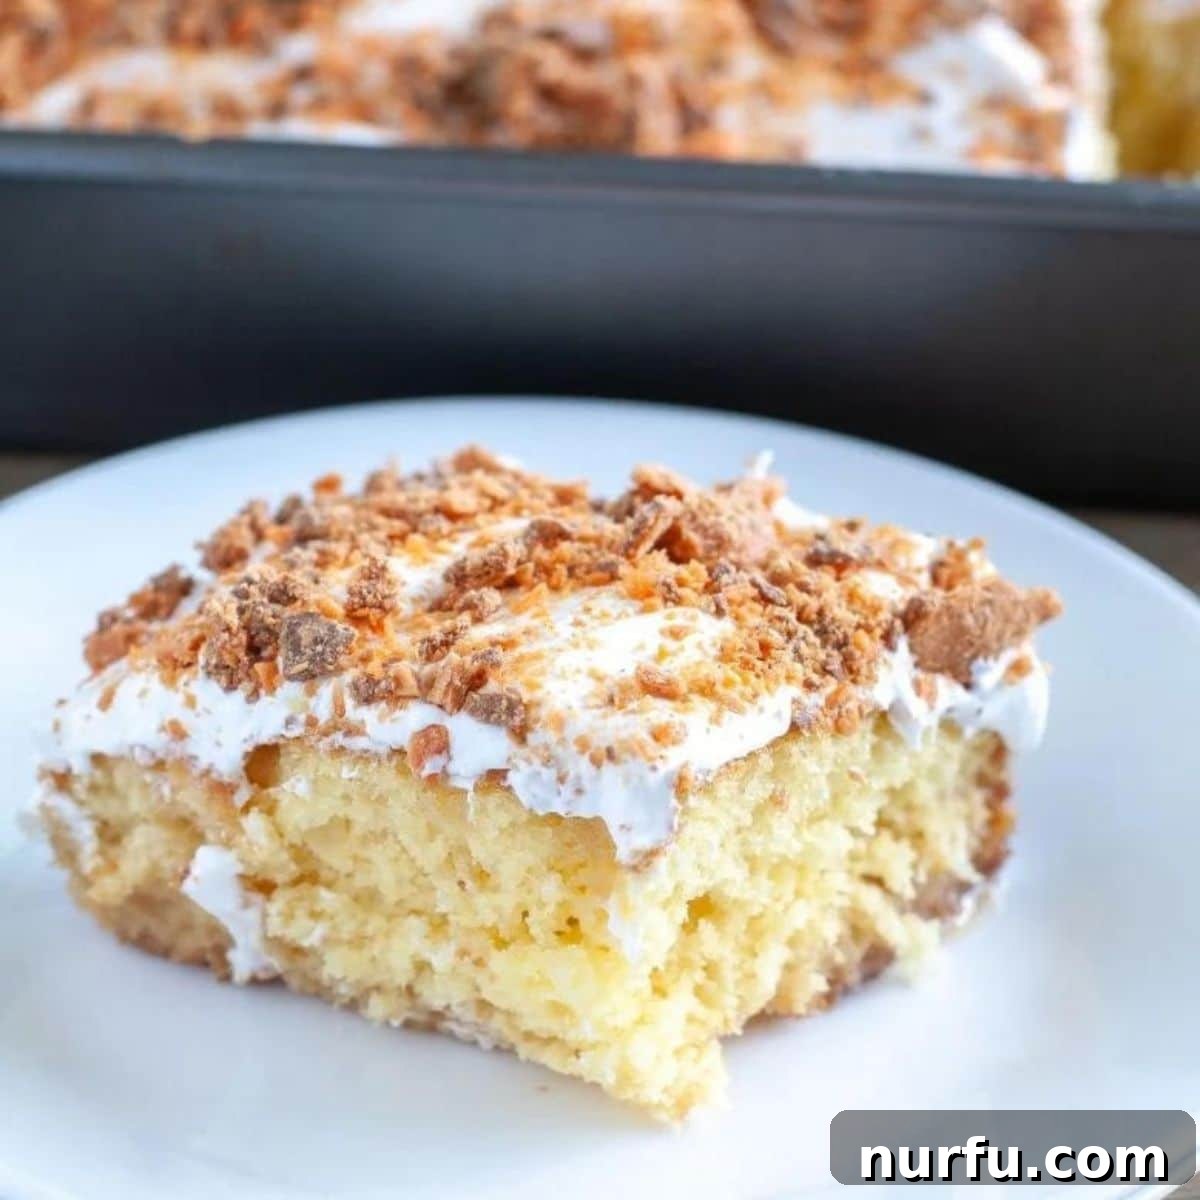
For years, this Butterfinger poke cake recipe has been a cherished tradition in my home, a dessert so frequently requested it’s practically a family heirloom. The unique combination of the Butterfinger’s crisp, peanut buttery crunch against the tender cake and smooth caramel is simply unmatched. It transforms a simple yellow cake into an extraordinary indulgence, making it perfect for any gathering, from casual weeknight dinners to festive holiday celebrations.
Having perfected this delightful cake over countless occasions, I’ve gathered a wealth of helpful tips and tricks to ensure your Butterfinger poke cake turns out flawlessly every single time. My goal is to make your baking experience as enjoyable and stress-free as possible, resulting in a dessert that truly shines. Get ready to discover your new go-to recipe for an easy, yet impressive, Butterfinger dessert that will leave a lasting impression.
If you’re a fan of poke cakes, be sure to explore other favorites like this Hot Chocolate Poke Cake for a comforting winter treat or the vibrant Holiday Jello Cake, perfect for seasonal festivities. Each offers a unique spin on the beloved poke cake concept, promising delightful flavors and easy preparation.
Table of Contents
- Why You’ll Love This Butterfinger Poke Cake
- Key Ingredients for Success
- Step-by-Step: How to Make Butterfinger Poke Cake
- Serving Suggestions & Variations
- Expert Baking Tips
- Storage & Freezing Tips
- Frequently Asked Questions
- More Amazing Cake Recipes
- Butterfinger Poke Cake Recipe Card
Why You’ll Love This Butterfinger Poke Cake
- Effortlessly Delicious: This recipe simplifies the baking process by utilizing a convenient cake mix, making it an ideal choice for both novice bakers and seasoned pros. You’ll achieve a spectacular dessert with minimal fuss, perfect for when you need a show-stopping treat without spending hours in the kitchen.
- Irresistible Texture Harmony: Prepare your taste buds for an exciting journey! The Butterfinger poke cake offers a delightful interplay of textures – from the tender, moist cake infused with caramel and sweetened condensed milk, to the airy, whipped topping, and finally, the signature crunchy, crispy, and slightly chewy Butterfinger bits on top. Every bite is a unique experience.
- Versatile for Any Celebration: Whether it’s a casual potluck, a lively birthday party, an elegant baby shower, or a cherished holiday gathering, this cake fits seamlessly into any occasion. Its universally loved flavor profile and inviting appearance make it a guaranteed hit, ensuring there’s never a slice left behind.
- A Classic with a Twist: While classic poke cakes are beloved, this Butterfinger version elevates the concept to new heights. The beloved candy bar adds a fun, familiar, and highly addictive element that makes this cake stand out from traditional desserts.
- Crowd-Pleasing Portions: Baked in a standard 9×13 inch pan, this cake yields generous portions, making it perfect for feeding a crowd. It’s an economical and impressive option when you need to serve many guests without compromising on flavor or presentation.
Key Ingredients for Success
Crafting this delightful Butterfinger poke cake with sweetened condensed milk requires just a handful of straightforward ingredients, most of which you likely have on hand or can easily find at any grocery store. While some variations might call for chocolate cake, I firmly believe that yellow cake provides the perfect base to let the caramel and Butterfinger flavors truly shine.
- Yellow Cake Mix: This is the foundation of our cake. I prefer yellow cake mix for its classic, buttery flavor that complements caramel beautifully. However, you can experiment with a golden cake mix for a slightly richer hue, a vanilla cake mix for a lighter profile, or even a chocolate cake mix if you desire a deeper, richer flavor combination. Just ensure you have the additional ingredients (eggs, oil, water) specified on the cake mix box.
- Caramel Sauce: The luscious caramel sauce is a critical component, infusing the cake with its rich, buttery sweetness. You’ll typically find jars of caramel ice cream topping near other dessert sauces and syrups in the grocery store. For an extra touch of gourmet, you could even use a high-quality homemade caramel sauce, but a store-bought version works perfectly for convenience.
- Sweetened Condensed Milk: This magical ingredient is what gives a poke cake its signature moistness and intense sweetness. When poured into the poked holes, it saturates the cake, making it incredibly tender and flavorful. Don’t confuse it with evaporated milk; sweetened condensed milk is thick, creamy, and already sweetened.
- Frozen Whipped Topping: A light and airy topping is essential to balance the richness of the cake and caramel. I find frozen whipped topping, like Cool Whip, to be incredibly convenient and consistently delicious. Be sure to thaw it thoroughly in the refrigerator before spreading for the smoothest application. If you prefer, a homemade whipped cream (heavy cream, powdered sugar, vanilla extract) can also be used, though it will be less stable for longer storage.
- Butterfinger Candy Bars: The star of the show! These iconic candy bars provide the irresistible crunch and distinct peanut buttery, toffee-like flavor that defines this poke cake. You’ll need several bars, which will be crushed and sprinkled generously over the top. The contrast between the crunchy candy and the soft cake is what makes this dessert so uniquely satisfying.
Step-by-Step: How to Make Butterfinger Poke Cake
Creating this delicious Butterfinger poke cake is a straightforward process, broken down into simple, manageable steps. Follow these instructions for a perfect dessert every time. Remember, the full, printable recipe with exact measurements is available at the bottom of this page.
Step One: Prepare the Yellow Cake Base
Begin by preparing the yellow cake mix according to the package directions. This usually involves combining the cake mix with eggs, oil, and water. Mix until the batter is smooth and free of lumps. Pour the prepared batter into a greased and floured 9×13 inch baking pan. Bake the cake in your preheated oven for the time specified on the cake mix box, or until a toothpick inserted into the center comes out clean. Once baked, remove the cake from the oven and let it cool in the pan on a wire rack for about 5 to 10 minutes.
Step Two: Craft the Caramel-Sweetened Milk Mixture
While your cake is cooling slightly, prepare the irresistible caramel sauce. In a medium-sized bowl, combine the entire jar of caramel ice cream topping with the can of sweetened condensed milk. Stir these two ingredients together thoroughly until they are well combined and form a smooth, uniform sauce. This mixture will be absorbed by the cake, creating an incredibly moist and flavorful experience. (Pro tip: For a delightful twist, I’ve successfully substituted butterscotch sauce here, and it was absolutely amazing!)
Step Three: Poke the Cake for Flavor Infusion
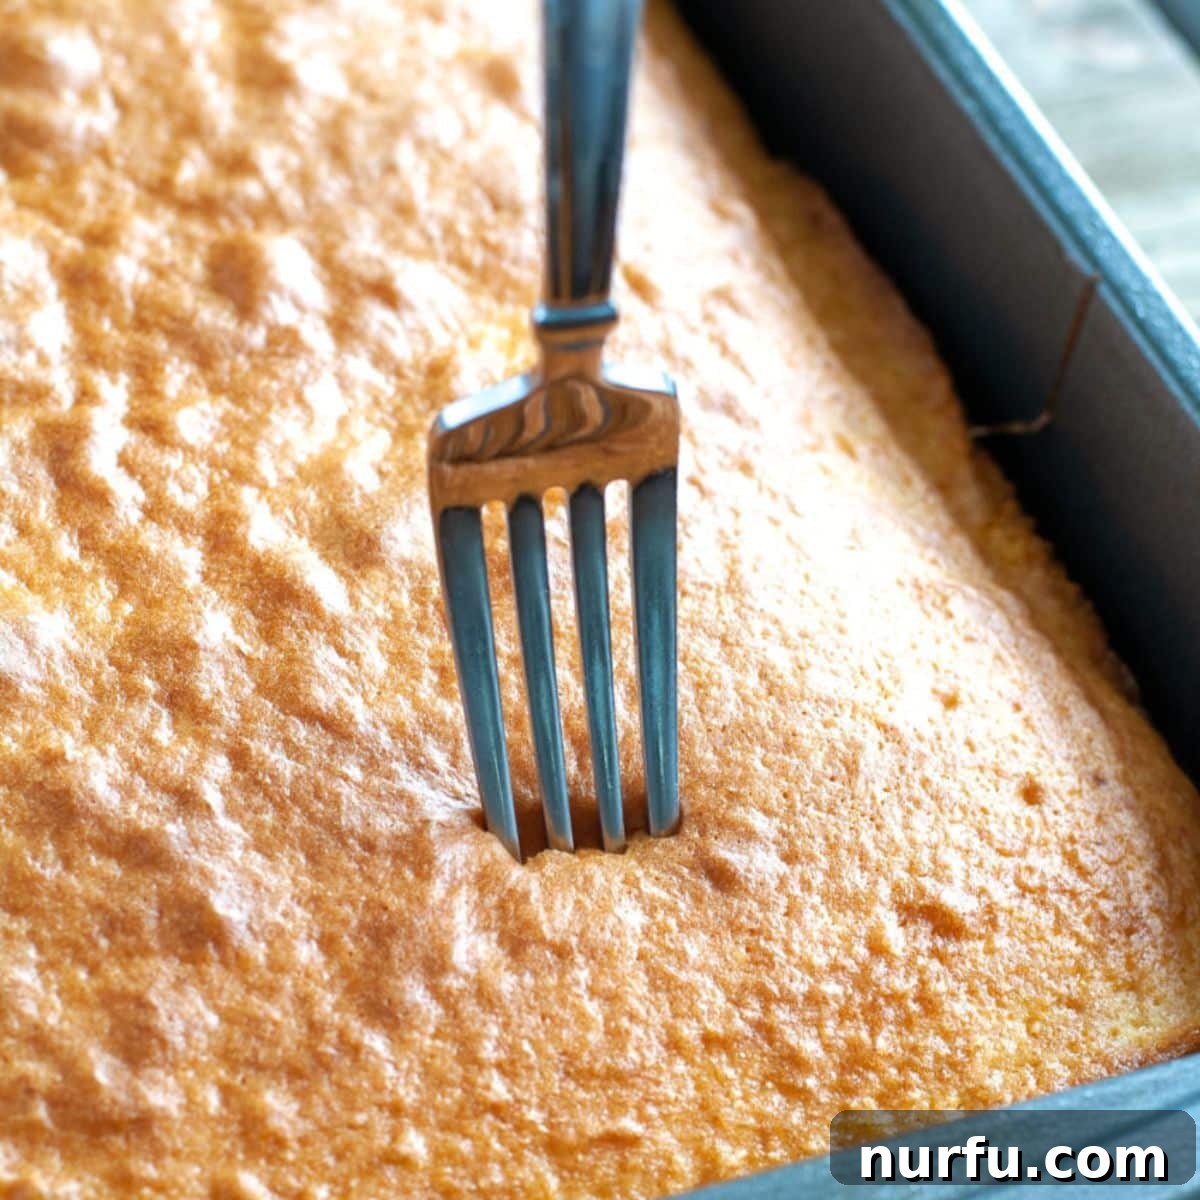
After the cake has cooled for about 5-10 minutes (it should still be warm to the touch), it’s time to create the “poke” aspect. Using the handle of a wooden spoon, a fork, or even a large straw, poke holes evenly over the entire surface of the cake. Aim for holes that are deep enough to reach near the bottom of the cake, but not so deep that they tear the cake apart. These holes are crucial for allowing the caramel mixture to seep in and moisten every crumb.
Step Four: Pour and Saturate
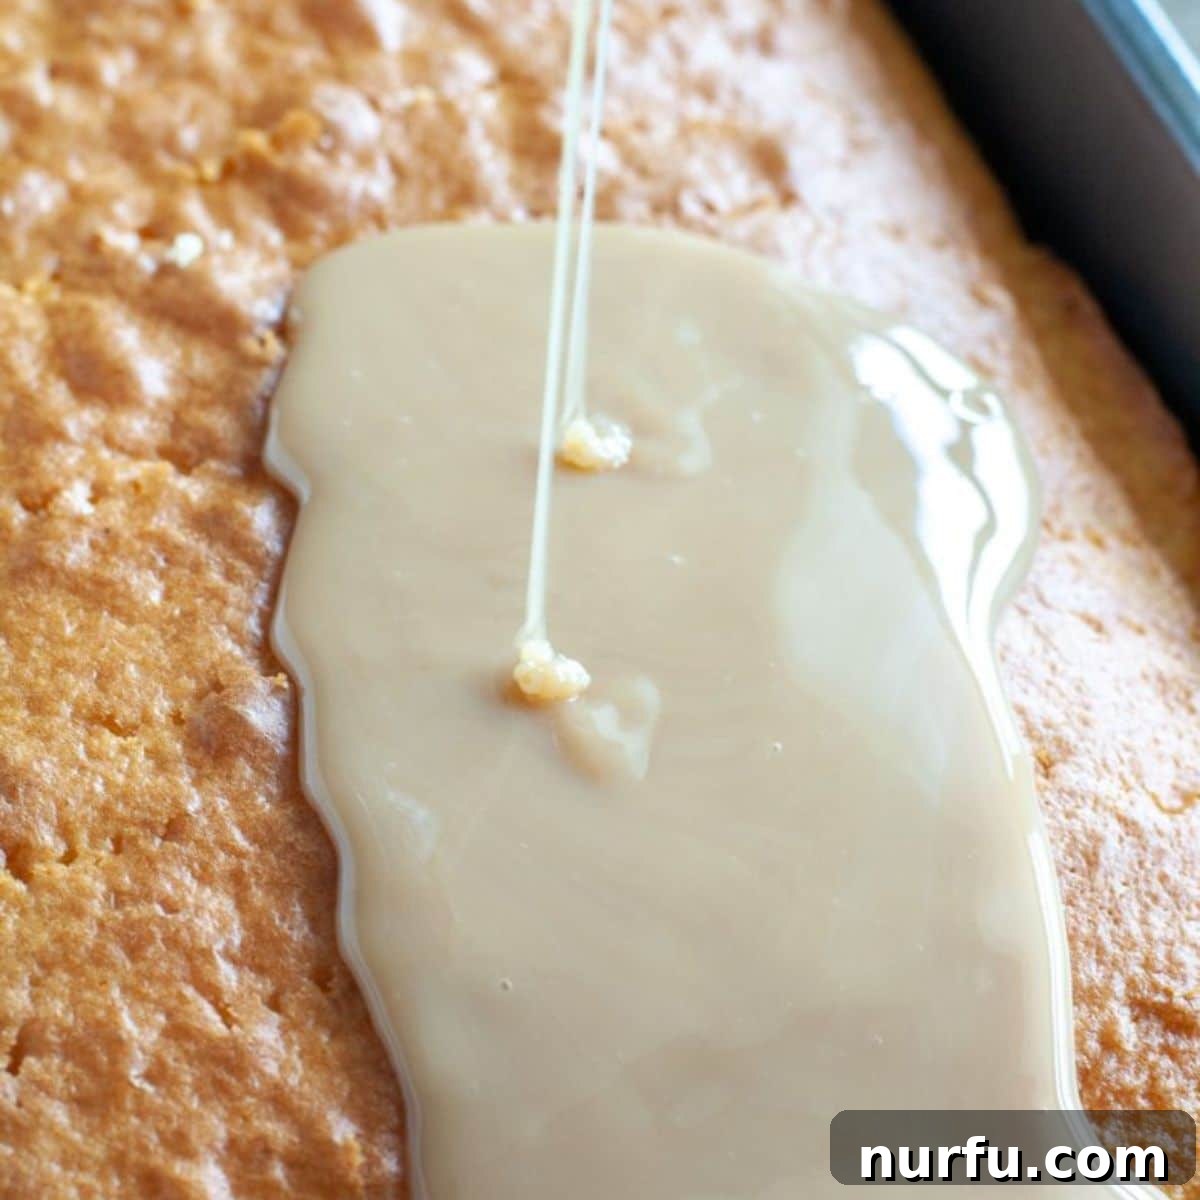
With the holes ready, gently pour the caramel and sweetened condensed milk mixture evenly over the entire poked cake. Take your time to ensure the mixture fills all the holes and spreads across the surface. The warm cake will readily absorb the delicious liquid, creating a wonderfully moist and rich base. Use a spatula to help spread it if needed, ensuring every part of the cake gets its share of sweetness.
Step Five: Cool and Top
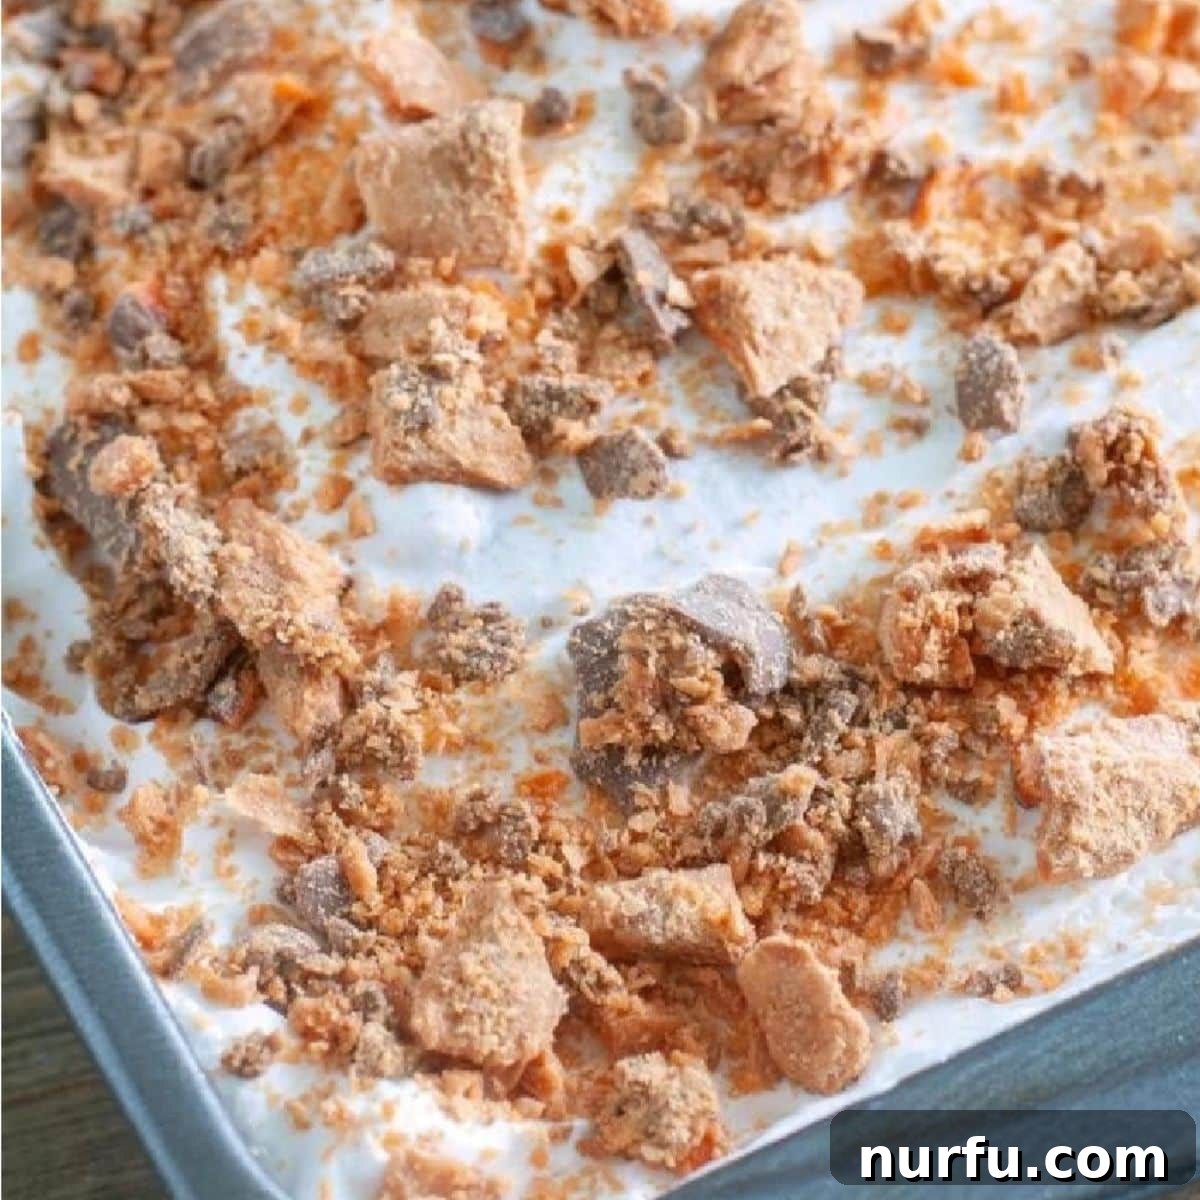
This step requires patience! It’s essential to let the cake cool completely after pouring the caramel mixture. For best results, I recommend placing it in the refrigerator for at least 2-4 hours, or even overnight. This chilling period allows the cake to fully absorb the caramel, firm up, and achieve optimal texture. Once thoroughly chilled, evenly spread the thawed frozen whipped topping over the entire surface of the cake. Finally, generously sprinkle the crushed Butterfinger candy bars over the whipped topping. Serve immediately or return to the refrigerator until ready to enjoy!
Serving Suggestions & Variations
This Butterfinger Poke Cake is a complete dessert in itself, but a few touches can make it even more special. For serving, ensure the cake is well-chilled for the best texture. Slice into generous squares and serve plain, allowing the unique combination of flavors to shine. For an added touch of elegance or indulgence, consider a few extra flourishes:
- Extra Caramel Drizzle: Before serving, warm a small amount of extra caramel sauce and drizzle it over individual slices or the entire cake for an even richer presentation.
- Chocolate Syrup Swirl: A delicate swirl of chocolate syrup over the whipped topping before adding the Butterfinger pieces can enhance the candy bar’s chocolatey notes.
- Ice Cream Pairing: Serve a slice alongside a scoop of vanilla bean or caramel swirl ice cream for an ultimate dessert experience, especially if you’re serving it for a special occasion.
- Coffee or Milk: This rich cake pairs wonderfully with a cup of hot coffee, a cold glass of milk, or even a shot of espresso to cut through the sweetness.
Creative Variations to Try:
- Chocolate Cake Base: For chocolate lovers, use a devil’s food or chocolate fudge cake mix instead of yellow. The rich chocolate complements the caramel and Butterfinger wonderfully.
- Peanut Butter Drizzle: A light drizzle of warm peanut butter over the top, along with the caramel and Butterfingers, can amplify the peanut flavor.
- Different Candy Toppings: While Butterfinger is supreme here, feel free to experiment with other crushed candy bars like Heath (toffee bits), Snickers, or Reese’s Peanut Butter Cups for different flavor profiles.
- Mini Poke Cakes: Bake the cake in a muffin tin to create individual Butterfinger poke cupcakes, perfect for grab-and-go treats or portion control.
Expert Baking Tips
Achieving the perfect Butterfinger poke cake is simple with a few insider tips. These tried-and-true techniques will ensure your cake is moist, flavorful, and beautifully presented every time.
- Poke the Cake While It’s Warm: This is a crucial step! The warmth of the freshly baked cake helps the pores remain open, allowing the sweetened condensed milk and caramel sauce to penetrate deeply and evenly. This creates that wonderfully moist, infused texture characteristic of a great poke cake.
- Thaw Whipped Topping Properly: For a smooth, even layer of whipped topping, ensure your frozen whipped topping (like Cool Whip) is completely thawed. Place it in the refrigerator several hours or even overnight before you plan to assemble the cake. Attempting to spread partially frozen topping will result in a lumpy, uneven surface.
- Allow the Cake to Cool Completely: Patience is a virtue when making poke cake. After pouring the caramel mixture, let the cake cool entirely to room temperature, and then ideally chill it in the refrigerator for at least 2-4 hours, or even overnight. This chilling period allows the liquid to fully absorb and the cake to set, preventing a runny or messy topping. You can even place the cake in the refrigerator for a few minutes before adding the whipped topping to ensure it’s perfectly cool.
- Enhance with Extra Caramel: If you’re a true caramel enthusiast, don’t hesitate to drizzle a little extra caramel sauce over the whipped topping before sprinkling on the Butterfingers, or even just before serving. It adds an extra layer of gooey sweetness and visual appeal.
- Optimal Butterfinger Crushing: For the best texture, ensure your Butterfinger candy bars are cold when you crush them. I often place them in the freezer for about 10-15 minutes beforehand. Cold candy is less sticky and will break into crisp, distinct pieces, rather than clumping together. Place the bars in a sturdy zip-top bag and use a rolling pin or the flat side of a meat tenderizer to crush them to your desired consistency – some prefer finer crumbs, others larger chunks for more bite.
Storage & Freezing Tips
To keep your Butterfinger poke cake fresh and delicious, proper storage is key. After the cake has been assembled and thoroughly chilled, cover it tightly with plastic wrap or aluminum foil. You can also transfer it to an airtight container. Store the cake in the refrigerator for up to 3-4 days. Beyond this period, the whipped topping may start to become watery, affecting the texture and appearance. Due to the creamy topping, this cake is not recommended for freezing once fully assembled, as the texture of the whipped topping can change significantly upon thawing. However, you can bake the yellow cake and soak it with the caramel mixture, then freeze it (without the whipped topping and Butterfingers) for up to a month. Thaw in the refrigerator, then add fresh whipped topping and crushed Butterfingers before serving.
Frequently Asked Questions
These two beloved poke cakes share a similar concept but differ in their key flavor components. Better than Anything Cake typically uses a chocolate cake base, often features a similar caramel-condensed milk soaking, but is topped with a whipped cream and a generous sprinkle of toffee bits (like Heath Bar), not Butterfinger candy. Our Butterfinger Poke Cake, on the other hand, usually starts with a yellow cake and is specifically finished with crunchy Butterfinger pieces, offering a distinct peanut butter and crisp toffee flavor.
The most common and effective tools for poking holes in a cake are the back of a wooden spoon handle, the tines of a sturdy fork, or even a large, clean drinking straw. The goal is to create holes that are deep enough to allow the liquid to soak in but not so wide that the cake crumbles. Aim for a consistent pattern across the entire cake surface for even absorption.
For optimal flavor infusion and cake stability, I highly recommend allowing your Butterfinger poke cake to chill for a minimum of 2 hours in the refrigerator. However, for the absolute best results, a chilling time of 4 hours to overnight is ideal. This extended period ensures the cake fully absorbs the rich caramel mixture and that the whipped topping sets perfectly, resulting in a firm, moist, and incredibly delicious dessert.
Absolutely! This is one of the best make-ahead desserts. You can bake the cake, poke it, and pour the caramel mixture over it a day in advance. Cover it tightly and refrigerate overnight. Then, about an hour or two before you plan to serve, add the whipped topping and crushed Butterfingers. This allows the flavors to meld beautifully and the cake to become incredibly moist.
While Butterfinger provides a unique flavor and crunch, if you can’t find them, some good substitutes could be Heath bars (for toffee crunch), Skor bars, or even a mixture of crushed peanut brittle and chocolate chips. These options will provide similar crunchy textures and complementary flavors, though the distinct Butterfinger taste will naturally be altered.
More Amazing Cake Recipes
- Easy Chocolate Cherry Cake
- Light Pineapple Angel Food Cake
- Delicate Apricot Nectar Cake
- Effortless Do Nothing Cake
- Classic Honey Bun Cake
I genuinely hope you enjoy making and sharing this delightful Butterfinger poke cake with cake mix! Please do let me know your thoughts and how it turned out in the comments section below. Happy baking!
Butterfinger Poke Cake
You can save, pin, rate, or print this recipe!
Ingredients
- 1 box yellow cake mix + ingredients to make the cake
- 1 (12 oz jar) caramel ice cream topping
- 1 (14 oz) sweetened condensed milk
- 1 (16 oz) frozen whipped topping, thawed
- 4 Butterfinger bars
Instructions
- Prepare and bake yellow cake according to directions on the box. Bake in a 9×13 pan.
- In a medium bowl, stir together caramel sauce and sweetened condensed milk.
- Once cake has baked, remove from oven and let it sit for about 5 minutes. Poke holes in the cake either with a fork or the back of a wooden spoon.
- Pour caramel mixture all over the cake. Let the cake cool completely.
- Place Butterfingers in a large sandwich bag and using a rolling pin or something heavy, crush into pieces.
- Evenly spread the whipped topping over cake and then top with crushed Butterfinger. Refrigerate.
Notes
- Poke the cake while it’s warm. This helps the sweetened condensed milk and caramel sauce soak in the best.
- Thaw whipped topping. Make sure to let the frozen whipped topping thaw to make it easier to spread over the cake.
- Let the cake cool. Be sure to let the cake completely cool before adding the whipped topping. You can even place it in the refrigerator for a few minutes before topping.
- Extra caramel. If you want more caramel, drizzle some of the sauce over top of the cake.
- Crush the Butterfingers. Make sure the butterfinger candy isn’t warm or hot when crushing. I even like placing it in the freezer for a few minutes before crushing.
Nutrition
Calories: 250kcal | Carbohydrates: 50g | Protein: 2g | Fat: 4g | Saturated Fat: 2g | Sodium: 360mg | Potassium: 64mg | Sugar: 27g | Calcium: 98mg | Iron: 1.1mg
Nutrition information is automatically calculated, so should only be used as an approximation.
Additional Info
Like this? Leave a comment below!