
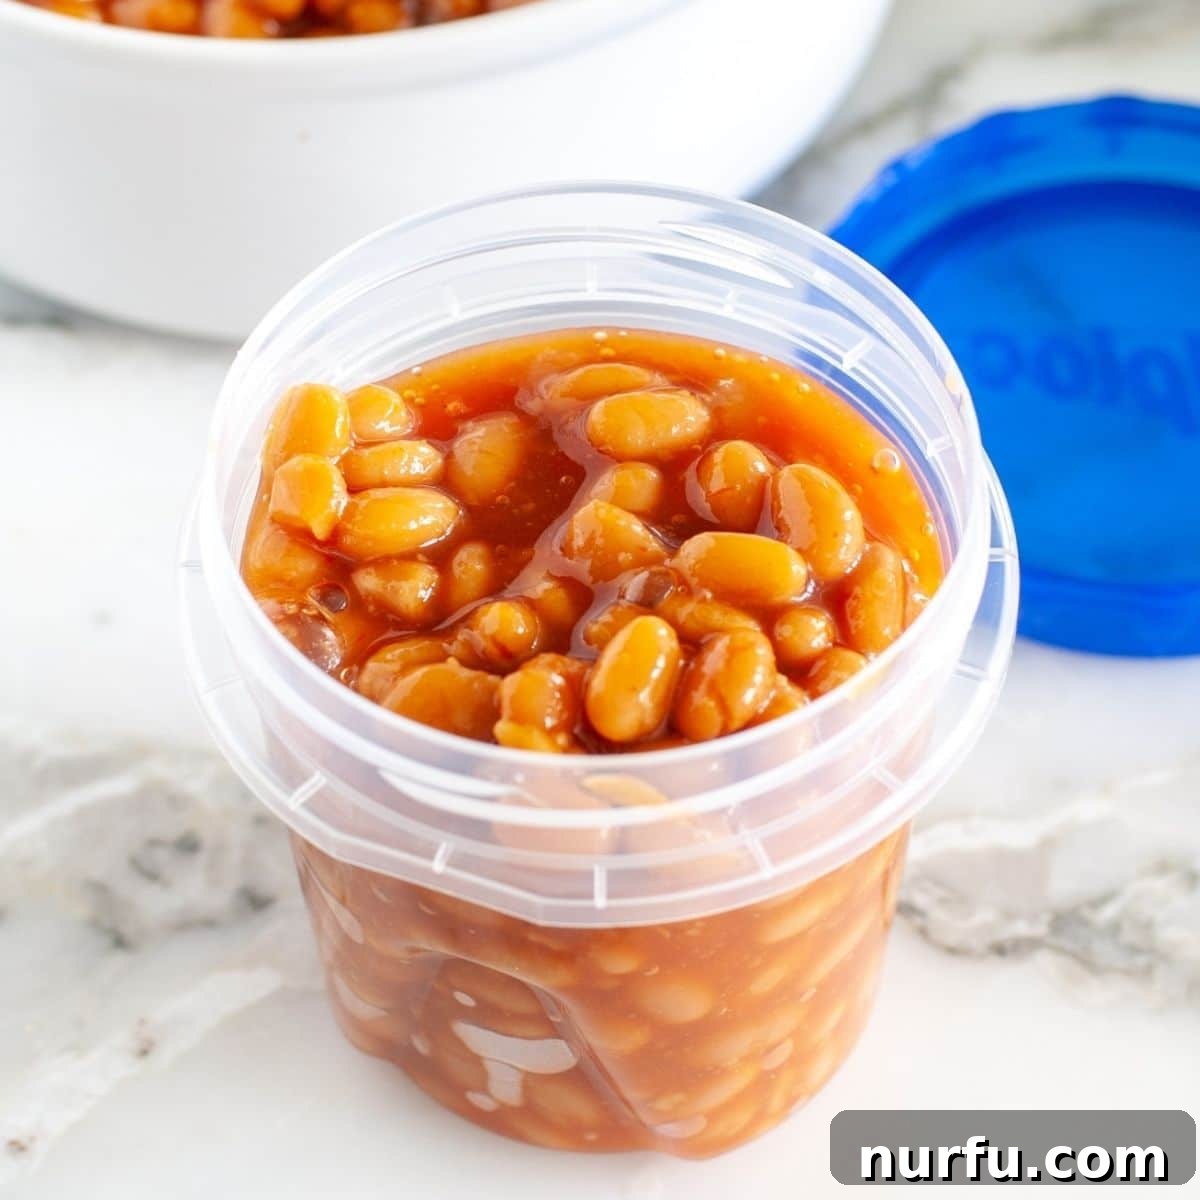
Baked beans hold a special place in the heart of comfort food enthusiasts. Whether served as a hearty main course or a beloved side dish alongside classics like Instant Pot Country Style Ribs, their rich, savory flavor and tender texture are simply irresistible. Often, when preparing a generous batch, we find ourselves with delicious leftovers. This naturally leads to a common question: Can you freeze baked beans? And if so, what’s the best way to preserve their delectable taste and texture?
If you’ve ever faced this culinary dilemma, you’re in the right place. This comprehensive guide will walk you through everything you need to know about freezing baked beans, ensuring you can enjoy this versatile dish whenever the craving strikes, without compromising on quality or safety.
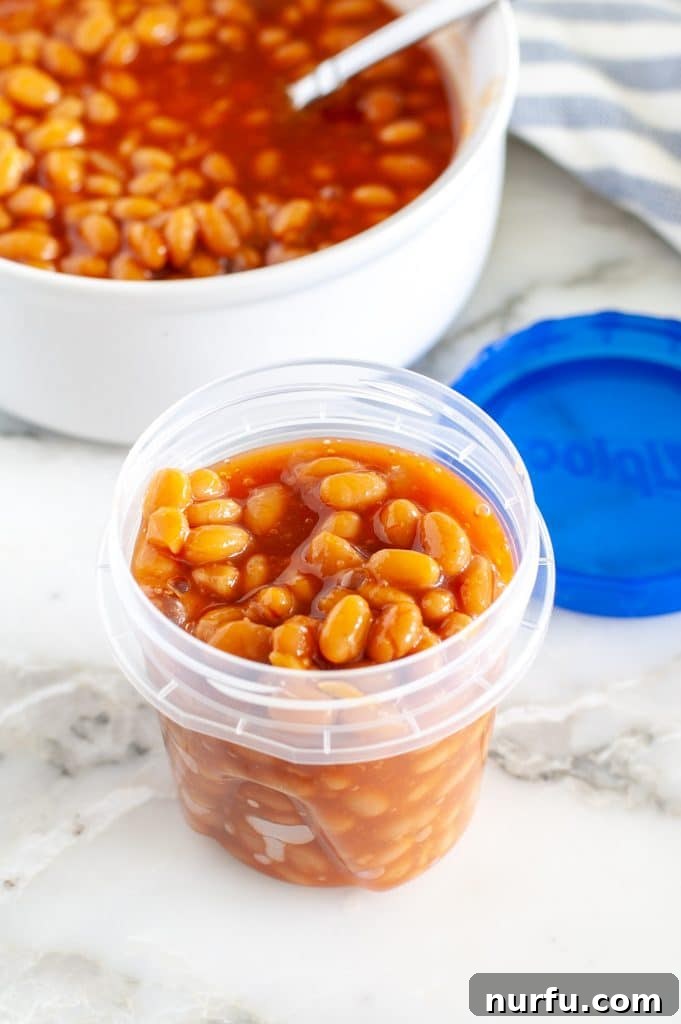
Can You Freeze Baked Beans? Absolutely!
Let’s cut straight to the chase: Yes, you can absolutely freeze baked beans! And not only can you, but I highly recommend it. Freezing baked beans is a fantastic way to extend their shelf life, prevent food waste, and create convenient, ready-to-eat meals for those busy weeknights.
Imagine having a homemade, comforting side dish or a quick meal starter waiting in your freezer, ready to be transformed into a delicious family dinner with minimal effort. Freezing baked beans transforms them into a meal prep superstar, allowing you to enjoy their comforting goodness anytime you desire without the hassle of cooking from scratch every time.
Why Freeze Baked Beans? The Benefits of Smart Storage
Beyond simply extending their life, freezing baked beans offers a multitude of benefits for any home cook:
- Convenience: Batch cook a large quantity and freeze individual portions for quick lunches or dinners. No more last-minute cooking when time is short.
- Cost Savings: Take advantage of sales on ingredients or prepare larger recipes that are more economical per serving. Freezing prevents spoilage, saving you money in the long run.
- Reduce Food Waste: Don’t let those delicious leftovers go to waste! Freezing ensures every last bean can be enjoyed, supporting a more sustainable kitchen.
- Meal Prep Efficiency: Incorporate baked beans into your weekly meal prep. Freeze them as a base for chili, burritos, or as a side for grilled meats.
- Enhanced Flavor Retention: Proper freezing techniques help lock in the flavors and textures, so your thawed beans taste almost as good as fresh.
How to Freeze Baked Beans Properly
Proper storage is crucial for maintaining the quality and safety of frozen foods. It helps preserve the flavors, textures, and nutritional value of your baked beans. The method you use might vary slightly depending on whether your beans are store-bought (canned) or homemade. Here’s a detailed breakdown for both scenarios:
Freezing Canned Baked Beans
Canned baked beans are incredibly convenient, and their leftovers can be easily frozen. However, there’s a golden rule you must always follow:
Do NOT freeze baked beans inside the can!
Freezing food in its original can is unsafe. Cans are not designed for freezing and can expand, crack, or even burst, leading to potential contamination and a messy freezer. Additionally, the quality of the beans can degrade, and the can’s lining might leach into the food when exposed to freezing temperatures.
Here’s how to safely freeze canned baked beans:
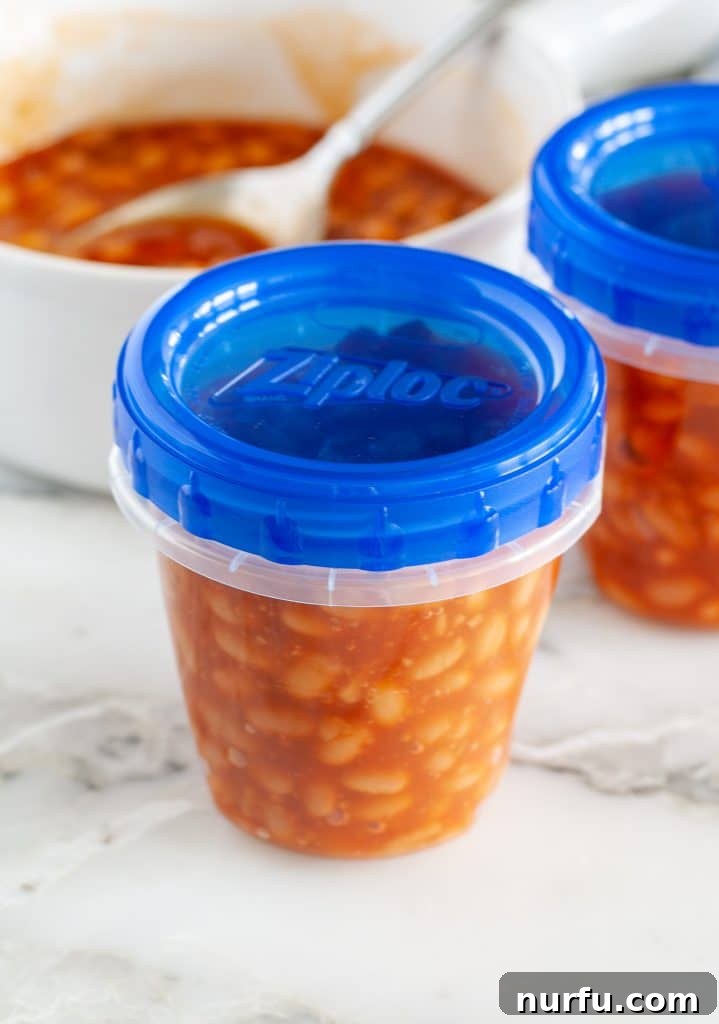
- Transfer to a Freezer-Safe Container: Once cooled (if heated), spoon the leftover beans into an airtight, freezer-safe container. This could be a rigid plastic container with a tight-fitting lid, a freezer-safe glass container, or heavy-duty freezer bags.
- Leave Headspace: It’s essential to leave about half an inch to an inch of empty space at the top of the container. This “headspace” accounts for the expansion of liquids as they freeze, preventing the container from cracking or bursting.
- Remove Air (for bags): If using freezer bags, lay them flat and gently press out as much air as possible before sealing. Excess air can lead to freezer burn, which degrades texture and flavor.
- Label and Date: Always label your containers or bags with the contents (e.g., “Baked Beans”) and the date they were frozen. This helps you keep track of their freshness and ensures you use them within their optimal storage period.
- Storage Duration: Store-bought baked beans, when properly frozen, can be safely kept in the freezer for up to 6 months for best quality. While they may remain safe to eat beyond this period, their taste and texture might start to decline.
Freezing Homemade Baked Beans
Homemade baked beans are often richer in flavor and made with fresh ingredients, making them an excellent candidate for freezing. Proper preparation before freezing is key to preserving their quality.
- Cool Completely: Before freezing, ensure your homemade baked beans have cooled down to room temperature. Freezing hot food can raise the temperature of your freezer, potentially thawing other items and creating a breeding ground for bacteria. You can speed up cooling by dividing the beans into smaller portions or placing the pot in an ice bath.
- Portion for Convenience: A smart trick is to portion out your beans into single servings or family-sized portions before freezing. This way, you only defrost what you need, minimizing waste and speeding up the thawing process. Use small containers, muffin tins (for individual bean “pucks” that can be transferred to a bag once frozen), or freezer-safe bags.
- Choose the Right Container: Similar to canned beans, use airtight, freezer-safe containers or heavy-duty freezer bags. Ensure they are designed to withstand freezing temperatures without becoming brittle or cracking.
- Leave Headspace: Again, remember to leave some room at the top of your container for expansion.
- Label and Date: Don’t skip this step! Labeling with the date and contents is vital. It’s easy to forget when items went into the freezer, and proper labeling helps you rotate your stock effectively.
- Freeze Promptly: For the best quality and to enhance shelf life, freeze your homemade baked beans the same day you make them, once they’ve cooled.
- Storage Duration: Homemade baked beans can also be stored in the freezer for up to 6 months. While still safe beyond this, the longer they are stored, the more their flavor and texture might diminish. Aim to consume them within this timeframe for the best culinary experience.
How to Thaw Baked Beans Safely and Effectively
Once you’re ready to enjoy your frozen baked beans, proper thawing is the next important step. Remember that larger portions will naturally take longer to thaw than smaller ones. Here are a few reliable methods:
Thawing Baked Beans in the Refrigerator (Recommended Method)
This is the safest and most recommended method for thawing any frozen food, including baked beans. It allows for a gradual and even thaw, preserving texture and minimizing bacterial growth.
- Method: Simply transfer the frozen container of baked beans directly into your refrigerator.
- Timing: Depending on the portion size, this can take 8 to 24 hours. Small portions might thaw overnight, while larger quantities could take a full day. For dinner that night, take them out in the morning.
- Benefits: This method keeps the beans at a safe, consistent temperature below 40°F (4°C) throughout the thawing process, preventing rapid bacterial growth.
Thawing Baked Beans in the Microwave (Quick Method)
When you’re short on time, the microwave offers a speedy solution for thawing.
- Method: Place your frozen beans in a microwave-safe container, cover it, and use the defrost setting.
- Technique: Defrost in short intervals (e.g., 1-2 minutes) and check, stir, and break apart the beans as they thaw. The goal is to defrost, not to cook.
- Prevent Drying: To keep them from drying out, you can sprinkle a little water or a splash of fresh sauce over the beans before or during defrosting.
- Immediate Use: Beans thawed in the microwave should be cooked or reheated immediately after thawing, as parts of the food may begin to cook.
Thawing Baked Beans on the Stove (Direct Thaw and Reheat)
This method allows you to thaw and begin reheating simultaneously, making it a good option if you want to eat sooner and don’t have a microwave.
- Method: Transfer the frozen block of baked beans to a pot or skillet.
- Heat: Begin thawing on low heat, stirring occasionally. As the beans start to defrost, you can increase the heat slightly to medium-low.
- Prevent Sticking: Add a little water, broth, or cooking oil to the pot to prevent the beans from sticking to the bottom and burning, especially in the initial stages of thawing.
- Stirring: Stir frequently to ensure even thawing and heating.
Thawing Baked Beans in Cold Water (Emergency Method)
For a quicker thaw than the refrigerator but without using the microwave, the cold water method is an option.
- Method: Ensure your beans are in a leak-proof freezer bag or container. Submerge the sealed container in a bowl of cold water.
- Change Water: Change the cold water every 30 minutes to ensure it remains cold and facilitates thawing.
- Timing: This method is faster than refrigerator thawing, typically taking 1-3 hours for smaller portions.
- Immediate Use: Like microwave thawing, beans thawed in cold water should be cooked or reheated immediately after thawing.
How to Reheat Baked Beans for Optimal Flavor
Once your baked beans are safely thawed, it’s time to bring them back to their delicious, warm state. Remember the cardinal rule: Never reheat canned baked beans in the can! While old western movies might show cowboys heating beans over a campfire in the can, this is unsafe and can lead to potential health hazards. Always transfer them to a proper cooking vessel.
Reheating Baked Beans in the Microwave
For a quick and convenient reheat, the microwave is a reliable choice.
- Method: Place your thawed beans in a microwave-safe bowl or container and cover it.
- Intervals and Stirring: Reheat in short intervals (e.g., 1-2 minutes) to ensure even heating and prevent hot spots. Stir thoroughly after each interval, especially for larger portions, until the beans are heated through to your desired temperature.
- Add Moisture: If the beans seem a bit dry, add a tablespoon or two of water, broth, or extra sauce before reheating.
Reheating Baked Beans in the Oven
The oven offers a gentle and even reheating method, perfect for larger batches or when you want to retain a slightly crisper texture on top.
- Preheat: Preheat your oven to a moderate 275°F (135°C).
- Preparation: Transfer the thawed baked beans to an oven-safe dish. Cover the dish tightly with an oven-safe lid or aluminum foil to prevent them from drying out.
- Bake: Heat for 15-25 minutes, or until thoroughly warmed through. Stir halfway through if desired to ensure even heating. For a slightly caramelized top, you can remove the foil for the last few minutes.
Reheating Baked Beans on the Stove
The stovetop is arguably the best method for reheating if you want to customize your beans or ensure perfectly even heating. It allows for more control over the consistency and flavor.
- Method: Place your thawed beans in a pot or a wide-rimmed skillet over low to medium-low heat.
- Stirring and Moisture: Stir frequently to prevent sticking and burning. This is where you can “doctor them up” a bit – add a splash of water, broth, extra sauce, a pat of butter, or even a dash of your favorite seasoning to bring them back to life and enhance their flavor.
- Timing: Reheating will take a few minutes, depending on the serving size. Continue to heat until the beans are bubbling gently and thoroughly warmed.
Reheating Baked Beans in a Slow Cooker
For large gatherings or keeping beans warm for an extended period, a slow cooker is an excellent choice.
- Method: Transfer the thawed baked beans to your slow cooker.
- Heat: Set the slow cooker to the “low” setting. Stir occasionally.
- Timing: Reheating will take 1-2 hours, depending on the volume. Once heated through, you can switch to the “warm” setting to maintain temperature without overcooking.
- Add Moisture: If needed, add a little extra liquid to prevent drying out during the reheating process.
How Long Do Frozen Baked Beans Last?
For optimal taste and texture, both homemade and store-bought baked beans are best consumed within 4 to 6 months of freezing. While they may remain safe to eat beyond this period, their quality can gradually diminish, leading to changes in texture (they might become mushier) and a less vibrant flavor. Always rely on your labeling system to ensure you’re using your frozen beans within their prime window.
Can You Freeze Cowboy Baked Beans?
Absolutely! Cowboy baked beans, often packed with extra ingredients like ground beef, bacon, onions, and various spices, freeze exceptionally well. In fact, many find that the flavors in cowboy beans meld and deepen even further after freezing and thawing, making them taste even better!
This cowboy baked beans recipe, a big hit for summer gatherings, BBQs, and picnics, is perfect for making in advance. Our schedules rarely slow down, even in summer, so having a batch of homemade cowboy baked beans ready in the freezer is a true lifesaver. Simply prepare a large quantity, cool them completely, portion them into airtight containers (leaving some headspace), and freeze.
When you’re ready to serve, transfer them to the refrigerator the night before to thaw. This strategic use of your fridge and freezer will make entertaining a breeze, allowing you to enjoy your events without last-minute kitchen stress. Trust me, for meal prep and entertaining, your freezer will become your best friend!
Beyond the Side Dish: What to Do With Leftover Baked Beans
Now that you’re a pro at freezing and reheating baked beans, let’s explore some delicious ways to incorporate them into your meals. Baked beans are incredibly versatile and can be the star of many dishes:
- Bean Burritos: Transform them into hearty bean burritos by rolling them up in tortillas with cheese, rice, and your favorite toppings.
- Spicy Cowboy Chili: Use them as a base for a robust and spicy chili, adding ground meat, other beans, diced tomatoes, and plenty of chili powder.
- British Baked Beans and Toast: A classic comfort food! Spoon warm beans over toasted bread, perhaps with a sprinkle of cheese or a fried egg.
- Cheesy Baked Bean Casserole: Layer them with crushed tortilla chips or breadcrumbs and plenty of cheese, then bake until bubbly and golden.
- Hot Dogs or Burgers Topping: A spoonful of warm baked beans is a fantastic topping for grilled hot dogs or burgers, adding a burst of flavor and texture.
- Stuffed Sweet Potatoes: Spoon warm beans into baked sweet potatoes for a nutritious and filling meal.
Enjoy the endless possibilities that frozen baked beans bring to your kitchen!
More Bean Recipes to Explore
If you’re a fan of beans, here are some other delicious recipes to add to your culinary repertoire:
- Navy Bean Recipes
- Mexican Black Beans
- Charro Beans
- Red Beans And Rice

How to Freeze Baked Beans
Learn the best practices for freezing baked beans, and how to safely thaw and reheat them, making meal prep easy and extending the life of your leftovers.
Ingredients
- 2 cups baked beans
Instructions
- Ensure the baked beans have cooled down to room temperature before proceeding. This is crucial for food safety and preventing freezer burn.
- Carefully transfer the cooled beans into a freezer-safe, airtight container or a heavy-duty freezer bag. Remember to leave about 1-inch of headspace to allow for expansion during freezing.
- Label the container with the contents (“Baked Beans”) and the date of freezing. Place the sealed container in the freezer. For best quality, consume within 4-6 months.
Nutrition Information (Approximate Per Serving)
- Calories: 135 kcal
- Carbohydrates: 25 g
- Protein: 7 g
- Fat: 2 g
- Saturated Fat: 1 g
- Polyunsaturated Fat: 1 g
- Monounsaturated Fat: 1 g
- Cholesterol: 9 mg
- Sodium: 526 mg
- Potassium: 392 mg
- Fiber: 7 g
- Vitamin C: 3 mg
- Calcium: 67 mg
- Iron: 2 mg
Nutrition information is automatically calculated and should be used as an approximation.
Additional Information
Enjoyed this guide? Don’t forget to share your thoughts and tips in the comments below!