
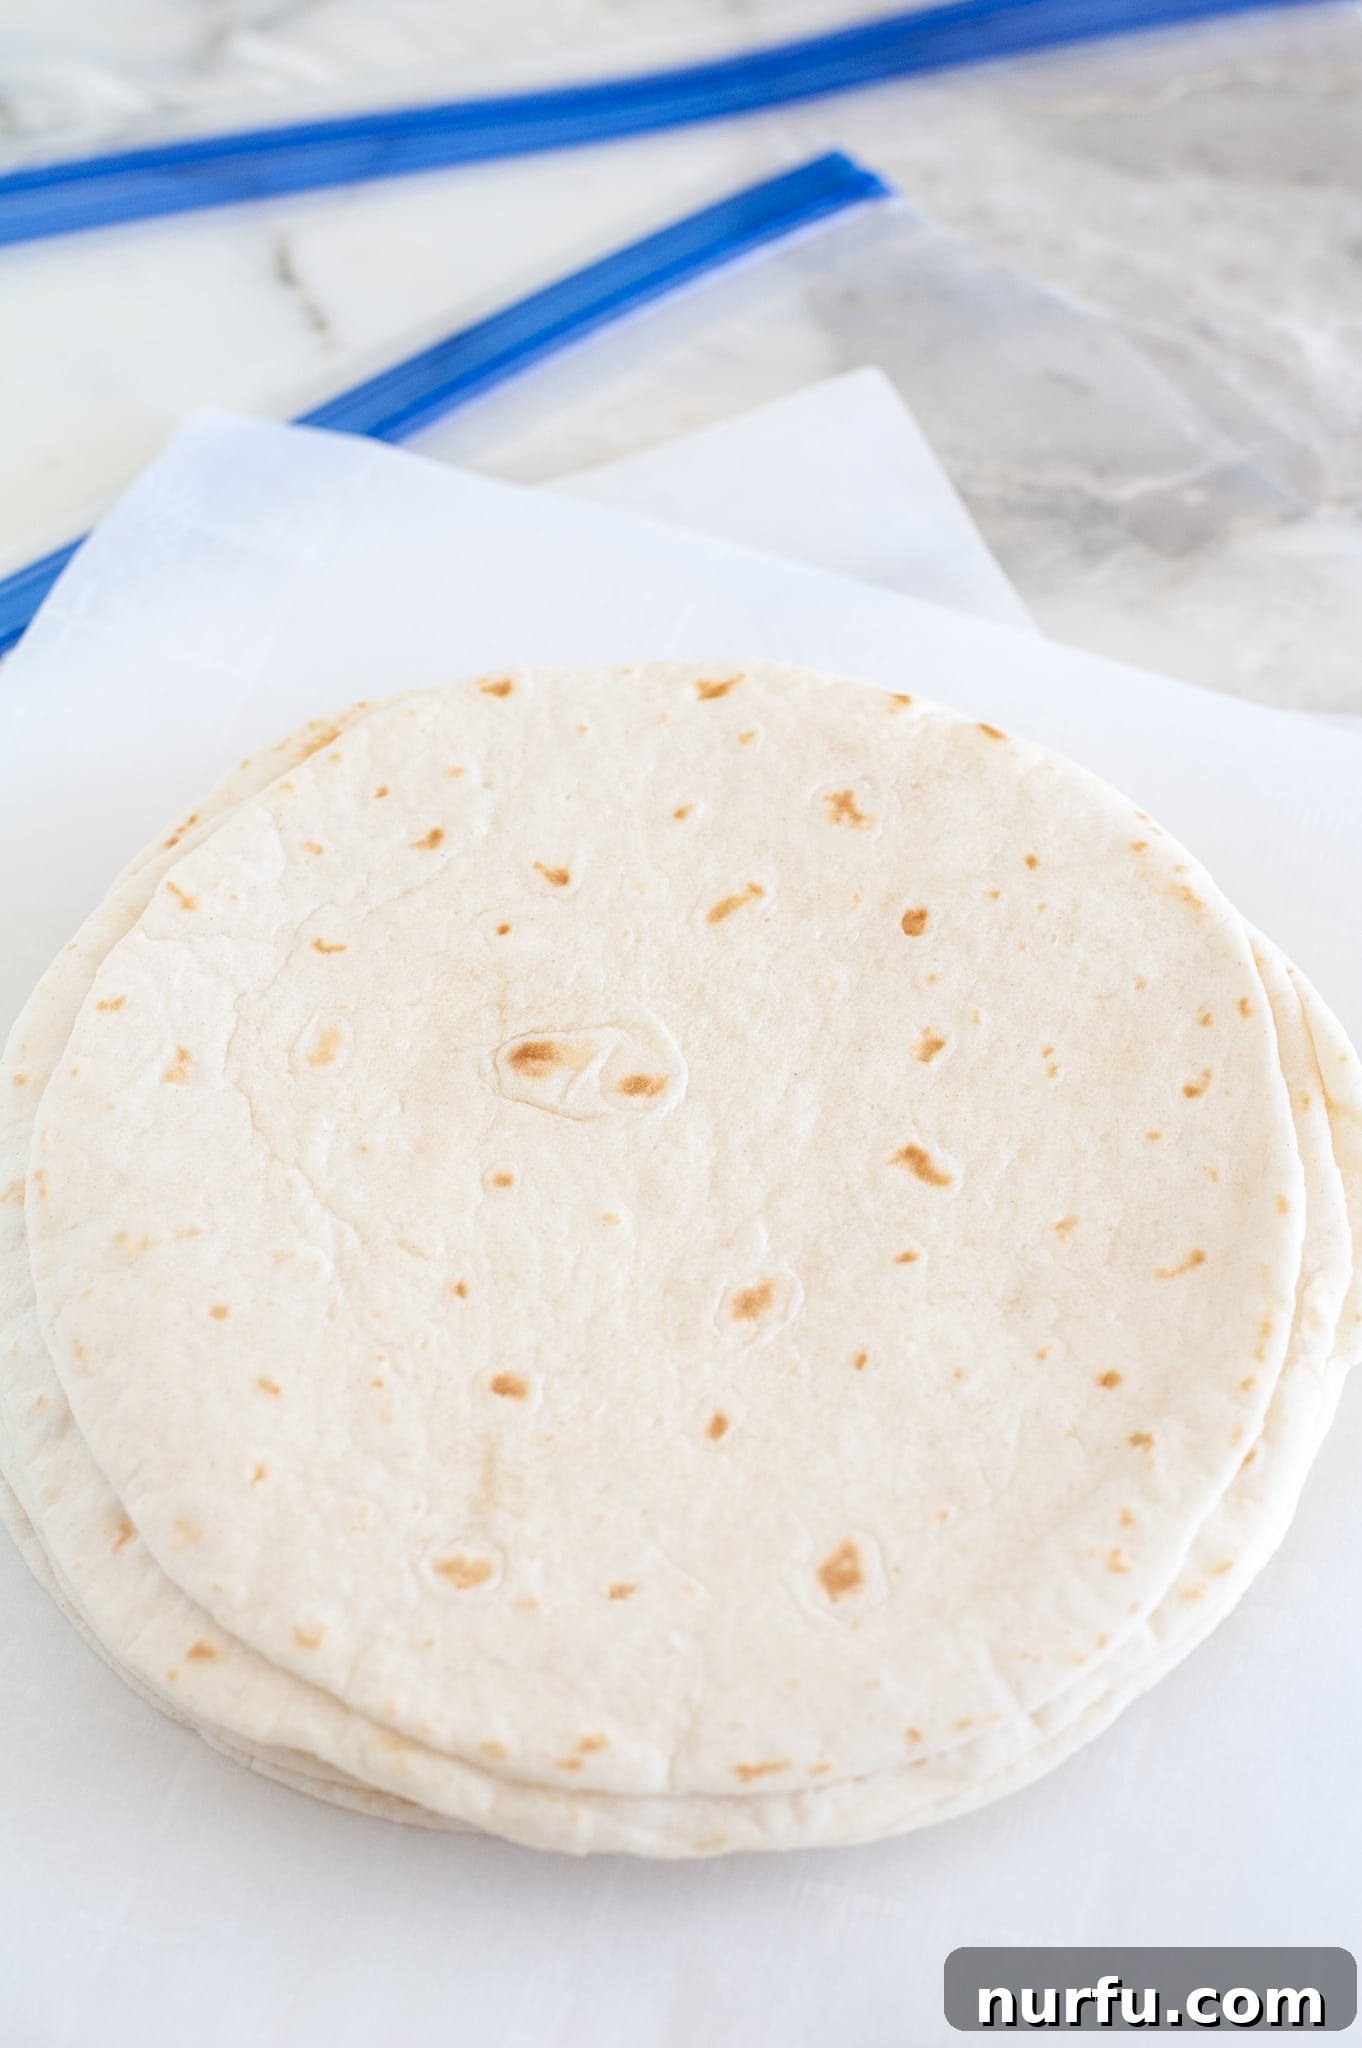
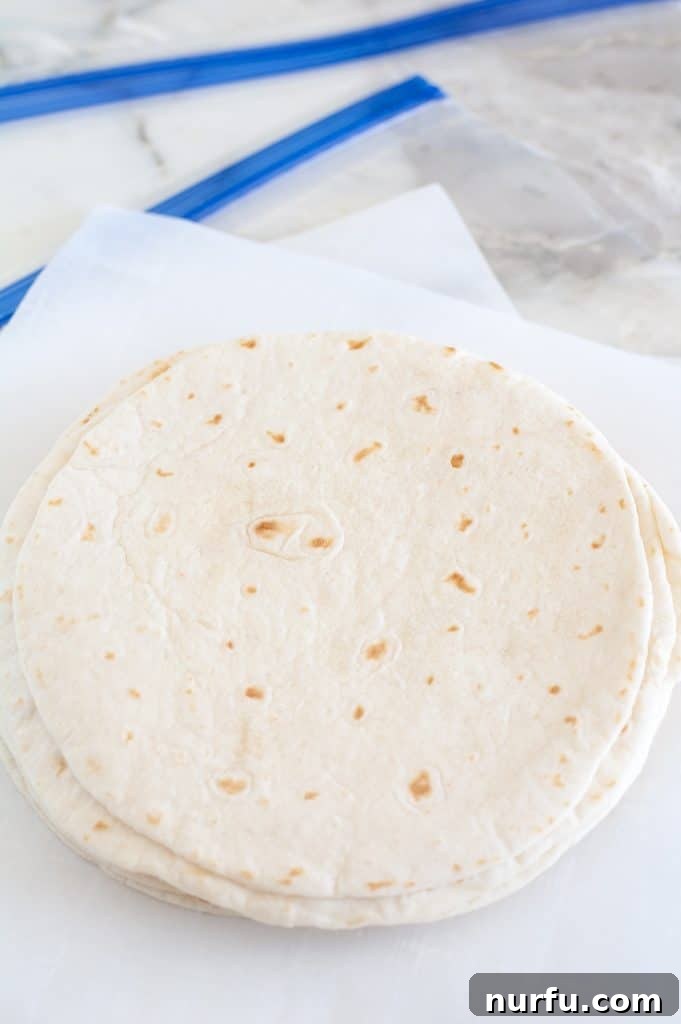
For bustling families and savvy home cooks, having versatile meal foundations readily available is invaluable. Tortillas, whether crafted from corn or flour, stand as a universal base for an array of delightful dishes, from quick weeknight tacos to hearty enchiladas. Their adaptability and convenience make them a pantry staple. However, to truly maximize their potential and minimize food waste, understanding the best storage practices is crucial. While refrigeration offers a short-term solution, the freezer emerges as the ultimate method for significantly extending their shelf life. But what exactly does it take to freeze tortillas effectively, ensuring they retain their perfect texture and flavor?
When prepared and stored correctly at optimal freezer temperatures, tortillas can maintain their peak quality for an impressive duration, typically between six and eight months. The secret to this extended freshness lies in meticulous storage: utilizing airtight containers or heavy-duty freezer bags acts as a crucial barrier against freezer burn and preserves their delicate pliability. When culinary inspiration strikes, a gradual thawing process in the refrigerator, initiated a few hours before cooking, will gently bring them back to their supple, ready-to-use state.
This comprehensive guide will illuminate the many advantages of freezing tortillas, address common concerns, and provide detailed, actionable instructions for handling various types, including corn, flour, and specialty varieties. We will also delve into effective thawing strategies and optimal reheating techniques, ensuring that your frozen tortillas emerge as delicious and versatile as their freshly made counterparts. Prepare to transform your meal planning, reduce waste, and always have a stack of perfect tortillas at your fingertips.
The Ultimate Guide to Freezing Tortillas: Flour and Corn
Both flour and corn tortillas are remarkably well-suited for freezer storage, making them excellent candidates for bulk purchasing or preserving homemade batches. The primary goal when freezing tortillas is to prevent them from sticking together and to shield them from freezer burn, which can degrade their texture and flavor. Achieving this requires a few simple, yet critical, preparation steps.
Preparing Tortillas for Freezing: Preventing Sticking
The most effective strategy for successful freezing begins with separating individual tortillas. This allows you to easily retrieve just the amount you need without the frustration of thawing an entire frozen block. Here’s how to do it:
- Layer with Barriers: Take each tortilla and place a sheet of parchment paper, wax paper, or even aluminum foil between it and the next. This creates a non-stick barrier that makes separation effortless once frozen.
- Create Manageable Stacks: Once layered, arrange your tortillas into smaller stacks. Ideally, aim for stacks of 5 to 10 tortillas. Smaller stacks are not only easier to manage and thaw but also help the tortillas maintain their original shape, preventing them from becoming misshapen or brittle.
- Cool Homemade Tortillas: If you are freezing homemade tortillas, it is absolutely essential to let them cool completely to room temperature before layering and packaging. Freezing warm tortillas will trap moisture, leading to excessive ice crystal formation and a compromised texture upon thawing.
Packaging for Optimal Freezer Protection
Once your tortillas are properly stacked and layered, the next step is to seal them effectively to protect against freezer burn and odor absorption:
- Airtight Containers or Freezer Bags: Place your tortilla stacks into heavy-duty freezer bags or rigid, airtight freezer containers. These materials are designed to withstand freezing temperatures and provide superior protection compared to standard plastic bags or wraps.
- Remove Excess Air: This is a crucial step to combat freezer burn. If using freezer bags, gently press out as much air as possible before sealing. You can even use a straw to suck out the remaining air for a vacuum-like seal. For containers, ensure the lid is tightly sealed without any gaps.
- Double Protection (Optional but Recommended): For an extra layer of defense, especially if you plan to store them for several months, consider wrapping the tortilla stacks tightly in cling film before placing them into a freezer bag or container. This creates a secondary barrier against air exposure.
- Label and Date: Always label your packages with the date of freezing and the type of tortillas (e.g., “Corn Tortillas – Aug 2024”). This helps you keep track of their freshness and ensures you use older batches first, adhering to the “first in, first out” principle.
By following these meticulous steps, you can confidently freeze your corn and flour tortillas, ensuring they emerge from the freezer ready to be transformed into delicious meals with their texture and flavor intact.
Extending Freshness: Freezer vs. Refrigerator Tortilla Storage
Choosing the right storage method for your tortillas significantly impacts their shelf life and quality. Both refrigeration and freezing offer distinct advantages, catering to different usage timelines and preferences.
Refrigerator Storage: The Short-Term Solution
Refrigerating tortillas is a practical choice for short-term needs, especially for opened packages or if you anticipate using them within a week or so. Typically, tortillas stored in the refrigerator will maintain their desirable quality for approximately ten days. Beyond this timeframe, you’ll likely notice a noticeable decline in their texture. They tend to “stiffen up” and become brittle, making them prone to cracking and tearing when you try to fold them, which can be particularly frustrating for wraps, burritos, or tacos.
Furthermore, environmental factors play a significant role. If you reside in a warm or humid climate, leaving opened packages or freshly baked tortillas at room temperature for any extended period is strongly discouraged. The inherent moisture in tortillas, combined with warmer temperatures, creates an ideal environment for mold and bacterial growth. This not only compromises food safety but also leads to unnecessary food waste. For opened packages, prompt refrigeration in an airtight container is always the safest and most recommended practice, regardless of your climate.
Freezer Storage: The Long-Term Preservation Champion
For comprehensive and long-term preservation, the freezer is unparalleled. This method allows tortillas to retain their optimal freshness, flavor, and even their nutritional value for an impressive period, often up to eight months, provided they are stored correctly. The consistently low temperatures within a freezer effectively halt the metabolic activities of spoilage-causing microorganisms and significantly slow down enzymatic reactions that lead to food degradation.
The advantages of freezing tortillas are numerous:
- Cost Savings: It enables you to purchase tortillas in larger quantities when they are on sale, leading to significant savings over time.
- Reduced Food Waste: Any unused portions, whether from a large store-bought pack or a batch of homemade tortillas, can be frozen instead of spoiling, contributing to a more sustainable kitchen.
- Convenience and Meal Prep: A freezer stocked with tortillas means you’re always prepared. It simplifies meal planning and last-minute cooking, offering flexibility and convenience for busy schedules.
- Preservation of Quality: When properly packaged, frozen tortillas will thaw back to a texture and taste remarkably similar to their fresh state, making them a fantastic alternative to constantly buying new packs.
The same high-quality, airtight storage materials mentioned earlier – heavy-duty freezer bags or containers – are paramount here. They serve as a vital barrier, preventing both moisture loss (which leads to freezer burn) and the absorption of unwanted odors from other items in your freezer.
The Thawing Process: Gentle Does It
Once you’ve retrieved your perfectly preserved tortillas from the freezer, the thawing process is the next critical step to ensure they regain their original pliability. For the best results, a slow and gradual thaw in the refrigerator is highly recommended. Transfer the desired number of frozen tortilla stacks to the refrigerator several hours or, ideally, overnight before you plan to use them. This gentle thawing helps the tortillas reabsorb moisture evenly and prevents them from becoming brittle or gummy. Thicker tortillas, in particular, may require a longer thawing period, so planning ahead is key. While quicker thawing methods exist, such as using a microwave, the refrigerator method consistently yields the best texture and minimizes potential damage.
Specific Storage Needs for Different Types of Tortillas
While the fundamental principles of tortilla storage are universal, understanding the nuances for different types of tortillas can further optimize their freshness and extend their shelf life. The composition and presence of preservatives can significantly influence how long each variety remains ideal for consumption.
Pantry Storage: Short-Term and Conditional
For unopened, commercially packaged tortillas, pantry storage can be a temporary solution, but its limitations must be understood. Once opened, any tortillas stored in the pantry should be consumed promptly or moved to the refrigerator.
- Flour and Corn Tortillas: Unopened packages of these common varieties can generally last for 7 to 10 days in a cool, dry pantry.
- Spinach and Whole Wheat Tortillas: Similar to their standard flour counterparts, unopened specialty tortillas like spinach or whole wheat varieties typically maintain quality for up to a week in a stable pantry environment.
- Homemade Tortillas: Lacking the preservatives found in commercial products, homemade tortillas have the shortest pantry shelf life, usually only 2 to 3 days. They are best enjoyed fresh or immediately refrigerated/frozen.
It is paramount to store any non-refrigerated tortilla packages in a cool, dry place, away from direct sunlight, heat-emitting appliances (like ovens or stovetops), and sources of humidity. Fluctuating temperatures or excessive moisture in the pantry can dramatically accelerate spoilage, leading to unsightly and unsafe mold growth. Mold not only renders food inedible but also poses potential health risks, emphasizing the importance of proper environmental control.
Refrigerator Storage: A More Reliable Mid-Term Option
The refrigerator offers a much safer and more effective environment for extending the shelf life of tortillas compared to the pantry, especially for opened packages and homemade varieties.
- Commercial Flour, Corn, Spinach, and Whole Wheat Tortillas: When transferred to an airtight container or a sealed bag, these varieties can successfully be stored in the refrigerator for up to 3 to 4 weeks.
- Homemade Tortillas: Refrigeration significantly extends the life of homemade tortillas to 5 to 7 days, a considerable improvement over pantry storage.
To ensure maximum freshness and inhibit bacterial growth, consistently maintain your refrigerator temperature at 40 degrees Fahrenheit (4 degrees Celsius) or lower. Always ensure tortillas are tightly sealed to prevent them from drying out, absorbing unwanted odors from other refrigerated foods, or becoming contaminated.
Grain-Free and Specialty Tortillas: Unique Considerations for Freezing
Grain-free tortillas, often crafted from alternative flours like almond, cassava, or chickpea, are generally excellent candidates for freezing. Their unique compositions often allow them to hold up remarkably well to the freezing and thawing process, making them a fantastic option for long-term storage, especially for individuals following specific dietary plans. Always pay close attention to the “best by” date on their packaging and freeze them promptly to capture their peak freshness. When it comes to thawing, a slow, gentle process in the refrigerator is typically recommended to help them regain their optimal texture. Due to their sometimes more delicate or distinct textures, separating grain-free tortillas with parchment paper before freezing is particularly beneficial, as it minimizes the risk of them sticking together.
Beyond specific storage techniques, becoming an informed consumer is a valuable practice. When purchasing store-bought tortillas, dedicating a moment to research different food companies can provide valuable insights. Various brands employ different types and quantities of preservatives, which directly influence the natural shelf life of their products. This research not only helps you accurately gauge how long a particular company’s tortillas might last but also allows you to identify any ingredients or additives that may be a concern for your dietary preferences or health considerations. Informed choices at the grocery store contribute to both healthier eating and more effective food management at home.
The Art of Reheating Tortillas for Perfect Texture
Once your tortillas are properly thawed, the final step to incorporating them into a delicious meal is mastering the art of reheating. The goal is to restore their soft, pliable texture, ensuring they are warm, flexible, and enjoyable, without rendering them dry, brittle, or unpleasantly rubbery. Several effective methods exist, each suited for different quantities and desired outcomes.
Thawing as a Prerequisite for Reheating
If your tortillas have been stored in the freezer, it is strongly recommended to transfer them to the refrigerator 2-3 hours before you plan to reheat them. This gradual thawing allows the tortillas to slowly reabsorb moisture, which is crucial for preventing them from becoming stiff or prone to tearing during the reheating process. If your tortillas are already in the refrigerator, they are immediately ready for reheating using any of the methods below.
Popular Reheating Methods for Optimal Results:
1. Stovetop Griddle or Cast-Iron Skillet (The Traditional Dry Heat Method)
This method is widely considered the best for achieving perfectly pliable and slightly puffed tortillas, mimicking the fresh experience. It works wonderfully for both corn and flour tortillas.
- Setup: Place a dry griddle, comal (a traditional flat griddle), or a heavy-bottomed cast-iron skillet over medium heat. It is important not to add any oil or butter for this method.
- Process: Once the cooking surface is adequately hot (you can test by flicking a few drops of water onto it; they should sizzle and evaporate quickly), place individual tortillas directly onto the hot surface. Heat each side for approximately 20-30 seconds. You’ll know they’re ready when they begin to soften, become visibly pliable, and may even develop small air pockets, puffing up slightly in the center.
- Benefits: This dry-heating technique effectively restores moisture and elasticity, resulting in flavorful, flexible tortillas perfect for wrapping or folding. It’s ideal for preparing single tortillas or small batches efficiently.
2. Oven Reheating (Best for Batches)
The oven is an excellent choice when you need to reheat a larger quantity of tortillas, ensuring they all remain consistently warm and soft for serving a crowd.
- Preparation: Preheat your oven to 350 degrees Fahrenheit (175 degrees Celsius).
- Wrapping: Stack your tortillas in groups of five to ten and wrap them snugly in aluminum foil. The foil creates a steaming environment, trapping moisture and preventing the tortillas from drying out.
- Heating: Place the foil-wrapped stacks directly on a baking tray in the preheated oven for about 10-15 minutes.
- Keeping Warm: To keep tortillas warm for an extended period, you can reduce the oven temperature to its lowest setting (typically around 150-200°F or 65-93°C) and leave the foil-wrapped stacks inside until you are ready to serve. For an added touch of moisture, you can wrap them first in a slightly damp paper towel, then in foil, before placing them on low heat in the oven.
3. Microwave (The Quick Fix)
While not the preferred method for optimal texture, the microwave offers the quickest solution for reheating, especially for a single tortilla or a small stack when time is extremely limited.
- Caution: It’s easy to over-microwave tortillas, which can quickly lead to a tough, gummy, or rubbery texture, making them difficult to eat and potentially easily torn.
- Process: Place a stack of up to 5 tortillas on a microwave-safe plate. To help retain moisture, consider wrapping them in a slightly damp paper towel. Microwave on low to medium power for 30 seconds. Check for warmth and pliability. If they are not yet warm enough, continue heating in short 10-15 second increments, checking after each burst.
4. Tortilla Warmer
A tortilla warmer is a practical accessory for both heating certain types of tortillas and, more commonly, for keeping them warm and pliable at the table throughout your meal.
- Usage: Heat your tortillas using one of the above methods (stovetop or oven), then transfer them to a preheated tortilla warmer (often lined with a damp cloth) to maintain their warmth and softness.
- Ceramic Warmers: Some ceramic tortilla warmers are designed to be heated directly on a stovetop over gentle heat, and then filled with tortillas, serving a dual purpose.
Exploring these various reheating techniques will enable you to discover your favorite method for bringing your tortillas back to life, ensuring they are always perfectly prepared to complement your cherished Mexican-inspired dishes and beyond.
Smart Shopping and Hygiene Tips for Tortillas
Beyond mastering proper storage techniques, adopting smart shopping habits and maintaining rigorous kitchen hygiene are foundational practices for guaranteeing the safety, quality, and longevity of your tortillas and other food items. These strategies not only enhance your culinary experience but also contribute significantly to a healthier lifestyle and a more sustainable approach to food consumption.
Financial Savings and Healthier Eating Habits
Embracing the practice of freezing tortillas is an exceptionally astute financial decision. By effectively extending their shelf life, you dramatically reduce instances of food spoilage, allowing you to take full advantage of sales by purchasing in larger quantities without worry. This proactive approach helps to significantly trim down your weekly or monthly grocery budget.
Moreover, having a reliable stash of perfectly preserved tortillas readily available in your freezer indirectly encourages healthier eating habits. When fresh, ready-to-use ingredients are always at hand, preparing nutritious home-cooked meals becomes effortless and appealing. This convenience often helps deter the reliance on less healthy takeout or pre-packaged options. By preserving food diligently, you are not just saving money; you are also practicing good stewardship of your resources and consistently providing fresh, wholesome food for yourself and your family, fostering an environment of wellness.
Informed Consumer Choices: Understanding Food Companies and Preservatives
When navigating the aisles for store-bought tortillas, it is always advantageous to be an informed consumer. Different food companies often employ a variety of preservatives, which can have a direct impact on both the shelf life and, in some cases, the nutritional profile of their products. A brief online search or a quick glance at the ingredient list on the packaging can yield a wealth of information. This proactive research serves several beneficial purposes:
- Determining Actual Shelf Life: It helps you understand the realistic shelf life of a particular brand’s tortillas under various storage conditions.
- Identifying Additives: You can identify any ingredients, particularly preservatives, that you might prefer to avoid due to dietary restrictions, potential allergies, or personal health preferences.
Making conscious, informed choices at the grocery store empowers you to select products that are not only delicious but also align seamlessly with your health goals and lifestyle philosophy.
Vigilance Against Mold and Contamination
One of the most critical concerns associated with improper tortilla storage, especially when left at room temperature, is the rapid growth of mold. Mold thrives in environments that are both moist and warm. An opened package of tortillas left exposed on a kitchen counter can quickly become a breeding ground for these undesirable fungi.
- Humidity Control: This risk is significantly amplified in humid climates. To counteract this, always transfer any opened packages of tortillas into an airtight container and promptly refrigerate them.
- Consistent Temperature: For refrigerator storage, it is absolutely paramount to maintain a consistent internal temperature of 40 degrees Fahrenheit (4 degrees Celsius) or lower. This specific temperature range is scientifically proven to substantially slow down the growth of most harmful bacteria and molds, safeguarding your food.
- Visual and Olfactory Inspection: Before consuming any tortilla, particularly if it has been stored for an extended period, always conduct a thorough visual inspection. Look for any tell-tale signs of mold, such as fuzzy spots or discoloration, and pay attention to any off-odors. When there is any doubt regarding its freshness or safety, it is always the safest course of action to discard the item rather than risk consuming contaminated food.
Adhering to these simple yet crucial hygiene and storage guidelines ensures that your tortillas remain safe, delicious, and contribute positively to your healthy eating routine for as long as possible.
Conclusion
Freezing tortillas stands out as an incredibly practical, efficient, and cost-effective method for extending their shelf life, offering a multitude of benefits for any household. From significantly reducing frustrating food waste to streamlining daily meal preparation and achieving tangible savings on grocery bills, the advantages of this preservation technique are undeniable and far-reaching. By diligently adhering to the simple yet crucial steps outlined—meticulously separating tortillas with parchment or wax paper, sealing them securely in airtight freezer bags or containers, and ensuring a gradual thawing process in the refrigerator—you can confidently guarantee that your tortillas will maintain their ideal texture, delicious flavor, and overall quality for up to an impressive eight months.
Whether your preference leans towards the distinct flavor of corn tortillas, the versatile pliability of flour tortillas, or specialty varieties, mastering the art of freezing and subsequently reheating them empowers you with a continuous supply of this essential staple, always at your fingertips. Gone are the days of discarding tortillas that have gone stale before they could be fully utilized. Instead, you’ll possess a ready stock, perfectly preserved and prepared to be transformed into an endless array of your favorite culinary creations. Picture effortless preparation of mouth-watering tacos, delightfully cheesy quesadillas, savory and comforting enchiladas, hearty burritos, or even homemade, crispy tortilla chips. Embrace the freezer as an invaluable ally in your kitchen, unlocking unparalleled convenience and the joy of perfectly preserved tortillas, ready to inspire your next culinary adventure whenever the moment strikes.
Quick Guide: Simple Steps to Freeze Tortillas
For quick reference, here’s a summarized guide to successfully freezing your tortillas and keeping them fresh for future meals.
Essential Items:
- Tortillas (your preferred flour or corn variety)
- Parchment paper or wax paper for separation
- Heavy-duty freezer bags or airtight freezer containers
Step-by-Step Freezing Instructions:
- Unpack and Prepare: Carefully remove your tortillas from their original packaging. If homemade, ensure they are completely cool.
- Layer for Easy Separation: Place one tortilla on a sheet of parchment or wax paper. Then, place another sheet of paper on top of the tortilla, followed by another tortilla. Continue this layering process to create stacks of 5-10 tortillas.
- Seal Airtightly: Gently place your stacked and layered tortillas into a freezer-safe bag or container. Crucially, press out as much air as possible from the bag before sealing it securely to prevent freezer burn.
- Freeze: Place the sealed packages flat in your freezer. For best practice, label with the date.
- Thaw Before Use: When you’re ready to use them, transfer the desired quantity of tortillas from the freezer to the refrigerator. Allow them to thaw slowly for several hours or, ideally, overnight, before proceeding with reheating and cooking.
Approximate Nutritional Information (per serving, e.g., one tortilla):
- Calories: 138 kcal
- Carbohydrates: 20g
- Protein: 4g
Please note: This nutritional information is an approximation and can vary significantly based on the specific type, brand, and size of the tortilla. It should be used as a general guide.