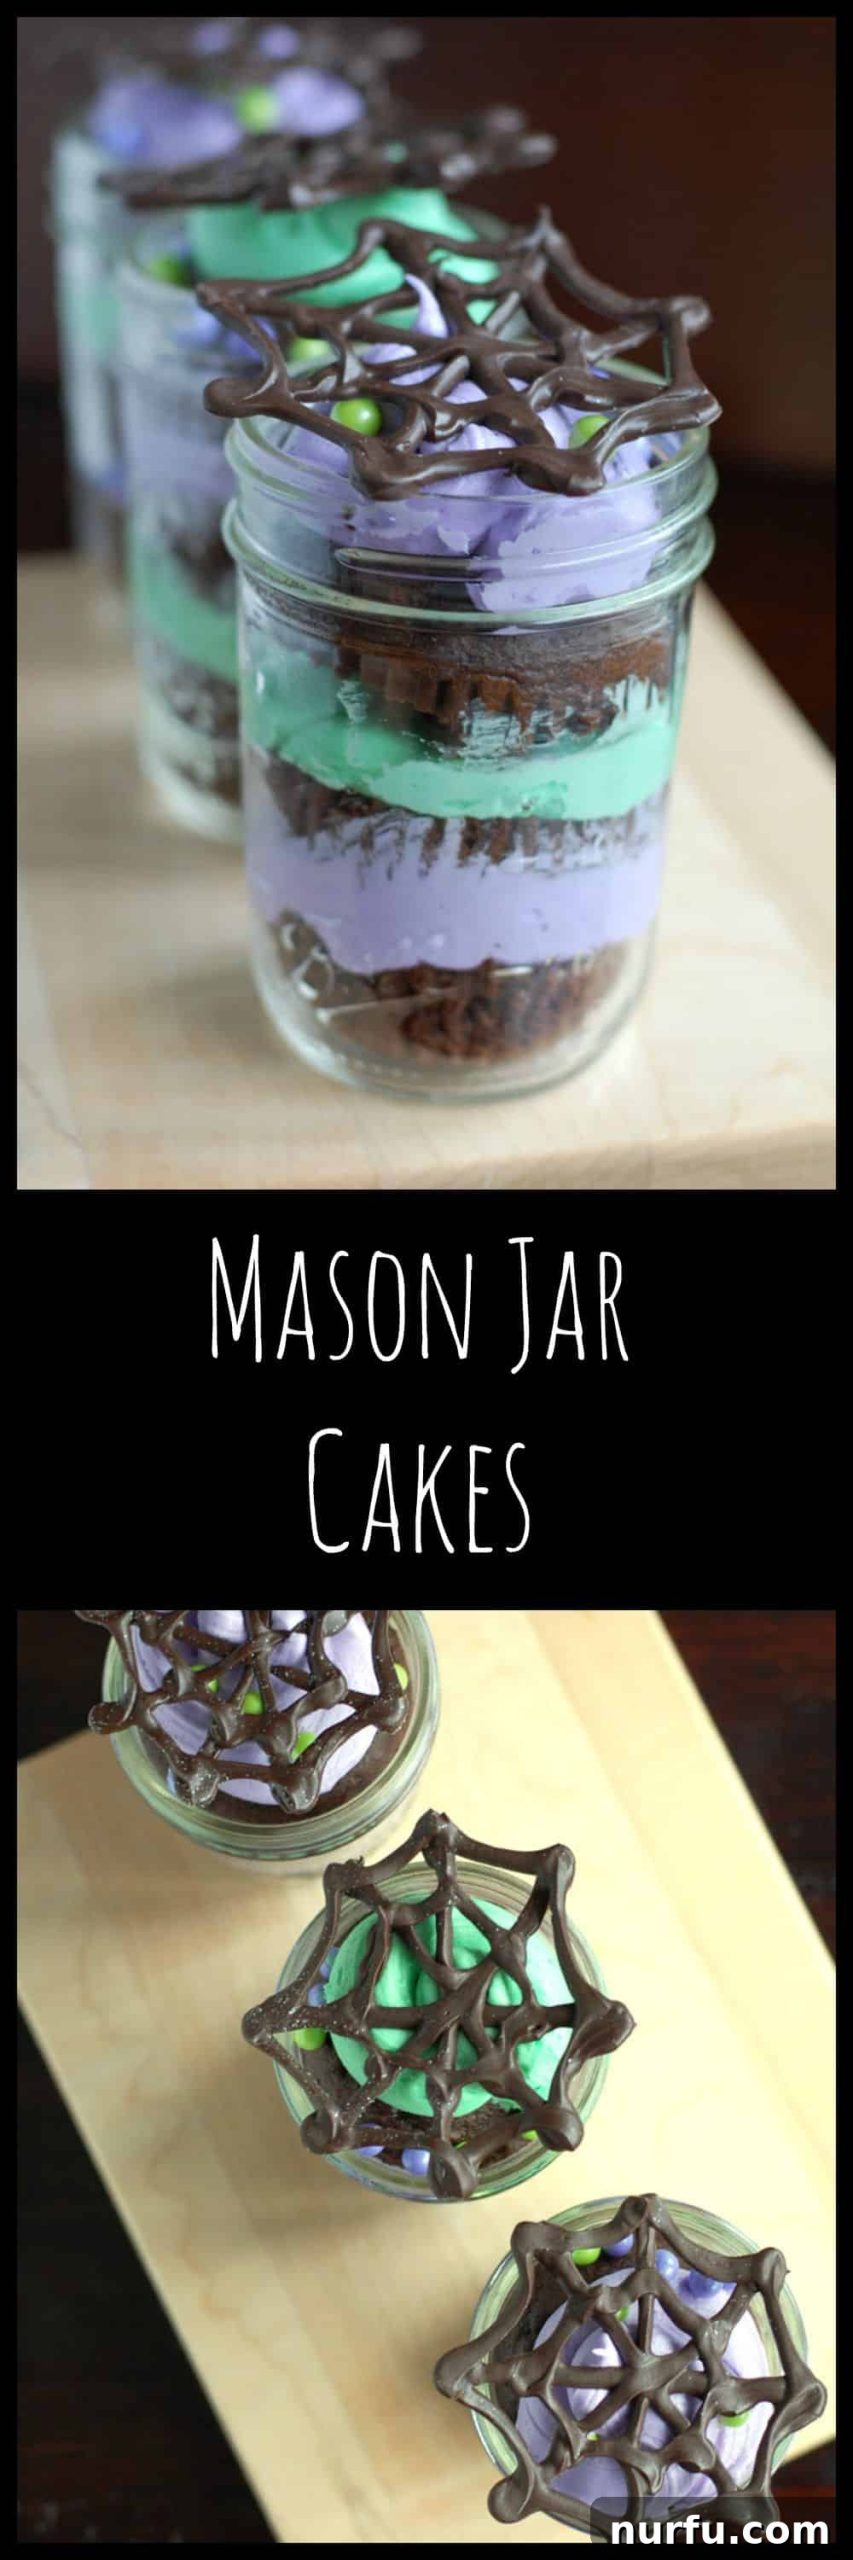
Spooktacular Halloween Mason Jar Cakes with Homemade Chocolate Spider Web Toppers
As the air gets crisper and the leaves begin to turn, there’s an undeniable buzz in the air – Halloween is almost here! This festive season, known for its enchanting costumes, delightful decorations, and, of course, a cornucopia of treats, brings a special kind of joy. If you’re looking for a dessert that’s both charmingly spooky and incredibly convenient for your next Halloween gathering, look no further than these adorable **Halloween Mason Jar Cakes with chocolate spider web toppers**. They are not only a feast for the eyes but also a delightful individual serving that promises less mess and more fun at any party.
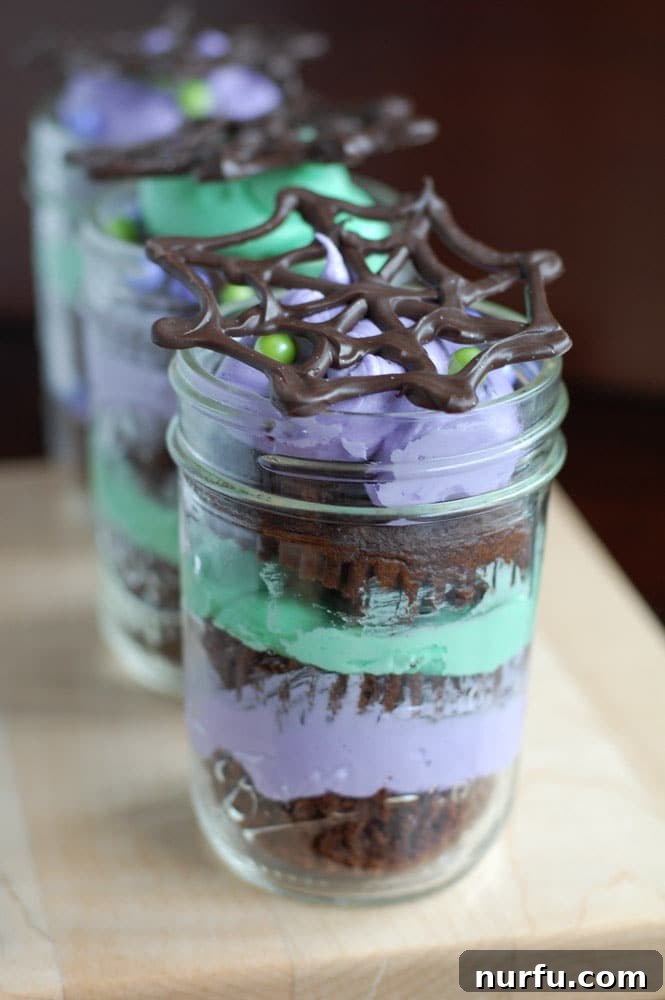
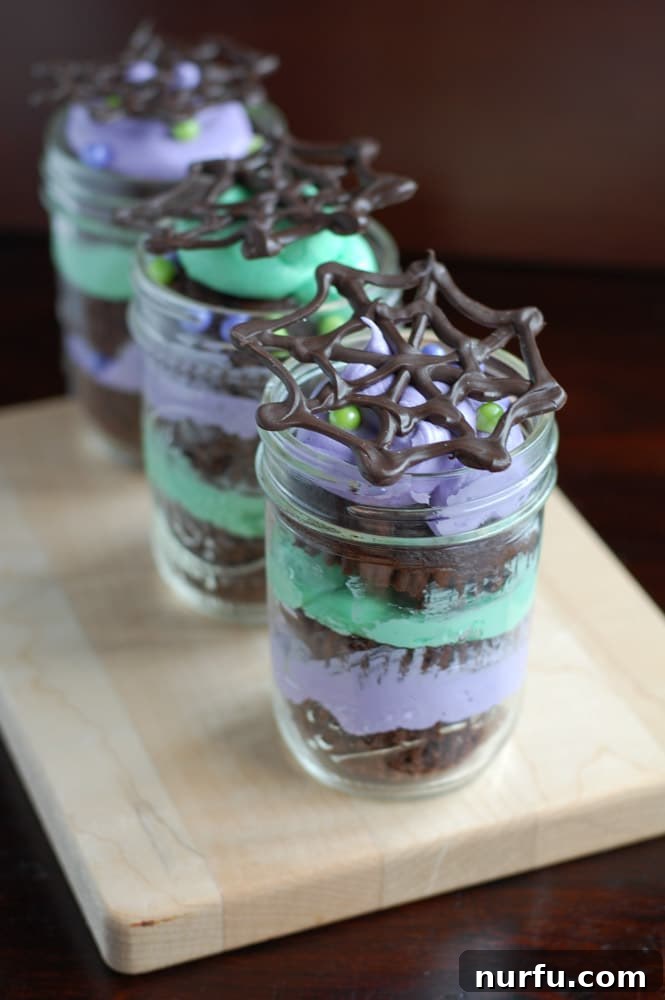
Imagine tiny layers of rich chocolate cake, swirled with vibrant green and purple frosting, all nestled within a cute mason jar and crowned with an elegant dark chocolate spider web. These treats capture the whimsical spirit of Halloween perfectly, offering a unique and personalized dessert experience for each guest. Forget the struggle of cutting and serving a large cake; these portable delights are ready to grab and enjoy, making them an ideal choice for any festive celebration or even a cozy autumn evening with family. The vibrant frosting colors are a playful homage to the mysterious allure of Maleficent, adding a touch of classic villainy to your sweet spread.
Why Mason Jar Cakes are the Ultimate Halloween Treat
Mason jars have transcended their traditional canning purpose to become a beloved vessel for all sorts of culinary creations, and cakes are no exception. The concept of serving cake in a jar is simply genius, especially when it comes to party planning. Here’s why these individual desserts are a game-changer for your Halloween festivities, combining practicality with irresistible charm:
- **Perfect Portion Control:** Each guest receives their own perfectly sized cake, eliminating the need for awkward slicing and ensuring everyone enjoys an equal treat. This also helps manage dessert consumption at parties.
- **Incredible Portability:** Hosting a potluck or heading to a friend’s Halloween bash? These cakes are easily transportable. Just screw on the lid, and they’re ready to go without worrying about frosting smudges or damage. They fit perfectly into cooler bags for outdoor events.
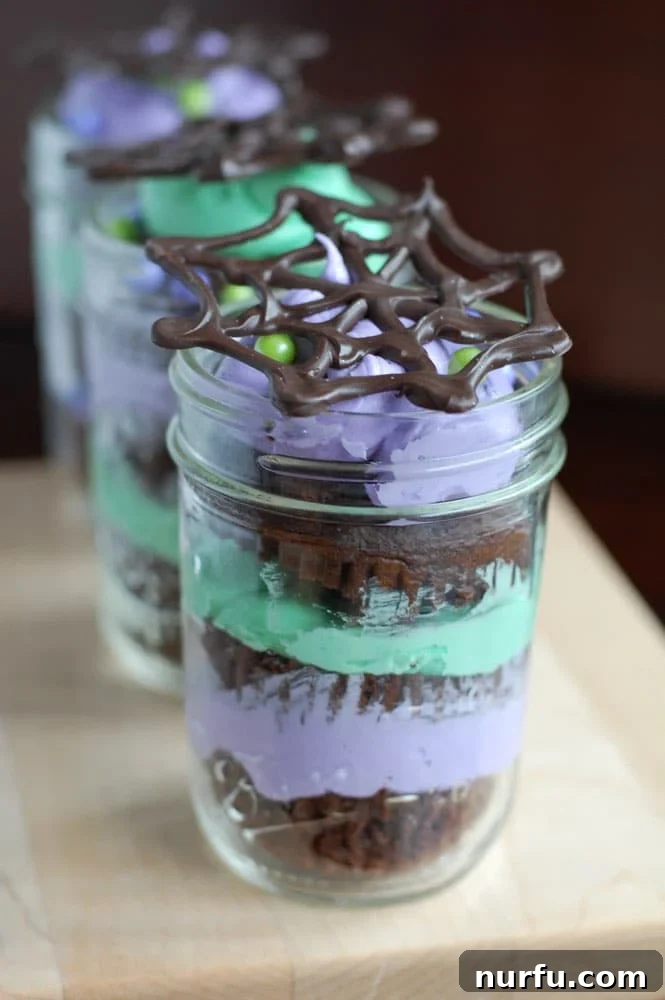
- **Stunning Presentation:** The layered cake and frosting create a beautiful visual through the clear glass of the mason jar, making them an attractive and eye-catching addition to any dessert table. The spooky spider web toppers add that extra touch of Halloween magic and artistry.
- **Reduced Mess and Easy Cleanup:** No plates, no forks, no crumbs scattered everywhere! Guests can simply eat their cake directly from the jar with a spoon, making cleanup a breeze for hosts. Less dishwashing means more time enjoying the party.
- **Versatility in Gifting and Favors:** These make fantastic party favors or thoughtful gifts for neighbors and friends. Customize them with different colored ribbons, personalized tags, or even mini Halloween charms for an extra special touch that guests will remember.
- **Enhanced Freshness:** The sealed environment of the mason jar can help keep the cake moist and fresh for longer than traditional sliced cakes. This means you can prepare them a day or two in advance without compromising on taste or texture, perfect for busy hosts.
Beyond their practical benefits, there’s something inherently delightful and nostalgic about a dessert served in a mason jar. It evokes a sense of rustic charm mixed with modern elegance, making these cakes suitable for both casual gatherings and more elaborate Halloween soirees. They’re a creative and fun alternative to traditional cupcakes or sheet cakes, sure to impress your guests.
Crafting Your Spooky Masterpiece: The Chocolate Spider Web Toppers
The intricate chocolate spider web toppers are what truly elevate these Mason Jar Cakes from delightful to downright *spooktacular*. While they might look complex and delicate, creating these edible decorations is surprisingly simple and a wonderfully fun activity for all skill levels. Don’t be intimidated by the idea of freehand drawing; a basic guide is all you need to achieve professional-looking results that will have everyone wondering how you did it.
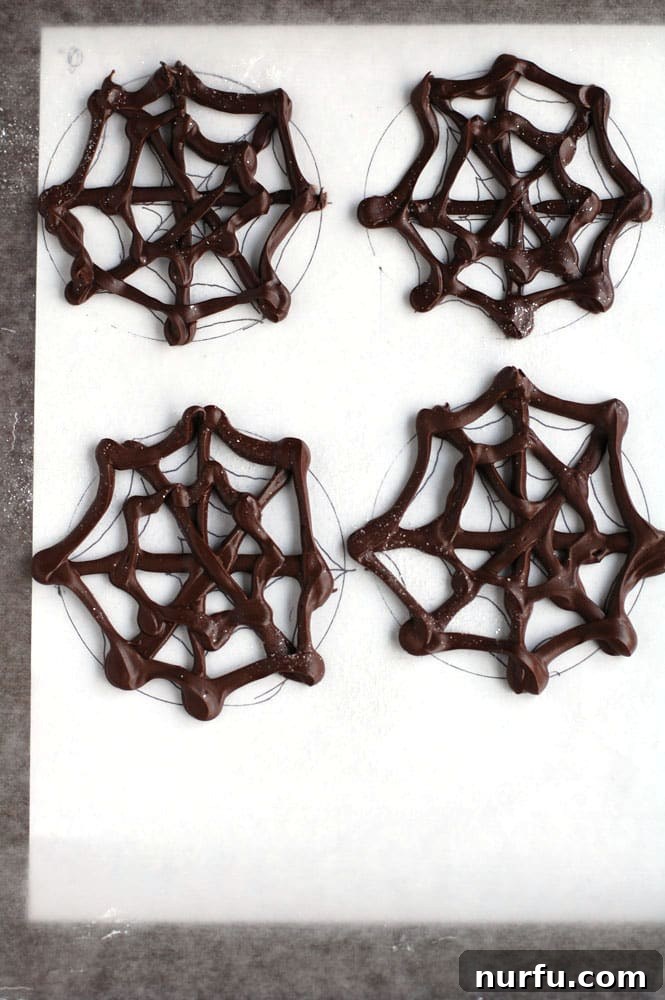
To begin, you’ll want a guide for your spider webs. You can either print out some spider web templates from the internet (a quick search will yield many options) or, if you’re feeling adventurous and artistic, freehand sketch a few on a piece of paper. The key is to have a visual reference that you can place under a sheet of wax paper or parchment paper. This translucent barrier will allow you to trace your designs accurately, helping you maintain consistent shapes and sizes for your chocolate creations, ensuring a cohesive and impressive look for all your cakes.
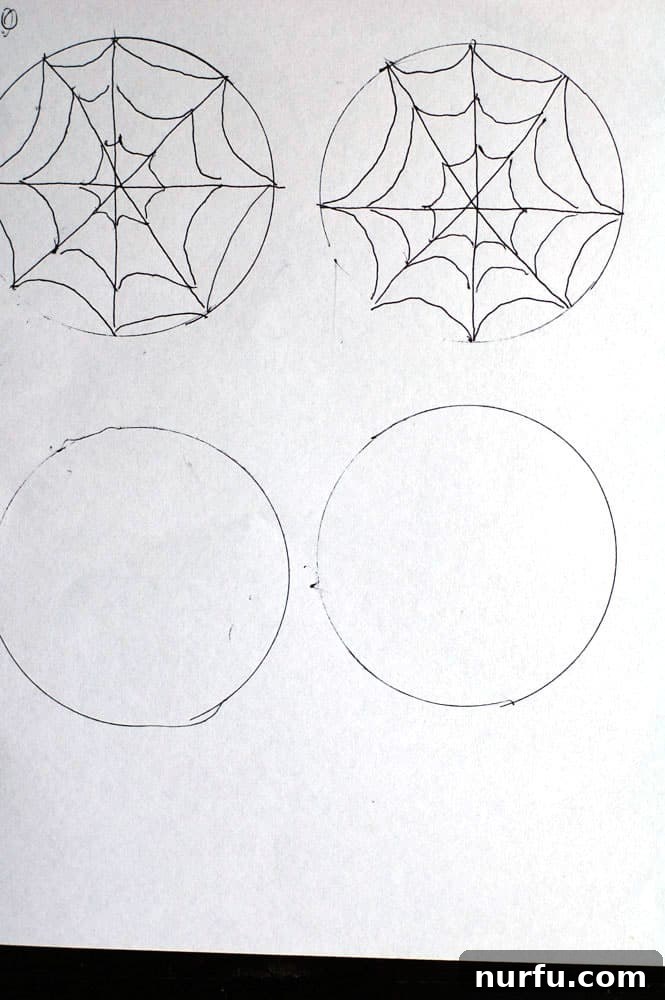
Next, it’s time to prepare your chocolate for piping. Dark chocolate candy melts are an excellent choice for this task, as they melt smoothly and set quickly, providing the perfect consistency for piping intricate designs without becoming too runny or hardening too fast. Place the candy melts into a dedicated piping bag or, for a convenient alternative, a sturdy Ziploc bag. If using a Ziploc bag, ensure it’s a freezer-grade bag for extra durability, then snip off a tiny corner once the chocolate is melted – this creates a makeshift piping tip, allowing for fine lines and detailed work.
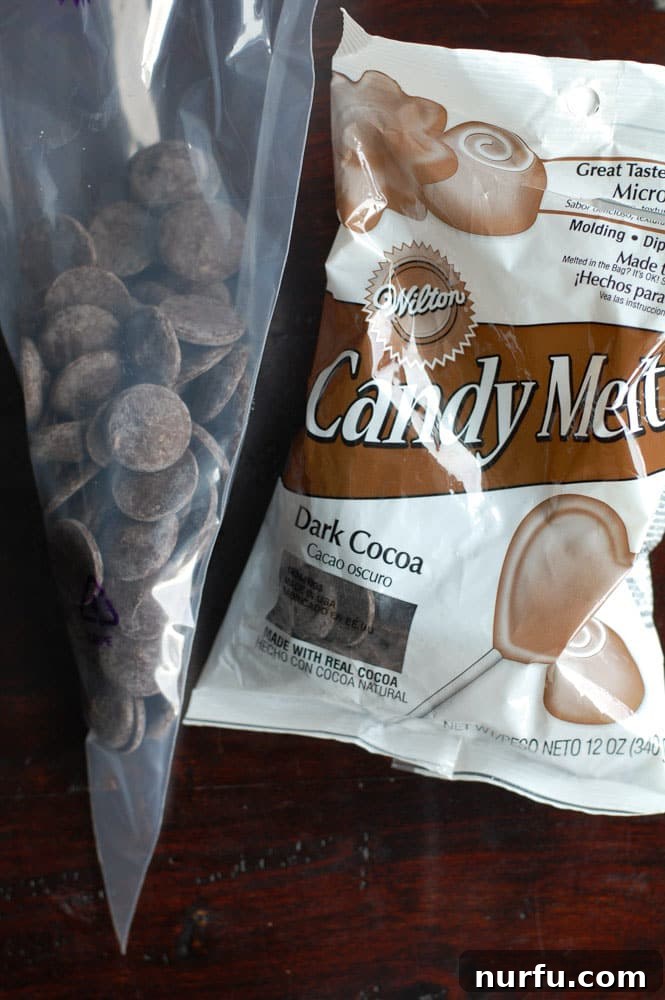
Microwave the chocolate in short, 30-second intervals, stirring thoroughly between each interval, until it is completely melted and smooth. This gradual melting process prevents the chocolate from overheating, which can cause it to seize and become thick or grainy. Once melted and fluid, place your sheet of wax paper directly over your chosen spider web drawing. Carefully pipe the melted chocolate directly onto the wax paper, tracing your guide. Don’t worry if your lines aren’t perfectly straight; the rustic charm of homemade always shines through.
For an extra touch of Halloween enchantment, consider sprinkling a little edible glitter onto your chocolate webs immediately after piping, while the chocolate is still wet. This will give them a shimmering, magical sparkle that catches the light beautifully, adding to their eerie appeal. Allow the chocolate webs to harden for about 10 minutes at room temperature, or speed up the process by placing them in the refrigerator for a few minutes. Once firm, they will easily peel off the wax paper without breaking, ready to adorn your gorgeous Mason Jar Cakes. These delicate toppers are surprisingly sturdy once set.
Assembling Your Deliciously Spooky Mason Jar Cakes
Creating the layered Mason Jar Cakes themselves is just as enjoyable and straightforward as making the toppers. This recipe cleverly utilizes a boxed cake mix for ultimate simplicity and convenience, allowing you to focus your creative energy on the fun parts: frosting and assembly! The choice of Devil’s Food Chocolate Cake mix ensures a rich, dark base that perfectly complements the Halloween theme, providing a delicious contrast to the brightly colored frosting.
The Vibrant Frosting: A Nod to Halloween Lore
The marshmallow cream frosting is a true revelation – it’s wonderfully light, fluffy, and incredibly smooth, offering a delightful texture that’s a fantastic alternative to heavier traditional buttercreams. The inspiration for the vibrant green and purple colors comes directly from the iconic Maleficent from Disney’s Sleeping Beauty, a character synonymous with dark magic and enchanting villainy. These mystical colors instantly evoke a bewitching Halloween atmosphere, but feel free to experiment with other spooky shades like orange, black, or even a blood-red if you prefer a different thematic touch.
Whipping up this unique frosting is surprisingly straightforward: first, cream the room temperature butter in a stand mixer or with a hand mixer until it’s light and airy. Then, gradually incorporate the marshmallow crème, powdered sugar, and a hint of vanilla extract, mixing until you achieve a wonderfully smooth and spreadable consistency. Dividing the frosting into two bowls and adding a few drops of purple and green food coloring transforms it into a magical potion, ready to be layered into your jars. Remember, you can always add more drops of food coloring for a deeper, more intense hue to match your desired spooky aesthetic.
Layering for Success: Building Your Mason Jar Masterpiece
Once your cupcakes (made from the convenient box mix) have baked and cooled completely on a wire rack, carefully remove them from their paper liners. For easy layering, each cupcake will then be cut horizontally into two symmetrical halves. These halves will form the distinct cake layers in your mason jars. The 8 oz mason jars are the ideal size for this project, providing enough space for two delicious cake layers and ample, visually appealing frosting.
To begin assembly, place one cake half gently at the bottom of each 8 oz mason jar. Then, using a piping bag (or a Ziploc bag with a tiny corner expertly snipped off), pipe a generous and attractive layer of the purple frosting over the first cake layer. This is where your creativity can truly shine! Add a sprinkle of Halloween candies, colorful sprinkles, or even some crushed chocolate cookies to this layer for an extra pop of texture and visual appeal. Repeat the process with the second cake half, placing it on top of the purple frosting, and then pipe a luscious layer of the green frosting. Ensure each layer is distinct and visually appealing through the clear glass. Finish with a final swirl of green frosting and additional sprinkles on top, creating a decadent, cloud-like peak ready for its chocolate spider web crown. These Halloween Mason Jar Cakes are best enjoyed within a day or two for optimal freshness, though they can be stored in the refrigerator for up to a week. For the best flavor and texture, simply bring them to room temperature for about 30 minutes before serving.
Disclosure: This post may contain affiliate links.
More Delightful Holiday Desserts to Explore
If you’re looking for more sweet inspirations for your next gathering, especially during the festive seasons, these recipes are sure to be a hit:
- Holiday Jello Cake: A vibrant, layered cake that’s as beautiful as it is delicious, perfect for any celebration.
- Hot Chocolate Poke Cake: Indulge in the cozy flavors of hot chocolate transformed into a decadent cake, a comforting treat for cooler months.
- Blueberry Trifle: A elegant and refreshing dessert, layering cake, creamy pudding, and fresh blueberries for a sophisticated finish.
Halloween Mason Jar Cakes
Heather Seeley
25 minutes
15 minutes
40 minutes
8
Pin Recipe
Rate Recipe
Print Recipe
Ingredients
- 1 box Devil’s Food Chocolate Cake mix
- vegetable oil, eggs, water, as directed on box instructions
- For the Frosting:
- 1 cup room temperature butter
- 2 cups powdered sugar
- 1 7 oz jar marshmallow cream
- 1 teaspoon vanilla extract
- food coloring (purple and green)
- 1 bag dark chocolate candy melts
- 8 oz mason jars
- Ziploc or piping bags
- Sprinkles (optional)
Instructions
-
Preheat oven to 350 degrees Fahrenheit (175°C).
-
Line a regular-sized muffin tin with paper baking cups.
-
Prepare the cake mix according to the package directions, using water, oil, and eggs as specified.
-
Pour the batter into the prepared muffin cups, filling each about two-thirds full. Bake for approximately 18 minutes, or as directed on the cake mix box, until a toothpick inserted into the center comes out clean.
-
Remove cupcakes from the pan and let them cool completely on a wire rack. This is crucial before assembly to prevent the frosting from melting.
-
To make the frosting: In a stand mixer or with a hand mixer, cream the room temperature butter until light and fluffy. Add the marshmallow crème and mix until well combined and smooth.
-
Gradually add the powdered sugar and vanilla extract, mixing on low speed until blended, then increase speed and beat for about 4 minutes until the frosting is smooth, airy, and light.
-
Divide the frosting evenly into two separate bowls. Add 3 drops of purple food coloring to one bowl and mix until the color is uniform and vibrant. Add 3 drops of green food coloring to the other bowl and mix thoroughly. Adjust coloring as desired for deeper hues.
-
Once the cupcakes are completely cool, remove their paper baking cups. Carefully cut each cupcake in half horizontally, creating two circular cake layers of similar thickness.
-
To assemble the mason jars: Place one cake half at the bottom of each 8 oz mason jar. Transfer the purple frosting to a Ziploc bag or piping bag, snip off a small corner, and pipe a generous, even layer of purple frosting over the cake. Sprinkle with optional Halloween candies or decorative sprinkles.
-
Repeat the layering process: Add another cake half, then pipe a layer of green frosting on top. Finish with a final decorative swirl of green frosting and additional sprinkles on the very top for a festive look.
-
For the chocolate spider webs: Draw or print out spider web templates on paper. Place a sheet of wax paper or parchment paper directly over the drawings, ensuring the design is clearly visible.
-
Place the dark chocolate candy melts in a Ziploc bag or piping bag. Microwave in 30-second intervals, stirring after each, until the chocolate is fully melted and smooth with no lumps. Snip off a very small tip of the bag to create a fine piping nozzle.
-
Carefully trace the spider web designs onto the wax paper with the melted chocolate. If desired, sprinkle with edible glitter immediately while the chocolate is still wet. Let them sit at room temperature for about 10 minutes, or refrigerate briefly, until hardened and firm. Gently peel the hardened chocolate webs off the wax paper and place one on top of each frosted mason jar cake for a spooky finish.
Nutrition
Calories: 118kcal
|
Carbohydrates: 30g
|
Sodium: 1mg
|
Sugar: 29g
Nutrition information is automatically calculated, so should only be used as an approximation. Individual results may vary based on ingredients used.
Additional Info
Enjoy these spooky delights? Leave a comment below!