
Festive & Easy Holiday Bundt Cake: A Dazzling Christmas Dessert
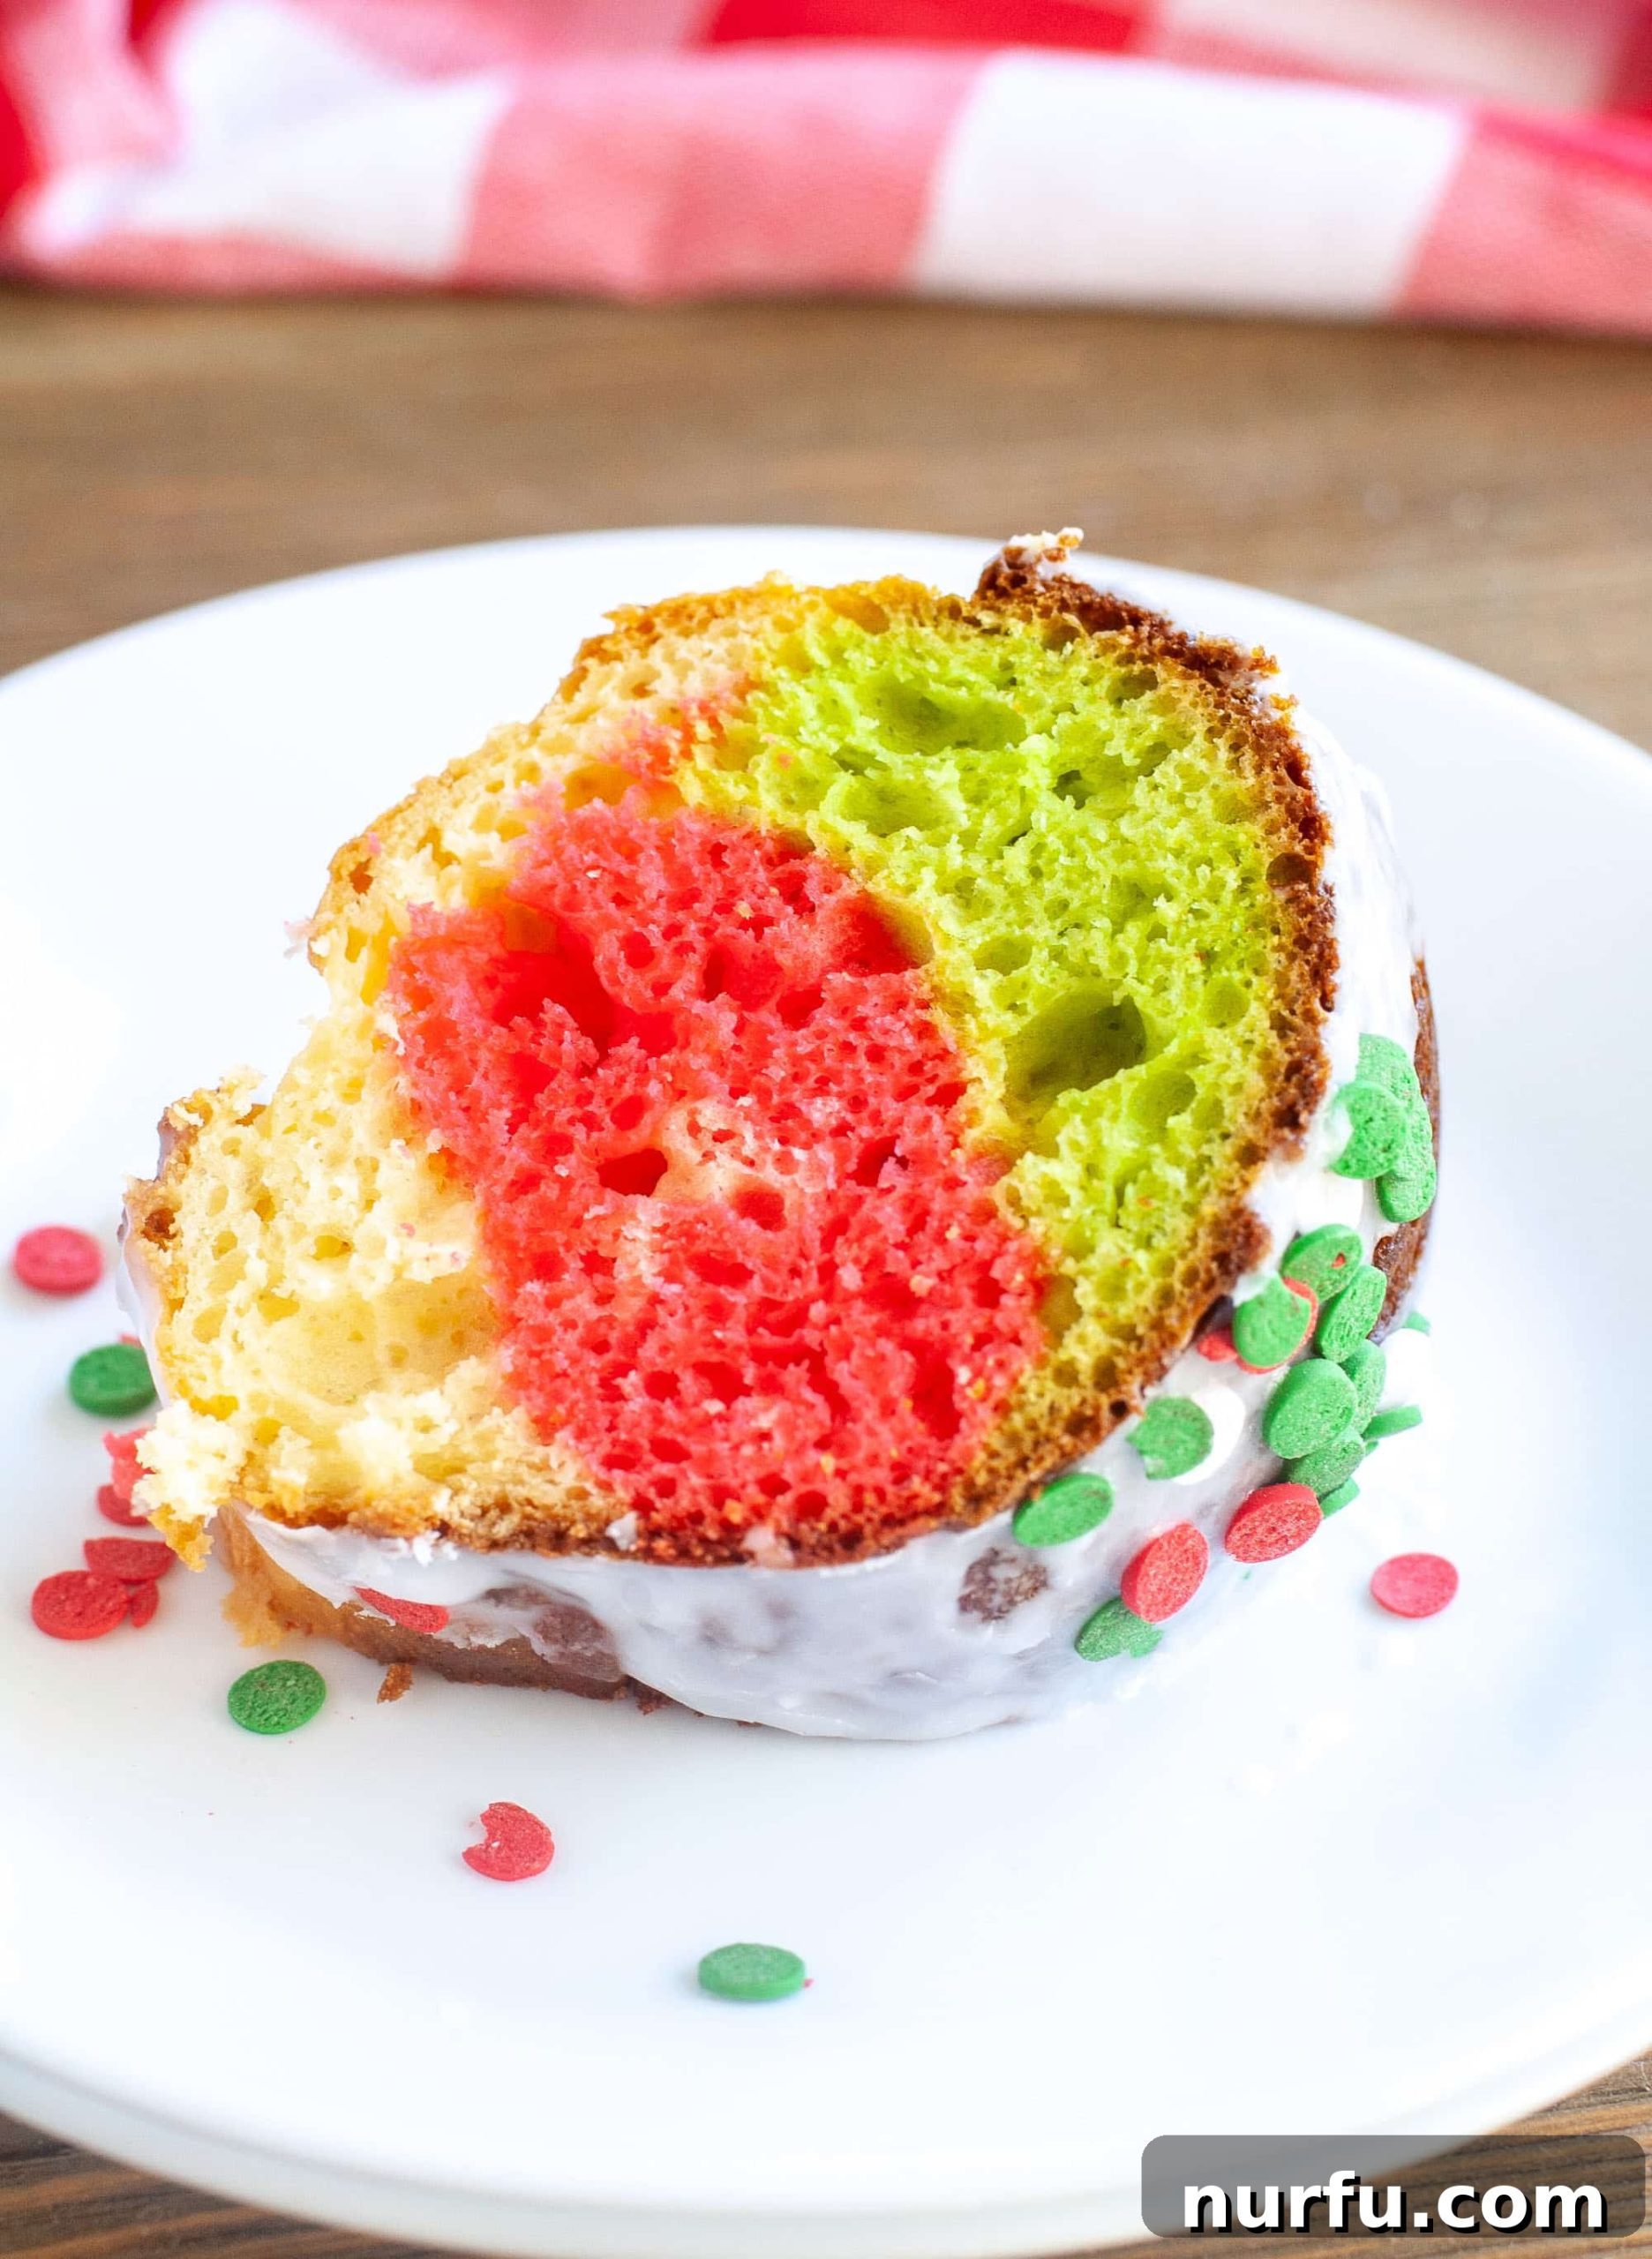
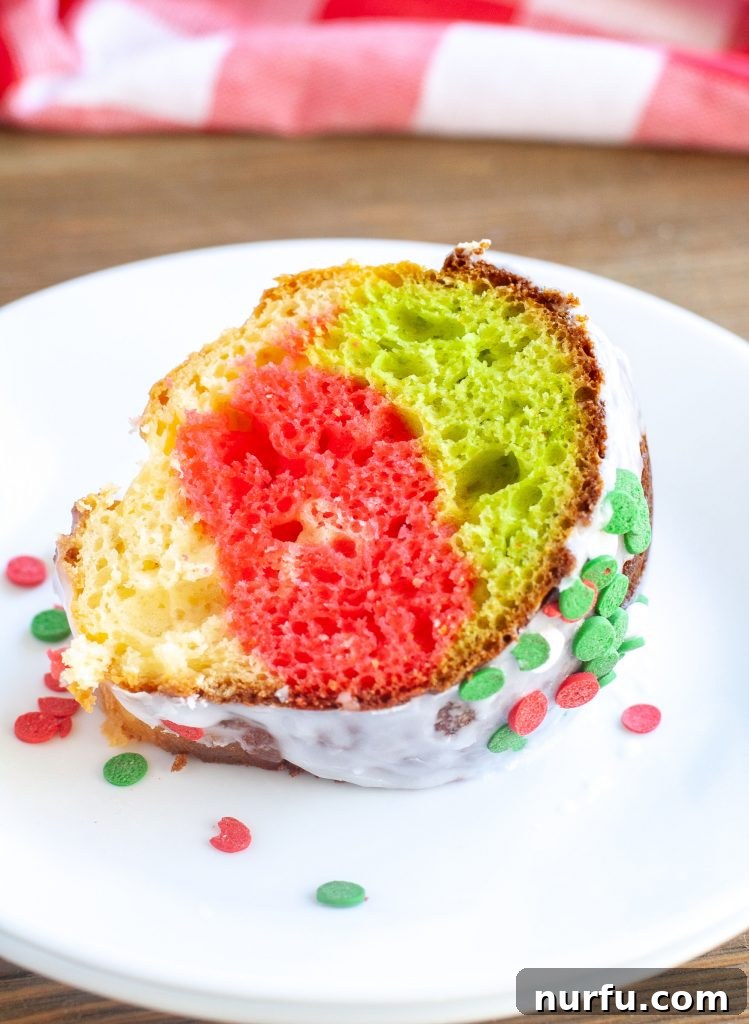
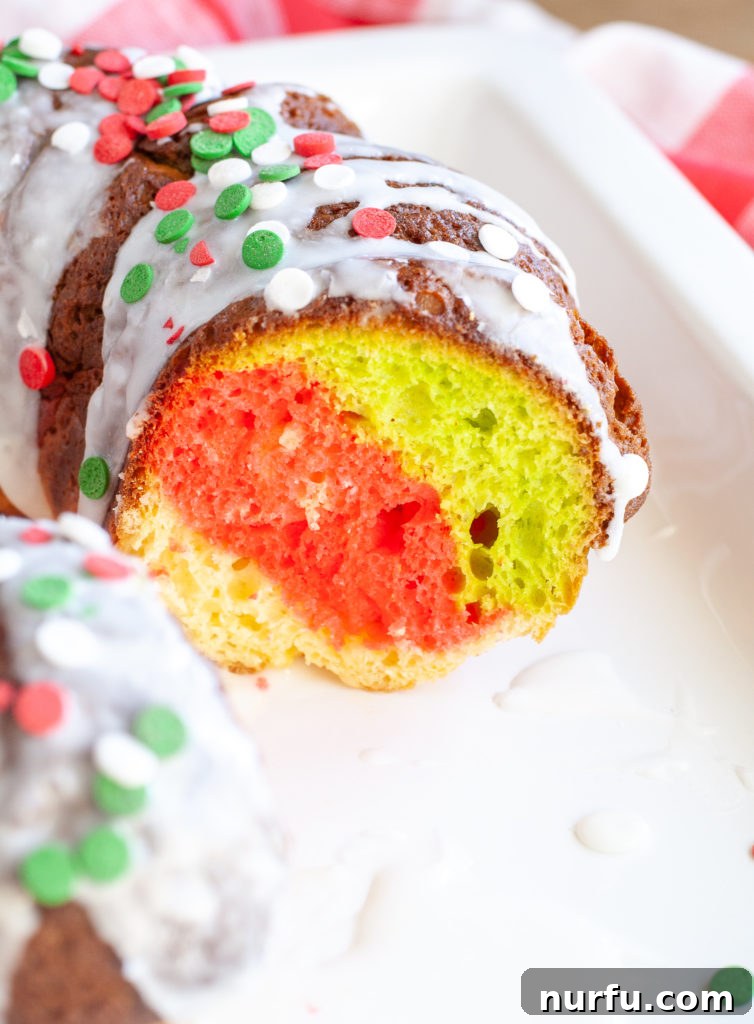
The holiday season is synonymous with warmth, joy, and, of course, delicious treats. Among the myriad of festive desserts, our **Holiday Bundt Cake** stands out as a true centerpiece, offering both stunning visual appeal and irresistible flavor. Imagine layers of vibrant red, lush green, and classic white cake, elegantly swirled together, topped with a sweet, snowy glaze and a generous scattering of twinkling holiday sprinkles. This cake isn’t just a dessert; it’s a celebration in itself, bringing cheer to any Christmas gathering and creating cherished family memories.
This recipe is designed to be both fun and surprisingly simple, making it a perfect baking project for the whole family. My kids absolutely adore helping me prepare this colorful bundt cake each Christmas, often alongside other festive favorites like our Holiday Jello Poke Cake. Its impressive presentation belies its straightforward preparation, making it an ideal choice whether you’re hosting a grand holiday feast or simply looking for a special treat to leave out for Santa Claus on Christmas Eve.
The Enduring Charm of Bundt Cakes for Festive Occasions
Bundt cakes, with their distinctive fluted design, have a timeless appeal that makes them perfect for any special occasion, especially the holidays. Their elegant shape means they look spectacular even with minimal decoration, making them a favorite for home bakers who want to impress without the fuss of elaborate frosting techniques. The deep grooves and curves of a bundt pan allow for a beautifully moist crumb, as the heat distributes more evenly during baking. Historically inspired by traditional European cakes, bundt pans gained popularity in America in the 1950s and have remained a beloved staple in kitchens ever since. For holiday baking, a bundt cake provides a wonderful canvas for seasonal colors and decorations, transforming a simple cake into a magnificent festive creation that guests will adore.
This particular Holiday Bundt Cake recipe harnesses that classic charm, infusing it with vibrant Christmas colors. It’s the kind of dessert that sparks conversations and brings smiles, whether it’s served at a lavish Christmas dinner or enjoyed as a cozy treat with a cup of hot cocoa on a chilly winter evening. Its semi-homemade nature means you get all the delightful flavors and textures of a from-scratch cake with the convenience that busy holiday schedules demand.
Crafting Your Delightful Holiday Bundt Cake: Step-by-Step
Creating this stunning Holiday Bundt Cake is a truly rewarding experience. Our recipe starts with a simple white cake mix, elevated with a few key ingredients to achieve an incredibly moist and tender crumb. Here’s a detailed guide to help you achieve perfection:
Preparing the Festive Batter
- **Gather Your Ingredients:** Ensure you have your white cake mix, instant vanilla pudding mix, eggs, vegetable oil, sour cream, and water ready. Having everything measured out and at room temperature (especially eggs and sour cream) can help ensure a smoother, more evenly mixed batter.
- **Combine Wet & Dry:** In a large mixing bowl, combine the white cake mix and instant vanilla pudding mix. This pudding addition is our secret for that extra moist texture and rich flavor.
- **Whip It Up:** Using an electric mixer (either a hand-held or stand mixer), add the eggs, vegetable oil, sour cream, and water to the dry ingredients. Beat on medium speed for about 2-3 minutes, or until the batter is smooth and well-combined. Scrape down the sides of the bowl as needed to ensure all ingredients are incorporated. The sour cream contributes significantly to the cake’s richness and moisture.
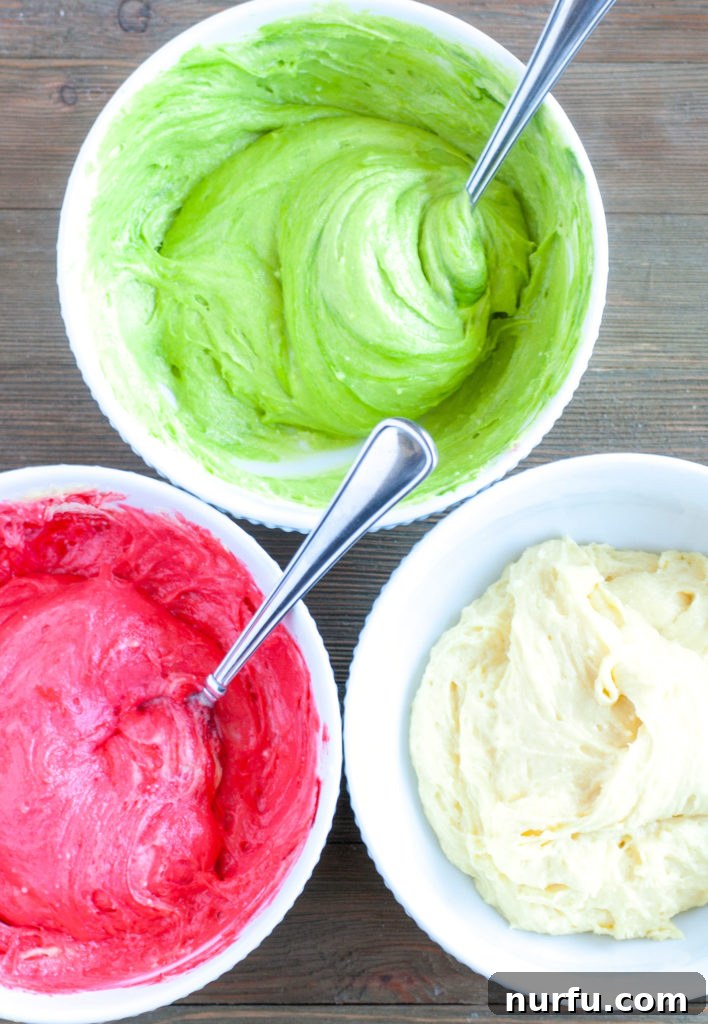
- **Color the Batter:** This is where the holiday magic truly begins! Carefully separate the white cake batter equally into three separate bowls. To one bowl, add 3-4 drops of vibrant green food coloring and stir gently until the color is uniform. To another bowl, add 3-4 drops of festive red food coloring and stir until evenly colored. Leave the third bowl of batter white. Adjust food coloring drops as desired to achieve your preferred intensity of red and green.
Baking Your Bundt Masterpiece
- **Prepare Your Pan:** A properly greased bundt pan is crucial to prevent sticking. Liberally coat your bundt cake pan with non-stick cooking spray, making sure to get into all the nooks and crannies of the design. Alternatively, you can use shortening and then dust it with flour or cocoa powder for a non-stick surface. Preheat your oven to 325 degrees F (160 degrees C).
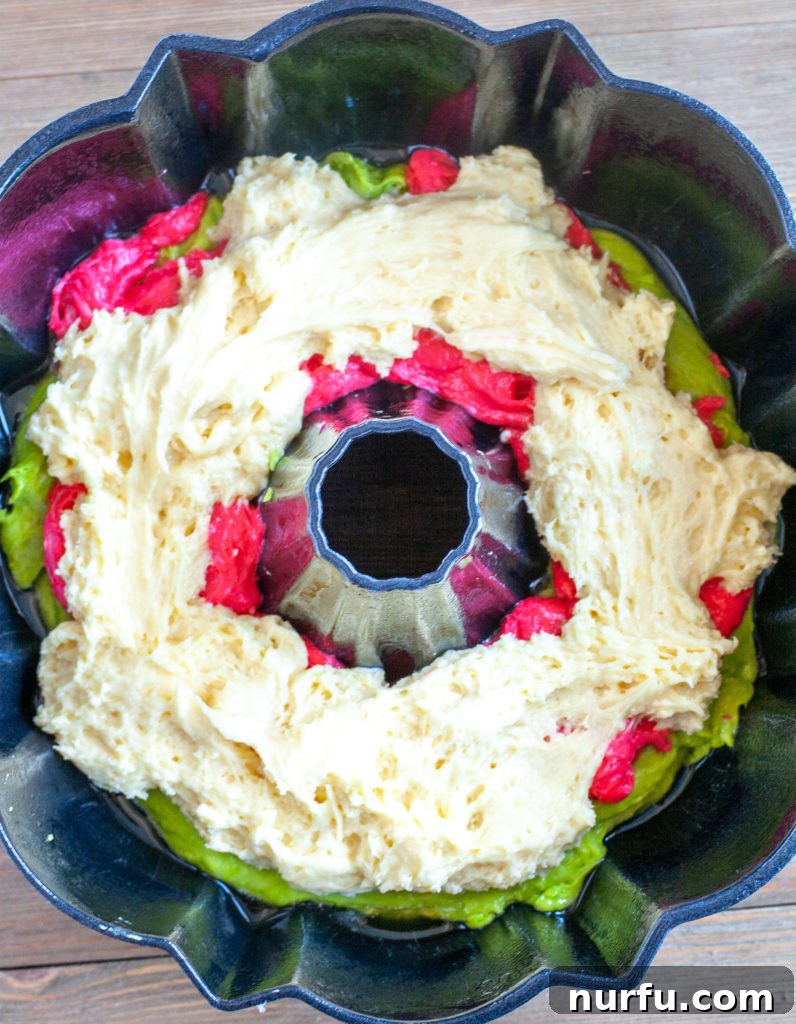
- **Layer the Colors:** Now for the artistic part! Begin by spooning the green batter into the prepared bundt pan, spreading it gently to form an even layer. Next, carefully add the red batter on top of the green layer. Finally, spoon the white batter over the red. You can swirl the layers slightly with a knife or skewer for a marbled effect, or keep them distinct for bold stripes.
- **Bake to Perfection:** Carefully transfer the bundt pan to the preheated oven. Bake for approximately 50-55 minutes, or until a wooden toothpick inserted into the center of the cake comes out clean. Baking times can vary slightly depending on your oven, so keep an eye on it. The cake should be golden brown and spring back when lightly touched.
Cooling and Decorating
- **Cool Down:** Once baked, remove the cake from the oven and allow it to cool in the pan for about 10-15 minutes. This cooling period is essential for the cake to firm up slightly, making it easier to remove from the pan without breaking.
- **Release and Finish Cooling:** After the initial cooling, carefully invert the bundt cake onto a wire cooling rack or a sturdy cake plate. Allow it to cool completely to room temperature before applying the icing. Rushing this step can result in melted icing.
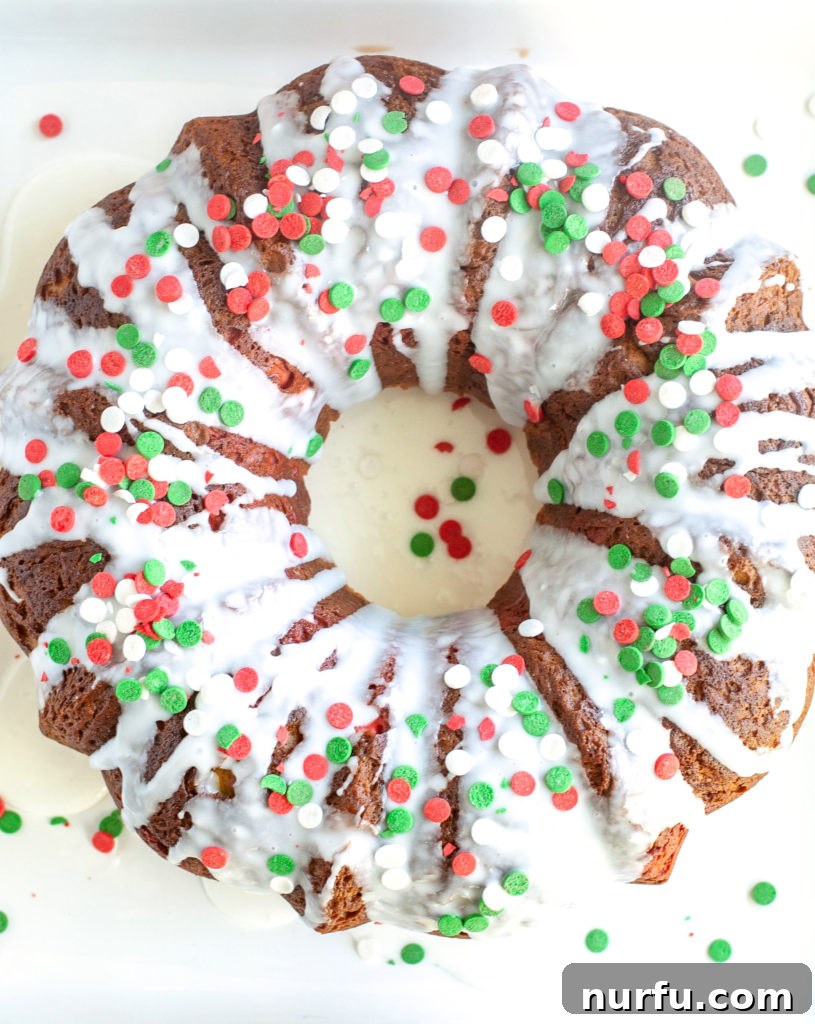
- **Whip Up the Icing:** While the cake cools, prepare your simple and sweet icing. In a small bowl, combine the powdered sugar and 2 tablespoons of milk. Stir thoroughly until smooth. If you desire a thinner drizzle, add another tablespoon of milk gradually until you reach your preferred consistency. For a thicker, more opaque icing, use less milk.
- **Drizzle and Sprinkle:** Once the cake is fully cooled, drizzle the prepared icing generously over the top, letting it cascade down the beautiful flutes of the bundt cake. Immediately after drizzling, shower the cake with your favorite assorted festive sprinkles – reds, greens, whites, and metallic accents will make it truly sparkle!
Tips for a Perfect Holiday Bundt Cake Every Time
Achieving a flawless bundt cake is simple with a few helpful pointers. Here are some essential tips to ensure your Holiday Bundt Cake turns out beautifully and deliciously:
- **Pan Preparation is Key:** The most crucial step for any bundt cake is proper pan preparation. Don’t skimp on greasing! Use a generous amount of non-stick cooking spray, making sure to get into every crevice. For extra insurance, you can also lightly flour the greased pan, tapping out any excess. This ensures easy release and preserves the intricate design of your cake.
- **Don’t Overmix:** While you want your batter to be smooth and lump-free, overmixing can develop too much gluten, leading to a tougher, drier cake. Mix just until ingredients are combined.
- **Even Batter Layers:** When layering the colored batters, try to distribute them as evenly as possible. This helps ensure each slice has a beautiful, consistent tri-color effect.
- **Room Temperature Ingredients:** Using room temperature eggs and sour cream allows them to incorporate more easily into the batter, creating a smoother mixture and a more uniform cake texture.
- **Cooling Patience:** Resist the urge to invert the cake too soon. Allowing it to cool in the pan for 10-15 minutes gives the cake structure a chance to set, making it much less likely to stick or break when turned out. Conversely, don’t let it cool completely in the pan, as moisture can get trapped, making it difficult to remove.
- **Icing Consistency:** For a beautiful, thick drizzle, start with less milk in your powdered sugar icing and add more in tiny increments until you achieve the desired flow. If you prefer a thinner glaze that soaks in slightly, add a bit more milk.
- **Creative Color Variations:** While red, green, and white are perfect for Christmas, feel free to change up the food coloring to match other holidays or celebrations. Think pastels for Easter, orange and black for Halloween, or school colors for a graduation party! This versatile recipe can be adapted for any festive occasion.
More Holiday Dessert Inspirations
If you’re looking to expand your holiday baking repertoire, we have plenty of other delicious and easy recipes that are perfect for the season. These treats are sure to delight your family and guests:
- Holiday Cake Mix Bars: Simple, festive, and incredibly delicious bars made from a cake mix.
- Orange Roll Monkey Bread: A warm, pull-apart bread bursting with citrusy flavor, perfect for holiday mornings or brunches.
- Cranberry Upside Down Cake: Individual mini cakes featuring tart cranberries and bright orange, a beautiful seasonal treat.
We hope you enjoy baking and sharing this delightful Holiday Bundt Cake as much as we do. Happy holidays and happy baking!
~Heather