
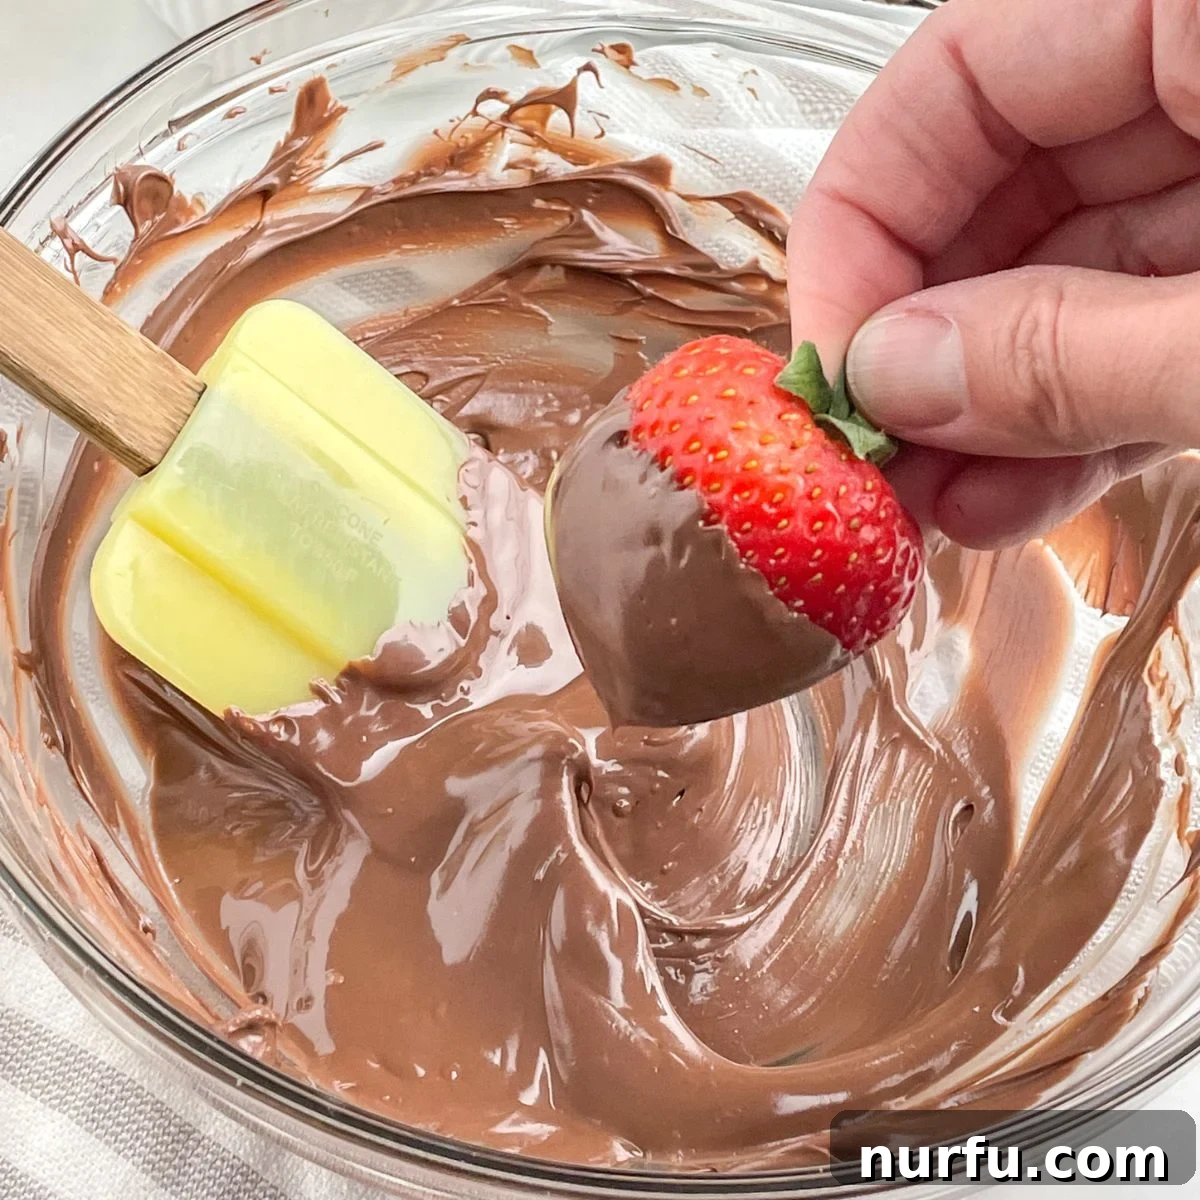
Unlock the secret to perfectly melted chocolate every time! Whether you’re a seasoned baker or a beginner, achieving that luscious, silky-smooth texture for your chocolate creations is easier than you think. Forget about clumpy, scorched, or seized chocolate; this comprehensive guide will walk you through three foolproof methods for melting chocolate chips: the microwave, the classic double boiler, and the convenient slow cooker. We’ll delve into essential tips and tricks to ensure your melted chocolate is always flawless, ready to elevate your desserts from simple treats to culinary masterpieces.
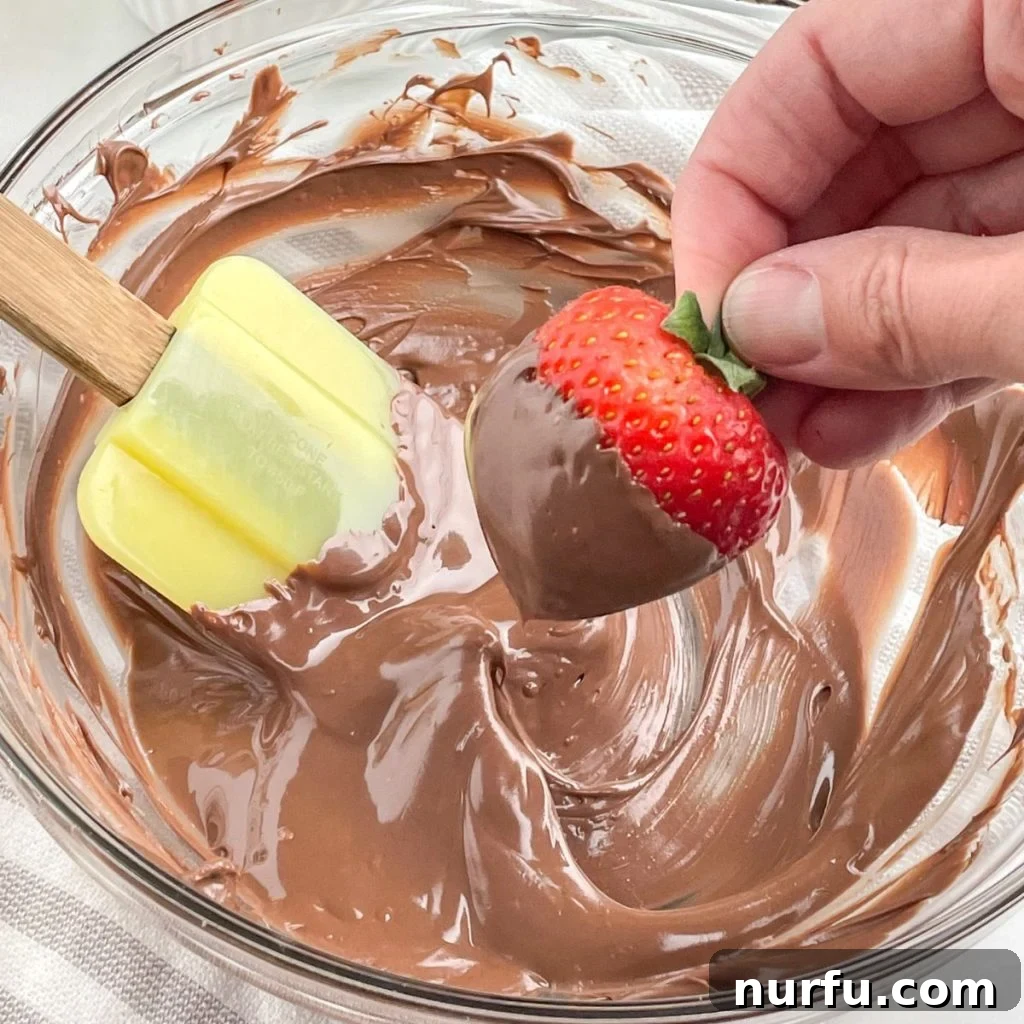
Melted chocolate is an incredibly versatile ingredient in the kitchen. Its rich flavor and adaptable texture make it perfect for a wide array of sweet applications. Imagine dipping fresh strawberries or pretzel rods into a glossy, warm chocolate coating, creating decadent drizzles for ice cream sundaes, crafting homemade candies, or incorporating it into rich chocolate clusters and gooey cookie bars. The possibilities are truly endless, limited only by your imagination. Mastering the art of melting chocolate will open up a world of delightful desserts and confections for you to explore.
While melting chocolate may seem straightforward, a few key techniques and careful attention can make all the difference between a perfectly smooth result and a frustrating mess. Chocolate can be sensitive to heat and moisture, so understanding how to handle it properly is crucial. In this guide, we’ll ensure you’re equipped with all the knowledge needed to achieve beautifully melted chocolate chips without encountering common pitfalls like clumping or seizing, ensuring a professional finish every time.
Essential Tips for Melting Chocolate Chips Successfully
Chocolate, despite its allure, can be quite temperamental. To ensure you achieve that coveted silky-smooth consistency without any issues, it’s vital to treat it with care and follow a few fundamental guidelines. These expert tips are designed to help you navigate the melting process with confidence, leading to perfect results whether you’re working with dark, milk, semi-sweet, or even delicate white chocolate.
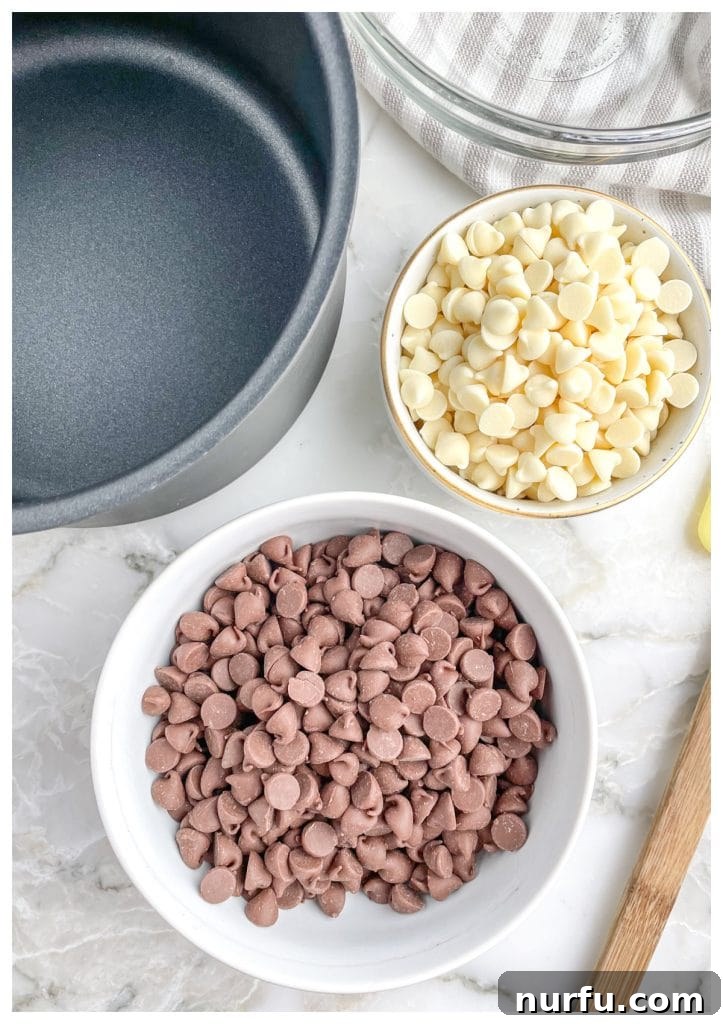
- Choose the Right Chocolate: Chocolate chips are inherently designed for melting. Their small, uniform size allows for even heat distribution and consistent melting. If you’re using a chocolate bar, it’s crucial to chop it into small, even pieces (about 1/2 inch or smaller) to promote uniform melting and prevent some pieces from overheating while others remain solid.
- Keep Moisture at Bay: This is perhaps the most critical rule. Any amount of water, even a single drop, can cause chocolate to “seize.” When chocolate seizes, it transforms from a smooth liquid into a thick, grainy, and unworkable paste. Ensure all your equipment—bowls, spatulas, and spoons—are completely dry before they come into contact with the chocolate.
- Embrace Low Heat and Patience: Chocolate is delicate and scorches easily. Always melt chocolate over low heat, regardless of the method you choose. High heat can burn the chocolate, giving it a bitter taste and grainy texture. Patience is key; it’s better to melt chocolate slowly and gently than to rush the process. Remove the chocolate from the direct heat source as soon as it’s mostly melted, allowing the residual heat to finish the job as you stir. Aim to keep the temperature below 90°F (32°C) for most types of chocolate to prevent burning.
- Versatility of Methods: While this guide focuses on chocolate chips, these melting techniques are equally effective for chopped chocolate bars, baking chocolate, or candy melts. Just remember to break larger pieces into smaller, uniform sizes for optimal results.
- Use the Right Tools: A flexible silicone spatula is your best friend when melting chocolate. It allows you to scrape the bottom and sides of the bowl effectively, ensuring even melting and preventing scorching. Avoid wooden spoons, as wood can retain moisture, which, as we’ve learned, is chocolate’s arch-nemesis.
- Microwave with Caution: When using the microwave, never melt more than one cup of chocolate chips at a time. Overloading the microwave can lead to uneven heating and a higher risk of burning. Small batches ensure more controlled melting.
- Consider a Touch of Fat: While not strictly necessary, adding a small amount of neutral oil (like vegetable oil or coconut oil) or a knob of unsalted butter (about 1 teaspoon per cup of chocolate) can help achieve an even silkier, smoother consistency. It can also make the melted chocolate slightly more fluid and less prone to hardening too quickly, which is beneficial for dipping or drizzling. However, this is an optional step and should be done sparingly.
- Constant Stirring: Regardless of the method, frequent stirring is essential. Stirring helps distribute heat evenly, prevents hot spots, and encourages the chocolate to melt smoothly.
How to Melt Chocolate Chips in the Microwave
The microwave method is arguably the quickest and easiest way to melt chocolate chips, making it a favorite for busy bakers and last-minute dessert preparations. Its speed is a huge advantage, but it also means you need to be extra vigilant to prevent overheating. With the right approach, you can achieve perfectly smooth, melted chocolate in just a few minutes.
Microwaves heat food rapidly and sometimes unevenly from the inside out, which can pose a challenge for delicate ingredients like chocolate. The key to success here is using short bursts of heat and frequent stirring to ensure even melting and to prevent the chocolate from scorching. Never attempt to melt chocolate in one continuous, long burst, as this almost guarantees a burnt, unusable product.
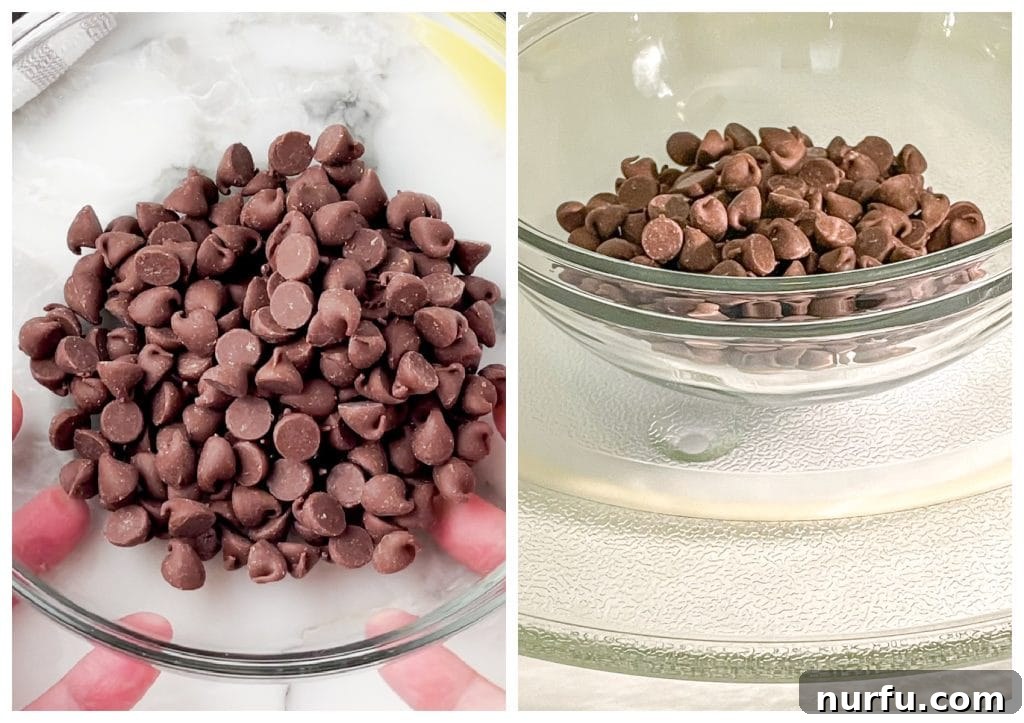
- Prepare Your Chocolate: Place up to one cup of chocolate chips into a clean, dry, microwave-safe bowl. Glass or ceramic bowls work best as they retain heat well.
- First Heat Interval: Microwave the chocolate chips on HIGH power for 30 seconds.
- Stir Thoroughly: Immediately remove the bowl from the microwave and stir the chocolate vigorously with a dry silicone spatula. Even if the chocolate doesn’t appear to be melted, the heat is still working internally. Stirring helps to distribute this latent heat and encourages the melting process.
- Subsequent Intervals: Return the bowl to the microwave and heat for another 10-15 seconds. Remove and stir again.
- Repeat and Observe: Continue heating in 10-15 second intervals, stirring well after each one, until the chocolate is almost completely melted. There might still be a few small lumps.
- Finish with Residual Heat: Once only a few small lumps remain, do not return the chocolate to the microwave. Instead, continue stirring gently but consistently. The residual heat from the melted chocolate and the bowl will be sufficient to melt these last pieces, resulting in a perfectly smooth consistency.
Expert Tips for Microwave Melting: To prevent overheating, never melt chocolate for longer than 30 seconds initially, and then stick to 10-15 second bursts. Always stir thoroughly after each interval, even if the chocolate doesn’t look melted. If you’re melting white chocolate, reduce the power to 50% or even 30% and use shorter intervals, as white chocolate has a much lower burning point.
How to Melt Chocolate Chips on the Stove (Double Boiler Method)
The double boiler method, also known as a bain-marie, is a classic technique favored by professional chefs and home bakers alike for its gentle, indirect heat. This method is ideal for melting chocolate chips evenly and slowly, significantly reducing the risk of scorching or seizing. It creates a controlled environment where steam provides a consistent, gentle warmth, resulting in impeccably smooth and glossy melted chocolate.
A double boiler essentially consists of two nested pots: a larger pot at the bottom holding a small amount of simmering water, and a smaller, heatproof bowl resting on top. The steam from the simmering water gently heats the bottom of the upper bowl, transferring heat indirectly to the chocolate without exposing it to harsh direct flame. This indirect heat is the secret to preventing the chocolate from burning, making it a reliable choice for delicate chocolate work.
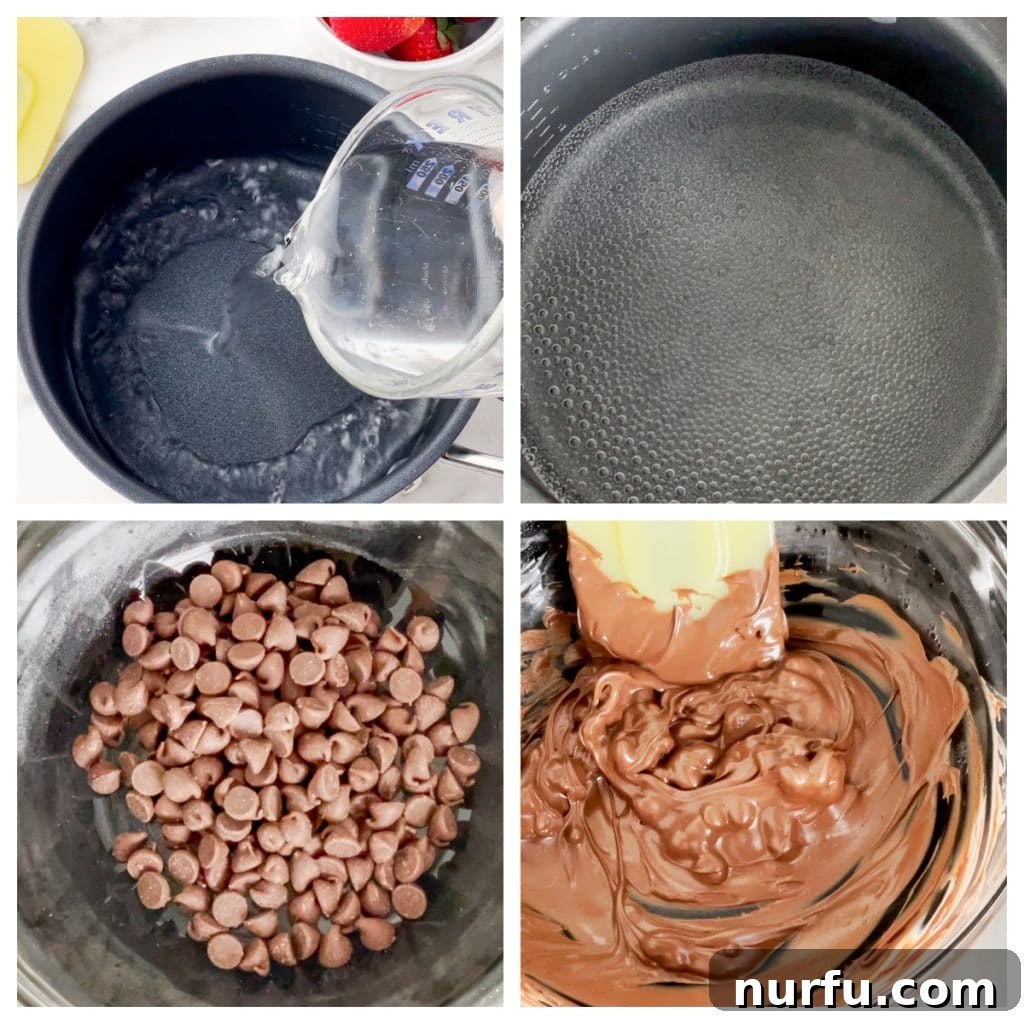
- Set Up Your Double Boiler: Choose a medium-sized saucepan and add about 1-2 inches of water to the bottom. Place it on your stove over medium-low heat.
- Choose the Right Bowl: Select a heatproof bowl (glass or stainless steel works best) that is slightly larger than the saucepan’s opening. When placed on top of the saucepan, the bottom of the bowl should sit above the waterline, ensuring it’s heated by steam, not direct contact with the simmering water. If the bowl touches the water, it can overheat the chocolate.
- Bring Water to a Simmer: Heat the water in the saucepan until it reaches a gentle simmer. You should see small bubbles forming, but avoid a rolling boil which can cause steam to escape too vigorously and potentially introduce moisture to your chocolate.
- Add Chocolate Chips: Once the water is simmering, place the heatproof bowl on top of the saucepan. Add about 3/4 of your chocolate chips to the bowl.
- Begin Melting and Stirring: Allow the chocolate chips to sit over the steam for a minute or two, then begin stirring gently with a dry silicone spatula. You’ll notice the chocolate slowly starting to melt around the edges and bottom.
- Add Remaining Chips: Once the initial chocolate is about half melted and somewhat smooth, add the remaining 1/4 of the chocolate chips. Continue stirring constantly. Adding chocolate in stages (a technique known as “seeding”) helps to maintain a consistent temperature and temper the chocolate slightly, resulting in a more stable melt.
- Remove from Heat: As soon as the chocolate is completely smooth and free of lumps, carefully remove the top bowl from the saucepan. Be cautious of the hot steam escaping. You can use a towel or oven mitts to protect your hands. Wipe any condensation from the bottom of the bowl before using the chocolate to prevent water from dripping into your mixture.
Expert Tips for Double Boiler Success: The amount of water in the bottom pot is crucial; 1-2 inches is usually sufficient to produce enough steam without boiling over. Always keep the heat at a gentle simmer; too high a heat can scorch the chocolate and cause the steam to be too aggressive. Ensure the bowl fits snugly enough to prevent too much steam from escaping and making contact with the chocolate itself, but not so tightly that it creates a pressure build-up. Always use completely dry equipment to avoid seizing. This method is particularly excellent for achieving a truly smooth, glossy finish ideal for delicate decorations or tempering.
How to Melt Chocolate Chips in a Slow Cooker
The slow cooker method is a fantastic option when you need to melt a larger quantity of chocolate or require it to stay warm and fluid for an extended period, making it perfect for parties, fondue nights, or extensive dipping projects. Its gentle, consistent heat and ability to hold temperature for hours make it an ideal choice for hands-off melting, freeing you up to focus on other aspects of your culinary creations. Imagine effortlessly dipping pretzels, marshmallows, or fresh fruit without the rush of chocolate hardening.
This method utilizes the slow cooker’s ability to create a warm water bath, similar in principle to a double boiler but on a larger scale and with less direct supervision. By placing jars or heatproof bowls of chocolate chips into a slow cooker filled with hot water, the chocolate melts gradually and maintains its ideal consistency for hours without fear of burning.
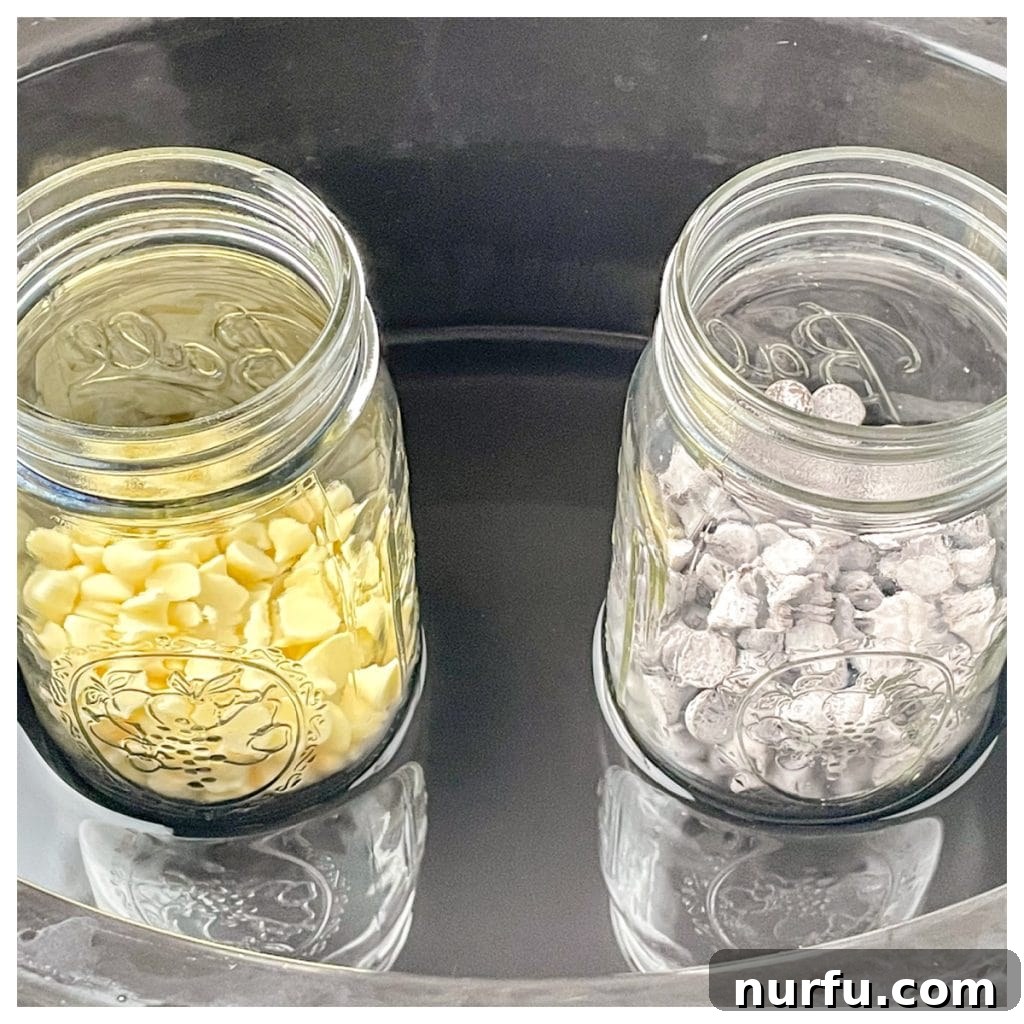
- Prepare Chocolate in Jars/Bowls: Divide your chocolate chips into heatproof jars (Mason jars are excellent for this) or small, heatproof bowls. Using multiple jars allows you to melt different types of chocolate simultaneously, or to keep colors separate.
- Arrange in Slow Cooker: Carefully place the jars or bowls containing the chocolate into your slow cooker. Ensure they are stable and won’t tip over.
- Add Hot Water: Pour hot tap water into the slow cooker, surrounding the jars/bowls. Fill it so the water level comes up about 2-3 inches around the containers, but crucially, ensure that absolutely no water splashes into the chocolate. Leave adequate space at the top of the jars/bowls to prevent any accidental water entry.
- Initial Melting Phase: Set your crock-pot to the HIGH setting. Do not cover the slow cooker during this initial melting phase, as condensation could drip into the chocolate. Allow the chocolate to heat for approximately 20-30 minutes, or until it begins to melt. The exact time will vary depending on the quantity of chocolate and your slow cooker’s efficiency.
- Stir and Check: After 20-30 minutes, open the slow cooker and stir the chocolate thoroughly in each jar/bowl with a dry silicone spatula. The chocolate should be mostly melted and smooth. If not, continue heating on high for another 10-15 minutes, stirring again until smooth.
- Maintain Warmth: Once all the chocolate is beautifully melted and smooth, reduce the slow cooker’s temperature setting to “WARM” or “LOW” (whichever is the lowest setting on your appliance). At this lower temperature, the melted chocolate should remain in a perfectly dippable and pourable state for up to 2 hours, allowing for leisurely enjoyment or extended preparation time.
Expert Tips for Slow Cooker Melting: This method is fantastic for melting several different types of chocolate (dark, milk, white) at once, simply by using separate jars for each. It’s particularly useful for fondue parties or chocolate-dipping stations where you want to keep the chocolate warm and flowing without constant reheating. Always ensure your jars are completely dry before adding chocolate, and be mindful when adding water to the slow cooker to prevent any water from entering the chocolate containers. Consider adding a small amount of coconut oil or shortening to each jar of chocolate before melting for an even smoother, more fluid consistency perfect for dipping.
How to Melt White Chocolate Chips
Melting white chocolate chips requires a slightly more delicate touch compared to dark, milk, or semi-sweet chocolate. White chocolate contains cocoa butter but no cocoa solids, which gives it a different molecular structure and a significantly lower burning point. This means it can go from perfectly melted to scorched and grainy in a matter of seconds if not handled carefully. Its sensitivity to heat makes it prone to seizing or becoming crumbly if overheated.
To successfully melt white chocolate chips, the primary goal is to use consistently low heat and constant vigilance. For the microwave method, it’s crucial to adjust your power settings. Instead of full power, set your microwave to 50% power (or even 30% for very small amounts). This gentler heat reduces the risk of overheating. You’ll still follow the same short interval and frequent stirring technique (15-20 seconds for the first burst, then 5-10 second intervals), but with reduced power. Remember, white chocolate can look perfectly solid on the outside while being overcooked on the inside, so stirring is your best indicator of its true state.
When using the double boiler or slow cooker methods for white chocolate, the indirect heat is inherently safer. However, you still need to be extra attentive. Keep the simmering water at the lowest possible simmer to ensure the steam is gentle. Stir the white chocolate continuously once it starts to melt. Remove it from the heat source as soon as it’s almost smooth, allowing residual heat to complete the melting. The moment you see any sign of clumping, graininess, or a yellowish tinge, it’s likely overheated. For added fluidity and to guard against seizing, many chefs recommend adding 1/2 to 1 teaspoon of a neutral oil (like vegetable oil or coconut oil) or cocoa butter per cup of white chocolate before melting. This extra fat can help stabilize the delicate cocoa butter and create a more pliable, smoother final product.
Common Questions About Melting Chocolate Chips
Unfortunately, once chocolate has seized, it’s very difficult, if not impossible, to fully restore it to a perfectly smooth consistency. Seizing occurs when chocolate comes into contact with even a tiny amount of water or is subjected to too much heat, causing the cocoa solids to clump together and the fat to separate. While some suggest adding a tablespoon of hot oil or vegetable shortening and stirring vigorously to loosen it, the texture will likely remain grainy and unsuitable for delicate applications. It’s often best to reserve seized chocolate for recipes where texture is less critical, such as brownies or cakes, rather than attempting to return it to a dippable state.
Yes, chocolate chips will harden and set once they cool off after being melted. This is due to the cocoa butter in the chocolate solidifying. The speed at which it sets depends on the type of chocolate (dark chocolate typically sets faster than milk or white chocolate), the temperature of your room, and whether any additional fats (like oil or shortening) were added during the melting process. For quicker setting, you can place dipped items or molds in the refrigerator for 10-20 minutes, though be mindful that extreme temperature changes can sometimes cause blooming (a white, powdery film) on the surface of the chocolate.
You don’t necessarily *need* to add oil when melting chocolate chips, especially if you’re aiming for a firm set. However, adding a small amount of neutral oil (like vegetable, canola, or coconut oil) or vegetable shortening can be beneficial. It helps to create an even smoother, more fluid, and glossy melted chocolate, which is particularly desirable for dipping or drizzling. The added fat also prevents the chocolate from setting as hard as it would without it, resulting in a slightly softer bite when cooled. Use sparingly, typically 1 teaspoon per cup of chocolate chips, to avoid diluting the chocolate flavor or creating a greasy texture. For white chocolate, a touch of added fat can also help prevent seizing.
While any standard chocolate chip will melt, the quality of the chocolate will significantly impact the final taste and texture. High-quality chocolate chips with a higher percentage of cocoa butter (often found in gourmet or baking-specific brands) tend to melt more smoothly and have a richer flavor. For best results, choose baking chocolate chips or wafers over regular eating chocolate chips, as they are formulated to melt and temper well. Semi-sweet chocolate chips are a versatile choice for many applications, while dark chocolate offers a more intense flavor. White chocolate and milk chocolate require more careful handling due to their higher sugar and milk content, which makes them more prone to scorching.
If you have leftover melted chocolate that hasn’t been mixed with other ingredients (like cream for ganache), you can store it. Allow it to cool completely at room temperature, then transfer it to an airtight container. Store it in a cool, dry place away from direct sunlight. It will re-solidify and can be remelted using any of the methods described above. However, with each re-melting, the chocolate’s temper (its stable crystal structure) might be affected, potentially leading to a slightly duller finish or a softer set over time. For best results, use freshly melted chocolate whenever possible, especially for delicate decorations.
Indulge in More Chocolate Chip Recipes
Now that you’re a pro at melting chocolate chips, why not put your skills to good use? Explore these delicious recipes that feature the irresistible allure of chocolate chips:
- Decadent German Chocolate Chip Cookies
- Nana’s Irresistible Congo Bars
- Classic Oatmeal Fudge Bars
- Moist Chocolate Chip Bundt Cake

How To Melt Chocolate Chips
By Heather Seeley
3 easy methods for melting chocolate chips to achieve a silky-smooth consistency.
Rate Recipe
Print Recipe
Ingredients
- 1-2 cups chocolate chips
Instructions
Microwave Method
- Place chocolate chips in a microwave-safe bowl.
- Microwave for 30 seconds. Stir well with a silicone spatula.
- Microwave again for 15 seconds. Stir again. Continue heating in 10-second intervals and stirring until the chocolate is smooth and melted, with no lumps remaining.
Double Boiler Method
- Prepare a double boiler by adding a couple of inches of water to a medium pot and placing it on the stovetop. Heat the water until a gentle simmer. Place a heatproof bowl on top of the pot, ensuring the bowl does not touch the simmering water.
- Add 3/4 of the chocolate chips to the bowl. Stir with a spatula until they start to melt. Add the rest of the chocolate chips and keep stirring until completely melted and smooth.
- Once melted, carefully remove the top bowl from the pot and use the chocolate as desired.
Slow Cooker Method
- Place chocolate chips in a jar or heatproof bowl (Mason jars work well). Place the jars inside the slow cooker.
- Carefully add hot water to the slow cooker, filling it so the water comes up about 2-3 inches around the jars. Be extremely careful not to get any water inside the jars with the chocolate.
- Turn the crock-pot on high heat. Do not cover. Let the chocolate heat for 20-30 minutes, then stir thoroughly. The heating time will vary based on the amount of chocolate you are melting.
- Once melted and smooth, lower the temperature setting to “warm” or “low”. The melted chocolate should stay in a liquid, usable state for approximately 2 hours.
Video
Nutrition
Calories: 226kcal | Carbohydrates: 31g | Protein: 2g | Fat: 11g | Saturated Fat: 7g | Trans Fat: 1g | Cholesterol: 7mg | Sodium: 31mg | Fiber: 1g | Sugar: 28g | Vitamin A: 101IU | Vitamin C: 1mg | Calcium: 52mg | Iron: 1mg
Nutrition information is automatically calculated and should only be used as an approximation.
Additional Info
Course: Dessert
Cuisine: American
Loved this guide? Leave a comment below!
Your feedback helps us create more valuable content for you.