
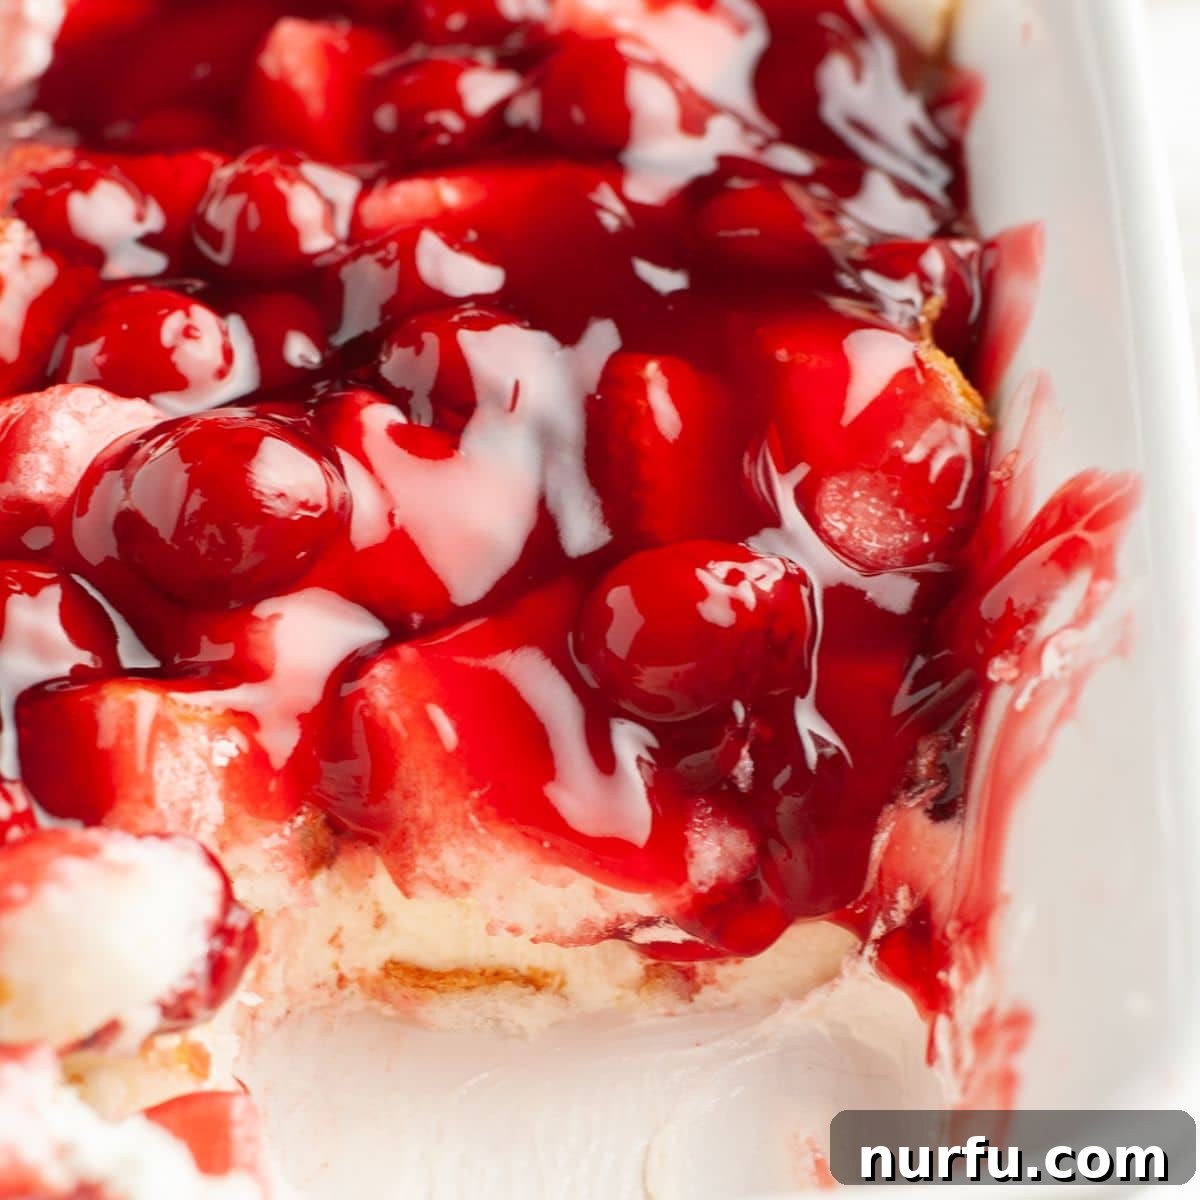
Welcome to the ultimate guide for creating a delightful, old-fashioned, and incredibly easy no-bake Cherries in the Snow dessert! This classic treat is the epitome of comfort and simplicity, offering a cool, creamy experience with minimal effort. Imagine layers of a luscious sweet cream cheese base, fluffy angel food cake, and a vibrant burst of cherry pie filling, all coming together in a symphony of flavors and textures. Whether you’re planning for festive holidays, a casual potluck, a summer barbecue, or just a sweet craving, this dessert is an absolute crowd-pleaser that promises to impress without the stress of baking.
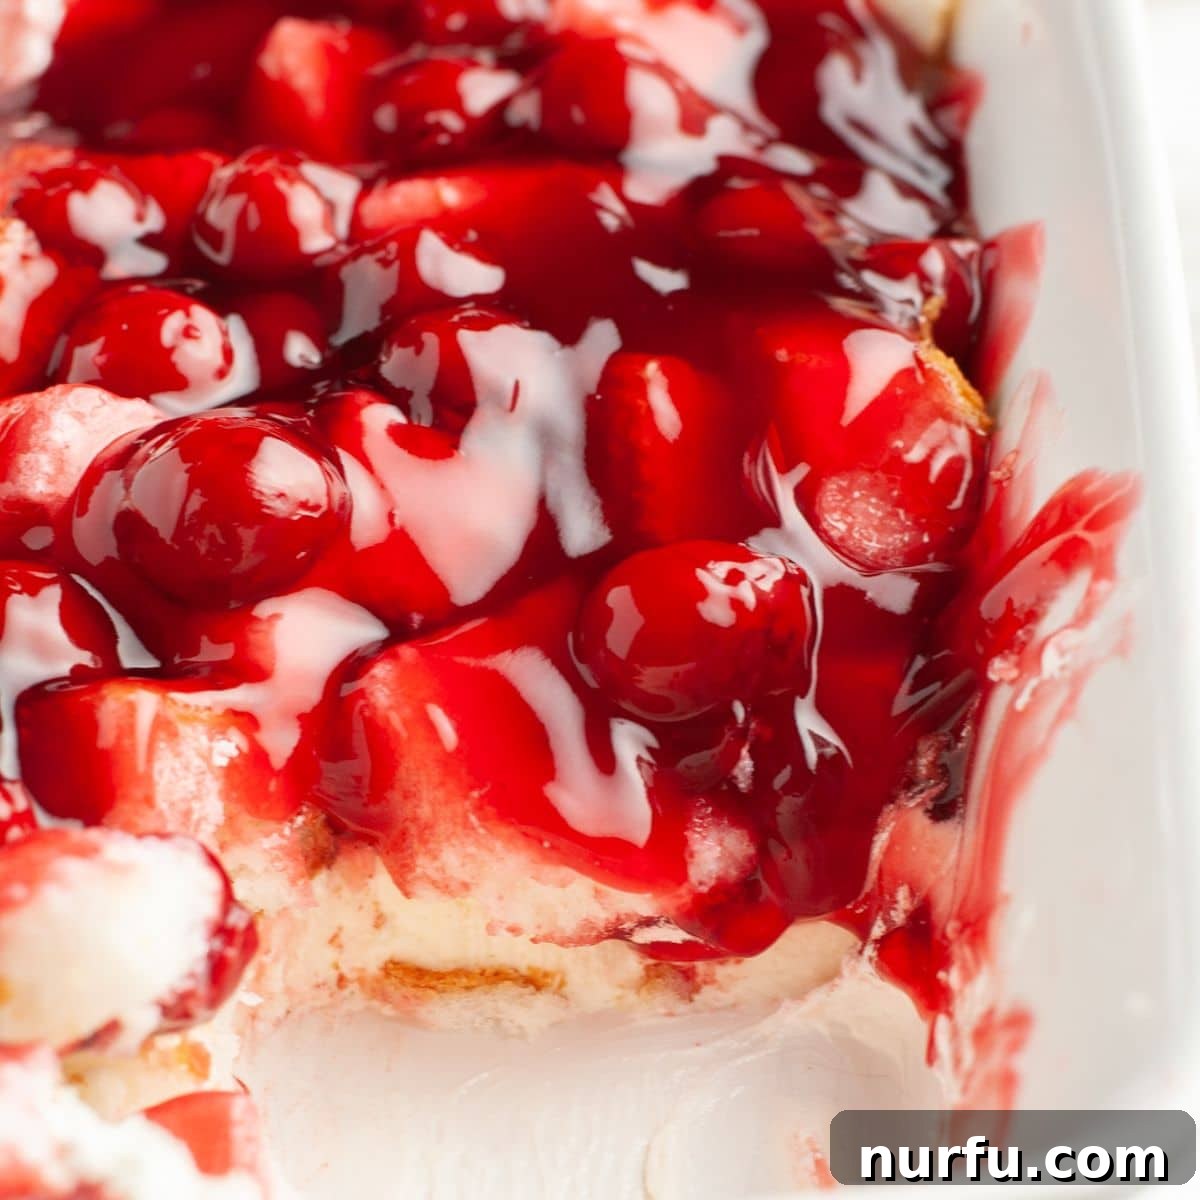
There’s a reason why Cherries in the Snow remains a cherished dessert for generations. Its straightforward preparation, combined with its irresistible taste and beautiful presentation, makes it a perennial favorite. This recipe has quickly risen to become one of my personal go-to desserts, especially during the warmer months when turning on the oven is the last thing you want to do. The refreshing chill and sweet tang of the cherries are simply perfect for cooling down on a sunny afternoon.
If you’re a fan of fuss-free, delicious treats, you might also enjoy exploring other beloved no-bake desserts like the decadent Robert Redford dessert or the comforting classic, banana pudding. But for today, let’s dive into the pure joy of Cherries in the Snow!
Why This Cherries in the Snow Recipe Will Become Your New Favorite
Our no-bake Cherries in the Snow dessert isn’t just a recipe; it’s a solution for effortless entertaining and joyful indulgence. Here’s why it stands out:
- Unbelievably Simple: Forget long ingredient lists and complicated techniques. This dessert requires just 5 core ingredients, making it an ideal choice for even the most novice of home cooks. Its simplicity ensures consistent success every time.
- Remarkably Fast: Time is precious, and this recipe respects that. With a preparation time of under 30 minutes, you can whip up this stunning dessert with ease, making it a fantastic last-minute option for unexpected guests or a speedy contribution to any potluck or gathering. No baking means no waiting around for the oven!
- A Guaranteed Family Favorite: This old-fashioned dessert holds a special place in many hearts. Its nostalgic charm and universally appealing flavors mean it’s always a huge hit with friends and family alike. Prepare for rave reviews and requests for the recipe!
- Perfect for Any Season: While it’s a refreshing star in the summer, its vibrant colors and rich flavors make it equally suitable for holiday feasts or cozy winter gatherings. It’s truly an all-year-round delight.
Essential Ingredients for Your Cherries in the Snow Dessert
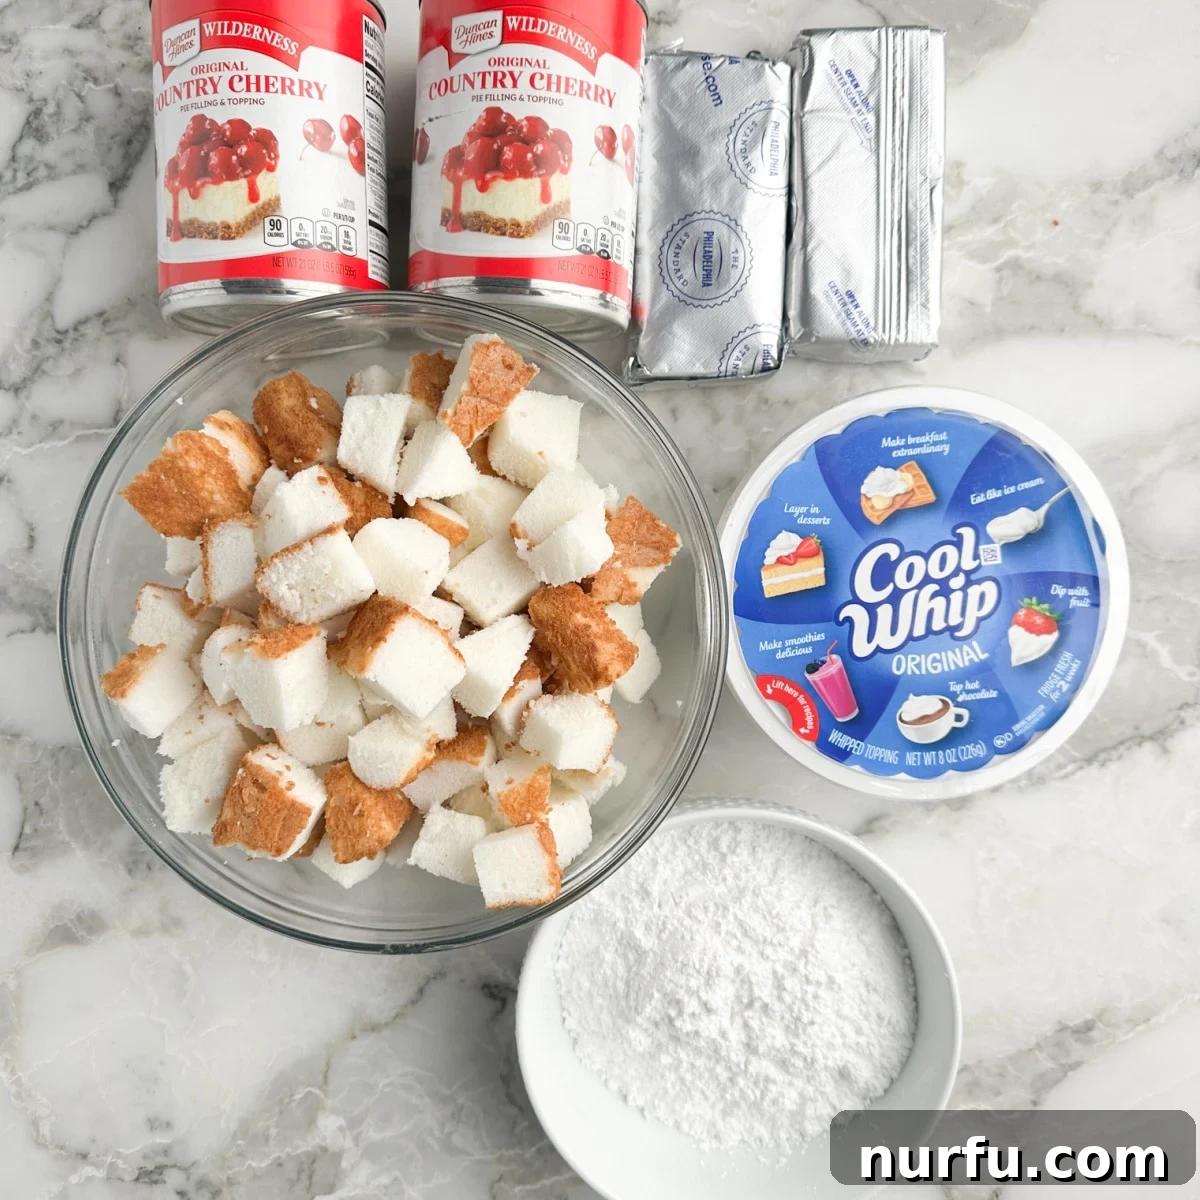
Crafting this elegant dessert starts with a handful of readily available ingredients. Quality ingredients ensure the best flavor and texture, so choose wisely!
- Angel Food Cake: For ultimate convenience, we recommend using a store-bought, pre-made angel food cake. This significantly cuts down on preparation time. However, if you’re feeling ambitious and have a favorite recipe, a homemade angel food cake will certainly elevate the dessert further with its delicate, airy texture.
- Cream Cheese: The heart of our creamy base. It’s crucial that your cream cheese is softened to room temperature before mixing. This ensures a smooth, lump-free consistency for your dessert layer. You can opt for full-fat cream cheese for a richer, more decadent taste, or a low-fat version if you’re looking for a slightly lighter alternative.
- Powdered Sugar: Also known as confectioners’ sugar, this finely milled sugar adds the perfect amount of sweetness to the cream cheese mixture without any grainy texture. It dissolves seamlessly, creating a silky-smooth base.
- Frozen Whipped Topping: A staple for many no-bake desserts, frozen whipped topping (such as Cool Whip) provides light, airy volume and a sweet, creamy flavor. Remember to thaw it completely in the refrigerator before you begin mixing to achieve the desired consistency.
- Canned Cherry Pie Filling: The star of the show! Choose your favorite brand of canned cherry pie filling. I personally adore a country-style cherry filling for its slightly more rustic texture and intense cherry flavor, but any quality cherry pie filling will work beautifully to create that iconic “snow” and “cherry” contrast.
How to Effortlessly Assemble Cherries in the Snow
Making this dessert is as easy as pie – even easier, since there’s no baking involved! Follow these simple steps for a perfect Cherries in the Snow:
- Prepare the Angel Food Cake: Begin by cutting your angel food cake into approximately 1-inch bite-sized pieces. These will form a delightful fluffy layer within your dessert, absorbing some of the creamy goodness.
- Craft the Creamy Base: In a large mixing bowl, combine the softened cream cheese and powdered sugar. Using an electric mixer, beat these ingredients together until the mixture is smooth, light, and creamy. Once thoroughly combined, gently fold in the thawed whipped topping until everything is fully incorporated and the mixture is uniformly smooth and airy. Be careful not to overmix, as this can deflate the whipped topping.
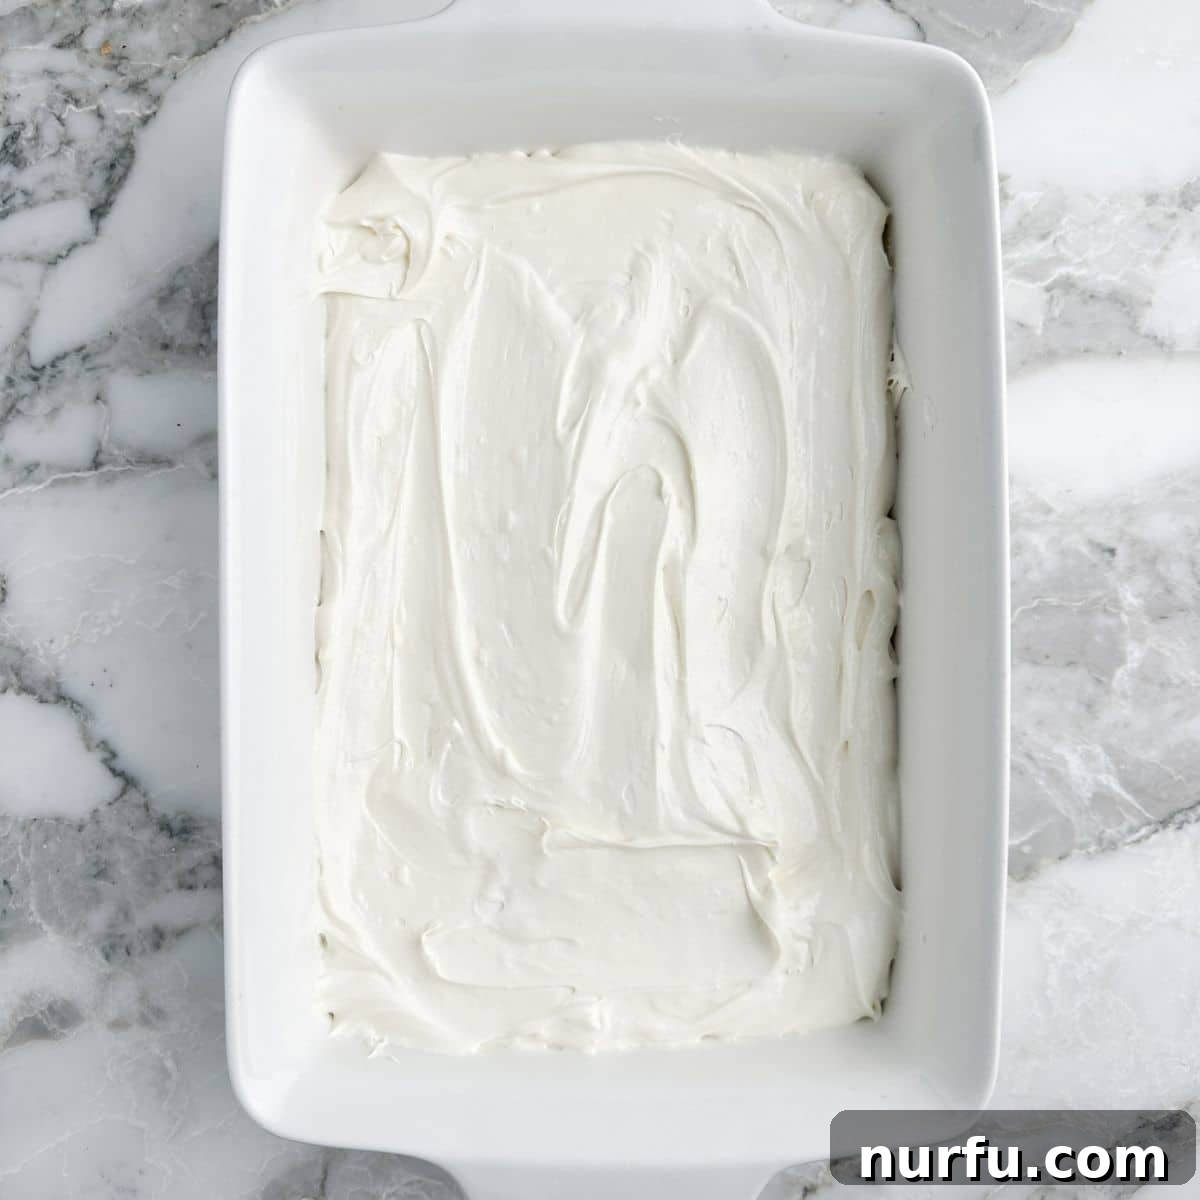
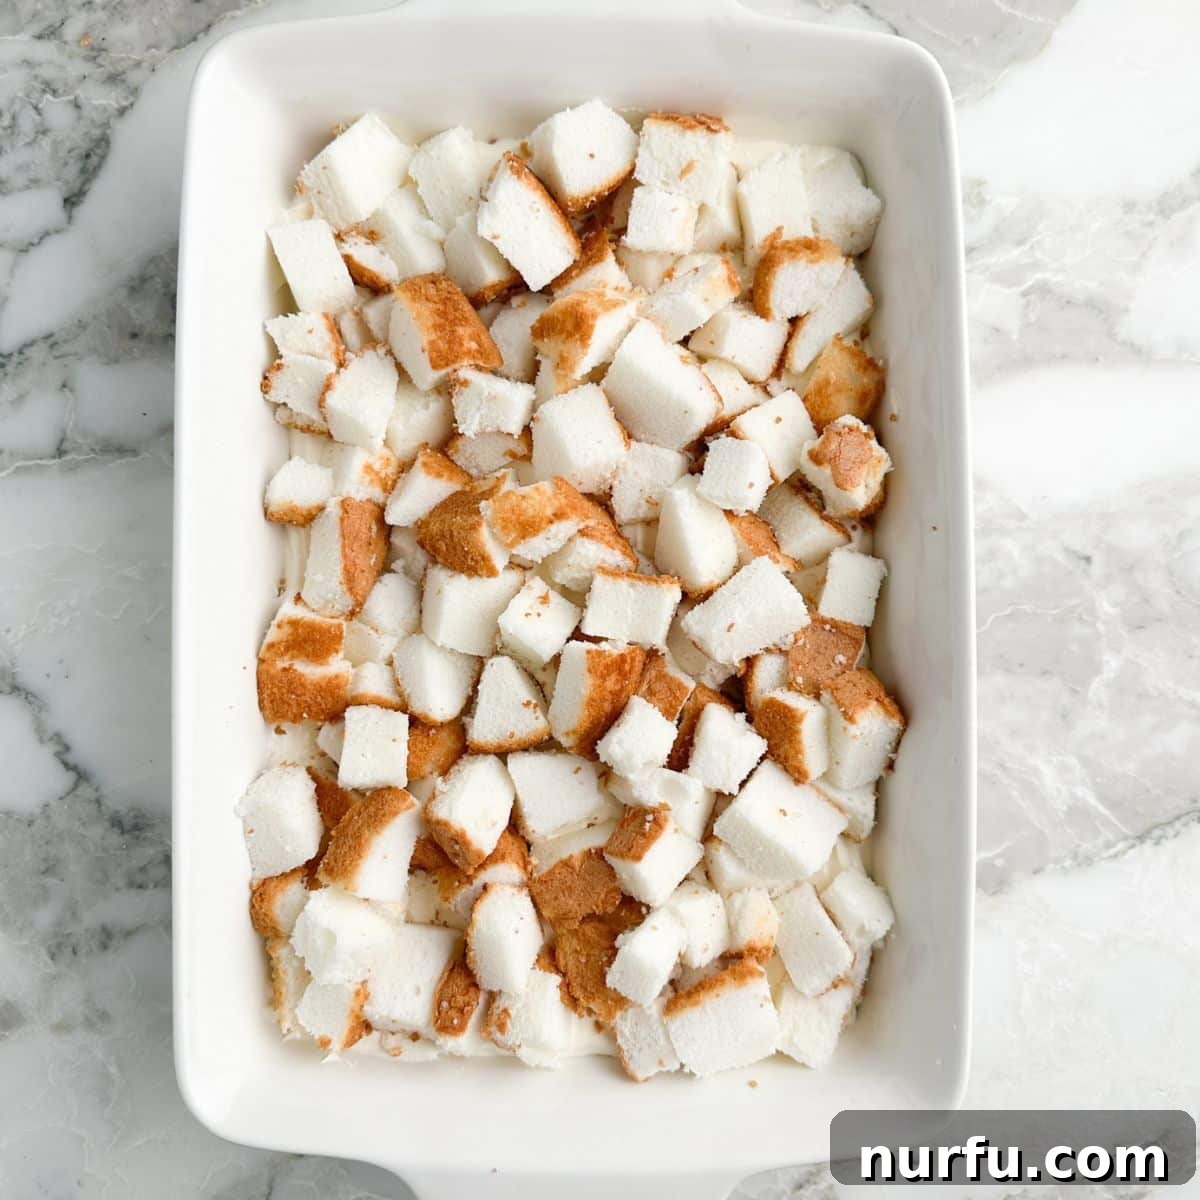
- Layer the Dessert: Spread the creamy mixture evenly into the bottom of a 9×13 inch baking dish. This will be your foundational “snow” layer. Once the cream cheese mixture is spread, arrange the cubed angel food cake pieces over the top, creating an even layer.
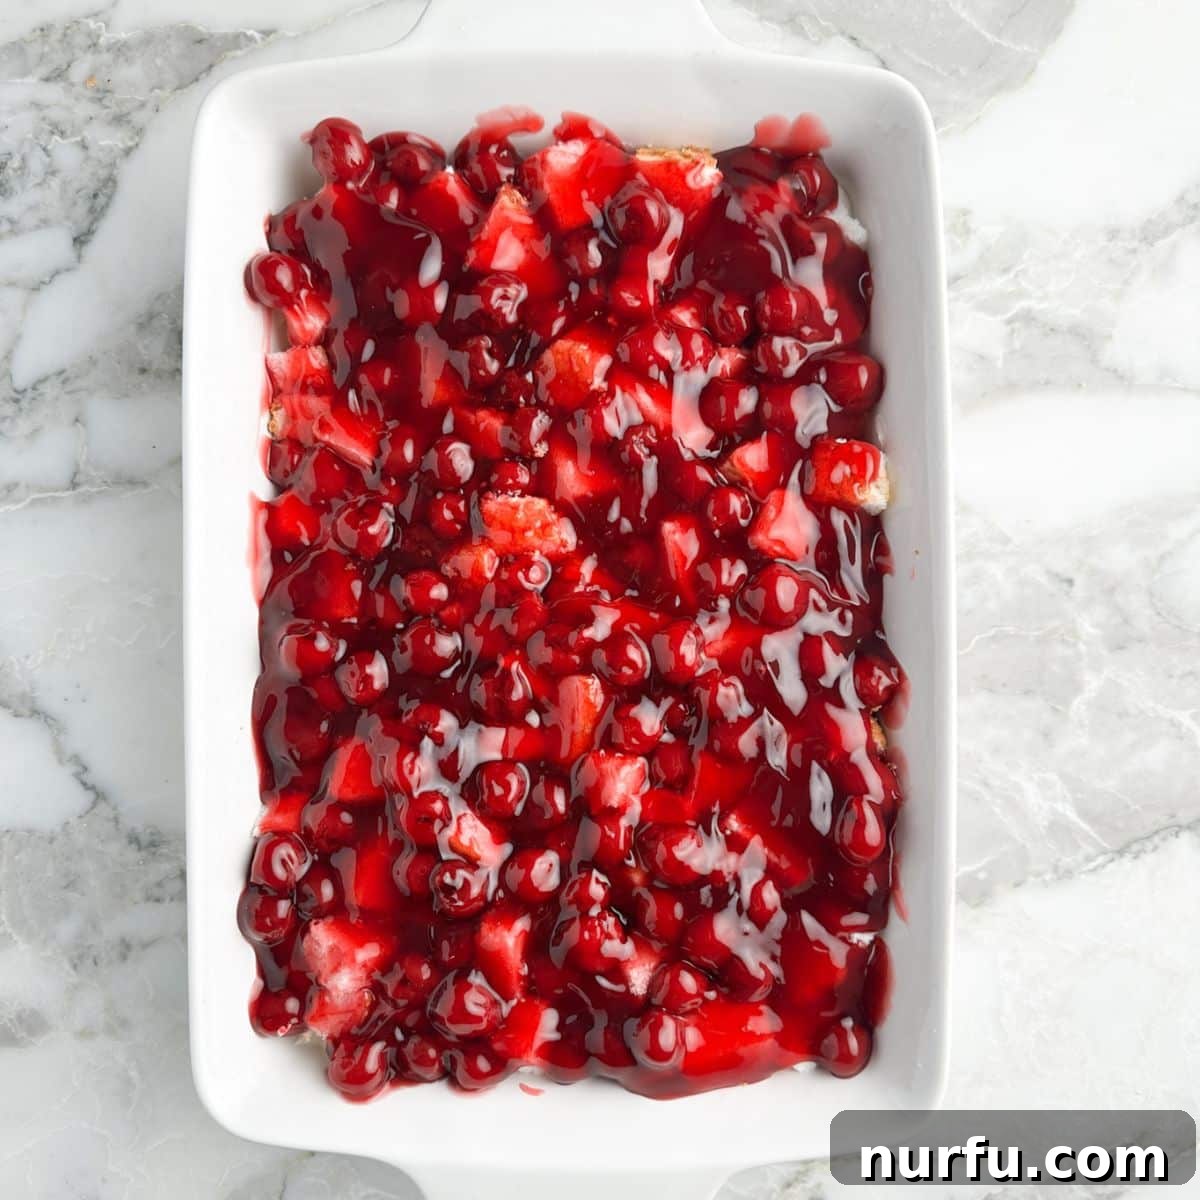
- Add the Cherry Topping and Chill: Finally, gently spread the luscious cherry pie filling over the layer of angel food cake, ensuring an even distribution of those glistening red cherries. Once assembled, you can serve this dessert immediately for a fresh taste, or for optimal setting and flavor development, cover the baking dish with plastic wrap and chill it in the refrigerator for at least 2-4 hours, or until thoroughly set, before serving.
Creative Variations & Customizations for Cherries in the Snow
While this Cherries in the Snow recipe is undeniably simple and delicious in its classic form, it also serves as an excellent canvas for your culinary creativity. Feel free to put your own spin on it by changing a few key ingredients or adding exciting new elements:
- Explore Different Fruits: While cherry is traditional, the possibilities are endless! Try making this dessert with other fruit pie fillings like a tangy blueberry, a sweet peach, a vibrant raspberry, or even a mixed berry blend. Each fruit will bring its unique flavor profile, allowing you to tailor the dessert to any season or preference.
- Experiment with the Cake Base: Angel food cake provides a light and airy base, but don’t be afraid to try alternatives. A rich chocolate angel food cake would create a delightful black forest-inspired treat. For a denser, more substantial dessert, consider using cubed pound cake. You could even use crushed graham crackers or vanilla wafers for a cheesecake-like crust.
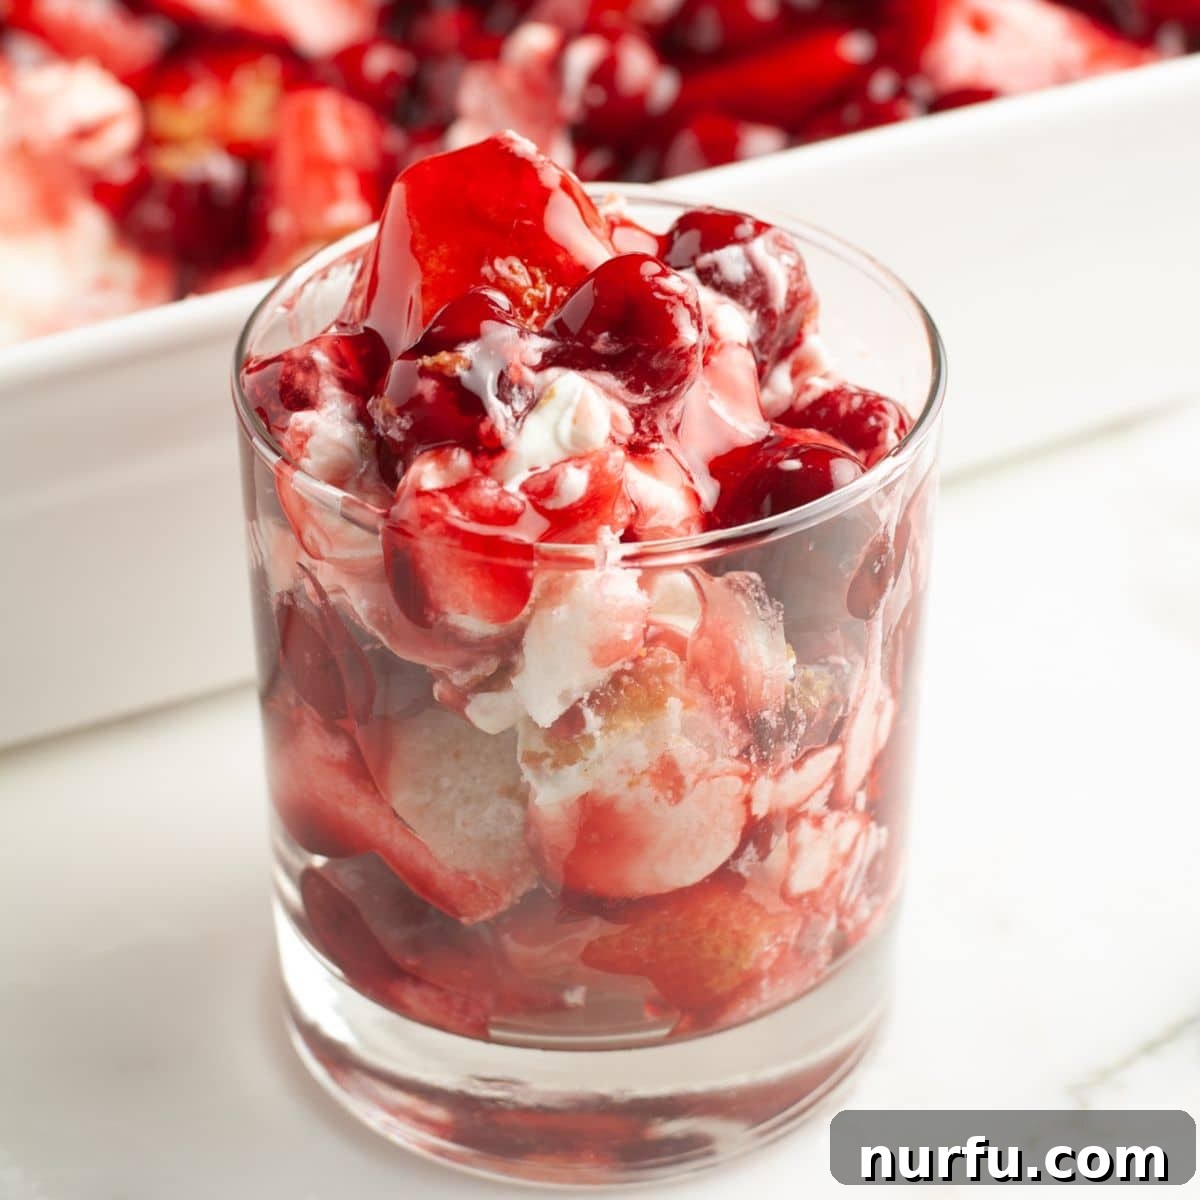
- Diverse Serving Styles: While a 9×13 inch dish is perfect for sharing, you can present this dessert in various attractive ways. Serve individual portions in elegant parfait cups for a sophisticated touch, allowing guests to admire the beautiful layers. Small bowls are also a charming option for a more casual gathering.
- Add Extra Crunch or Flavor: Sprinkle some toasted almonds or pecans between the layers for an added textural element. A drizzle of chocolate syrup or a scattering of white chocolate shavings can enhance the flavor profile and visual appeal. A hint of almond extract in the cream cheese layer can also complement the cherries beautifully.
Storing and Making Ahead Your Cherries in the Snow
Proper storage is key to enjoying your delicious Cherries in the Snow dessert at its best:
Storage: If you find yourself with delightful leftovers, ensure they are stored correctly. Cover the baking dish tightly with plastic wrap to prevent air exposure, or transfer individual portions to an airtight container. Keep the dessert refrigerated. It will maintain its best quality for about 2-3 days. After this time, the cake can start to absorb too much moisture from the other layers and become soggy.
Make Ahead: This is a fantastic dessert to prepare in advance! You can fully assemble the Cherries in the Snow dessert a day before you plan to serve it. Just be sure to cover the dish securely with plastic wrap or foil and keep it chilled in the refrigerator. Making it ahead allows the flavors to meld beautifully and ensures it’s perfectly set and ready to enjoy when your guests arrive or when you’re ready for a sweet treat.
Expert Tips for a Perfect No-Bake Dessert
- Room Temperature Cream Cheese: This cannot be stressed enough! Cold cream cheese will result in a lumpy base. Allow it to sit on the counter for at least 30 minutes to an hour before mixing.
- Thoroughly Thaw Whipped Topping: Ensure your frozen whipped topping is fully thawed but still cold. This will make it easier to incorporate and prevent a watery consistency.
- Gentle Folding: When combining the whipped topping with the cream cheese mixture, fold it in gently using a spatula. This helps maintain the airy texture of the whipped topping.
- Even Layers: Take a moment to spread each layer evenly. This not only makes for a more beautiful presentation but also ensures a balanced bite with every spoonful.
- Chill Time is Crucial: While you can serve immediately, chilling allows the layers to set properly, firm up, and for the flavors to fully develop and meld. Don’t rush this step for the best results.
Frequently Asked Questions About Cherries in the Snow
Can I use fresh cherries instead of canned pie filling?
While fresh cherries offer a great flavor, cherry pie filling is specifically designed for its thick, syrupy consistency which holds up well in this layered dessert. If using fresh cherries, you would need to cook them down with sugar and a thickener (like cornstarch) to achieve a similar pie filling consistency.
Is this dessert suitable for a gluten-free diet?
The main component with gluten is the angel food cake. You can easily make this dessert gluten-free by using a store-bought gluten-free angel food cake or a gluten-free pound cake. All other ingredients are typically gluten-free, but always check labels to be sure.
How can I prevent the cake from becoming too soggy?
The best way to minimize sogginess is to chill the dessert thoroughly before serving and consume it within 2-3 days. The angel food cake will naturally absorb some moisture, but proper chilling helps it maintain its structure. You can also assemble it closer to serving time if extreme crispness of the cake is desired.
Can I add nuts to this dessert?
Absolutely! Toasted chopped pecans or walnuts would add a wonderful crunch and nutty flavor. You can sprinkle them over the cream cheese layer before adding the cake, or even on top of the cherry filling as a garnish.
I genuinely hope you try this wonderful, old-fashioned, no-bake Cherries in the Snow dessert recipe. It’s a true classic for a reason, bringing joy and deliciousness with minimal effort. Be sure to let me know in the comments below if you make it and how much you enjoyed it!
More Easy Dessert Recipes to Love
- Oreo Mug Cake
- Chocolate Covered Potato Chips
- Sweet Chex Mix
Cherries In The Snow Recipe
By Heather Seeley
Cherries in the Snow is a delicious, no-bake dessert featuring a creamy layer, light angel food cake, and a sweet cherry pie filling.
Prep time: 15 mins
Total time: 15 mins
Servings: 8
Ingredients
- 1 baked angel food cake
- 2 (8 ounce) packages cream cheese, softened
- 2 cups powdered sugar
- 1 (16 ounce) container frozen whipped topping, thawed
- 2 (20 ounce) cans cherry pie filling
Instructions
- Cut the angel food cake into approximately 1-inch pieces.
- Using a mixer, combine softened cream cheese and powdered sugar until creamy. Mix in the thawed whipped topping until fully incorporated and smooth.
- Spread the creamy mixture evenly in a 9×13 inch baking dish. Top this layer with the angel food cake pieces.
- Spread the cherry pie filling uniformly over the angel food cake layer.
- Serve immediately or cover and chill in the refrigerator for at least 2-4 hours, or until thoroughly set, before serving.
Nutrition
Nutrition information is automatically calculated and should only be used as an approximation.
- Calories: 118 kcal
- Carbohydrates: 30g
- Protein: 0.03g
- Fat: 0.1g
- Saturated Fat: 0.1g
- Polyunsaturated Fat: 0.004g
- Monounsaturated Fat: 0.02g
- Cholesterol: 0.3mg
- Sodium: 2mg
- Potassium: 1mg
- Fiber: 0.001g
- Sugar: 29g
- Vitamin A: 4 IU
- Vitamin C: 0.01mg
- Calcium: 1mg
- Iron: 0.02mg
Additional Info
Course: Dessert
Cuisine: American
Love this recipe? Leave a comment below!