
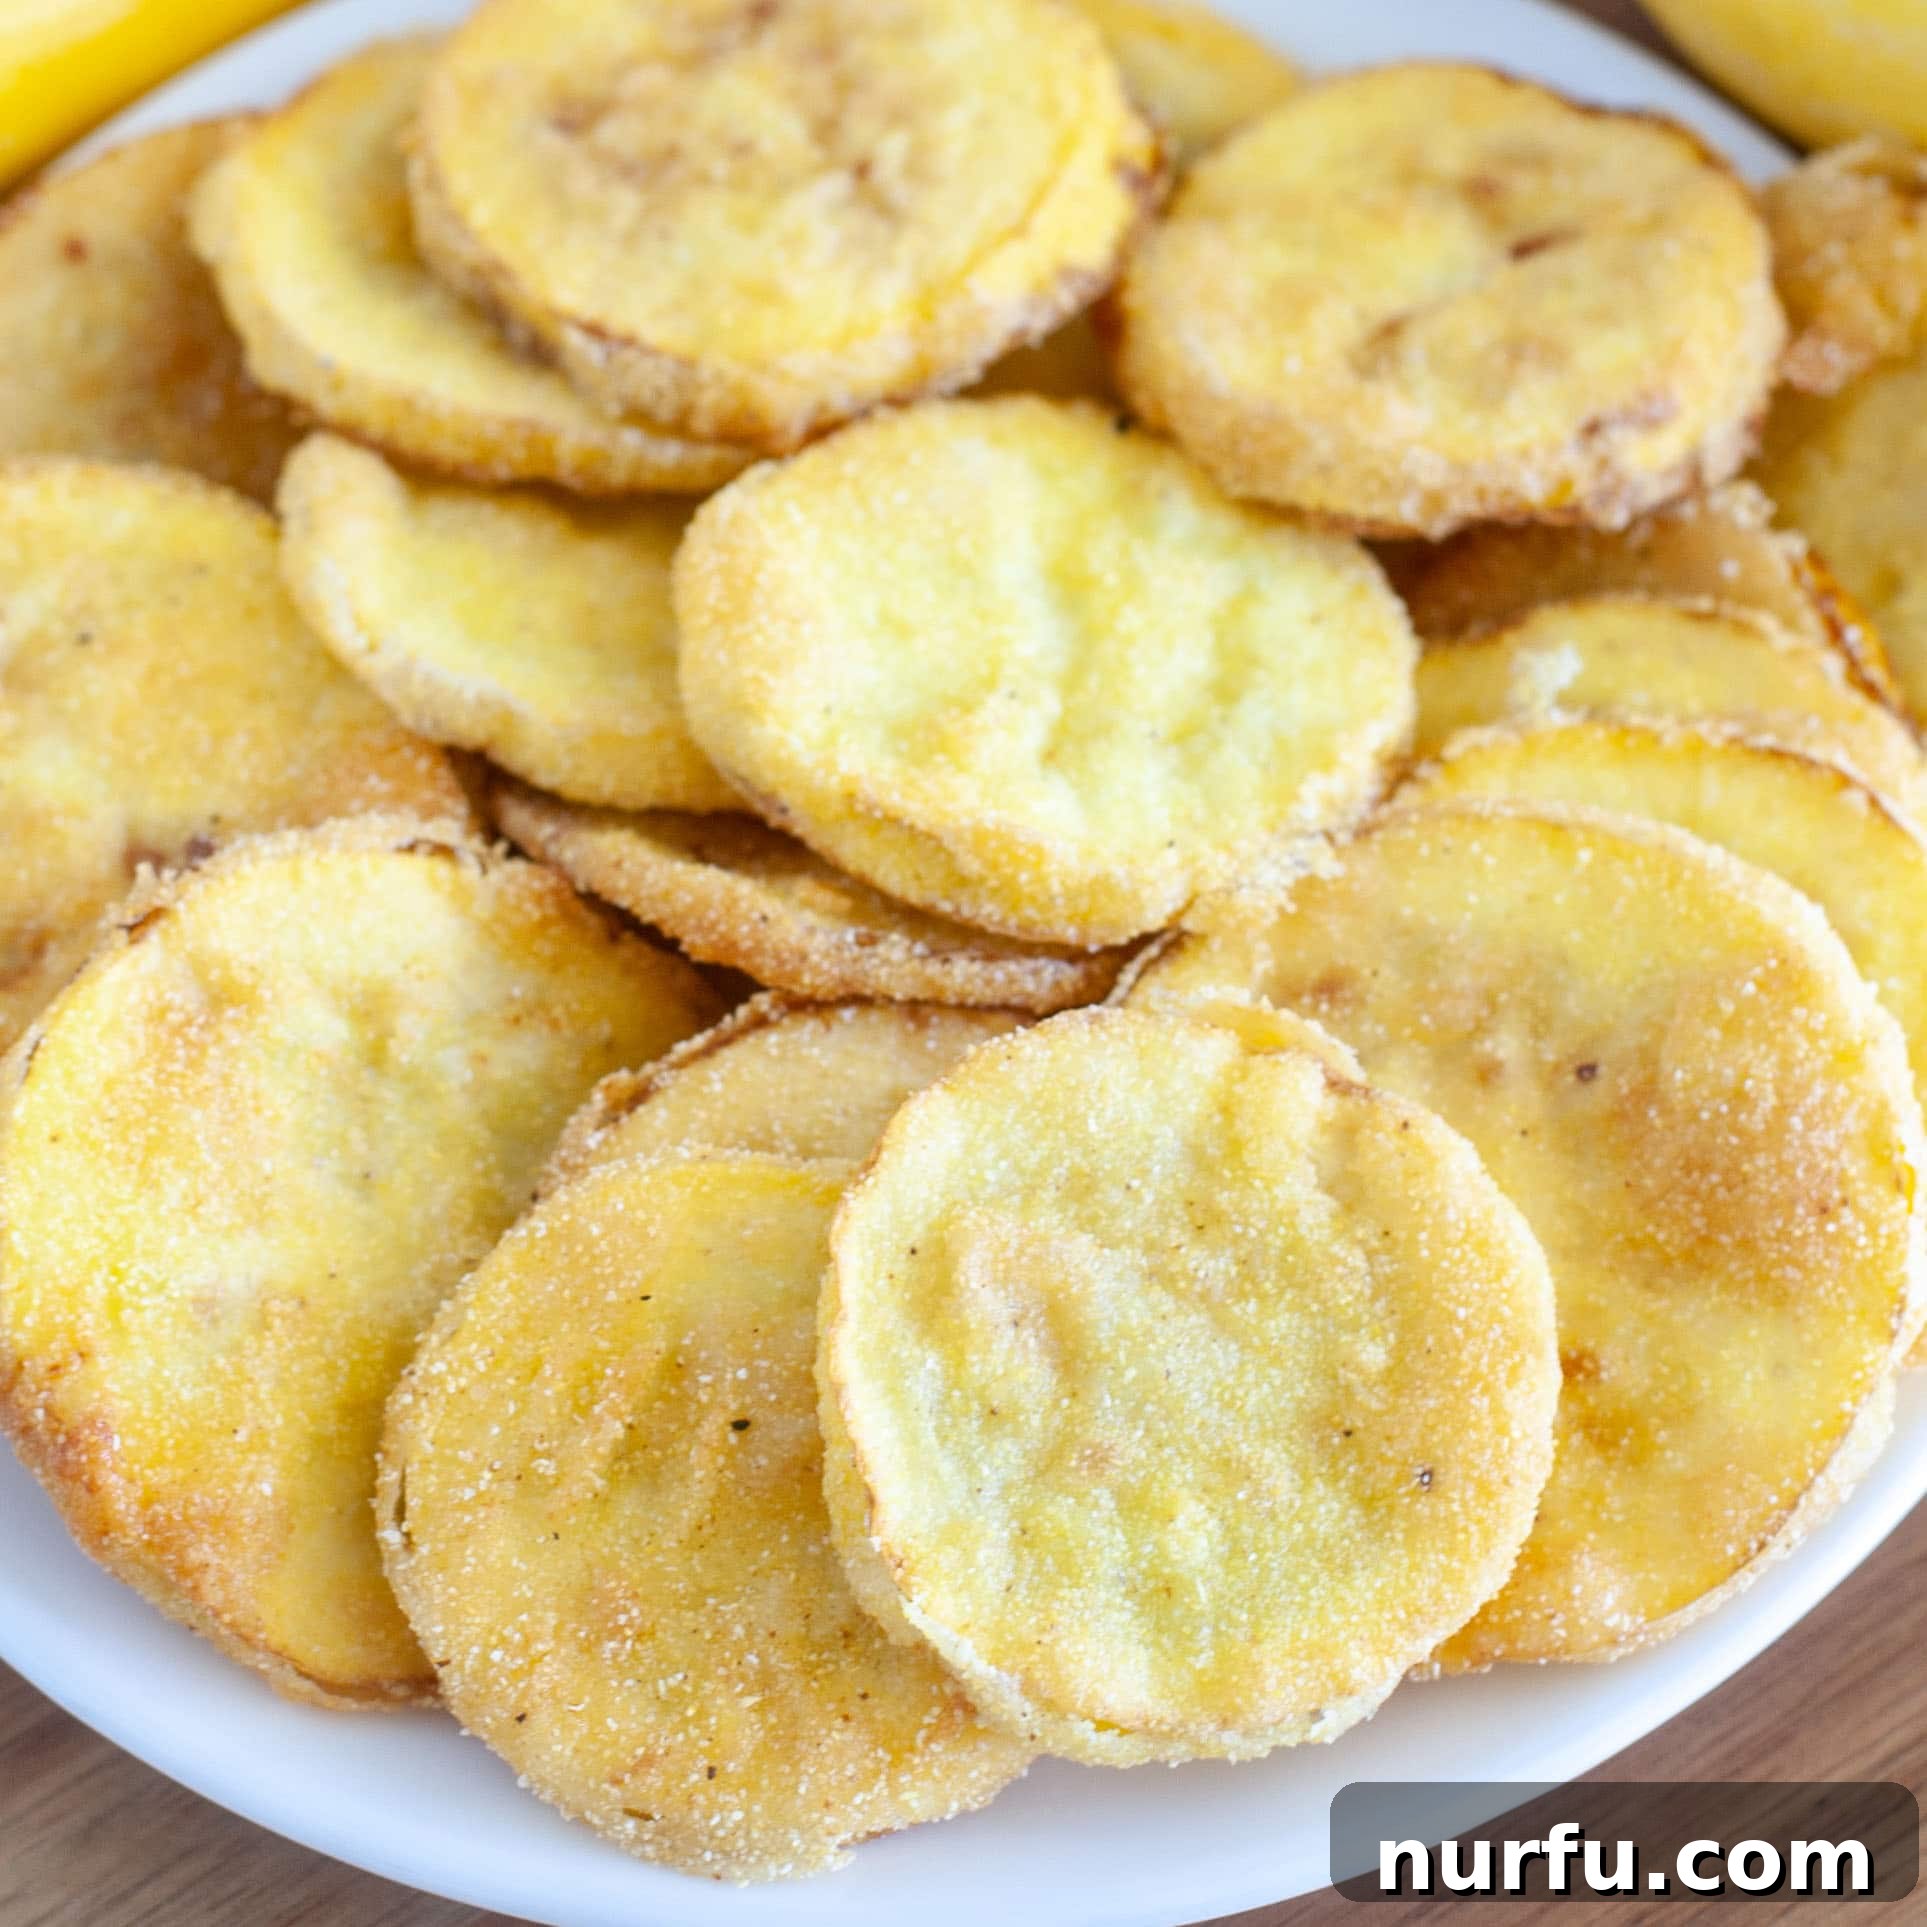
Crispy Fried Yellow Squash: Your Ultimate Summer Side Dish & Appetizer
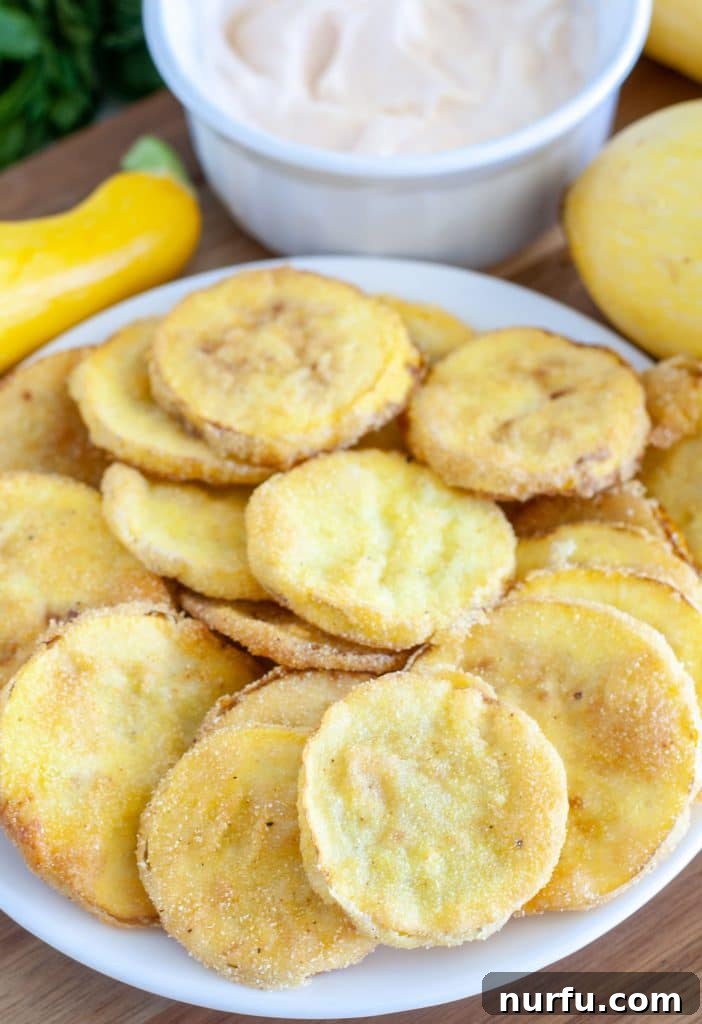
There’s something uniquely comforting and irresistibly delicious about a perfectly made batch of fried squash. Imagine vibrant yellow squash, delicately coated in a light, crispy batter, and then golden-fried to perfection. This simple yet profound dish is more than just a recipe; it’s a celebration of summer’s bounty, promising to become a cherished favorite in your culinary repertoire. Whether served as a delightful side dish to your main course or as an addictive appetizer that disappears quickly, crispy fried squash embodies the essence of seasonal eating at its finest.
Summer squash, particularly the bright yellow variety, often arrives in abundance as gardens flourish and farmer’s markets overflow. While we love exploring diverse ways to enjoy this versatile vegetable, from the wholesome goodness of roasted spaghetti squash and hearty chicken zucchini squash casserole to the sweet indulgence of zucchini bread, there’s an undeniable magic to frying it. The way the tender squash transforms with a crunchy, savory crust is truly incomparable.
Growing up, my mom was an avid gardener, and our backyard was a vibrant tapestry of peppers, cucumbers, tomatoes, and, of course, an endless supply of squash. Each summer, we seemed to have an overflowing harvest of beautiful yellow squash. It felt like we were enjoying it in every possible form, all season long. While she masterfully incorporated it into stir-fries and comforting casseroles, my absolute favorite preparation was always when she would lovingly fry them. The aroma filling the kitchen was a sure sign that a special treat was on its way, and the first bite of those warm, crispy slices always felt like pure summer bliss. That cherished memory is at the heart of this recipe, aiming to bring that same joy and deliciousness to your table.
Why This Recipe Is an Absolute Must-Try
- The Perfect Way to Utilize Summer Squash: When your garden or local market is brimming with an excess of yellow squash, this recipe offers an incredibly flavorful and satisfying solution. Instead of letting those beautiful vegetables go to waste, transform them into a dish everyone will rave about. It’s an ideal way to enjoy the fresh, mild flavor of summer squash in a new and exciting texture.
- A Versatile Appetizer or Delicious Side Dish: Whether you’re hosting a casual summer barbecue, looking for a comforting addition to a family dinner, or need a quick snack, fried squash fits the bill perfectly. Its appealing golden-brown exterior and tender interior make it a crowd-pleasing appetizer that disappears fast, or an excellent accompaniment to grilled meats, sandwiches, or any hearty meal.
- Surprisingly Easy and Quick to Make: Don’t let the “fried” aspect intimidate you! This recipe is remarkably straightforward and requires minimal ingredients and preparation time. With just a few simple steps, you can achieve restaurant-quality crispy fried squash right in your own kitchen, making it perfect for busy weeknights or impromptu gatherings.
Essential Ingredients for Perfect Fried Squash
Crafting the perfect fried squash requires a handful of common pantry staples, focusing on freshness and quality. Here’s a closer look at what you’ll need:
- Yellow Squash: The star of our show! Opt for fresh, firm, and vibrant yellow squash, ideally from a local garden or farmer’s market for the best flavor. While yellow squash is traditional, green zucchini can be substituted interchangeably, offering a slightly different but equally delicious result. Aim for medium-sized squash, as they tend to have fewer seeds and firmer flesh.
- All-Purpose Flour and Cornmeal: These two dry ingredients form the backbone of our crispy coating. The all-purpose flour provides a sturdy base, while the cornmeal contributes that essential coarse texture and distinctive crunch that makes fried squash so appealing. The combination ensures a perfectly golden and crisp exterior.
- Egg and Milk: The wet components of our batter, working together to create a binder that adheres the dry coating to the squash slices. The egg helps to create a rich, golden color and adds a slight richness, while the milk thins the mixture to the right consistency, ensuring a light and even coating. Whole milk is recommended for the best flavor and texture.
- Seasoned Salt: My personal preference for adding a flavorful kick! Seasoned salt brings a balanced blend of spices, enhancing the natural taste of the squash. However, feel free to customize. You can easily substitute with a simple mixture of kosher salt and freshly ground black pepper for a classic taste, or elevate the flavor profile with a touch of Cajun seasoning for a spicy, zesty twist. Garlic powder, onion powder, and a pinch of paprika are also fantastic additions.
- Vegetable Oil: Essential for frying. Choose a neutral-flavored oil with a high smoke point, such as canola oil, sunflower oil, or corn oil. This ensures that your squash fries evenly to a beautiful golden brown without imparting any unwanted flavors and without burning at the required temperature. You’ll need enough oil to fill your skillet to about 1-2 inches for proper frying.
- Optional Salt for Drying: A crucial, yet optional, step for achieving maximum crispiness. A little salt sprinkled on the sliced squash helps to draw out excess moisture, preventing a soggy outcome. This simple technique can make a significant difference in the final texture of your fried squash.
Step-by-Step Guide to Crispy Fried Squash
For a full printable recipe card, including exact measurements and a convenient video tutorial, please scroll down to the bottom of this page.
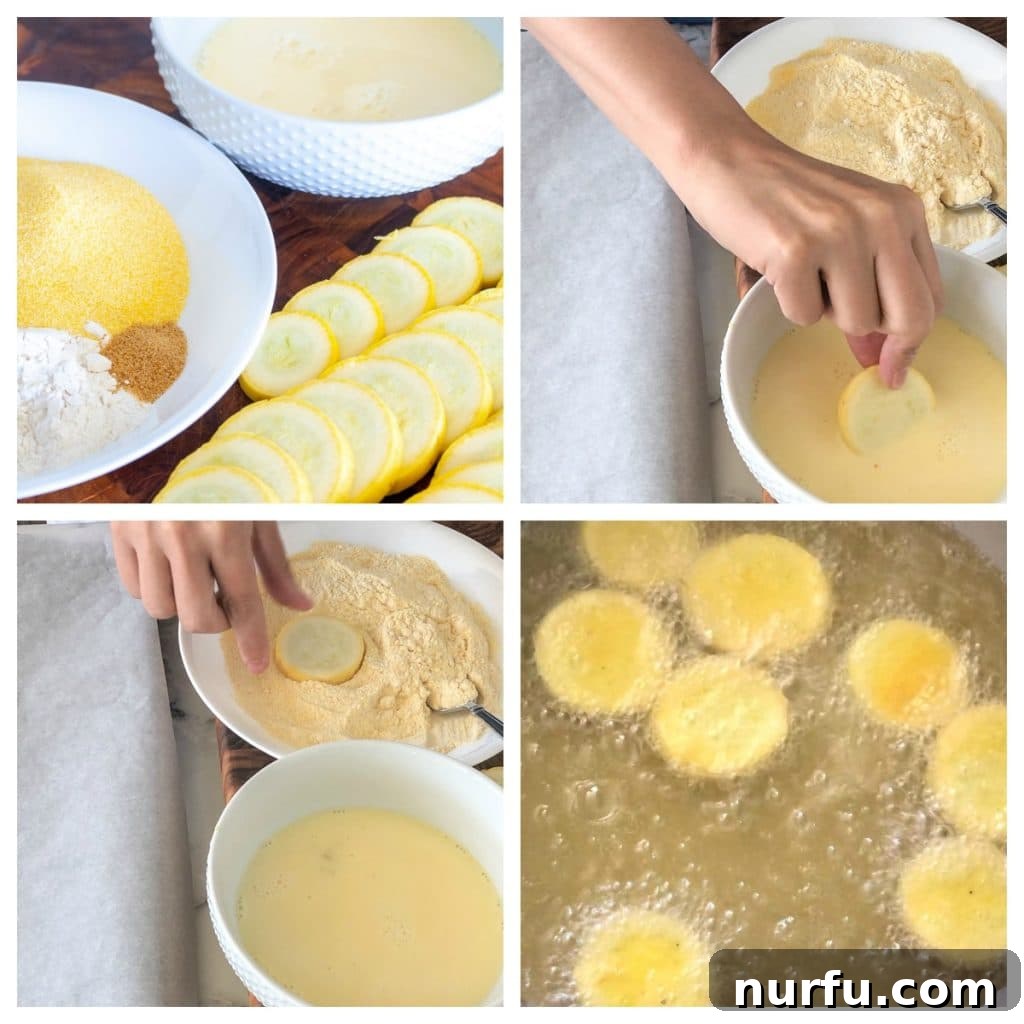
- Prepare the Squash: Begin by thoroughly cleaning your yellow squash under cool running water and then patting them completely dry with a paper towel. This ensures that the batter will adhere properly. Carefully trim off both ends of each squash. Using a sharp knife or a mandoline slicer, cut the squash into uniform 1/4-inch thick rounds. Consistency in thickness is key for even cooking.
- Optional Salting for Crispiness: This step is highly recommended for achieving the crispiest fried squash! After slicing, arrange the squash rounds in a single layer on a stack of paper towels, or place them in a colander. Lightly sprinkle salt over all the rounds. The salt will work to draw out any excess moisture from the squash. Allow them to sit for 15-30 minutes. Once time is up, gently rinse off the salt under cold water and pat each slice thoroughly dry with fresh paper towels. This crucial step prevents soggy squash.
- Prepare the Batter: In a medium-sized bowl, whisk together the egg and milk until well combined and smooth. In a separate, larger bowl, a shallow dish, or a plate with high sides, combine the all-purpose flour, cornmeal, seasoned salt, and black pepper. Whisk these dry ingredients together thoroughly, ensuring there are no lumps and the seasoning is evenly distributed.
- Heat the Oil: Pour about 1 to 2 inches of vegetable oil into a large, deep skillet or a Dutch oven. Place the skillet over medium heat and allow the oil to warm up to approximately 350°F (175°C). If you don’t have a thermometer, you can test the oil by dropping a tiny pinch of the flour mixture into it; if it sizzles gently, it’s ready. Avoid overheating, as this can burn the batter quickly.
- Coat the Squash: Working in batches, take each squash slice and first dip it into the egg and milk mixture, ensuring it’s fully coated. Let any excess liquid drip off. Immediately transfer the wet squash slice into the dry flour and cornmeal mixture. Press gently to ensure it’s completely coated on all sides. Shake off any excess flour mixture. Place the coated slices on a clean plate or baking sheet as you go, ready for frying.
- Fry to Golden Perfection: Carefully place the coated squash slices into the hot oil in a single layer. Be careful not to overcrowd the skillet, as this will lower the oil temperature and result in soggy squash. Fry for about 3-4 minutes per side, or until each side turns a beautiful golden brown and the coating is visibly crispy. Use tongs or a slotted spoon to carefully flip the squash.
- Drain and Serve: Once golden and crispy, remove the fried squash from the oil using a slotted spoon, allowing any excess oil to drip back into the pan. Immediately transfer the cooked squash to a plate lined with paper towels to absorb any remaining oil. For optimal crispiness, you can then transfer them to a wire rack set over a baking sheet. Serve immediately while warm, ideally with your favorite dipping sauce.
Expert Tips to Keep Your Fried Squash Crispy
The quest for perfectly crispy fried squash often comes down to a few key techniques. Nobody wants soggy fried vegetables! Here’s how to ensure your squash stays delightfully crunchy:
The absolute secret to keeping fried squash crispy is the crucial step of drawing out excess moisture before frying. Once your squash is sliced into rounds, place them on a clean paper towel or in a colander. Generously sprinkle them with salt (about 1 teaspoon for 2-3 squash). Let them sit for 15-30 minutes; you’ll notice beads of moisture forming on the surface. This is the salt working its magic! After the resting time, rinse the slices lightly under cold water to remove the excess salt and then pat them bone-dry with fresh paper towels. Removing this internal moisture is paramount to achieving a crisp exterior that doesn’t become soft and steamy.
Beyond the salting technique, remember to maintain the correct oil temperature (around 350°F / 175°C) and avoid overcrowding your frying pan. Overcrowding drops the oil temperature, leading to absorption rather than frying, which results in greasy, soft squash. Fry in small batches to keep the oil hot. Once fried, always drain the squash on a paper towel-lined plate to absorb initial grease, then transfer them to a wire rack. This allows air circulation underneath, preventing steam from collecting and softening the crust. Serve them immediately for the very best crispy experience.
Healthier Option: Air Fryer Fried Squash
Looking for a lighter alternative to traditionally fried squash without sacrificing that satisfying crispness? The air fryer is your best friend! Making fried squash in the air fryer significantly helps to cut back on calories and oil, offering a healthier yet equally delicious version. It excels at crisping up the squash with a golden, crunchy exterior.
To prepare your squash for air frying, follow the same initial steps as for deep frying: slice your yellow squash into 1/4-inch rounds, and perform the optional (but highly recommended) salting and drying step to remove excess moisture. Then, dip each squash slice first into the egg mixture, allowing excess to drip off, and then into the flour and cornmeal mixture, ensuring it’s thoroughly coated. You can also lightly spray the coated squash with cooking oil for extra crispiness.
Carefully arrange the coated squash slices in your air fryer basket in a single layer, making sure not to overcrowd or stack them. Work in batches if necessary. Air fry at 390°F (200°C) for about 5-7 minutes on each side, or until they are beautifully golden brown and crispy. Flip them halfway through cooking to ensure even browning. The exact time may vary slightly depending on your air fryer model, so keep an eye on them. You’ll be amazed at how well the air fryer replicates the texture of deep-fried squash!
Storing and Reheating Fried Squash
Proper handling of your fried squash, whether keeping it warm or storing leftovers, ensures its deliciousness is preserved. Here’s how:
Keeping Warm: If you’re frying a large batch of squash and need to keep the already cooked pieces warm while you finish the rest, simply preheat your oven to a low temperature, around 250°F (120°C). Arrange the fried squash in a single layer on a baking sheet, ideally fitted with a wire rack to promote air circulation. Place the baking sheet in the warm oven until you’re ready to serve. This method helps maintain crispiness without overcooking.
Storing Leftovers: Should you be fortunate enough to have any leftovers (it’s a rare occurrence with this recipe!), allow them to cool completely to room temperature first. Then, transfer the cooled fried squash to an airtight container and store it in the refrigerator for 1-2 days. While they will lose some of their initial crispiness, they are still wonderfully flavorful.
Reheating: To bring leftover fried squash back to life and restore some of its crisp texture, avoid the microwave, as it will only make them soggy. The best methods are the oven or an air fryer. Place the cooled squash in a single layer on a baking sheet (or in the air fryer basket) and reheat at 375°F (190°C) for about 5-10 minutes in the oven, or 3-5 minutes in the air fryer, flipping halfway. Heat until thoroughly warmed through and re-crisped.
Pro Tips for the Best Fried Squash
- Monitor Oil Temperature: The oil temperature is paramount! If the oil isn’t hot enough, the squash will absorb too much grease and turn soggy. If it’s too hot, the batter will burn before the squash cooks through. Aim for a consistent 350-360°F (175-180°C). A kitchen thermometer is ideal, but if you don’t have one, test with a small piece of squash; it should sizzle immediately but not furiously.
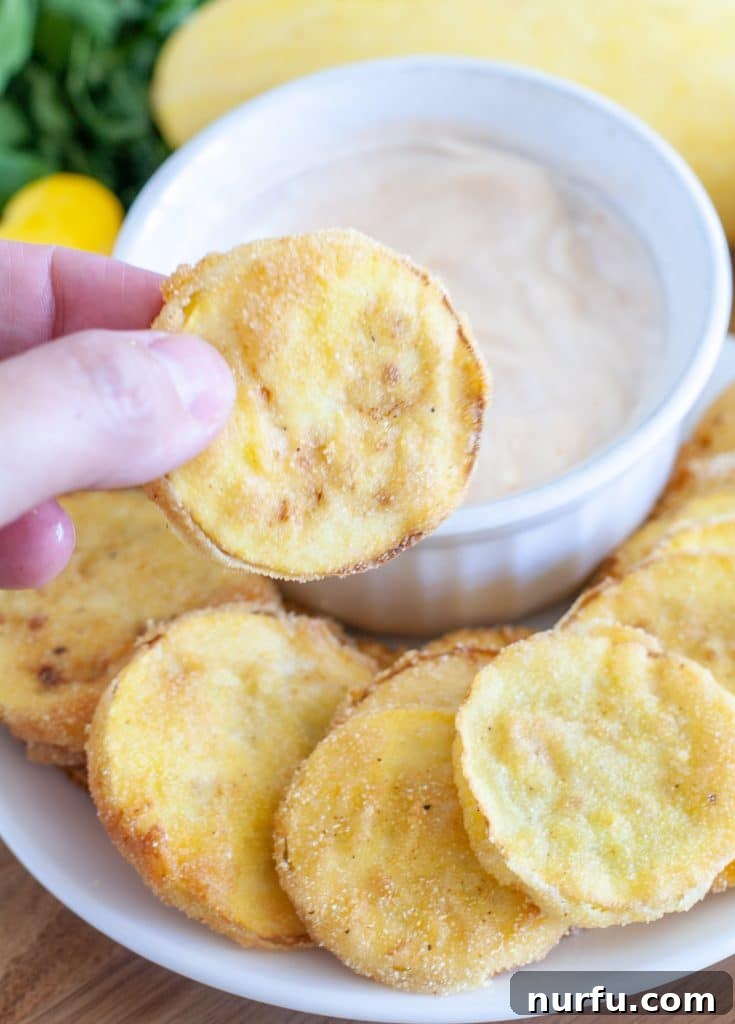
- Serve with Your Favorite Dipping Sauce: Fried squash is incredibly versatile and pairs wonderfully with a variety of dips. Classic choices include creamy ranch dressing, the tangy sweetness of Chick-fil-A sauce, or the unique zest of Zesty sauce. For an extra flavor burst, I love sprinkling a homemade french fry seasoning blend over the hot squash immediately after they finish frying. Don’t be afraid to experiment with your own favorite condiments like hot honey, sriracha mayo, or even a simple squeeze of lemon.
- Add a Touch of Heat and Spice: If you enjoy a little kick, it’s incredibly easy to infuse some heat into your fried squash. Simply add a pinch or two of cayenne pepper to your flour and cornmeal mixture for a subtle warmth. For a bolder, spicier flavor, a splash of your favorite hot sauce stirred into the milk and egg mixture can work wonders. Smoked paprika can also add depth and a smoky heat.
- Avoid Overcrowding the Frying Pan: This is a golden rule for all frying. Placing too many squash slices in the pan at once will drastically lower the oil’s temperature. This causes the squash to steam rather than fry, resulting in a greasy, soggy product instead of a crisp one. Fry in small batches, giving each piece enough space to cook evenly and achieve that coveted golden-brown crispness. Patience here truly pays off.
- Experiment with Seasonings: Beyond seasoned salt, consider adding other spices to your flour mixture. Garlic powder, onion powder, a dash of dried dill, or even Italian seasoning can elevate the flavor profile.
- Gluten-Free Option: To make this recipe gluten-free, substitute the all-purpose flour with a 1:1 gluten-free flour blend. Ensure your cornmeal is also certified gluten-free. The results are often just as crispy and delicious!
Perfect Pairings: How to Serve Fried Squash
Crispy fried squash is a wonderfully versatile dish that shines as a flavorful side, especially during the warm summer months, or as a delightful appetizer. Its comforting crunch and savory taste make it an excellent complement to a wide array of meals. Here are some of our favorite recipes and ideas to pair it with:
- Classic American Fare: It’s a natural fit for quintessential American dishes. Serve it alongside juicy air fryer hamburgers, a comforting slice of air fryer meatloaf, or tender slow cooker country style ribs. The freshness of the squash balances the richness of these mains perfectly.
- Chicken and Pork Dishes: Fried squash is a fantastic companion to poultry and pork. Enjoy it with crispy chicken tenders, a perfectly cooked pork tenderloin, or even grilled chicken breasts. The light batter doesn’t overpower the delicate flavors of these meats.
- Appetizer Spreads: Beyond main courses, these make an incredible addition to any appetizer platter. Serve them hot with a selection of dips for a casual gathering, or as part of a larger tapas-style meal. They’re also surprisingly good as a vegetarian option alongside other fried finger foods.
- Brunch or Lunch: Don’t limit fried squash to just dinner! It can be a unique and tasty addition to a brunch spread, perhaps alongside scrambled eggs and bacon, or as a side to a gourmet sandwich or wrap for lunch.
Soggy fried squash is a common frustration, but it’s usually preventable. The most common reasons are not properly drying out the squash slices before coating them. Squash naturally contains a lot of water, and if it’s not removed (ideally by salting and patting dry), this moisture steams rather than fries, leading to a soft, limp result. Another culprit is overcrowding the frying pan, which drastically drops the oil temperature. When the oil isn’t hot enough, the batter absorbs more oil instead of crisping up, resulting in greasy and soggy squash. Always fry in small batches and ensure your oil is at the correct temperature.
Fried squash is incredibly versatile and pairs beautifully with a wide variety of meats. Its mild, slightly sweet flavor and crispy texture make it an excellent accompaniment to almost any protein. Classic choices include chicken (fried, baked, or grilled), beef (steaks, hamburgers, meatloaf), pork (tenderloin, ribs, chops), and even various types of seafood like fried fish or shrimp. It adds a wonderful balance and texture to any meal.
While optional, I highly recommend salting the squash before cooking, especially when frying. This technique, known as “sweating” the squash, helps to draw out a significant amount of its natural moisture. By removing this excess water, you ensure that the squash doesn’t release steam during cooking, which can prevent the batter from becoming truly crispy and can lead to a soggy texture. After salting, remember to rinse the squash and pat it thoroughly dry before proceeding with your recipe.
Yes, absolutely! While it might seem challenging to overcook something that’s being fried, it’s quite possible to overcook fried squash. Cooking the squash for too long or at too high a temperature can cause the delicate coating to burn and become excessively dark or even black. Simultaneously, the internal squash can become mushy and lose its pleasant texture. The goal is a golden-brown, crispy exterior with a tender-crisp interior. Always keep an eye on the cooking time and oil temperature to prevent overcooking.
We hope you love this simple yet incredibly delicious yellow squash recipe as much as we do! If you try it, please let us know your thoughts and favorite serving suggestions in the comments below. Your feedback helps us and other home cooks discover new favorites!
More Delicious Recipes to Explore
If you enjoyed this recipe, be sure to check out these other comforting and flavorful dishes:
- Classic White Gravy from Scratch
- Flavorful Lipton Soup Meatloaf
- Perfectly Cooked Pork Loin in the Air Fryer

Fried Squash
Rate Recipe
Print Recipe
Ingredients
- 2-3 yellow squash
- 1 egg
- 1/2 cup milk
- 1/2 cup all-purpose flour
- 1/2 cup corn meal
- 1 teaspoon seasoned salt
- 1/8 teaspoon ground black pepper
- 1 cup vegetable oil
- 1 teaspoon salt OPTIONAL for drying out squash
Instructions
-
Clean and dry squash. Cut off ends and slice into 1/4-inch thick slices.
-
***This step is optional but helps to keep squash crispy. After slicing, place rounds on a paper towel or colander. Sprinkle salt over the rounds to help draw out any extra moisture. Let sit for 15-30 minutes. Rinse of salt and pat dry.
-
In a bowl, whisk together milk and egg. In a large bowl or plate, whisk together flour, cornmeal, seasoned salt, and pepper.
-
Dip squash slice into egg mixture and then dip into flour mixture. Make sure to completely coat the squash slice in the flour mixture.
-
Pour vegetable oil in large, deep skillet and warm over medium heat. (About 350 degrees.)
-
Place coated squash slices in the hot oil. Fry for about 3-4 minutes on each side or until turns golden brown.
-
Carefully remove squash from oil and and place on a paper towel lined plate and pat off any excess grease.
Video
Nutrition
Carbohydrates: 21g |
Protein: 5g |
Fat: 39g |
Saturated Fat: 30g |
Cholesterol: 29mg |
Sodium: 796mg |
Potassium: 262mg |
Fiber: 2g |
Sugar: 3g |
Vitamin A: 203IU |
Vitamin C: 11mg |
Calcium: 37mg |
Iron: 1mg
Nutrition information is automatically calculated, so should only be used as an approximation.