
Embarking on a delightful baking adventure, whether it’s crafting the perfect homemade pizza crust, baking fluffy cinnamon rolls, or a hearty loaf of artisanal bread? Understanding the role and measurements of yeast is fundamental to achieving stellar results. A common question among bakers, both novice and experienced, is how much yeast is in a packet. This comprehensive guide will demystify yeast measurements, explore various types of yeast, provide essential tips for its use, and ensure your baked goods rise to perfection.
Yeast is much more than just an ingredient; it’s a living organism that acts as the primary leavening agent in many baked goods. Its proper use ensures a desirable rise, a light and airy texture, and contributes significantly to the overall flavor profile of your dough. Getting the measurements right is crucial for success.
Table of Contents
- How Much Yeast Is in a Packet?
- What Exactly Is Yeast?
- Exploring the Different Types of Yeast
- Active Dry Yeast
- Instant Yeast
- RapidRise Yeast
- Fresh Yeast (Cake Yeast)
- Yeast Conversion Chart: Dry vs. Fresh
- Activating and Proofing Yeast for Success
- How Many Packets of Yeast Do You Need for Baking?
- Optimal Storage for Yeast: Keeping It Fresh and Potent
- How Many Teaspoons in a Packet of Yeast?
- How Many Tablespoons in a Packet of Yeast?
- Troubleshooting Common Yeast Problems
- Delicious Recipes Using Yeast
- More Essential Kitchen Measurements
How Much Yeast Is in a Packet?
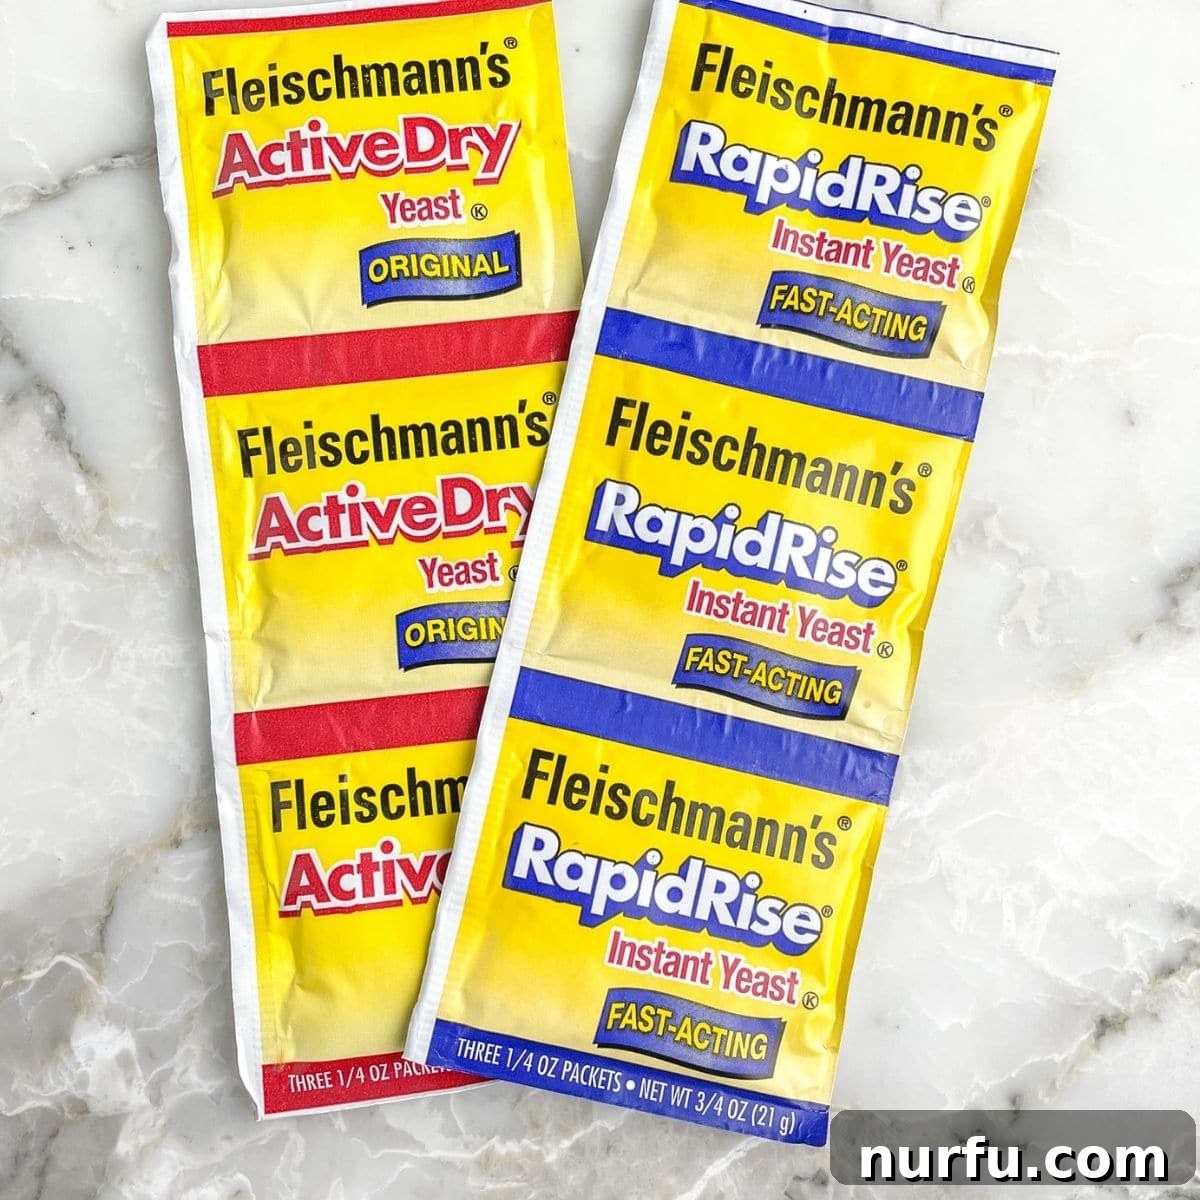
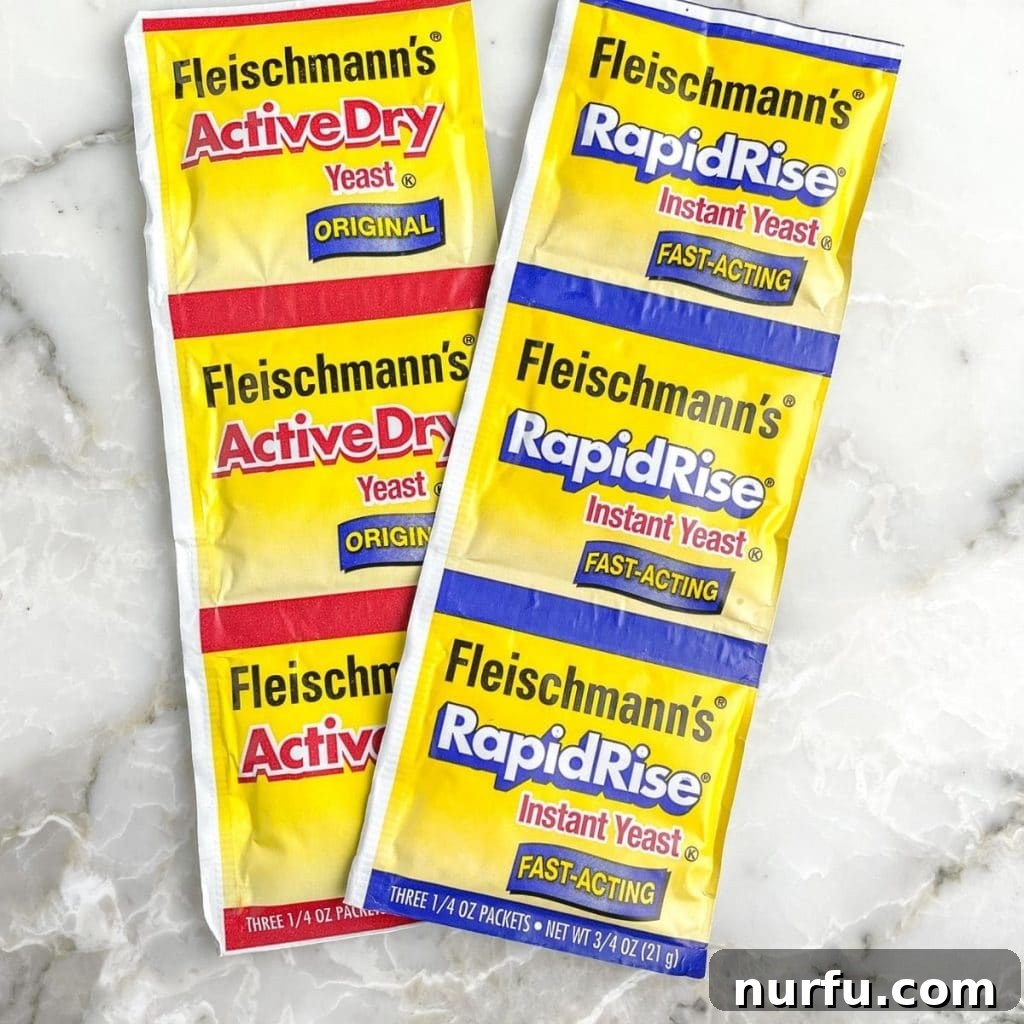
For many home bakers, yeast often comes in convenient, pre-portioned packets. These are most commonly found in the baking aisle of your local grocery store, typically sold in strips of three individual packets. Understanding the standard amount in these packets is key to following recipes accurately.
The standard measurement for an individual packet of yeast, regardless of whether it’s active dry or instant yeast, is:
- 1/4 ounce (or 7 grams)
- 2 1/4 teaspoons
- 3/4 tablespoon
This standardized measurement makes it incredibly simple to follow most recipes that call for “one packet of yeast.” For those who are frequent bakers, yeast is also available in larger quantities, such as jars or bulk bags. If you purchase yeast in bulk, you’ll simply need to measure out the equivalent of a packet using your measuring spoons: 2 1/4 teaspoons or 3/4 tablespoon.
What Exactly Is Yeast?
Before diving deeper into its varieties and uses, it’s helpful to understand what yeast actually is. Far from being just a powder, yeast is a living, single-cell microorganism, specifically a type of fungus (Saccharomyces cerevisiae). Its magical ability in baking comes from a process called fermentation.
When yeast is combined with a liquid (usually water or milk) and a food source (sugar, whether added directly or naturally present in flour), it “wakes up” and begins to metabolize. During this metabolic process, yeast consumes the sugars and converts them into two main byproducts: carbon dioxide gas and ethyl alcohol. The carbon dioxide gas is what gets trapped within the gluten network of your dough, creating tiny bubbles that cause the dough to expand and rise. The ethyl alcohol contributes significantly to the complex flavors and aromas we associate with freshly baked bread.
The temperature of the liquid used to activate yeast is crucial. Lukewarm water (typically between 100-110°F or 38-43°C) is ideal, as it encourages yeast activity without killing the delicate organisms. Water that is too hot will kill the yeast, rendering it ineffective, while water that is too cold will inhibit its activity, resulting in a slow or non-existent rise. Yeast not only provides leavening but also enhances the texture, creating a tender crumb, and develops a richer, more nuanced flavor in your baked goods.
Exploring the Different Types of Yeast
The world of yeast extends beyond just “a packet.” There are several distinct types, each with unique characteristics and optimal uses. Understanding these differences will help you choose the right yeast for your recipe and achieve superior baking results. Popular brands include Fleischmann’s yeast and Red Star, both offering a range of yeast varieties.
Active Dry Yeast
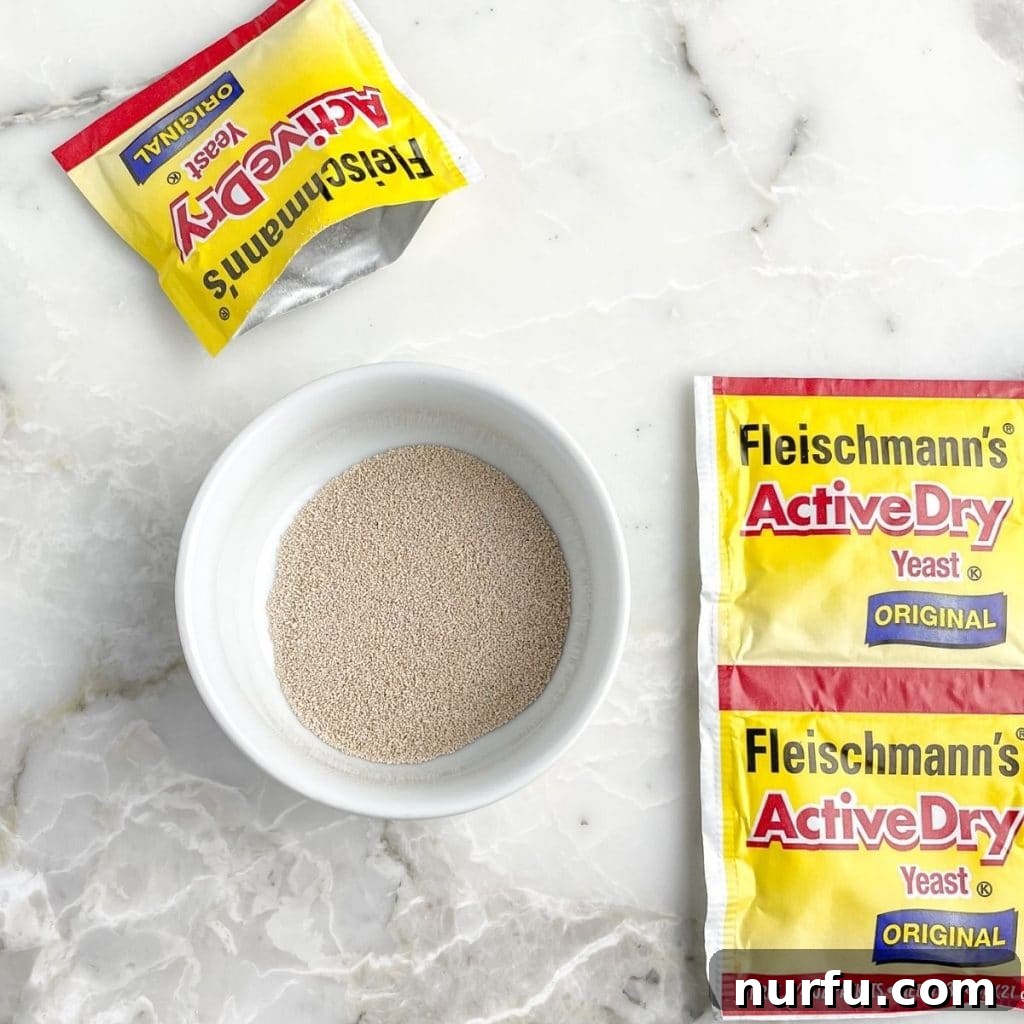
Active dry yeast is perhaps the most widely recognized and used type of yeast in home baking. It consists of live yeast cells that have been dehydrated and granulated, making them dormant. To awaken these cells, active dry yeast typically requires “proofing” or rehydration in a warm liquid before being added to other ingredients. This process usually involves dissolving the yeast in lukewarm water (100-110°F / 38-43°C) with a pinch of sugar, then allowing it to sit for 5-10 minutes until a foamy layer forms on the surface. This foam indicates the yeast is active and ready to be incorporated into your dough. One standard packet of active dry yeast contains 2 1/4 teaspoons, which is equivalent to 1/4 ounce or 7 grams.
Instant Yeast
Instant yeast, sometimes labeled “rapid-rise” or “bread machine yeast” (though RapidRise is a specific brand), is another popular dry yeast variety. It is processed differently than active dry yeast, resulting in finer granules that dissolve more quickly. More importantly, instant yeast does not require proofing before use. It can be mixed directly with dry ingredients, saving a step and speeding up the baking process. Its vigorous fermentation capabilities often lead to a faster rise, making it a favorite for busy bakers. Despite its differences, the measurement for a standard packet of instant yeast is identical to active dry yeast: 2 1/4 teaspoons or 1/4 ounce (7 grams).
RapidRise Yeast
RapidRise yeast is a specific product from the Fleischmann’s brand, designed for exceptionally fast-acting results. While technically a type of instant yeast, it’s formulated for recipes that call for a single, quick rise. It’s ideal for time-sensitive baking where you want to minimize proofing time without sacrificing the quality of your bake. Like other dry yeasts, it is sold in packets, often in multi-packs, and each packet contains the standard 1/4 ounce (7 grams) or 2 1/4 teaspoons.
Fresh Yeast (Cake Yeast)
Fresh yeast, also known as compressed yeast or cake yeast, is the traditional form of yeast favored by many professional bakers. Unlike its dry counterparts, fresh yeast comes in a solid, moist block form with a crumbly, putty-like texture rather than tiny granules. It contains active yeast cells with a higher moisture content, giving it a shorter shelf life and requiring refrigeration. Fresh yeast offers a distinctly strong, almost earthy flavor that many believe enhances the complexity of artisan breads. It must be crumbled and dissolved in a small amount of lukewarm liquid before being incorporated into the dough. Because it’s a moist product, conversions between fresh and dry yeast are essential for accurate recipe execution.
Yeast Conversion Chart: Dry vs. Fresh
When a recipe calls for a type of yeast you don’t have, this conversion chart will be invaluable:
- 1 packet (1/4 oz or 7g) Active Dry Yeast = 1 packet (1/4 oz or 7g) Instant Yeast
- 1 packet (1/4 oz or 7g) Active Dry Yeast = 0.6 oz (17g) Fresh Yeast
- 1 packet (1/4 oz or 7g) Instant Yeast = 0.6 oz (17g) Fresh Yeast
- 1 teaspoon Active Dry Yeast = 3/4 teaspoon Instant Yeast
- 1 teaspoon Instant Yeast = 1 1/4 teaspoons Active Dry Yeast
- 1 teaspoon Dry Yeast (Active or Instant) = 0.2 oz (5.6g) Fresh Yeast
- 1 ounce (28g) Fresh Yeast = 1.5 packets (approx. 10.5g) Dry Yeast
Always use a kitchen scale for the most accurate conversions, especially when working with fresh yeast.
Activating and Proofing Yeast for Success
While instant yeast can often be mixed directly with dry ingredients, active dry yeast and fresh yeast generally benefit from or require a step known as “proofing” or “activating.” This process ensures the yeast is alive and ready to work its magic, preventing disappointment after hours of baking effort.
How to Proof Active Dry Yeast:
- Warm Liquid: Measure 1/4 cup to 1/2 cup of lukewarm water (100-110°F or 38-43°C). The temperature is critical; water that’s too hot will kill the yeast, and water that’s too cold won’t activate it effectively.
- Add Sugar: Stir in 1 teaspoon of sugar. This provides an immediate food source for the yeast, helping to kickstart its activity.
- Sprinkle Yeast: Sprinkle one packet (2 1/4 teaspoons) of active dry yeast over the surface of the sugared water. Do not stir it in immediately.
- Wait and Observe: Let the mixture sit undisturbed for 5 to 10 minutes. If the yeast is alive and active, it will begin to foam and bubble, forming a creamy head on the surface. This indicates it’s ready to be added to your recipe. If no foam appears, your yeast may be dead or expired, and it’s best to discard it and start with a fresh batch.
For Fresh Yeast: Crumble the required amount of fresh yeast into lukewarm water (100-110°F), often with a pinch of sugar. Stir gently to dissolve, then let it sit for a few minutes until it becomes slightly frothy. This confirms its viability before adding it to your other ingredients.
Instant yeast usually doesn’t need this proofing step, as its smaller granules are designed to hydrate quickly within the dough. However, if you’re unsure about the freshness of your instant yeast, you can always proof it to be safe, just as you would with active dry yeast.
How Many Packets of Yeast Do You Need for Baking?
The quantity of yeast required for baking varies significantly from recipe to recipe. While many standard recipes for a single loaf of bread or a batch of rolls often call for just one packet of yeast, others might require more or less depending on the desired rise time, density, and ingredients used. For instance, enriched doughs (those with high amounts of sugar, fat, or eggs) sometimes require a bit more yeast to achieve a good rise because these ingredients can slow down yeast activity.
If your recipe specifies one individual packet of yeast and you’re using yeast from a jar or bulk package, you will need to measure out 2 1/4 teaspoons of yeast. It’s always best to follow the recipe’s instructions precisely, but if you’re experimenting or adapting a recipe, remember that 1/4 ounce (7 grams) is the standard for one packet.
Optimal Storage for Yeast: Keeping It Fresh and Potent
Proper storage is paramount to extending the shelf life and maintaining the potency of your yeast. Yeast is a living organism, and like all living things, it degrades over time and with exposure to unfavorable conditions. Storing it correctly ensures that your yeast will be active when you need it most, preventing frustrating baking failures.
- Unopened Yeast Packets: Keep unopened packets of dry yeast (active dry, instant, rapid-rise) in a cool, dry, and dark place. A pantry or cupboard away from heat sources and direct sunlight is ideal. Excessive heat and moisture are yeast’s worst enemies, as they can prematurely activate or kill the yeast cells. Unopened yeast packets typically boast a generous shelf life of about 18 months to 2 years, often marked by an expiration date.
- Opened Yeast Packets or Jars: Once a packet of dry yeast has been opened, or if you’re using yeast from a larger jar, it’s crucial to protect it from air and moisture. Transfer the remaining yeast to an airtight container or a sealed plastic bag. Then, store it in the refrigerator. The cool temperature slows down the yeast’s activity and helps preserve its vitality. An open package of yeast stored in the refrigerator will remain potent for approximately 4 to 6 months.
- Freezing Yeast for Long-Term Storage: For even longer preservation, yeast can be stored in the freezer. Place the airtight container or bag of yeast in the freezer. The freezing temperature effectively halts yeast activity, allowing it to maintain its freshness for an extended period. Yeast stored in the freezer can stay good and active for up to 2 years. When ready to use, simply take it out and let it come to room temperature for about 10-15 minutes before using. No need to thaw completely.
- Storing Fresh Yeast: Fresh yeast, due to its high moisture content, is highly perishable. It must always be stored in the refrigerator and kept tightly wrapped to prevent it from drying out. Its shelf life is significantly shorter, usually only 1 to 2 weeks. It is not recommended to freeze fresh yeast as it can alter its texture and performance upon thawing.
Not sure if your yeast is still good? Always check the expiration date on the packet or jar first. If it’s past its prime or you’re simply uncertain, perform a quick “proof test”:
- Stir together one packet (2 1/4 teaspoons) of yeast with 1/4 cup of lukewarm water (100-110°F) and 1 teaspoon of sugar.
- Let the mixture sit for 5 to 10 minutes.
- If the mixture starts to foam, bubble, and develop a creamy layer on top, your yeast is active and good to use. If there’s little to no activity, it’s time to discard it and get a fresh batch. This simple test can save you from a flat loaf of bread!
How Many Teaspoons in a Packet of Yeast?
To reiterate, a single standard packet of dry yeast (whether active dry or instant) contains approximately 7 grams of yeast, which is precisely equal to 2 1/4 teaspoons. This measurement is consistent across most major brands and yeast types sold in individual packets.
How Many Tablespoons in a Packet of Yeast?
Knowing that there are 3 teaspoons in 1 tablespoon, we can easily convert the yeast packet measurement. A single packet of dry yeast, which contains 2 1/4 teaspoons, is equivalent to 3/4 tablespoon. This conversion is useful if your recipe provides measurements in tablespoons or if you prefer to use a larger measuring spoon.
Troubleshooting Common Yeast Problems
Even experienced bakers can encounter issues with yeast. Here are some common problems and their solutions:
- Dough Didn’t Rise:
- Dead Yeast: Most likely culprit. Always proof active dry yeast or test instant yeast if unsure.
- Incorrect Water Temperature: Water too hot kills yeast; water too cold makes it sluggish. Stick to 100-110°F (38-43°C).
- Too Much Salt: Salt inhibits yeast activity. If added directly to yeast, it can kill it. Add salt after mixing flour and yeast.
- Old Flour: While less common, very old flour can lack the sugars yeast needs to thrive.
- Cold Environment: Dough rises best in a warm, draft-free place.
- Dough Rose Too Much (Over-Proofing):
- Too Warm Environment: Speeds up fermentation too much, leading to sour flavors or a collapsed dough.
- Too Much Yeast: Excessive yeast can lead to an overly rapid rise and an off-flavor.
- Left Too Long: Always follow suggested proofing times, but also rely on visual cues (e.g., doubled in size). Over-proofed dough often collapses when handled.
- Dense/Heavy Bread:
- Under-Proofing: Not enough time for yeast to produce sufficient gas.
- Not Enough Kneading: Gluten needs to be developed to trap gases.
- Too Little Yeast: Insufficient leavening power.
By understanding the science behind yeast and practicing good baking habits, you can overcome these hurdles and consistently achieve beautiful, airy, and flavorful baked goods.
Delicious Recipes Using Yeast
Now that you’re a yeast expert, it’s time to put your knowledge to the test! Here are some fantastic recipes that showcase the versatility of yeast:
- Homemade Cinnamon Rolls – Indulge in warm, sticky, and soft cinnamon rolls, often made with the convenience of instant dry yeast for a quicker rise.
- Classic Homemade Bread – Experience the satisfaction of baking your own staple bread, typically utilizing active dry yeast for its reliable rise and flavor development.
- Fluffy Yeast Rolls – Perfect for any meal, these tender rolls often require two packets of dry yeast to achieve their characteristic light and airy texture.
- The Best Homemade Pizza Dough – Create the foundation for your favorite pizzas with an easy-to-make dough, frequently featuring instant yeast for a quick and effective rise.
More Essential Kitchen Measurements
Mastering kitchen measurements is a cornerstone of successful baking and cooking. Expand your culinary knowledge with these additional guides:
- How many cups in a quart, pint, or gallon?
- How many teaspoons in a tablespoon?
- Stick of butter conversion
With a solid understanding of how much yeast is in a packet, the various types available, and best practices for storage and activation, you are now well-equipped to tackle any yeast-based baking project with confidence. Happy baking!