

My grilled ham and cheese sandwich recipe transcends the ordinary, offering a culinary experience that defines comfort food perfection. This timeless hot sandwich can be effortlessly assembled and cooked in mere minutes, making it an ideal choice for any meal. Prepare to discover expert tips and tricks that will elevate your grilled ham and cheese from good to absolutely unforgettable.

There’s an undeniable magic in a perfectly executed grilled cheese sandwich. Its crispy exterior, warm bread, and gooey, melted cheese create a symphony of textures and flavors that few can resist. Elevate this classic by adding savory deli ham, transforming it into a hearty, delicious meal suitable for breakfast, lunch, or dinner. It’s a versatile dish that promises satisfaction with every bite.
Unlock the Secret to an Irresistible Grilled Ham and Cheese
While a grilled ham and cheese might seem straightforward, a few key techniques can transform it from a simple snack into the best sandwich you’ve ever tasted. These aren’t just minor adjustments; they are fundamental principles for achieving grilled perfection.
- Achieve Full Golden Coverage: The secret to that enviable golden-brown crust lies in a generous and even spread. Ensure your butter (or mayonnaise, as we’ll discuss) covers every inch of one side of each bread slice, right up to the crust. This ensures consistent browning and a delightful crispness throughout the sandwich.
- Prioritize Meltable Cheese: The heart of any great grilled cheese is the melty, gooey interior. Choosing the right cheese is paramount. Opt for varieties known for their excellent melting properties, ensuring you get that satisfying stretch when you pull your sandwich apart. We’ll delve into specific recommendations shortly.
- Master the Medium Heat: Patience is a virtue when grilling. Resist the urge to crank up the heat. Cooking your sandwich at a consistent medium temperature allows the bread to gradually toast to a beautiful golden hue while giving the cheese ample time to slowly and thoroughly melt into a luscious, gooey layer. High heat will burn the bread before the cheese has a chance to reach its peak meltiness.
- Don’t Rush the Process: Each side needs time to develop its perfect crust. This isn’t a race; it’s a careful dance between heat and time. Taking an extra minute or two per side can make all the difference in achieving that ideal balance of crispy exterior and molten interior.
- Consider Your Pan: A heavy-bottomed skillet, cast iron pan, or a griddle works best. These surfaces distribute heat evenly, preventing hot spots and ensuring your sandwich cooks uniformly.
Deconstructing the Perfect Grilled Ham and Cheese: Key Ingredients
The foundation of this beloved hot sandwich rests on three primary components: the ham, the cheese, and the bread. However, the beauty of this recipe lies in its adaptability. Feel free to experiment with your favorite combinations to customize your ultimate sandwich experience.
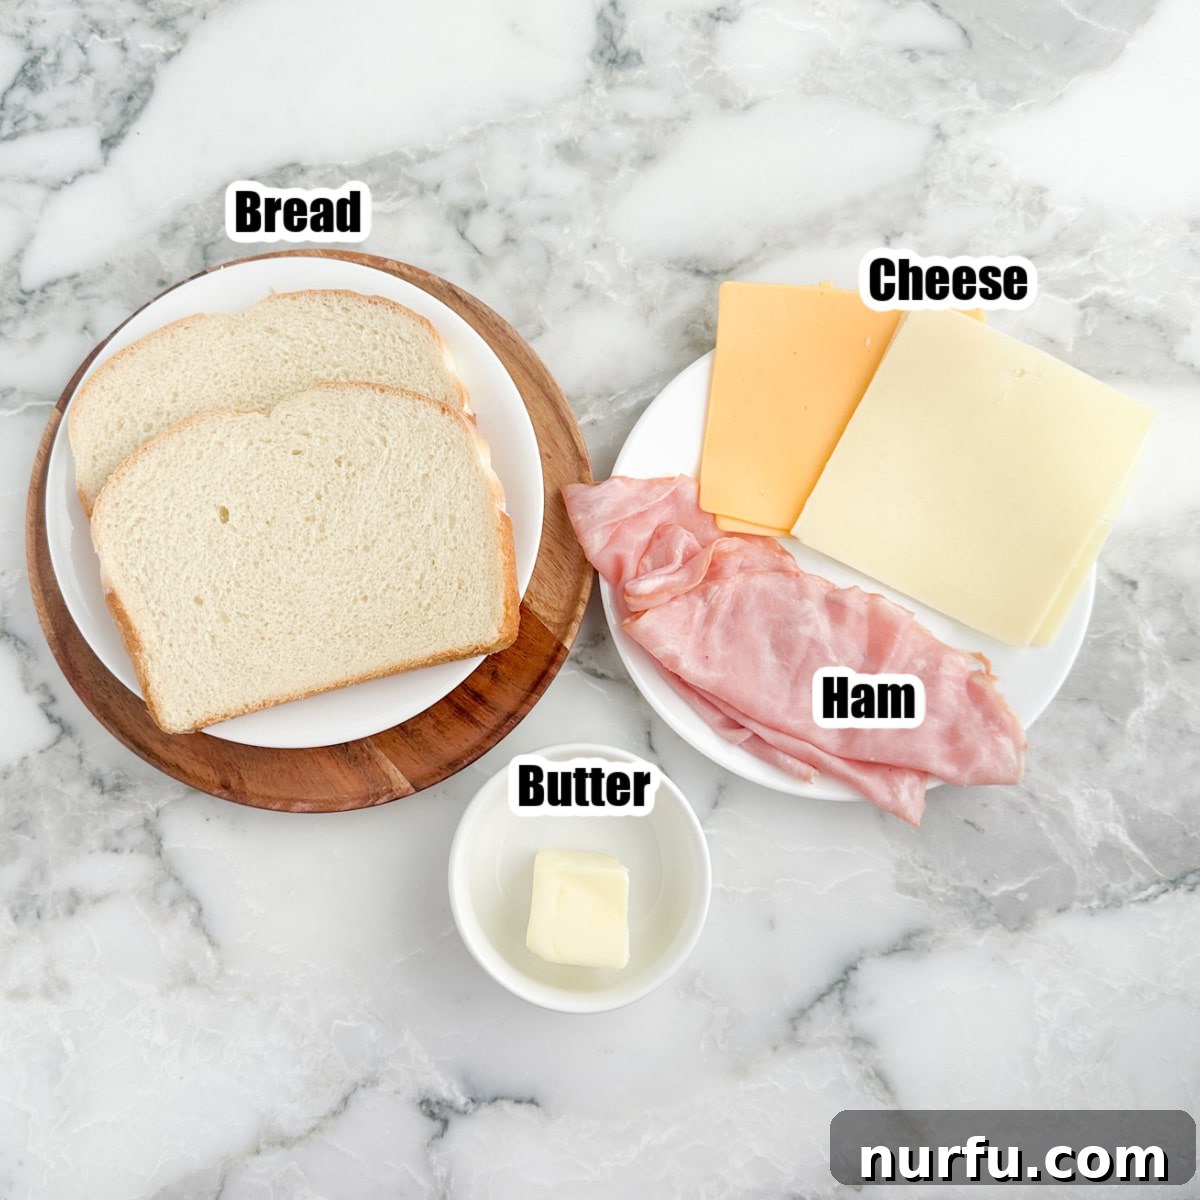
Ham: Choosing Your Flavor Profile
The type of ham you select significantly influences the overall flavor of your sandwich. I typically gravitate towards thinly sliced deli honey ham for its delicate sweetness and texture, but many options offer unique profiles.
- Honey Ham: A classic choice, honey ham offers a delicious, subtle sweetness that perfectly complements the savory cheese. Its thin slices ensure even heating and easy biting.
- Black Forest Ham: For those who prefer a deeper, more robust flavor, Black Forest ham provides a distinct smokiness that adds complexity to the sandwich. It pairs wonderfully with sharper cheeses.
- Smoked Ham: Similar to Black Forest, various smoked hams can introduce a delightful smoky aroma and taste. Look for thinly sliced varieties for the best texture.
- Spiral Ham (with a caveat): While spiral-cut ham is often used for larger meals, it wouldn’t be my first choice for a grilled sandwich due to its typical thickness. If you do opt for spiral ham, consider pan-frying or warming the slices in the skillet for a minute or two before assembling the sandwich. This softens it and helps it integrate better with the melting cheese, preventing a chewy texture.
- Prosciutto or Cured Hams: For a gourmet twist, a thinly sliced cured ham like prosciutto can add a salty, umami depth. Use it sparingly as its flavor is quite potent.
Cheese: The Heart of the Melt
The right cheese is critical for that irresistible gooey texture and rich flavor. You can use a single type of cheese or combine several for a more nuanced taste. The most important characteristic is its ability to melt smoothly.
- Cheddar: Mild cheddar is a universally loved option, offering a creamy texture and familiar, savory flavor that pairs beautifully with ham. Sharp cheddar adds a bolder, tangier kick.
- Havarti: This Danish semi-hard cheese is renowned for its exceptional meltability and buttery, mild flavor. It creates a wonderfully smooth and stretchy interior. I often use Havarti for its superior melt.
- Swiss: With its distinctive nutty and slightly sweet flavor, Swiss cheese is a fantastic complement to ham. Its holes, while charming, mean you might need an extra slice to ensure full coverage and prevent cheese leakage.
- American: The undisputed champion of melty sandwiches, American cheese offers a consistently smooth, creamy texture and a classic, comforting flavor. It’s a go-to for many, including myself for this recipe.
- Provolone: A versatile Italian cheese, provolone delivers a mild, slightly sharp flavor and excellent melting properties. It’s a reliably good choice for any grilled sandwich.
- Mozzarella: Known for its incredible stretch, mozzarella brings a mild, milky flavor and an abundance of gooeyness. It can be particularly effective when combined with a cheese that has more flavor.
- Monterey Jack: Another excellent melting cheese, Monterey Jack is mild and creamy, making it a great base that allows the ham’s flavor to shine. Pepper Jack offers a spicy alternative.
- Colby or Colby Jack: These semi-hard cheeses offer a mild flavor and good melt, often seen as a softer alternative to cheddar.
Bread: The Foundation of Flavor
The bread is more than just a vessel; it’s an integral part of the sandwich’s texture and flavor. Choose a sturdy bread that can hold up to the fillings and butter, and avoid types with large holes (like some sourdoughs) that might allow melted cheese to escape.
- Country Style Bread: My preference for this recipe, country style bread is typically thick-sliced, with a slightly dense crumb and a good crust, making it ideal for grilling and holding generous fillings.
- Hearty Wheat Bread: A thicker sliced wheat bread not only provides a delicious, wholesome flavor but also adds textural interest and a nutritional boost.
- Italian Bread: An artisan or Italian loaf, especially one with a good crust, works wonderfully. Its texture holds up well to grilling and provides a satisfying chew.
- Texas Toast: If you love a substantial, thick-sliced sandwich, Texas toast is an excellent choice. Its extra thickness offers more surface area for butter and a hearty bite.
- Potato Bread: This dense, slightly sweet bread toasts beautifully and provides a wonderfully soft interior once grilled.
- Sourdough Bread: Sourdough offers a fantastic tangy flavor. When choosing sourdough, ensure you select a thicker cut slice with a relatively tight crumb to prevent cheese leakage. Its robust flavor pairs well with both ham and cheese.
- Brioche: For a richer, slightly sweeter, and more decadent sandwich, brioche bread is a luxurious option. It toasts to a magnificent golden brown.
The Great Debate: Butter vs. Mayonnaise for the Perfect Golden Crust
The choice of spread for the exterior of your grilled ham and cheese is a matter of personal preference, each offering distinct advantages.
- Butter: The traditional choice, butter provides an unparalleled richness and a classic golden-brown, crispy crust. Softened butter spreads easily and fries beautifully, giving that iconic grilled cheese flavor. Unsalted butter allows you to control the seasoning, while salted butter adds a subtle savory note.
- Mayonnaise: For a tangier, often crispier crust, many swear by mayonnaise. Mayonnaise is essentially an emulsion of oil and egg yolk, which means it browns exceptionally well and can give a slightly crispier finish than butter. It also spreads incredibly easily, even when cold, eliminating the need to soften it.
In this recipe, I’m using butter for its classic flavor and texture, but don’t hesitate to substitute with mayonnaise if you prefer its unique qualities.
Elevate Your Sandwich: Creative Toppings and Add-Ins
While a classic grilled ham and cheese is undeniably amazing on its own, adding a spread or extra fillings can elevate it to new culinary heights. Consider these suggestions to customize your sandwich:
- Mustard: A smear of mustard adds a tangy counterpoint to the richness of the ham and cheese.
- Dijon Mustard: Offers a sharp, sophisticated tang.
- Yellow Mustard: The classic, bright, and slightly vinegary kick.
- Creole Mustard: A spicy, complex mustard with a unique flavor profile.
- Hot Mustard: For those who enjoy a fiery kick.
- Onions: Onions bring a savory depth and textural contrast.
- Grilled Onions: Sweet and caramelized, they integrate seamlessly.
- Sliced Red Onion: Offers a sharp, fresh crunch and a vibrant color.
- Pickles: The acidity and crunch of pickles perfectly cut through the richness.
- Dill Pickles: Tangy and sour, a classic pairing.
- Sweet Pickles: For a delightful sweet and sour contrast.
- Tomatoes: Thinly sliced fresh tomatoes add a burst of juicy freshness and acidity, especially delicious when warmed slightly within the sandwich.
- Avocado: Creamy slices of avocado contribute a rich, buttery texture and healthy fats, making the sandwich even more indulgent.
- Hot Sauce: A dash of your favorite hot sauce or a few slices of jalapeño can infuse a welcome spicy kick.
- Herbs: Fresh basil or chives, finely chopped, can add a fragrant, aromatic dimension.
Step-by-Step Guide: How to Master the Grilled Ham and Cheese Sandwich
Crafting the perfect grilled ham and cheese is a simple yet rewarding process. Follow these steps for a sandwich that’s golden, crispy, and oozing with melted goodness.
Step One: Prepare Your Bread with the Perfect Spread.
Start by ensuring your butter is softened to room temperature for effortless spreading. Take one side of each slice of bread and spread a generous, even layer of softened butter across the entire surface, extending all the way to the crust. This meticulous coverage is essential for achieving that beautiful, uniform golden-brown crust. If using mayonnaise, apply it similarly.
Step Two: Begin Layering in Your Skillet.
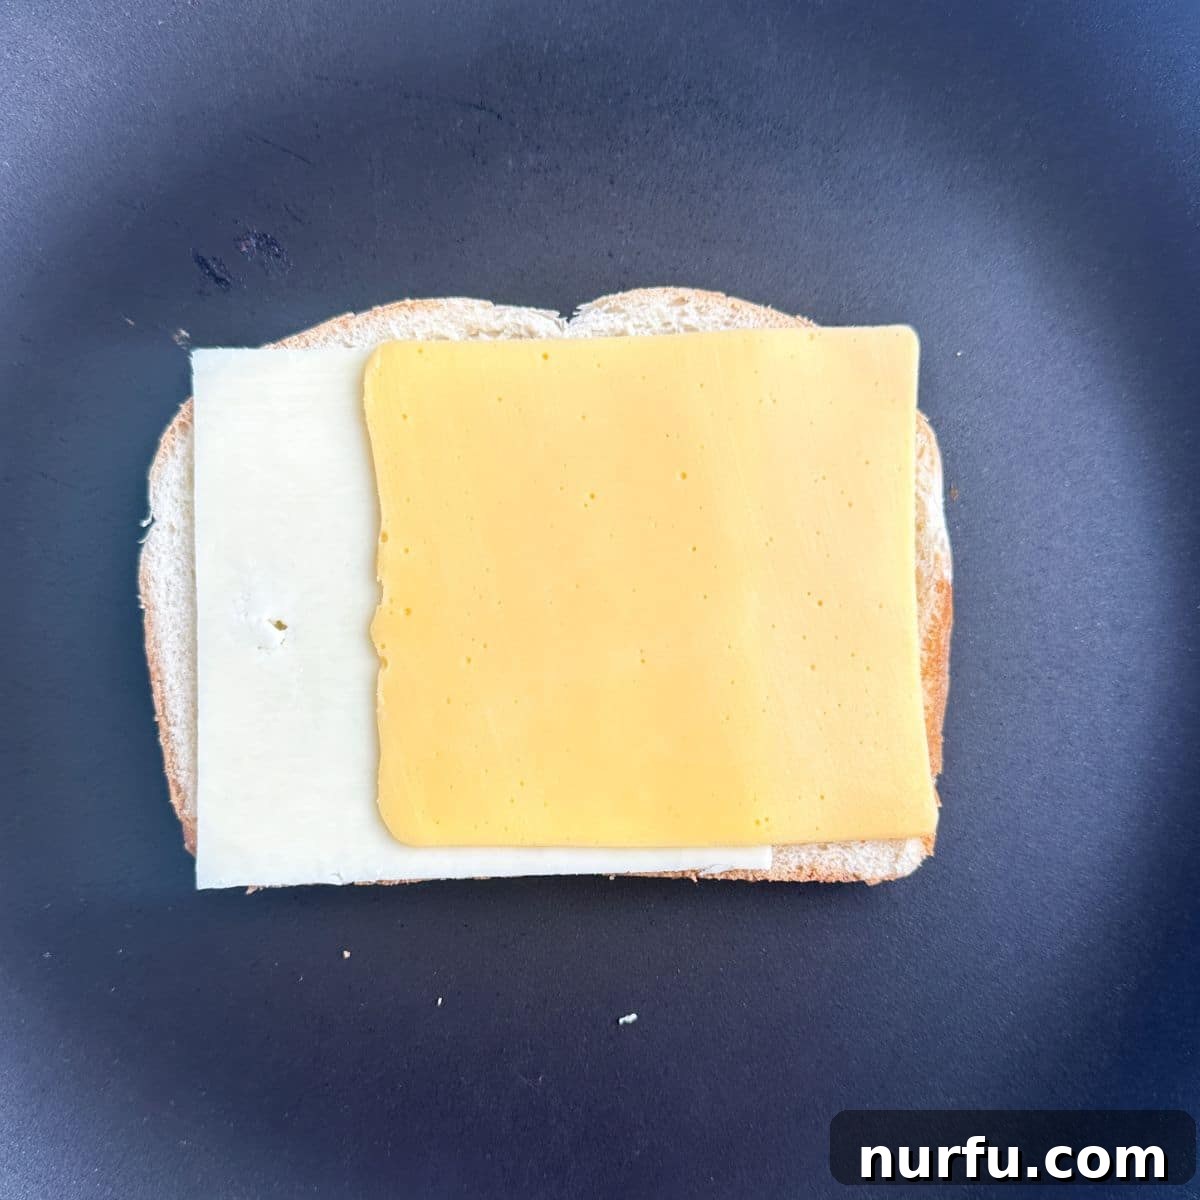
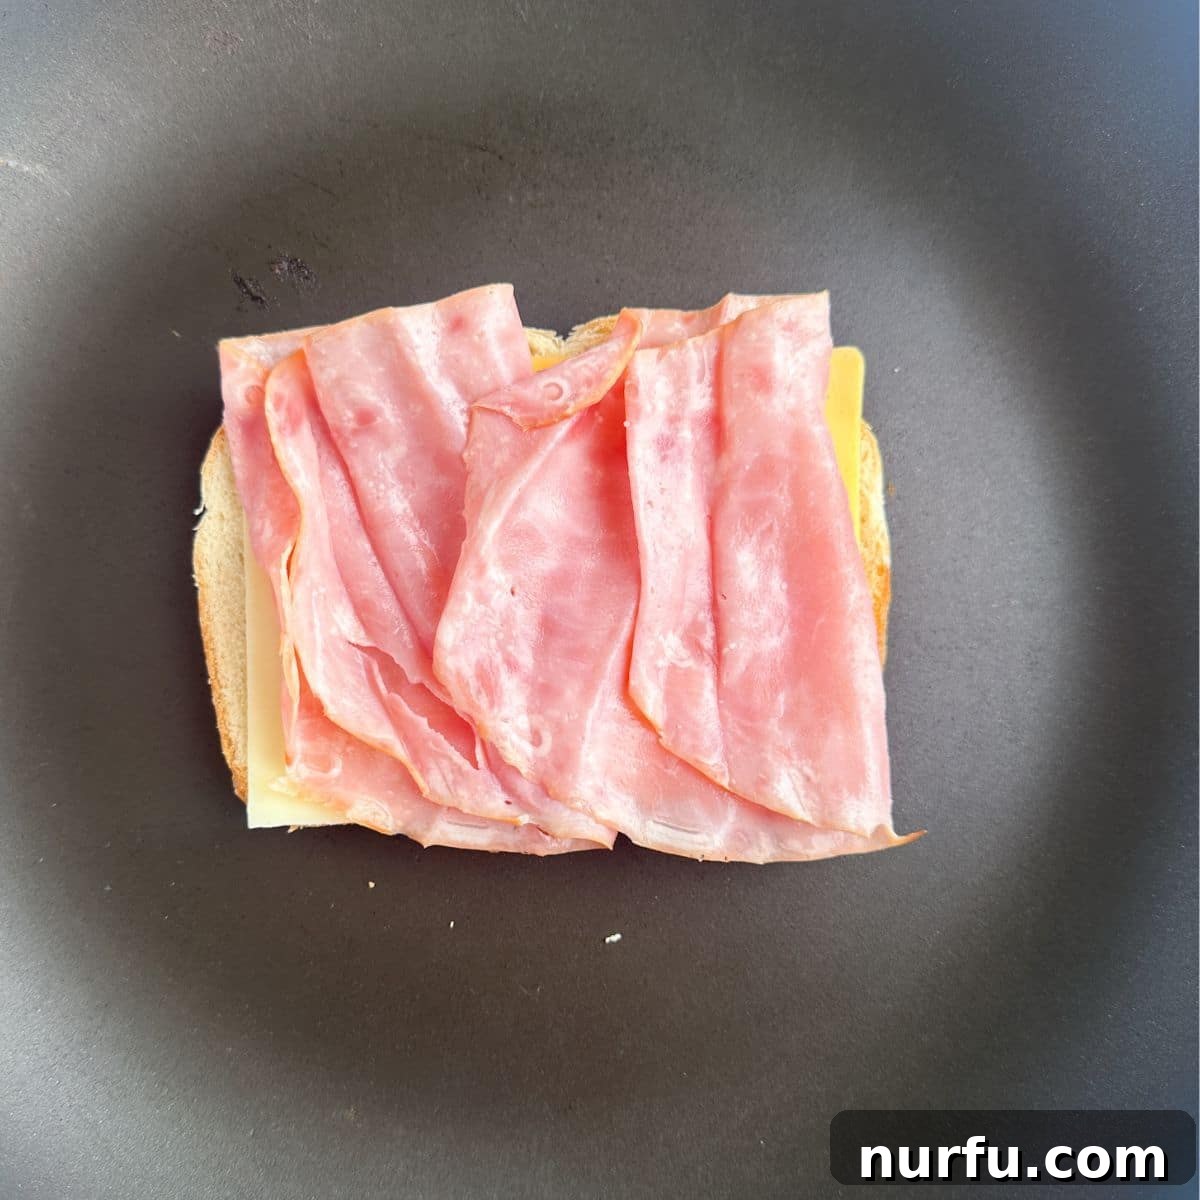
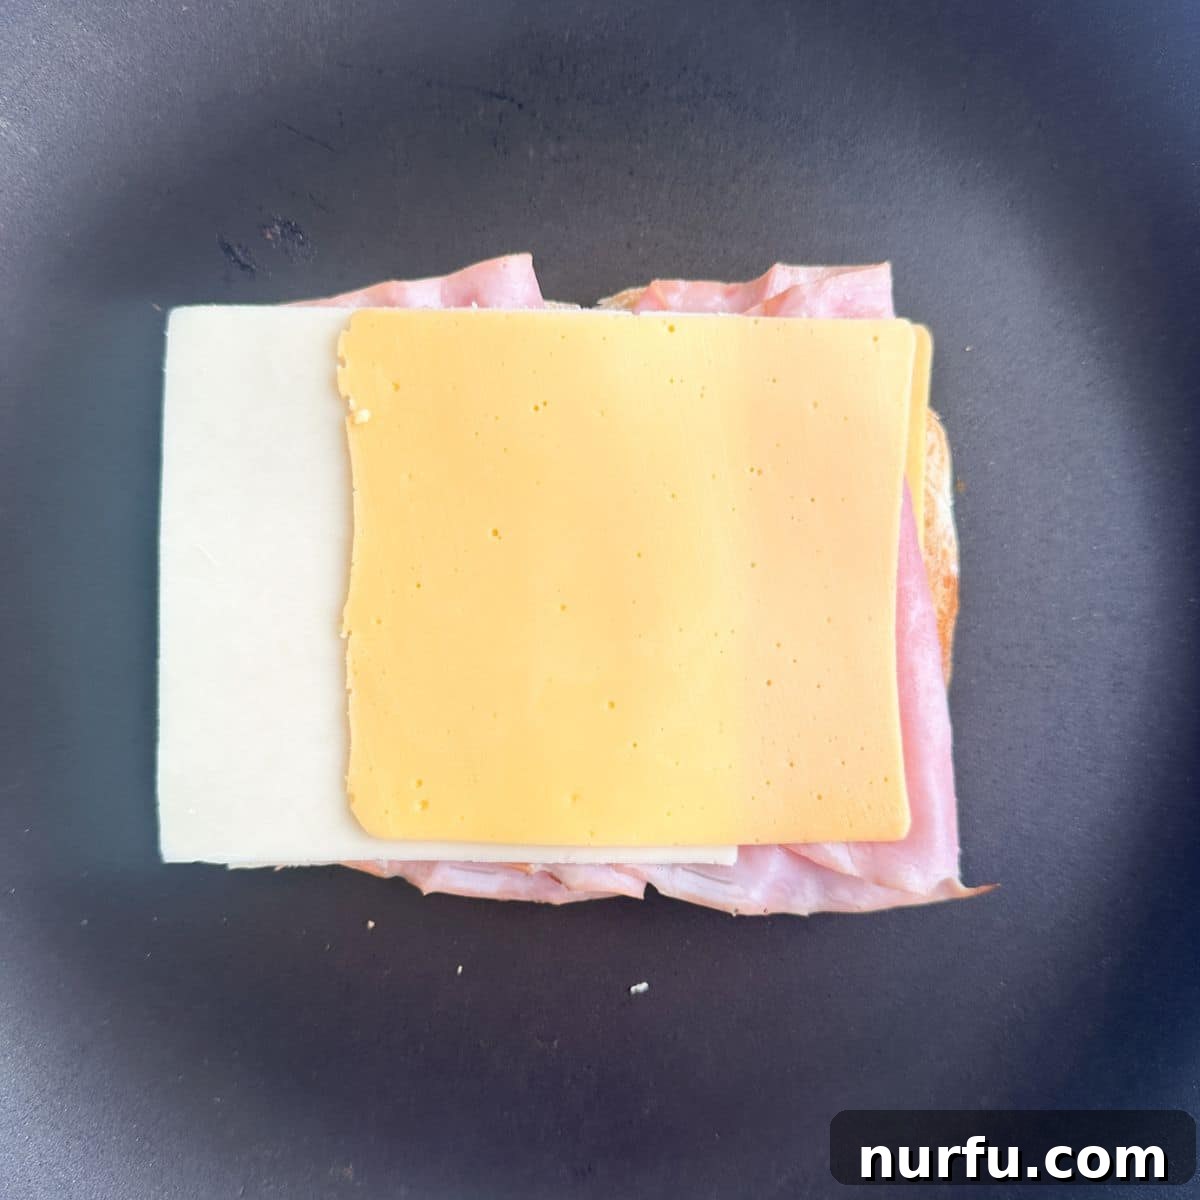
Heat a skillet or griddle over medium heat. Once warm, place one of the buttered bread slices, butter-side down, into the pan. Immediately place two slices of your chosen cheese on top of the bread. Follow this with your preferred slices of deli ham, arranging them neatly. Finish this layer by adding the remaining two slices of cheese on top of the ham. This layering ensures even melting and distribution of flavors.

Step Three: Add Optional Toppings and Top with Bread.
If you’re incorporating additional fillings such as mustard, grilled onions, or pickles, now is the time to add them to your sandwich layers. Once your fillings are complete, carefully place the remaining slice of bread on top, with the buttered side facing upwards. This prepares the second side for grilling.

Step Four: Cook to Golden Perfection and Serve.
Allow the sandwich to cook undisturbed until the bottom side achieves a rich, golden-brown color and a satisfying crispness. To encourage the cheese to melt faster and more completely, you can optionally place a lid on the skillet for a minute or two during this phase. Once the first side is perfectly golden, use a sturdy spatula to carefully flip the sandwich. Continue cooking on the second side until it, too, is beautifully golden brown and the cheese inside is thoroughly melted and gooey. Remove from heat and serve immediately, enjoying the sandwich while it’s warm and fresh.
Advanced Grilling Wisdom: Pro Tips for a Flawless Finish
Beyond the basic steps, these expert tips from Heather will help you achieve consistent success and tailor your grilled ham and cheese to perfection every time.
- Ingredient Proportions: The amount of ham and cheese can be adjusted based on the size and thickness of your bread. If using smaller slices of bread, feel free to reduce the cheese to a total of two slices to maintain balance and prevent overflow.
- Temperature Control is Key: As reiterated, never rush the process with high heat. Cooking over a consistent medium heat is crucial. This gentle heat allows the bread to toast slowly and evenly, while providing ample time for the cheese to melt into a luxurious, gooey consistency without burning the bread.
- Assisted Cheese Melt: For an extra-gooey interior and faster melting, particularly with thicker slices of cheese, cover the skillet with a lid for a minute or two after flipping the sandwich, or even during the last minute of cooking each side. The trapped steam helps create a miniature oven effect, ensuring every bit of cheese is perfectly molten.
- Softened Butter is a Must: Always use softened butter. Butter straight from the fridge is difficult to spread evenly and can tear the bread. Letting it come to room temperature makes it effortless to achieve that crucial full-spread coverage, which is vital for an even, golden crust.
- Gentle Pressing: While cooking, gently press down on the sandwich with your spatula. This ensures maximum contact with the hot pan, promoting even browning and helping the cheese adhere to the bread for a cohesive sandwich. Avoid pressing too hard, which can squeeze out the cheese.
Delicious Twists: Exciting Variations to Try
This recipe is incredibly versatile, inviting you to adjust it to your taste preferences and explore new flavor combinations. Here are a few creative ideas to put a unique spin on your grilled ham and cheese:
- Breakfast Sandwich Supreme: Transform your grilled ham and cheese into a hearty breakfast delight. Add crispy bacon strips, a fried egg, or fluffy scrambled eggs into the sandwich. Serve it with a side of maple syrup for a sweet and savory experience, or a dollop of your favorite breakfast sauce.
- Deli Meat Swap: Don’t limit yourself to ham! Experiment with other thinly sliced deli meats for a completely different flavor profile.
- Sliced Turkey: For a lighter, milder taste.
- Roast Beef: Adds a savory, rich depth, especially good with provolone.
- Pepperoni or Salami: Infuses a spicy, Italian-inspired flavor, perfect with mozzarella or provolone.
- Pastrami or Corned Beef: For a Reuben-esque experience (perhaps with a side of sauerkraut!).
- Aromatic Seasoning: For an extra layer of flavor, lightly sprinkle garlic powder, onion powder, or a pinch of paprika on the buttered side of the bread before grilling. You could also mix a tiny bit of Italian seasoning into the butter.
- Spicy Sensation: Introduce some heat by adding a layer of thinly sliced jalapeños or a dash of red pepper flakes to the cheese layers. Using Pepper Jack cheese is another easy way to add a kick.
- Caprese Style: Replace ham with fresh basil leaves and sun-dried tomatoes (or fresh tomato slices). Use mozzarella or provolone cheese for a delightful Italian-inspired grilled sandwich.
- Mushroom & Swiss: Sautéed mushrooms can add an earthy, umami depth, especially when paired with Swiss cheese and a hint of thyme.
Perfect Pairings: What to Serve with Your Grilled Ham and Cheese
A grilled ham and cheese sandwich is a satisfying meal on its own, but it truly shines when paired with the right accompaniments. From classic comforts to fresh, vibrant sides, here are some ideas to complete your meal:
- Classic Sides: A crisp dill pickle spear and a handful of your favorite potato chips are timeless partners.
- Hearty Salads: Complement the richness of the sandwich with a refreshing salad. Try a light pasta salad, a creamy broccoli salad, a sweet and tangy grape salad, or a simple crisp house salad with a zesty vinaigrette.
- Soups: A bowl of warm, comforting soup is arguably the ultimate companion. Tomato soup is a quintessential pairing, but creamy vegetable soups like butternut squash or a classic chicken noodle also work beautifully.
- Fries: For a more indulgent meal, serve your sandwich with a side of crispy fries.
- Fresh Fruit: A side of fresh fruit, such as apple slices, grapes, or berries, offers a light and palate-cleansing contrast.
For even more inspiration, be sure to check out this comprehensive list of 25 delicious sides for grilled cheese.

Explore More Irresistible Sandwich Recipes
If you love the simplicity and satisfaction of a good sandwich, you’re in for a treat. Explore these other amazing sandwich recipes that are perfect for any meal:
- Hearty Meatball Sandwich
- Comforting Meatloaf Sandwich
- Spicy Buffalo Chicken Sandwich
- Flavorful Shredded Chicken Sandwich
- Classic Steak, Egg, and Cheese Sandwich

Grilled Ham and Cheese Sandwich Recipe
By Heather Seeley
Learn how to make the best grilled ham and cheese sandwich around. A delicious, hot sandwich filled with melted cheese and savory ham, perfectly golden and gooey.
Cook: 5 mins
Total: 10 mins
Servings: 1 sandwich
Ingredients
- 2 slices sandwich bread
- 1 tablespoon butter, softened
- 3-4 slices deli ham
- 4 slices cheese (Use your favorite sliced cheese that melts well)
Instructions
- Begin by spreading softened butter generously and evenly on one side of each slice of bread, extending all the way to the crust.
- Lay one of the buttered bread slices, butter-side down, in a skillet or griddle preheated to medium heat. Place two slices of cheese on the bread, followed by the ham slices. Top with the remaining two cheese slices.
- If adding optional toppings like mustard, onions, or pickles, layer them now. Then, place the second slice of bread on top, with the buttered side facing upwards.
- Cook the sandwich until the bottom turns golden brown and crispy (approximately 2-3 minutes). For faster cheese melting, you can place a lid on the skillet for a minute. Carefully flip the sandwich with a spatula and cook the other side until it’s also golden brown and the cheese is fully melted and gooey. Serve warm immediately.
Notes
- Heat: Always cook over medium heat. High heat will burn the bread before the cheese has a chance to fully melt. Patience is key for a perfect melt and golden crust.
- Cheese: If using smaller bread, you can reduce the cheese to two slices total. To help the cheese melt faster, cover the skillet with a lid for a minute or two while cooking.
- Butter: Ensure your butter is softened. This makes it much easier to spread evenly across the bread without tearing it, leading to a more consistent golden-brown crust.
- Variations: Feel free to experiment with different types of ham, cheese, and bread. Additions like thinly sliced tomato, avocado, or a sprinkle of garlic powder can also enhance the flavor.
Nutrition Information
Carbohydrates: 27 g |
Protein: 49 g |
Fat: 65 g |
Saturated Fat: 34 g |
Polyunsaturated Fat: 4 g |
Monounsaturated Fat: 18 g |
Trans Fat: 0.5 g |
Cholesterol: 194 mg |
Sodium: 2058 mg |
Potassium: 388 mg |
Fiber: 1 g |
Sugar: 3 g |
Vitamin A: 1473 IU |
Calcium: 907 mg |
Iron: 3 mg
Nutrition information is automatically calculated and should only be used as an approximation.
Additional Info
Cuisine: American
Like this recipe? Leave a comment below and share your thoughts!