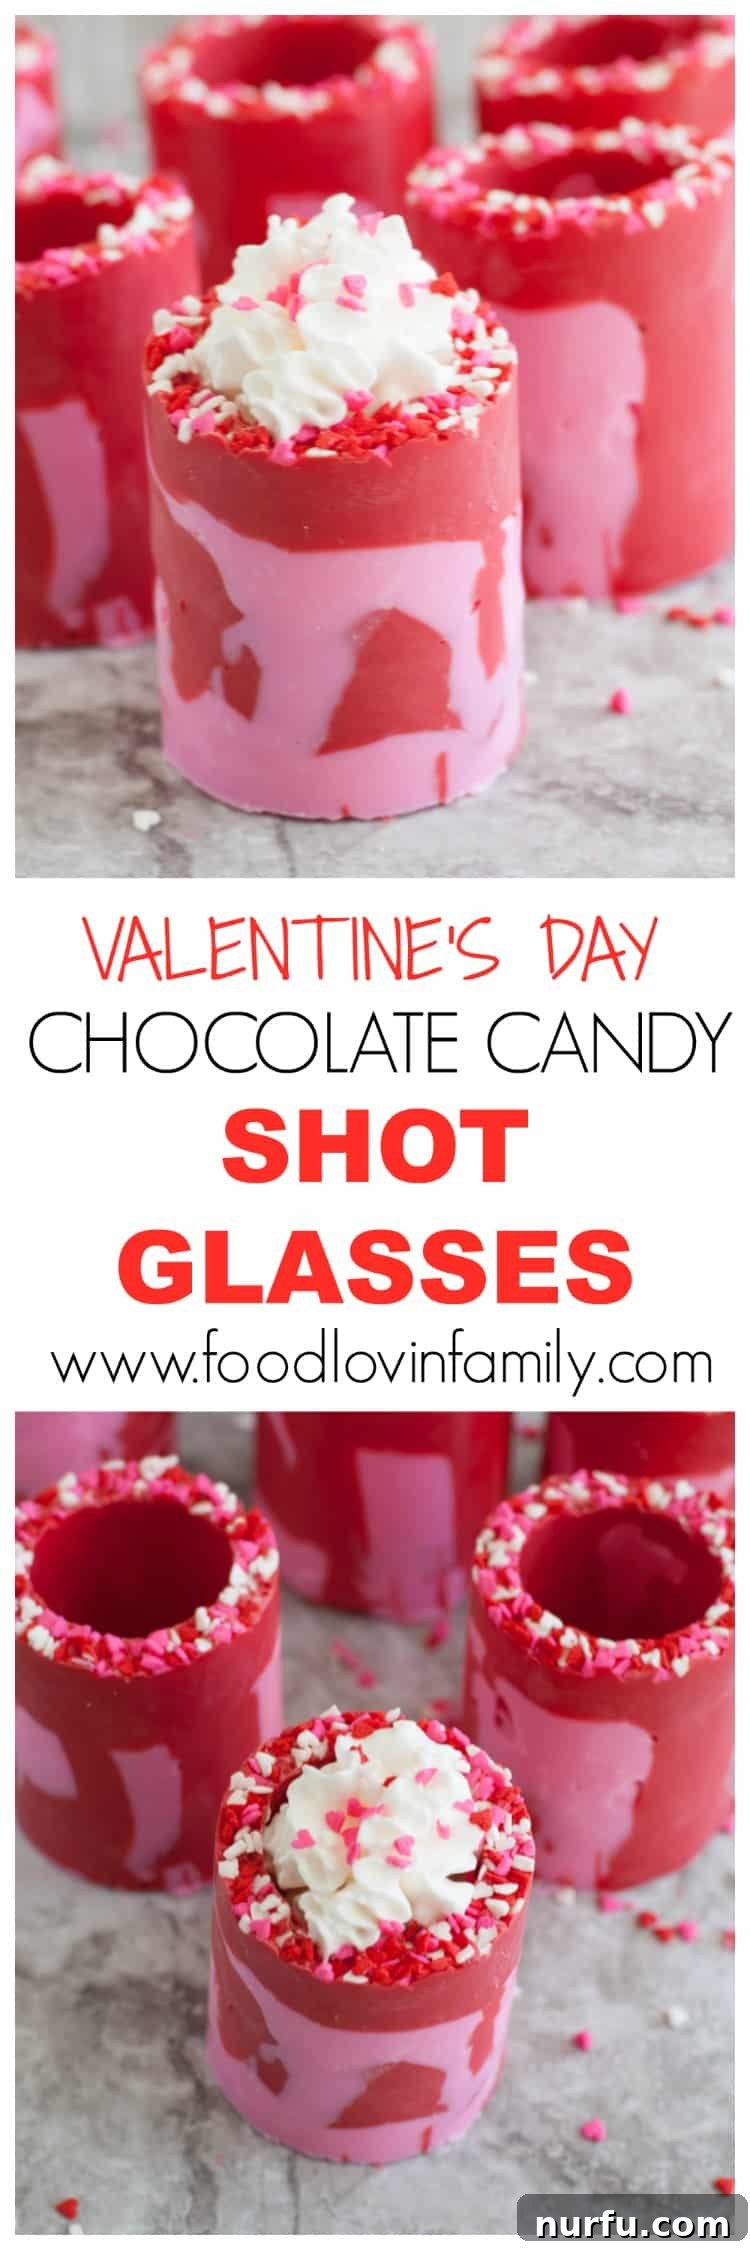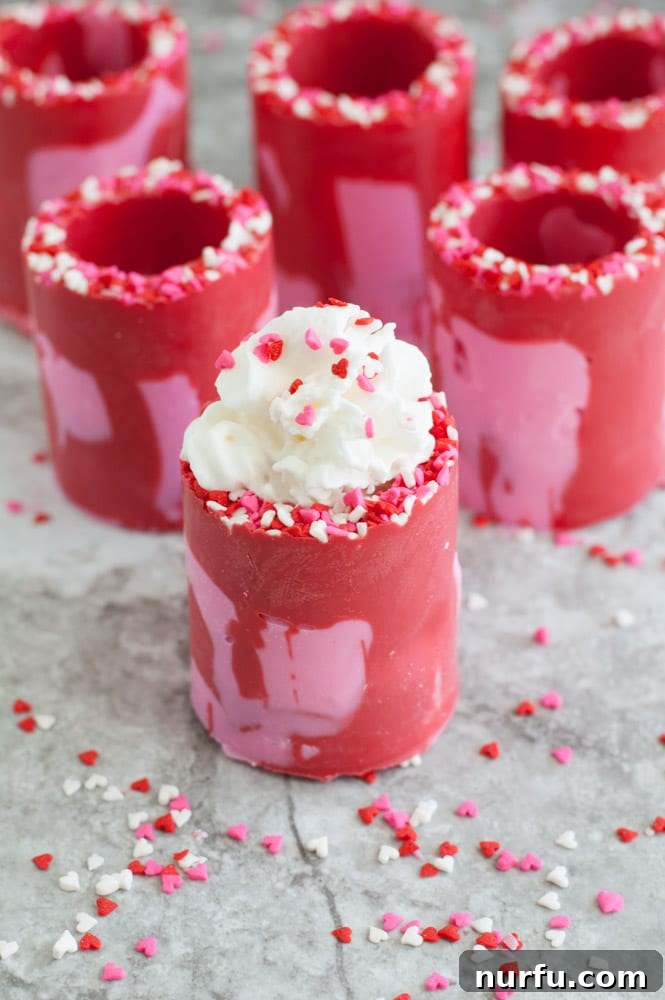
Homemade Valentine’s Day Chocolate Candy Shot Glasses: An Irresistible Treat
Celebrate love and sweetness this Valentine’s Day with an incredibly fun and easy-to-make dessert: Chocolate Candy Shot Glasses. Forget the usual chocolates and predictable desserts; these unique candy creations offer a delightful surprise that’s both edible and utterly charming. Perfect for parties, a romantic dessert for two, or a special treat for the kids, these shot glasses are a guaranteed hit and surprisingly simple to whip up with just a few core ingredients.
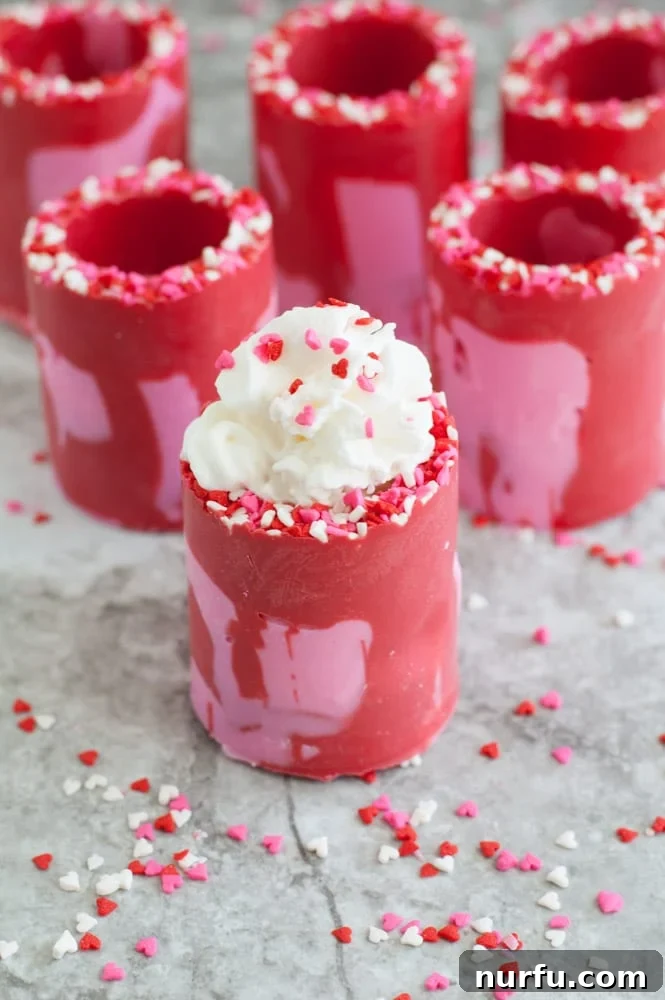
The Joy of Handmade Valentine’s Day Treats
There’s something incredibly special about handmade gifts and treats, especially during Valentine’s Day. It’s a time to show appreciation, spread joy, and indulge in a little sweetness. This past week, our neighborhood was buzzing with creative energy as I hosted a fun craft session for all the kindergartners. Watching their little imaginations soar as they designed their Valentine’s Day mailboxes was truly inspiring. Elle crafted an adorable unicorn, Ava brought a vibrant Valentine’s monster to life, and Major meticulously put together a cool Pokemon-themed box. The sheer delight on their faces, coupled with their unique creations, reminded me of the simple joy that comes from making something with love. This experience perfectly set the stage for making these delightful candy shot glasses – a treat that embodies creativity and heartfelt effort, much like those colorful mailboxes.
Whether you’re looking for an engaging activity to do with children, a standout dessert for a gathering, or a thoughtful, edible gift, these chocolate candy shot glasses fit the bill perfectly. They’re not just a dessert; they’re an experience, offering a delightful blend of taste and visual appeal. The beauty lies in their versatility and the personal touch you can add to each one, making every shot glass a mini masterpiece.
Crafting Your Edible Shot Glasses: What You’ll Need
Creating these festive Valentine’s Day treats requires minimal effort and ingredients, making them accessible for even novice bakers and a fantastic project for families. The star of this recipe is undoubtedly the candy melts, which provide both the structure and the vibrant color for your shot glasses. We’ll be focusing on a Wilton Shot Glass Mold, but any similar mold designed for candy or chocolate will work.
Essential Ingredients:
- Wilton Red Candy Melts: These provide a beautiful, rich red hue perfect for Valentine’s Day. Candy melts are specifically designed to melt smoothly and harden quickly, making them ideal for molding.
- Wilton Hot Pink Candy Melts: Complementing the red, the hot pink adds another classic Valentine’s shade, creating a lovely two-tone or alternating design.
- Optional Fillings & Decorations:
- Sprinkles: Festive heart-shaped or colorful sprinkles are excellent for adding a playful touch. They become the “top” decoration once the glasses are inverted.
- Whipped Cream: A light, airy filling that contrasts beautifully with the rich candy shell.
- Pudding: Chocolate or vanilla pudding offers a creamy, substantial filling.
- Mousse: A decadent chocolate or berry mousse elevates these into a more elegant dessert.
- Fruit: Fresh berries like raspberries or strawberries can add a burst of flavor and freshness.
- Ganache: A rich chocolate ganache can make these even more indulgent.
Key Equipment:
- Wilton Shot Glass Mold: This specialized mold is crucial for achieving the perfect shot glass shape. Its flexible silicone design makes for easy demolding. There are many variations available, so choose one that appeals to your aesthetic.
- Microwave-safe Bowls: For melting the candy melts. Using separate bowls for each color prevents mixing.
- Spoons or Small Spatulas: For stirring the melted candy and carefully spooning it into the molds.
- Baking Sheet: Essential for transporting the filled molds to and from the refrigerator safely and steadily.
Your Step-by-Step Guide to Sweet Success
Creating these candy shot glasses is a straightforward process that’s incredibly rewarding. Follow these simple steps to ensure your Valentine’s Day treats turn out perfectly:
Step 1: Prepare Your Workspace and Ingredients
First, gather all your ingredients and equipment. Place your Wilton Shot Glass Mold on a sturdy baking sheet. This will make it much easier to transfer the mold to the refrigerator once it’s filled. Ensure your candy melts are readily accessible and your optional sprinkles are open and ready to use.
Step 2: Add Your Decorative Sprinkles
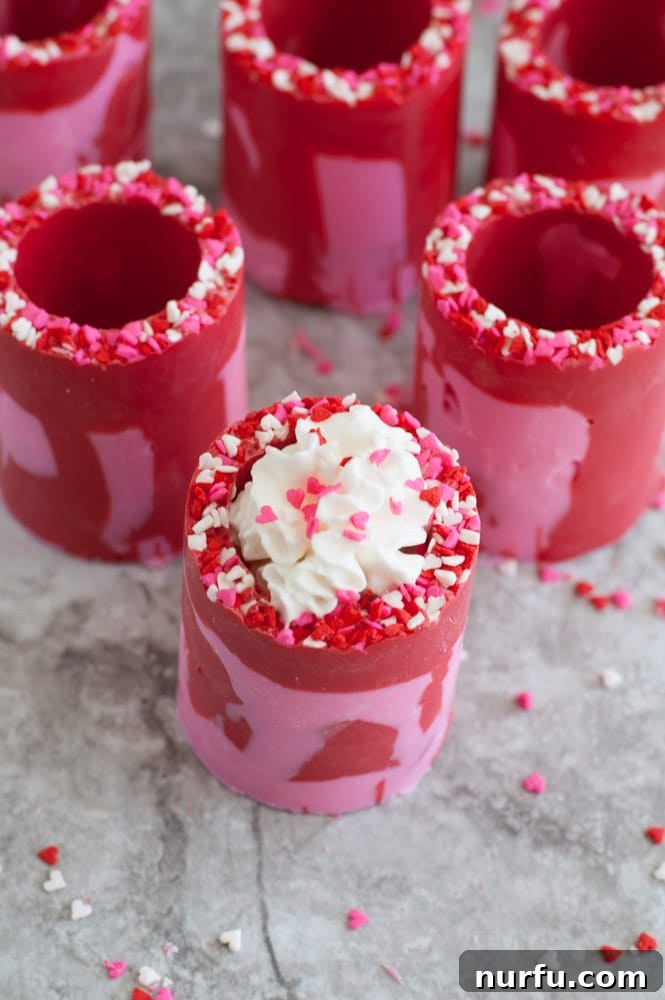
If you’re using sprinkles, now’s the time to add them. Spoon a generous amount of your chosen sprinkles into the bottom of each cavity of the shot glass mold. Make sure the entire bottom surface is covered. Remember, this will ultimately become the top rim of your finished shot glass, so a vibrant, even layer of sprinkles here will create a beautiful decorative edge.
Step 3: Melt the Candy Melts
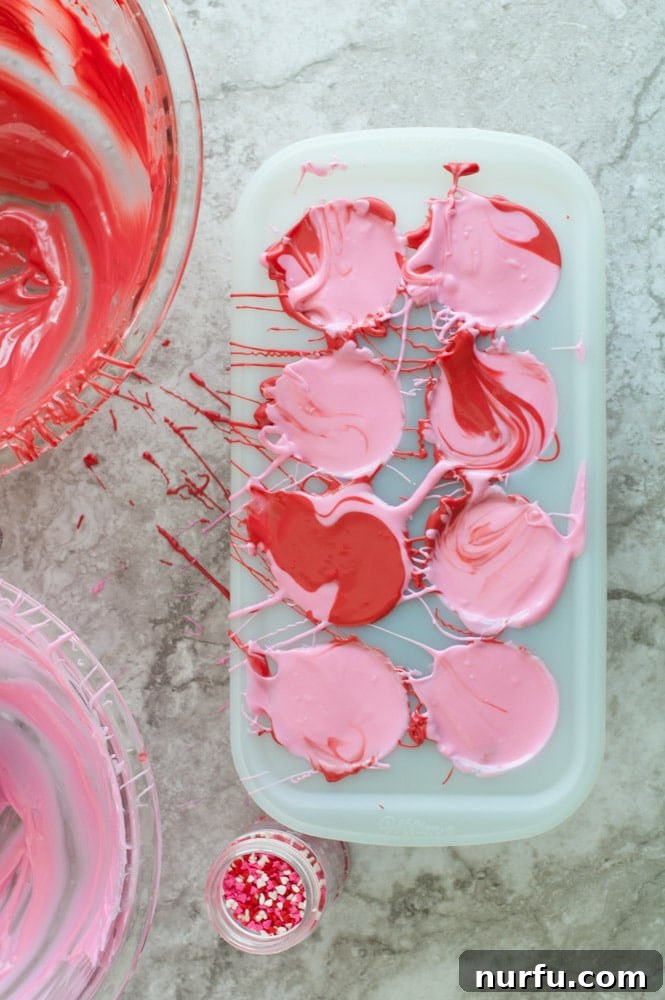
Divide your red and hot pink Wilton Candy Melts into separate microwave-safe bowls. Melt each color individually. Begin by microwaving the candy melts in 30-second intervals. After each interval, remove the bowl and stir the candy thoroughly with a clean spoon or spatula. This prevents scorching and ensures even melting. Continue this process until the candy melts are completely smooth and fluid, which typically takes about 1-2 minutes depending on your microwave’s wattage. The consistency should be pourable, but not overly thin. If it’s too thick, you can add a tiny bit of vegetable shortening, but usually, continuous stirring is sufficient.
Step 4: Fill the Molds with Melted Candy
Once your candy melts are perfectly smooth, it’s time to fill the molds. Carefully spoon or gently pour the melted candy into each mold cavity, filling it almost to the very top. You can create a uniform look by using one color per glass, or experiment with layering colors for a striped effect. To achieve the best finish and a flat bottom for your shot glasses, use the back of a spoon or a small offset spatula to gently smooth out the top surface of the candy in each mold. This step is crucial for ensuring stability when the glasses are flipped over.
Step 5: Chill to Perfection
With the molds filled and smoothed, carefully transfer the baking sheet with the molds to the refrigerator. Allow the candy to chill and harden completely. This process typically takes about 30 to 45 minutes, but the exact time may vary depending on your refrigerator’s temperature and the thickness of your candy shells. The candy should feel firm to the touch and easily release from the mold when gently pressed.
Step 6: Demold and Fill
Once hardened, retrieve the molds from the refrigerator. To demold, gently push each shot glass from the bottom of the flexible silicone mold. They should pop out easily, revealing their perfectly formed, sprinkle-rimmed glory. Once all your candy shot glasses are released, it’s time for the fun part: filling them! You can use classic whipped cream for a light and fluffy contrast, a rich chocolate pudding, a delicate berry mousse, or even fresh fruit. Get creative with your fillings to complement the sweet candy shells. A final flourish of extra sprinkles on top of the filling can add an extra touch of festivity.
Tips for Success and Creative Variations
To ensure your Valentine’s Day Chocolate Candy Shot Glasses are truly spectacular, here are some expert tips and exciting variations you can try:
Troubleshooting Tips:
- Avoid Overheating Candy Melts: Overheated candy melts can seize up and become lumpy. Always melt in short bursts and stir frequently. If they still feel too thick, add a tiny bit of vegetable shortening or coconut oil (1/2 teaspoon at a time) to thin them out, but be careful not to add too much, as it can affect setting.
- Even Sprinkle Distribution: When adding sprinkles to the bottom of the mold, gently tap the mold on the counter a few times. This helps the sprinkles settle evenly and prevents gaps in your decorative rim.
- Smooth Bottoms (Tops when inverted): The smoother the candy layer is on the top of the mold before chilling, the flatter and more stable the base of your shot glass will be. Use a flat-edged tool or the back of a spoon to scrape off any excess and create an even surface.
- Easy Demolding: Ensure the candy is fully hardened before attempting to remove it from the mold. If it’s still soft, it might break or distort. Silicone molds are flexible, so gently push from the bottom and peel the mold away from the candy.
- Storage: Store unfilled candy shot glasses in an airtight container at room temperature if your house isn’t too warm, or in the refrigerator if it is. Once filled, they should be refrigerated and consumed within a day or two for best quality.
Creative Variations:
- Color Combinations: While red and pink are classic for Valentine’s Day, don’t limit yourself! Experiment with other festive colors like white, purple, or even a mix of primary colors for other occasions. Layering different colors can create beautiful ombre or striped effects.
- Flavor Infusions: You can add a drop or two of candy flavoring oils (like peppermint, orange, or raspberry) to your melted candy melts for an extra burst of flavor. Be sure to use oil-based flavorings, as water-based extracts can cause chocolate to seize.
- Chocolate Varieties: Instead of candy melts, you can use tempered dark, milk, or white chocolate for a richer flavor profile. Tempering chocolate ensures a smooth, glossy finish and prevents blooming. However, candy melts are generally easier to work with for beginners.
- Gourmet Fillings: Beyond whipped cream and pudding, consider filling your shot glasses with:
- Lemon Curd: A tangy contrast to the sweet candy.
- Cream Cheese Frosting: Delicious with red velvet flavored candy.
- Mini Cheesecakes: Line the bottom with crushed cookies and fill with cheesecake batter, then chill.
- Brownie Batter: A small scoop of brownie batter, baked in the candy cup (if oven-safe mold and candy), then topped with frosting.
- Edible Cookie Dough: A fun, safe-to-eat filling.
- Themed Decorations: Beyond sprinkles, you can drizzle contrasting melted candy over the filled glasses, add mini chocolate chips, or use edible glitter for an extra sparkle.
These simple adjustments and creative ideas can transform your candy shot glasses into personalized masterpieces, perfect for any celebration or just to brighten someone’s day. Embrace the fun of creating edible art!
Valentine’s Day Candy Shot Glasses
Heather Seeley
10
45
55
6
Print Recipe
Ingredients
- 1 bag Wilton Red Candy Melts
- 1 bag Wilton Hot Pink Candy Melts
- Optional: sprinkles (heart-shaped or colorful), whipped cream, mousse, pudding, fruit, or ganache for filling
Instructions
- Melt each color of candy melts in a separate microwave-safe bowl. Start with 30-second intervals, stirring thoroughly after each interval. Continue until the candy is fully melted and smooth (approximately 1-2 minutes total).
- If using, spoon sprinkles into the bottom of each mold cavity first, ensuring the entire bottom is covered. This will be the top rim of your finished shot glass.
- Carefully spoon or pour the melted candy into the molds, filling each cavity to the top.
- Use the back of a spoon or a small spatula to gently smooth out the top surface of the candy in the mold. This creates a flat and stable bottom for your shot glass once inverted.
- Transfer the mold on its baking sheet to the refrigerator and chill for about 45 minutes, or until the candy has completely hardened and is firm to the touch.
- Once hardened, gently pop the candy shot glasses out of the flexible mold.
- Fill each candy shot glass with your favorite sweet filling, such as whipped cream, pudding, mousse, or fresh berries. Add additional sprinkles on top if desired. Serve immediately and enjoy!
Notes
Placing the mold on a baking sheet before filling makes for much easier and more stable transfer to and from the refrigerator.
Nutrition
Nutrition information is automatically calculated, so should only be used as an approximation.
Additional Info
Dessert
American
Share the Love This Valentine’s Day!
As Valentine’s Day approaches, these homemade Chocolate Candy Shot Glasses offer a delightful and memorable way to celebrate with friends, family, or that special someone. The process is simple, the results are stunning, and the customization options are endless. Whether you’re a seasoned baker or just looking for a fun kitchen project, these edible shot glasses are sure to bring smiles and sweetness to your festivities.
Don’t forget to get creative with your fillings and decorations – that’s where the true fun lies! From classic whipped cream to adventurous mousse flavors, each shot glass can be a unique culinary delight. So, gather your ingredients, unleash your inner pastry chef, and prepare to charm everyone with these irresistible Valentine’s Day treats. Wishing you all a truly wonderful and sweet Valentine’s Day filled with love and delicious moments!
Follow Food Lovin’ Family on Pinterest for more great recipes!