
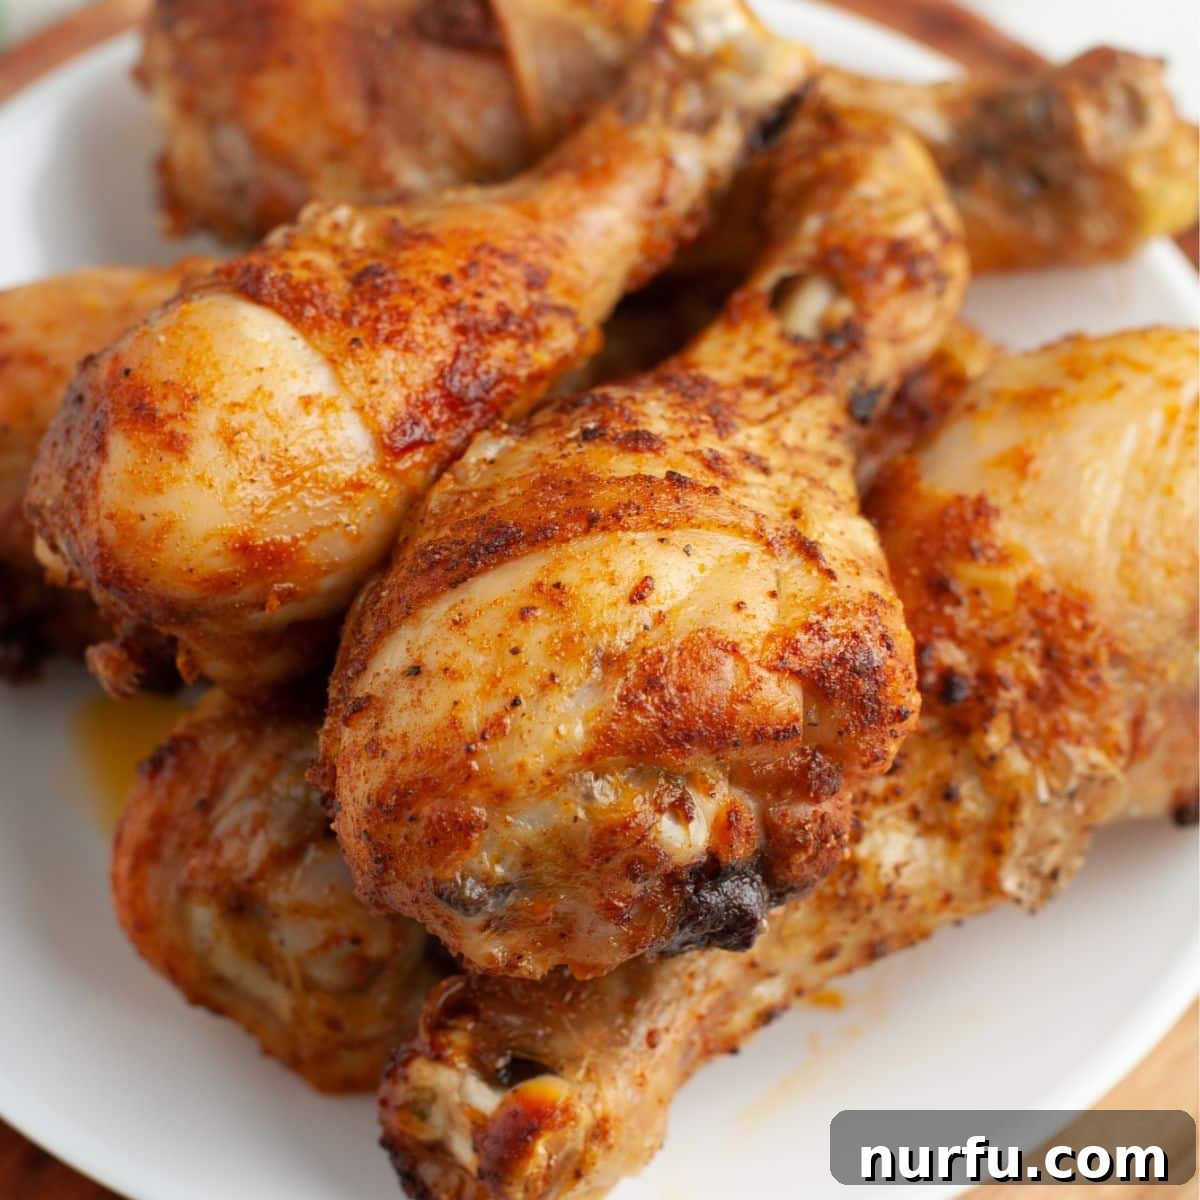
Perfectly Baked Chicken Drumsticks: Your Guide to Juicy, Crispy Legs Every Time
Baked chicken drumsticks are a beloved staple in countless households – and for good reason! They offer a perfect blend of affordability, ease of preparation, and mouthwatering flavor. Whether you’re a seasoned home cook or just starting out, mastering the art of oven-baked chicken legs is a fantastic skill to have. This comprehensive guide will not only answer the critical question of how long to bake chicken drumsticks to achieve that ideal crispy skin and tender, juicy meat, but it also provides a simple, foolproof recipe and expert tips to elevate your cooking.
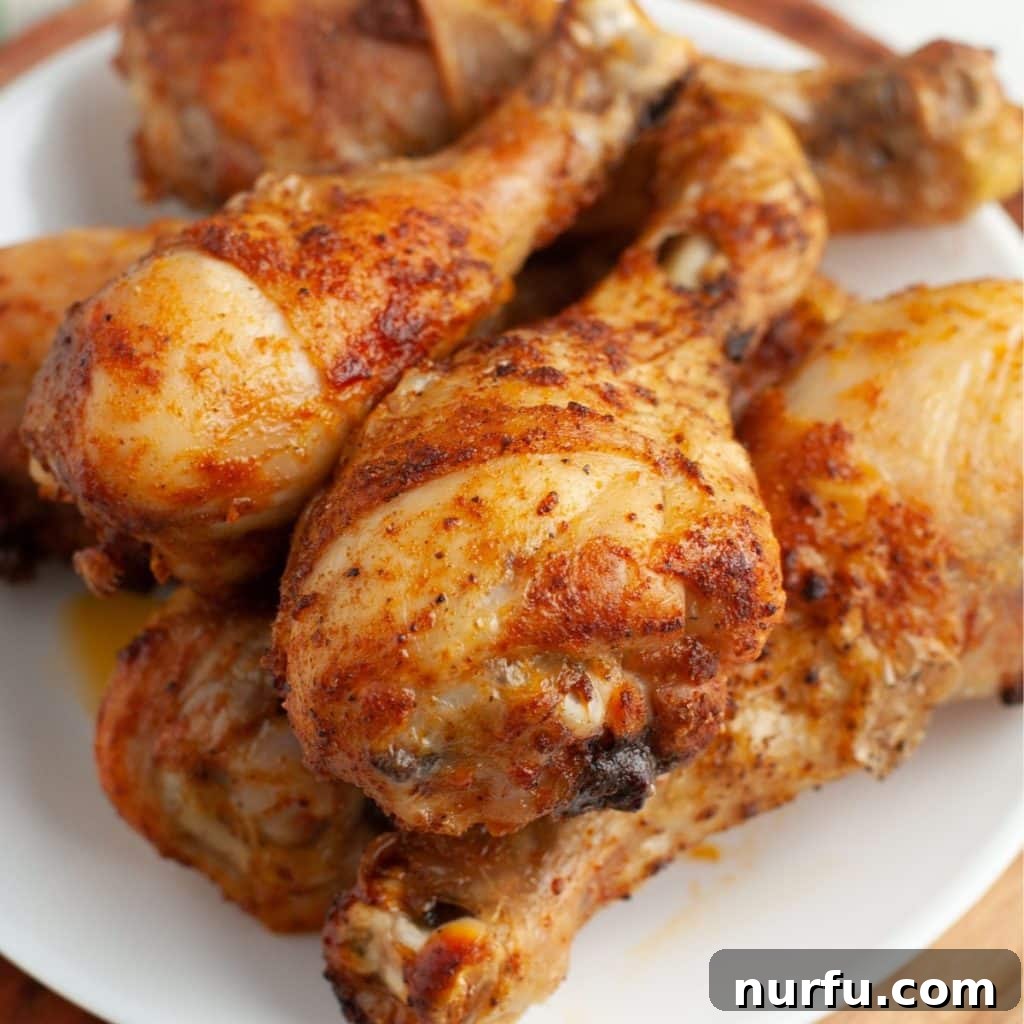
Baking chicken in the oven is one of the most straightforward and forgiving cooking methods, much like preparing baked chicken thighs, chicken wings, or chicken breast. These oven-baked chicken legs are the epitome of an easy meal, making them perfect for those busy weeknights when you need something delicious on the table fast, or for relaxed weekend gatherings with family and friends. With minimal ingredients and a hands-off cooking approach, you’ll wonder why you haven’t been making them more often!
Table of Contents
- How Long to Bake Chicken Legs?
- Why Choose Chicken Drumsticks?
- Essential Ingredients for Perfect Drumsticks
- Step-by-Step Guide to Baking Chicken Legs in the Oven
- Optimal Temperature for Baking Chicken Drumsticks in the Oven
- How to Tell When Chicken Drumsticks Are Fully Cooked
- Pro Tips for the Best Baked Chicken Legs
- Storing and Reheating Leftover Baked Chicken Legs
- Delicious Side Dishes to Serve with Crispy Baked Chicken Legs
- Can You Cook Chicken Legs in the Air Fryer?
- More Easy Chicken Recipes to Explore
How Long to Bake Chicken Legs?
The most frequently asked question is undoubtedly, “How long do you bake chicken legs in the oven?” For beautifully cooked, tender, and juicy results with a wonderfully crispy skin, the sweet spot is typically **40-45 minutes when baking at 400 degrees F (200 degrees C)** in a conventional oven. This temperature allows the chicken to cook through evenly while giving the skin ample time to crisp up and turn golden brown.
It’s crucial to remember that cooking times can vary slightly based on several factors: the exact size and thickness of your drumsticks, the calibration of your oven, and whether your chicken is starting from a chilled or room temperature state. The ultimate indicator of doneness, and for ensuring food safety, is the internal temperature. Your chicken is safely cooked and ready to enjoy when it reaches an internal temperature of at least 165 degrees F (74 degrees C). Always use a reliable meat thermometer inserted into the thickest part of the drumstick, avoiding the bone, for an accurate reading.
Why Choose Chicken Drumsticks?
Chicken drumsticks are an excellent choice for any meal. Here’s why they stand out:
- **Economical:** They are often one of the most budget-friendly cuts of chicken available, making them perfect for feeding a family without breaking the bank.
- **Flavorful:** The dark meat of drumsticks is inherently richer and more succulent than white meat, staying juicy even when cooked at higher temperatures.
- **Easy to Handle:** Their bone-in nature provides a convenient handle for eating, especially appealing to kids.
- **Versatile:** Drumsticks readily absorb flavors from marinades and seasonings, allowing for endless culinary creativity.
- **Quick Cooking:** Compared to a whole roasted chicken, drumsticks cook relatively quickly, making them ideal for weeknight dinners.
Essential Ingredients for Perfect Drumsticks
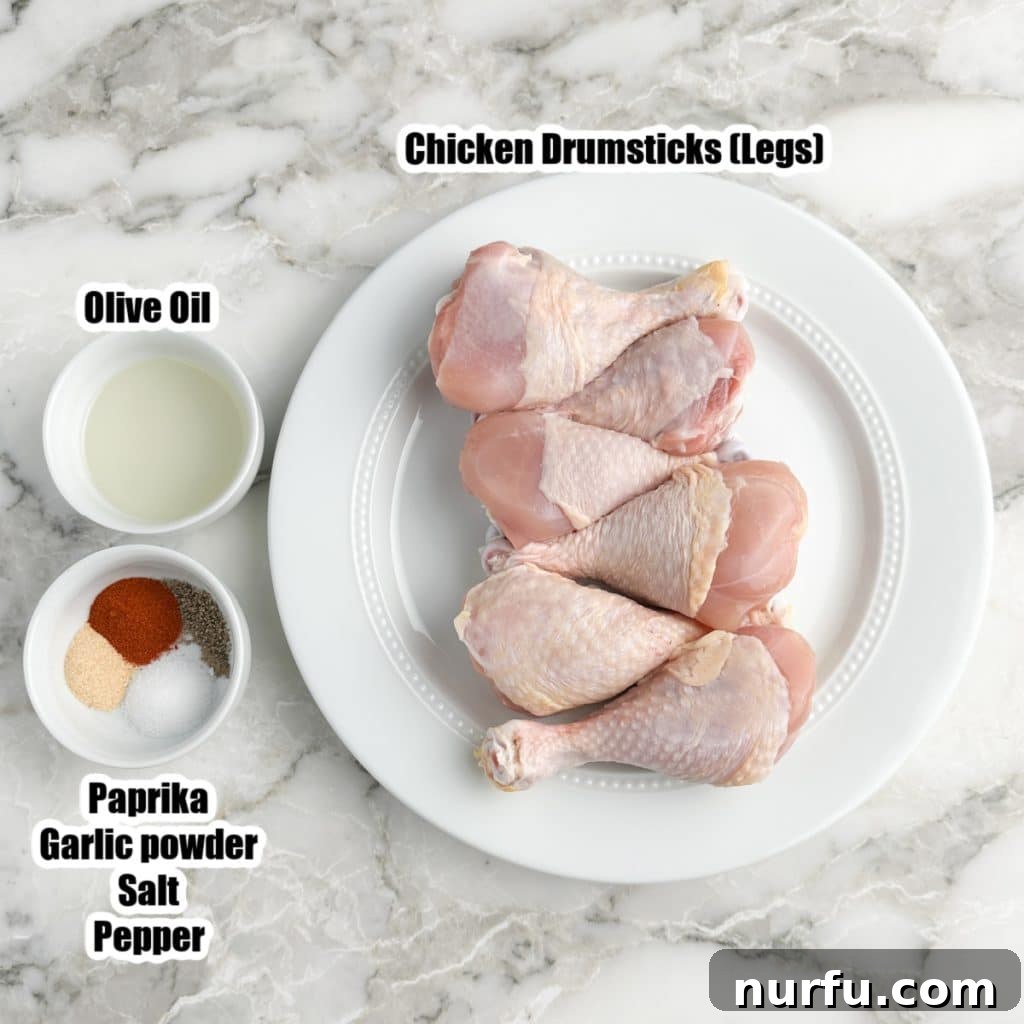
You don’t need a pantry full of exotic spices to make incredible baked chicken drumsticks. Simple, quality ingredients are key to unlocking maximum flavor and texture. Here’s what you’ll need for this easy recipe:
- Chicken Drumsticks (Chicken Legs): Opt for bone-in, skin-on drumsticks. The skin is essential for that coveted crispy exterior, protecting the meat underneath and rendering delicious fat during baking.
- Olive Oil: A good quality olive oil serves multiple purposes. It helps the seasonings adhere to the chicken, promotes even browning, and contributes to the crisping of the skin. You can also use other high-smoke-point oils like avocado oil.
- Seasonings: Our base recipe uses a classic, balanced blend:
- Salt: Essential for bringing out the chicken’s natural flavors.
- Ground Black Pepper: Adds a subtle warmth and bite.
- Paprika: Contributes a beautiful reddish hue and a mild, slightly sweet flavor. Smoked paprika can add an extra layer of depth.
- Garlic Powder: Infuses a savory, aromatic foundation that complements chicken beautifully.
Feel free to customize your flavor profile! Get creative with your favorite chicken seasoning. Popular alternatives include zesty lemon pepper, robust BBQ seasoning, spicy cayenne, dried herbs like thyme or rosemary, or a custom homemade seasoning mix tailored to your taste buds.
Step-by-Step Guide to Baking Chicken Legs in the Oven
Achieving perfectly baked chicken drumsticks is surprisingly simple. Follow these steps for a delicious, hassle-free meal:
Step One: Prepare Your Oven and Baking Sheet
Begin by preheating your oven to 400 degrees F (200 degrees C). This ensures the oven is at the correct temperature when the chicken goes in, promoting even cooking and crispy skin from the start. Line a rimmed baking sheet with aluminum foil or parchment paper. This simple trick makes cleanup incredibly easy, as the foil catches any drips or rendered fat. Lightly spray the lined sheet with non-stick cooking spray to prevent the chicken from sticking. Crucially, pat the chicken drumsticks thoroughly dry with paper towels. Removing excess moisture from the skin is paramount for achieving that desirable crispy texture during baking. Moisture creates steam, which prevents the skin from crisping.
Step Two: Season the Chicken
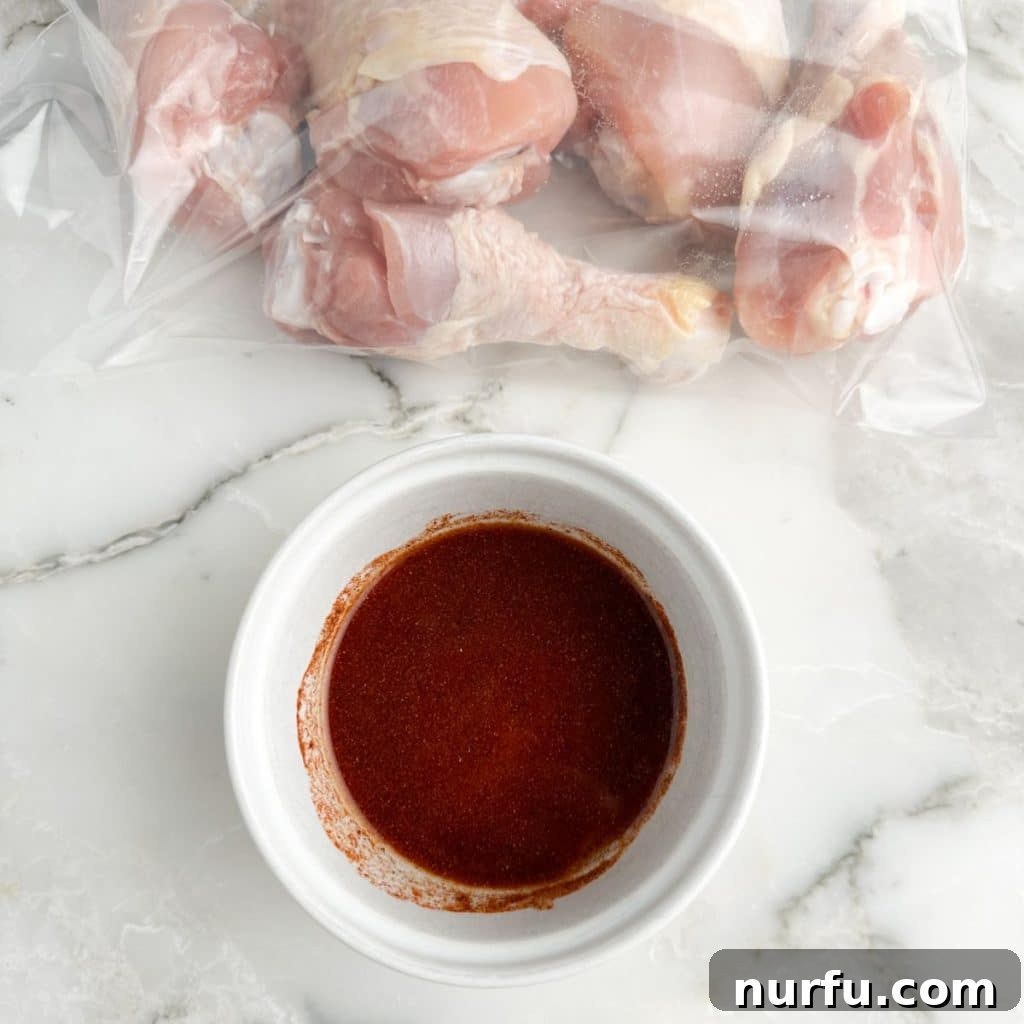
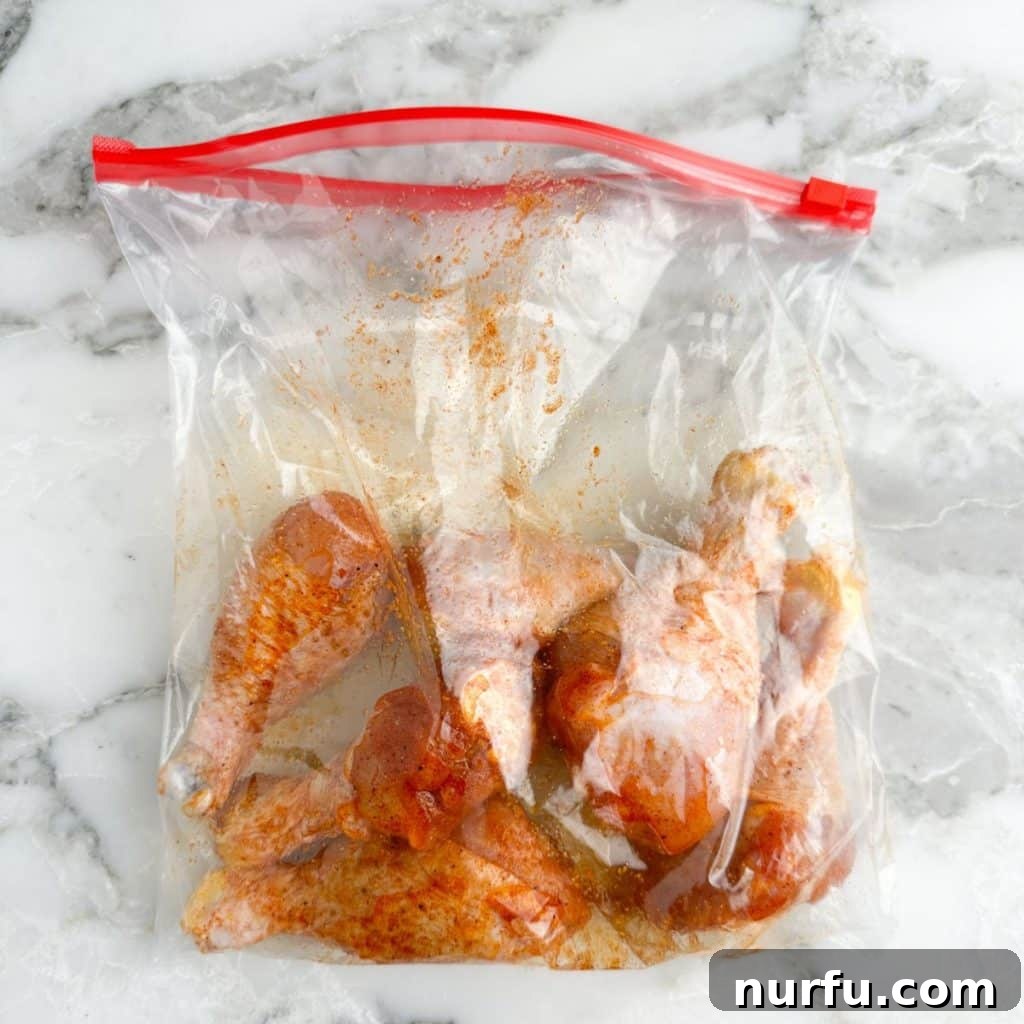
In a small bowl, combine the olive oil with your chosen seasonings (salt, ground black pepper, paprika, and garlic powder). Mix well until a fragrant paste forms. Place the dried chicken drumsticks in a large zip-top bag or a large mixing bowl. The bag method is fantastic for even coating with minimal mess, but a bowl works perfectly too.
Step Three: Coat the Chicken Evenly
Pour the olive oil and seasoning mixture over the chicken drumsticks in the bag or bowl. If using a bag, seal it and gently massage the chicken, ensuring each piece is completely and evenly coated with the delicious seasoning blend. If using a bowl, toss the chicken with tongs or clean hands until thoroughly covered. This step is where all the flavor truly begins to infuse into the chicken.
Step Four: Bake to Perfection
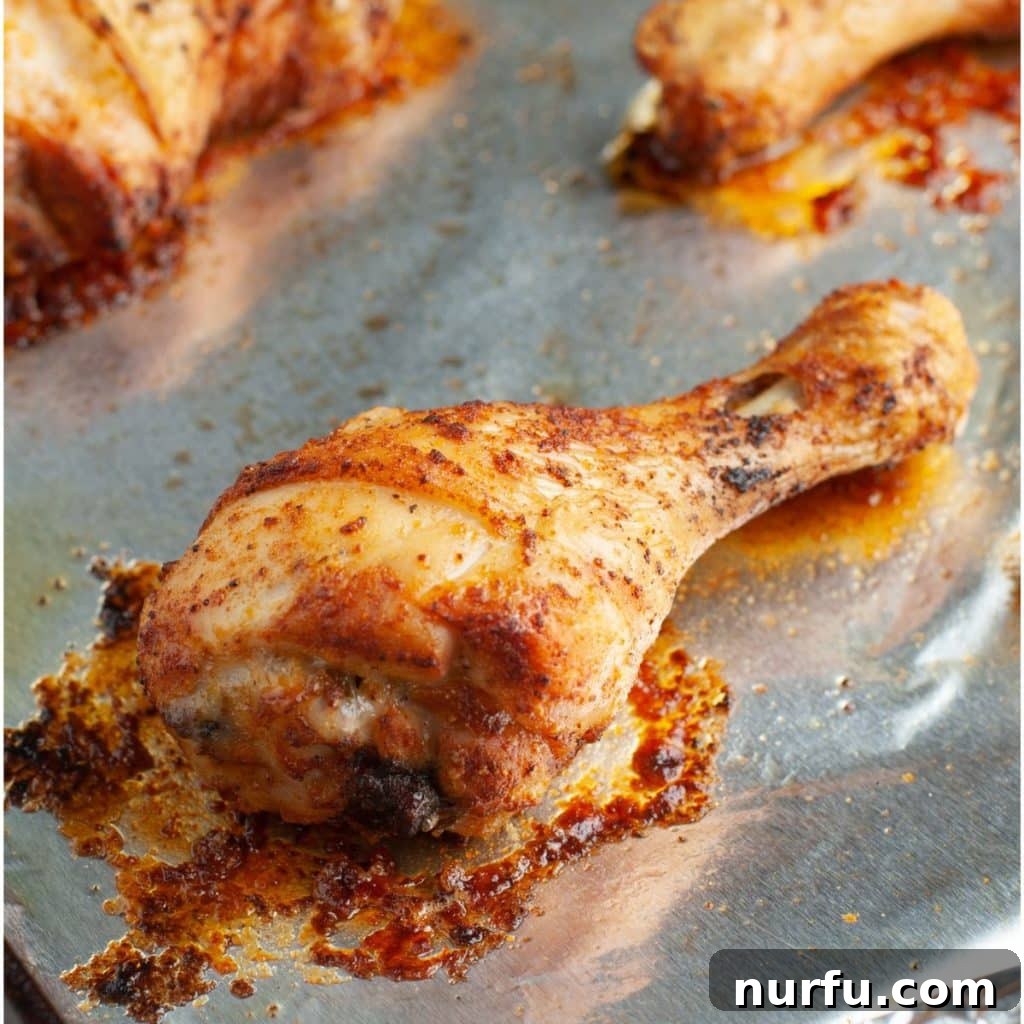
Arrange the seasoned chicken drumsticks on the prepared baking sheet in a single layer. Ensure there is some space between each drumstick to allow hot air to circulate freely. Overcrowding the pan can lead to steaming instead of roasting, resulting in less crispy skin. Place the baking sheet in the preheated oven and bake for 40-45 minutes. The chicken should turn a beautiful golden-brown color. To confirm doneness, use a meat thermometer inserted into the thickest part of the meat (without touching the bone); it should read at least 165 degrees F (74 degrees C). Once cooked, remove from the oven.
Step Five: Rest and Serve
Once out of the oven, allow the chicken drumsticks to rest on the baking sheet for about 5 minutes before serving. This crucial step allows the juices to redistribute throughout the meat, ensuring every bite is incredibly tender and moist. Serve warm and enjoy your perfectly baked chicken!
Optimal Temperature for Baking Chicken Drumsticks in the Oven
While chicken legs can be baked at various temperatures, choosing the right heat setting is essential for achieving the best results, especially if you crave that coveted crispy skin. To maximize crispiness and ensure thorough cooking, it’s best to bake them at a relatively high temperature.
The **best temperatures to bake chicken legs are either 400 degrees F (200 degrees C) or 425 degrees F (220 degrees C)**. Both temperatures work wonderfully, offering slightly different cooking times and levels of crispness:
- 400 degrees F (200 degrees C): This is an excellent all-around temperature, providing consistent cooking and reliably crispy skin.
- Approximate Cook Time: 40-45 minutes
- 425 degrees F (220 degrees C): If you want to achieve even crispier skin in a slightly shorter amount of time, this higher temperature is a great choice.
- Approximate Cook Time: 35-40 minutes
Regardless of the temperature you choose, always keep a close eye on your chicken and prioritize reaching the safe internal temperature of 165 degrees F (74 degrees C). Larger drumsticks might need a few extra minutes, while smaller ones could be done sooner. Remember that every oven can vary slightly in temperature, so an oven thermometer can be a helpful tool for accuracy.
How to Tell When Chicken Drumsticks Are Fully Cooked
Ensuring your chicken drumsticks are thoroughly cooked is vital for food safety and enjoyment. While visual cues are helpful, the most accurate and reliable method is always using a meat thermometer.
- The Meat Thermometer Method (Most Reliable):
- Insert a reliable instant-read meat thermometer into the thickest part of the drumstick, making sure it doesn’t touch the bone. The bone conducts heat differently and can give a misleading reading.
- The chicken is safely cooked when the internal temperature reaches at least 165 degrees F (74 degrees C).
- Take readings from multiple drumsticks, especially if they vary in size, to ensure all are cooked through.
- Visual Cues (Supplementary):
- Clear Juices: When you pierce the chicken (e.g., with a knife or fork) near the bone, the juices should run clear, not pink or cloudy.
- Opaque Meat: If you were to cut into the thickest part of the chicken, the meat should be opaque white throughout, with no pinkness near the bone.
- Crispy, Golden Skin: The skin should be deeply golden brown and audibly crispy when tapped. This indicates the skin has rendered its fat and dehydrated properly.
- Loosening Bone: For very well-cooked drumsticks, the meat might start to pull away from the bone slightly.
Always prioritize the thermometer reading. It’s the only way to be completely sure your chicken is safe and perfectly cooked without drying it out by overcooking.
Pro Tips for the Best Baked Chicken Legs
While the recipe is straightforward, these additional tips will help you achieve truly outstanding results every time:
- Pat Dry, Always: This cannot be stressed enough. Patting the chicken legs thoroughly dry with paper towels is the secret to super crispy skin. Any surface moisture will steam the skin instead of allowing it to crisp up.
- Bring to Room Temperature: For more even cooking, take the drumsticks out of the refrigerator about 15-20 minutes before you plan to season and bake them. This allows the chicken to warm up slightly, preventing the outside from overcooking while the inside struggles to catch up.
- Don’t Overcrowd the Pan: Arrange the drumsticks in a single layer with sufficient space between each piece. If the pan is too crowded, moisture released from the chicken will create steam, hindering crispiness. If cooking a large batch, use two baking sheets.
- No Need to Flip: For most recipes and oven setups, there’s no need to flip the drumsticks halfway through baking. Baking in a single layer at a high temperature will ensure even crisping on all exposed surfaces.
- Elevate for Extra Crispiness: For even crisper skin all around, place the drumsticks on an oven-safe wire rack set inside your rimmed baking sheet. This allows air to circulate entirely around the chicken, preventing the bottom from getting soggy.
- Broil for a Crispy Boost: If your chicken is cooked through but the skin isn’t as crispy as you’d like, you can briefly broil it for 2-3 minutes at the very end. Keep a close eye on it, as broilers can quickly burn food.
- Let Them Rest: After baking, remove the chicken from the oven and let it rest on the baking sheet for about 5-10 minutes before serving. This allows the juices to redistribute throughout the meat, resulting in a more tender and juicy drumstick. Cutting into hot chicken immediately will cause the juices to run out, leaving you with drier meat.
- Custom Seasoning Blends: Don’t be afraid to experiment with your favorite spice blends! Try adding smoked paprika for a deeper flavor, a pinch of cayenne for a subtle kick, or dried herbs like oregano and thyme for an aromatic touch.
- Marinating for Flavor: While this recipe is quick, you can marinate the drumsticks for at least 30 minutes or up to 4 hours (or even overnight) in the seasoning mixture for an extra boost of flavor and tenderness. Just ensure they are patted dry again before baking for crispy skin.
Storing and Reheating Leftover Baked Chicken Legs
Cooked chicken drumsticks are fantastic as leftovers, perfect for quick lunches or another easy dinner. Proper storage and reheating are key to maintaining their flavor and texture.
- Storing:
- Allow the baked chicken legs to cool completely to room temperature (this usually takes about 30-60 minutes). Do not leave them out for more than 2 hours.
- Once cooled, transfer them to an airtight container.
- Store in the refrigerator for up to 3-4 days.
- Reheating:
- Oven: Preheat your oven to 375-400 degrees F (190-200 degrees C). Place the drumsticks on a baking sheet (you can line it with foil for easy cleanup). Reheat for 15-20 minutes, or until heated through and the skin has re-crisped slightly.
- Air Fryer: For the crispiest results, the air fryer is your best friend for reheating! Preheat the air fryer to 380-400 degrees F (190-200 degrees C). Place the drumsticks in a single layer in the air fryer basket. Reheat for 5-8 minutes, flipping halfway, until piping hot and crispy again.
- Microwave: While convenient, microwaving will make the skin soft and can dry out the meat. Only use this method if you prioritize speed over texture. Heat in 30-second intervals until warmed through.
- Creative Uses for Leftovers: Shred leftover chicken to add to salads, sandwiches, wraps, tacos, or even a quick chicken noodle soup.
Delicious Side Dishes to Serve with Crispy Baked Chicken Legs
Baked chicken legs are incredibly versatile and pair beautifully with a wide array of side dishes. Here are some fantastic ideas to complete your meal:
- Starchy Sides:
- Baked potatoes or fluffy mashed potatoes.
- Crispy fries (homemade or frozen).
- Rice pilaf or simple steamed rice.
- Creamy mac and cheese.
- Classic potato salad for a comforting touch.
- Roasted Vegetables:
- Roasted carrots, broccoli, asparagus, or Brussels sprouts. Roasting them at the same temperature as the chicken is a great time-saver!
- Sweet potatoes, cubed and roasted with a touch of cinnamon.
- Fresh Salads:
- A crisp green salad with a light vinaigrette.
- Creamy coleslaw for a refreshing contrast.
- Quinoa salad with fresh herbs and vegetables.
- Other Options:
- Corn on the cob or creamed corn.
- Steamed green beans with a knob of butter.
- Garlic bread or dinner rolls for soaking up any delicious pan juices.
Can You Cook Chicken Legs in the Air Fryer?
Absolutely! The air fryer is another fantastic appliance for achieving incredibly crispy and juicy chicken drumsticks. It’s often quicker than a traditional oven and uses less energy, making it a great option for smaller batches or when you’re short on time. You can easily make delicious air fryer chicken drumsticks in about 25-30 minutes, producing results very similar to deep-frying but with much less oil.
More Easy Chicken Recipes to Explore
If you loved this simple chicken drumstick recipe, you might enjoy exploring other easy and delicious chicken dishes:
- Crispy Chicken Tenders
- Homemade Chicken Salad
- Quick Chicken Quesadilla
We hope this guide empowers you to bake the most delicious chicken drumsticks your family has ever tasted. Please let us know if you tried this easy chicken leg recipe and how it turned out!
How Long To Bake Chicken Drumsticks At 400 Degrees F
Heather Seeley
5 mins
45 mins
50 mins
6
Ingredients
- 6 chicken drumsticks
- 1 tablespoon olive oil
- 1 teaspoon salt
- 1/4 teaspoon ground black pepper
- 1 teaspoon garlic powder
- 3/4 teaspoon paprika
Instructions
-
Preheat the oven to 400 degrees F (200 degrees C). Line a baking sheet or large casserole dish with aluminum foil. Lightly coat the foil with non-stick cooking spray.
-
Remove the chicken drumsticks from their packaging. Pat them thoroughly dry with paper towels to ensure crispy skin, then place the chicken in a large zip-top bag or a large mixing bowl.
-
In a small bowl, pour the olive oil and stir in all the seasonings (salt, ground black pepper, garlic powder, and paprika). Pour this mixture into the bag or bowl with the chicken drumsticks and toss or massage to completely coat each piece evenly.
-
Place the seasoned chicken drumsticks on the prepared baking sheet in a single layer, ensuring adequate space between each for even cooking and crisping. Bake for 40-45 minutes, or until the internal temperature of the thickest part of the meat reaches at least 165 degrees F (74 degrees C) using a meat thermometer.
-
Once baked, remove the chicken from the oven and let it rest for 5-10 minutes before serving warm. This resting period helps seal in the juices, resulting in more tender and delicious chicken.
Video
A video demonstration of this recipe can be found here (if available).
Nutrition
Carbohydrates: 1g |
Protein: 13g |
Fat: 9g |
Saturated Fat: 2g |
Polyunsaturated Fat: 2g |
Monounsaturated Fat: 5g |
Trans Fat: 0.03g |
Cholesterol: 70mg |
Sodium: 467mg |
Potassium: 182mg |
Fiber: 0.2g |
Sugar: 0.04g |
Vitamin A: 158IU |
Vitamin C: 0.01mg |
Calcium: 9mg |
Iron: 1mg
Nutrition information is automatically calculated and is an approximation. Values may vary.
Additional Info
Main Course
American